Warning: search_filter(): Argument #2 ($wp_query) must be passed by reference, value given in /home/u951807797/domains/techskills.interviewgemini.com/public_html/wp-includes/class-wp-hook.php on line 324
Are you ready to stand out in your next interview? Understanding and preparing for VTR Editing interview questions is a game-changer. In this blog, we’ve compiled key questions and expert advice to help you showcase your skills with confidence and precision. Let’s get started on your journey to acing the interview.
Questions Asked in VTR Editing Interview
Q 1. Explain the difference between linear and non-linear video editing.
The core difference between linear and non-linear video editing lies in how you arrange and manipulate video clips. Think of linear editing like working with a reel-to-reel tape recorder – you physically cut and splice the tape, making changes sequentially. Once a segment is placed, rearranging it requires physically moving the tape. This is inflexible and time-consuming.
Non-linear editing, on the other hand, is like using a digital word processor. You work with a digital representation of your footage, allowing you to easily move, cut, and rearrange clips at any point in the timeline without altering the original source material. This offers unparalleled flexibility and efficiency. Imagine trying to correct a small error in a long linear edit versus the simplicity of making the same correction in a non-linear editor.
- Linear Editing: Limited flexibility, destructive editing (original material altered), time-consuming.
- Non-linear Editing: High flexibility, non-destructive editing (original material preserved), efficient workflow.
Q 2. Describe your experience with various video editing software (e.g., Avid Media Composer, Final Cut Pro, Premiere Pro).
My experience spans several leading Non-Linear Editing Systems (NLEs). I’ve worked extensively with Avid Media Composer, known for its robust features and stability, particularly beneficial in high-pressure broadcast environments. I’ve used it extensively for large-scale projects requiring advanced features like multi-camera editing and complex effects.
Final Cut Pro, with its user-friendly interface and powerful tools, has become my go-to choice for many projects, especially those with faster turnaround times or where a strong focus on intuitive workflows is important. Its magnetic timeline and streamlined color grading capabilities are significant advantages.
Finally, Adobe Premiere Pro is another versatile tool in my arsenal. Its extensive plugin support and tight integration within the Adobe Creative Cloud ecosystem makes it ideal for projects requiring seamless collaboration and integration with other Adobe applications such as After Effects or Photoshop.
Each NLE has its strengths and weaknesses, and my proficiency in each allows me to select the best tool for the job based on project specifications, client needs, and available resources.
Q 3. How do you manage large video files efficiently?
Managing large video files efficiently involves a multi-pronged approach. Firstly, I utilize high-performance storage solutions, such as RAID arrays, to ensure fast read and write speeds. This minimizes the time spent waiting for files to load. Secondly, I employ proxy workflows. This means creating smaller, lower-resolution versions of my footage for editing. This significantly accelerates the editing process without impacting the final output quality, which is rendered from the original high-resolution files only at the very end.
Further, I leverage organizational tools within the NLE to manage assets efficiently. This includes careful naming conventions for clips and projects. I always maintain a well-structured project folder on my hard drive to keep everything organized.
Finally, using optimized media formats such as ProRes or DNxHD reduces file sizes without sacrificing too much visual quality. This allows me to maintain fast performance without compromising visual fidelity.
Q 4. What are your preferred methods for organizing and archiving video footage?
My preferred method for organizing and archiving video footage is a hierarchical system using keywords and metadata. This starts with creating a clear project folder structure, breaking down footage by date, shot type, and any other relevant identifiers. Within each folder, I use a consistent naming convention (e.g., YYYYMMDD_SHOT_DESCRIPTION.mov) to ensure easy searchability.
I utilize metadata tagging within my NLE to add further layers of organization. This allows me to quickly search for specific shots based on keywords, camera angles, or subject matter. Once the project is complete, I archive the project folder to a robust storage solution – often an LTO tape archive for long-term preservation or cloud storage for accessibility.
This structured approach guarantees efficient retrieval of any specific footage, even years later. For example, finding a specific interview shot only requires a quick keyword search instead of manually browsing through countless files.
Q 5. Explain your workflow for editing a typical news segment.
My workflow for editing a typical news segment is highly structured and time-sensitive. It begins with logging and reviewing the raw footage, identifying key moments and discarding unnecessary material. Next, I create a rough assembly, placing clips in their approximate order, prioritizing a clear narrative structure. This is followed by a more refined edit, incorporating graphics, sound effects and music.
Then, comes color correction to ensure consistency and visual appeal. A final review with the journalist and producer will determine if any changes are required before exporting the final product to the required broadcast specifications.
Throughout this process, I meticulously back up my work at each significant stage to prevent data loss. Speed and accuracy are paramount in news editing, so efficiency is key. I often work with multiple sequences simultaneously to streamline the process; for example, having one for sound mixing while refining the visuals in another. This allows for parallel workflow to ensure deadline adherence.
Q 6. How do you handle multiple projects simultaneously?
Juggling multiple projects requires meticulous organization and prioritization. I use a project management system, which could be a simple spreadsheet or a dedicated software application, to track deadlines, deliverables, and resource allocation. This helps me clearly visualize the workload and allocate time effectively across projects.
I dedicate specific time blocks to each project, ensuring focused attention. Switching between tasks too frequently can lead to reduced productivity and increased error rate. Within each project, I also prioritize specific tasks based on urgency and importance.
Lastly, clear communication with clients and collaborators is essential to manage expectations and promptly address any unforeseen issues or changes of scope. This minimizes delays and disruptions.
Q 7. Describe your experience with color correction and grading.
Color correction and grading are crucial for enhancing the visual appeal and consistency of a video. Color correction focuses on restoring the natural colors of the footage, correcting for imbalances caused by lighting conditions or camera settings. This involves adjusting white balance, exposure, and contrast to achieve a realistic and balanced image.
Color grading, on the other hand, is a more creative process, used to set the mood and style of the video. It involves manipulating the color palette to evoke specific emotions or enhance the storytelling. This might include adding a warm, cinematic look or a cool, desaturated aesthetic depending on the requirements of the project.
My experience includes proficiency in using various color grading tools within NLEs, including scopes (vectorscopes, waveforms, histograms) to carefully analyze color information and make precise adjustments, along with the use of LUTs (Look Up Tables) to streamline the process and ensure consistency across multiple shots.
Q 8. Explain your experience with audio editing and mixing.
Audio editing and mixing are fundamental to creating a compelling video. My experience encompasses a wide range of tasks, from basic noise reduction and sound effects design to complex multi-track mixing and audio sweetening. I’m proficient in using industry-standard software like Pro Tools, Adobe Audition, and Logic Pro X. I understand the importance of achieving a balanced soundscape, ensuring dialogue clarity, and enhancing the emotional impact of the video through sound design.
For example, in a recent documentary project, I had to painstakingly clean up ambient noise from a bustling city street recorded alongside an interview. I used spectral editing techniques in Audition to selectively remove unwanted frequencies, preserving the essence of the interview while dramatically improving the audio quality. This involved careful processing to avoid artifacts and maintain a natural sound. Another project required me to create a soundscape for a fictional scene, using a variety of sound effects and foley to create a believable and immersive experience.
Q 9. How do you ensure the quality of your video edits?
Ensuring high-quality video edits involves a multi-faceted approach. It begins with careful planning and pre-production, followed by meticulous editing and a rigorous quality control process. I utilize a robust workflow that includes:
- Thorough Ingest and Organization: Properly naming and organizing footage is crucial for efficient editing and prevents errors. I employ a consistent file naming convention and use metadata to track shots.
- Precise Editing: Paying close attention to detail is paramount. I use precise cuts and transitions to maintain visual continuity and a smooth narrative flow.
- Color Correction and Grading: Consistent color throughout the video enhances the professional look. I use color correction tools to balance and correct inconsistencies in lighting and exposure, and often employ color grading to achieve a specific aesthetic or mood.
- Regular Quality Checks: Throughout the editing process, I regularly review my work on different displays to catch minor issues that might be overlooked on a single screen.
- Final Output Review: Before delivery, a final, comprehensive review on a calibrated monitor is done to ensure everything looks and sounds its best across various platforms.
For instance, in a recent corporate video, a subtle jump cut was initially missed. During my final quality check, this was identified and corrected, preventing a potentially distracting continuity error.
Q 10. What is your experience with video effects and transitions?
My experience with video effects and transitions is extensive. I am comfortable using a variety of techniques to create engaging and visually dynamic videos. I am proficient in using software like Adobe After Effects and Premiere Pro to achieve a range of effects.
This includes everything from basic transitions like cuts, dissolves, and wipes to more complex techniques such as keyframing, compositing, motion tracking, and creating custom effects. I understand the importance of using effects subtly and tastefully, ensuring that they serve the narrative rather than distracting from it. For instance, a recent music video project involved intricate use of slow-motion, color correction, and rotoscoping to create a visually stunning sequence. I carefully planned out the timing and pacing of effects to match the music, resulting in a cohesive and impressive visual experience.
Q 11. How do you collaborate with other team members in a post-production environment?
Collaboration is key in a post-production environment. I thrive in team settings and have a proven track record of working effectively with editors, producers, colorists, sound designers, and clients. My approach involves:
- Clear Communication: Maintaining open and consistent communication with all stakeholders is crucial. I make sure expectations are set early and often.
- Version Control: Utilizing cloud-based collaborative platforms allows multiple people to access and work on projects simultaneously. I also follow a versioning system to keep track of edits and easily revert if needed.
- Constructive Feedback: I actively seek and provide constructive feedback to ensure the final product aligns with everyone’s vision. I understand how to deliver feedback in a respectful and professional manner, ensuring that it is both effective and actionable.
- Meeting Deadlines: I’m committed to meeting project deadlines and effectively managing my time and workload to ensure that the project stays on track.
In a recent project, close collaboration with the colorist ensured that our vision for a specific mood was successfully realized through color grading. This meant regular consultations and adjustments to ensure color grading aligned with the edits.
Q 12. Describe your experience with video compression techniques.
Video compression techniques are essential for optimizing file sizes while maintaining acceptable quality. My experience encompasses various compression codecs and strategies, depending on the project’s requirements and delivery platform. I am familiar with codecs such as H.264, H.265 (HEVC), ProRes, and DNxHD. The selection of a codec is driven by factors like resolution, bitrate, file size, and the intended platform (e.g., web, broadcast, DVD).
For example, I’d choose H.264 for online distribution due to its wide compatibility and reasonable balance of quality and file size. For archival purposes or professional workflows, a higher-quality codec like ProRes would be preferable, even though the resulting files are larger. I understand how to adjust bitrates and other parameters to optimize quality within size constraints for different platforms and clients.
Q 13. How do you handle client feedback during the editing process?
Handling client feedback is a critical aspect of video editing. I believe in open communication and actively encourage client involvement throughout the editing process. My approach involves:
- Regular Check-ins: Regular updates and feedback sessions are held to keep the client informed and allow them to provide input at various stages.
- Organized Feedback: I provide clear and organized feedback mechanisms to make it easy for clients to communicate their suggestions.
- Constructive Dialogue: I facilitate a collaborative discussion around the feedback, ensuring that both the client’s needs and the artistic integrity of the video are considered.
- Revision Tracking: I keep detailed records of all revisions, ensuring that client feedback is incorporated seamlessly.
In a recent project, a client expressed concerns about the pacing of a particular scene. Through constructive dialogue, we agreed on adjustments that improved the overall flow of the video without compromising its creative intent.
Q 14. What is your experience with different video formats and codecs?
I have extensive experience working with a wide variety of video formats and codecs, including but not limited to:
- File Formats: MOV, MP4, AVI, MXF, ProRes, etc.
- Codecs: H.264, H.265 (HEVC), ProRes, DNxHD, MPEG-2, etc.
My understanding extends to the advantages and disadvantages of each format and codec in relation to factors like quality, compression, compatibility, and storage requirements. I can seamlessly work with various formats and convert between them as needed to meet the specific requirements of each project. For example, understanding the differences between ProRes and H.264 is vital to choose the right codec for high-quality editing versus optimized delivery for web streaming.
Q 15. How do you troubleshoot technical issues during the editing process?
Troubleshooting technical issues during video editing is a crucial skill. It involves a systematic approach, starting with identifying the problem’s nature. Is it a software glitch, a corrupted file, a hardware malfunction, or something else?
My process typically involves:
- Identifying the Error: Precisely pinpointing the error message, the specific point in the timeline where the issue occurs, and any associated symptoms.
- Checking the Obvious: This includes verifying sufficient storage space, confirming that all cables are securely connected, restarting the computer and software, and ensuring the project files are accessible.
- Software-Specific Troubleshooting: Each NLE (Non-Linear Editor) – such as Adobe Premiere Pro, Final Cut Pro, or Avid Media Composer – has its own set of potential problems and troubleshooting steps. I’m proficient in all three and actively search their online help documentation or forums for solutions to specific errors.
- File Integrity Checks: I regularly check the integrity of my source files and project files to rule out corruption. This often involves re-importing footage or creating a new project to see if the issue persists.
- Hardware Diagnostics: If I suspect a hardware issue, I’ll run diagnostic tests on my computer’s components (RAM, hard drive, graphics card) to identify potential bottlenecks or malfunctions.
- Seeking External Help: If all else fails, I don’t hesitate to reach out to online communities, colleagues, or the software’s support team for assistance.
For example, recently, I encountered a rendering issue in Premiere Pro. After checking file integrity and storage space, I discovered a conflicting third-party plugin causing the problem. Disabling the plugin solved the issue immediately.
Career Expert Tips:
- Ace those interviews! Prepare effectively by reviewing the Top 50 Most Common Interview Questions on ResumeGemini.
- Navigate your job search with confidence! Explore a wide range of Career Tips on ResumeGemini. Learn about common challenges and recommendations to overcome them.
- Craft the perfect resume! Master the Art of Resume Writing with ResumeGemini’s guide. Showcase your unique qualifications and achievements effectively.
- Don’t miss out on holiday savings! Build your dream resume with ResumeGemini’s ATS optimized templates.
Q 16. Explain your experience with logging and capturing footage.
Logging and capturing footage is the foundation of any successful video project. It’s the process of organizing and preparing your raw video material for editing. My experience covers various stages:
- Pre-Production Planning: This begins before filming, identifying shot lists and ensuring sufficient storage for the anticipated footage.
- On-Set Logging (if applicable): For larger productions, I often assist in on-set logging, using software or a spreadsheet to meticulously record scene takes, timecodes, and notes about each clip.
- Ingesting Footage: Once filming is complete, I efficiently ingest the footage into my NLE, organizing it into clearly labeled folders and bins. This ensures quick access during editing.
- Creating Proxies (when necessary): For high-resolution footage, creating lower-resolution proxies speeds up editing performance, especially on less powerful systems. This doesn’t affect the final output quality, only the editing speed during the process.
- Metadata Management: I add metadata such as keywords, descriptions, and scene information to the footage, making searching and organization effortless during the editing process. This is crucial for large projects with hundreds of clips.
In one project, we shot over 50 hours of raw footage. Effective logging and the use of proxies were critical in allowing us to meet our deadline.
Q 17. How do you meet tight deadlines and manage time effectively?
Meeting tight deadlines in video editing demands meticulous planning and efficient workflow. My approach involves:
- Detailed Pre-Planning: I work closely with clients to define a realistic timeline, breaking down the project into manageable tasks with assigned deadlines for each.
- Efficient Workflow: This includes optimizing my editing environment, using keyboard shortcuts extensively, and organizing my project files logically to minimize wasted time searching for assets. I also prioritize tasks to tackle the most critical aspects first.
- Time Tracking: Using time-tracking software, I monitor how much time is spent on each aspect of the project, allowing me to refine my workflow and accurately predict future deadlines.
- Prioritization and Delegation (when applicable): On larger projects, I prioritize tasks and delegate simpler tasks to assistants while focusing my energy on complex aspects of the editing process.
- Communication: Maintaining clear communication with the client helps manage expectations and ensures that any changes or delays are addressed proactively.
I once completed a three-minute corporate video with a two-day turnaround by employing these methods. Clear communication and task prioritisation were key to successfully delivering a high-quality product under immense time pressure.
Q 18. Describe your experience with creating different video aspect ratios.
Creating different video aspect ratios is a common requirement in video production, accommodating various platforms and aesthetics. My experience includes working with standard ratios like 16:9 (widescreen), 4:3 (standard definition), and even specialized ratios like 9:16 (for vertical videos on platforms like Instagram and TikTok).
The process involves:
- Understanding Aspect Ratio Needs: Determining the correct aspect ratio based on the intended platform or client requirements.
- NLE Capabilities: Most NLEs offer tools for scaling and adjusting the aspect ratio of your video. I’m proficient in using these features in Premiere Pro, Final Cut Pro, and Avid.
- Letterboxing/Pillarboxing: I’m adept at adding letterboxing (black bars at the top and bottom) or pillarboxing (black bars on the sides) to maintain the original aspect ratio when converting to a different format. This is important for preserving the integrity of the original shot composition.
- Cropping and Composition: I carefully crop and re-compose video to accommodate various aspect ratios, ensuring the final product is visually appealing and maintains the narrative flow.
For instance, I recently converted a 16:9 corporate video into a 9:16 vertical video for social media, carefully cropping and composing the shots to ensure visual appeal and maintain the core message.
Q 19. Explain your understanding of video resolutions and their implications.
Video resolution refers to the number of pixels that make up an image. Higher resolution means more detail and sharper images, but also larger file sizes and increased processing demands. Understanding the implications of different resolutions is critical in video editing.
Common resolutions include:
- SD (Standard Definition): Lower resolution, often 720×480 or 640×480. Suitable for older devices and low bandwidth situations, but visually less detailed.
- HD (High Definition): Higher resolution, typically 1280×720 (720p) or 1920×1080 (1080p). Provides much sharper images and is common for most modern applications.
- 4K (Ultra High Definition): Even higher resolution, typically 3840×2160. Offers exceptional detail and is becoming increasingly popular, though requiring substantial storage space and processing power.
- 8K: Even higher resolution than 4k. Very high detail and extremely demanding on hardware and storage.
The choice of resolution impacts file size, storage needs, processing time, and ultimately the visual quality of the final product. For example, shooting in 4K allows for more flexibility in post-production, permitting cropping and reframing without significant loss of quality. However, editing and rendering 4K footage demands more powerful hardware than editing 1080p.
Q 20. What is your experience with motion graphics and titling?
Motion graphics and titling are essential elements of video editing, adding visual interest and conveying information effectively. My experience includes using various software packages, such as Adobe After Effects and Motion, to create:
- Lower Thirds: Identifying information about subjects appearing on screen.
- Titles and Headlines: Creating visually engaging titles and headlines to set the tone and communicate the subject matter.
- Animated Graphics: Developing animated logos, transitions, and other graphic elements to enhance the overall visual appeal and narrative.
- Kinetic Typography: Creating visually dynamic text animations to add visual interest to text-heavy scenes.
- Integration with the Editing Workflow: Seamlessly integrating motion graphics and titles created in separate applications into the main video editing timeline.
In a recent documentary, I used After Effects to create animated maps and timelines that visually enhanced the narrative and made complex information more accessible. This demonstrated the power of well-integrated motion graphics in enriching a video’s presentation.
Q 21. How familiar are you with different types of video cameras and their output?
Familiarity with different video cameras and their output is crucial for efficient editing. My experience spans a range of camera types:
- DSLR/Mirrorless Cameras: Proficient in handling footage from cameras like Canon EOS series and Sony Alpha series, understanding their various codecs and recording capabilities.
- Professional Camcorders: Experienced in working with footage from professional camcorders such as Sony PXW-Z series and Canon XA series, aware of their high-quality recording formats and capabilities.
- Action Cameras: Knowledgeable in handling footage from GoPro and similar action cameras, understanding their unique recording characteristics and potential stabilization needs.
- Smartphone Cameras: I’m also well-versed in editing footage from high-quality smartphone cameras, understanding their resolution and codec options.
- Understanding Codecs and File Formats: My experience includes working with various codecs (like H.264, ProRes, and DNxHD) and file formats (like MOV, MP4, and MXF), understanding their strengths and weaknesses for editing and delivery.
For example, I recently worked on a project that involved footage from DSLRs, professional camcorders, and even drone footage. My understanding of the different camera systems and their output allowed me to efficiently manage the various file types and achieve a consistent look across the entire production.
Q 22. Explain your process for creating a storyboard or shot list.
Creating a storyboard or shot list is the crucial first step in any video editing project. It’s like creating a blueprint for a house before you start building – it ensures a cohesive and efficient workflow. My process begins with a thorough understanding of the script or concept. I then visually represent each scene, breaking it down into individual shots. This involves sketching out the composition of each shot, noting camera angles (e.g., wide shot, medium shot, close-up), and indicating any special effects or transitions. For a shot list, I’ll detail each shot’s purpose, duration, and any specific technical requirements. For instance, if a scene requires a slow zoom, I’ll explicitly note that. I often use digital tools like Storyboarder or even PowerPoint for creating visual storyboards, while shot lists are usually managed in a spreadsheet for easy tracking and revision.
Example: For a scene depicting a character discovering a hidden treasure, my storyboard might include three shots: 1) A wide shot establishing the location, 2) A medium shot of the character approaching a chest, and 3) a close-up of the character’s surprised expression as they open it. My shot list would then specify the lens type, lighting, and desired duration for each of those shots.
Q 23. How do you ensure that your edits conform to broadcasting standards?
Adherence to broadcasting standards is paramount. It ensures legal compliance, maintains audience trust, and prevents technical issues during broadcast. My approach involves meticulous attention to detail across several aspects. Firstly, I strictly adhere to the required aspect ratio (e.g., 16:9) and resolution. Secondly, I carefully manage audio levels to avoid distortion or clipping, ensuring consistent loudness throughout. Thirdly, I rigorously check for any inappropriate content, ensuring that the final product complies with all relevant broadcasting regulations. Finally, I meticulously review the final edit for any technical glitches, such as unwanted artifacts or interlacing issues, using professional broadcast monitoring tools.
Example: For a program aired on a major network, I would use a waveform monitor to verify audio levels are within broadcast specifications and a vectorscope to check for color balance consistency. I would also conduct a thorough check for black bars, letterboxing, and other issues affecting the aspect ratio and overall visual presentation.
Q 24. What are your strengths and weaknesses as a VTR editor?
My greatest strength lies in my ability to translate a client’s vision into a compelling visual narrative. I’m adept at understanding the nuances of storytelling and using editing techniques to enhance emotional impact. I also possess a strong technical proficiency in various NLEs (Non-Linear Editors) and am comfortable working with a wide array of media formats. My experience allows me to troubleshoot complex technical issues efficiently. However, like all editors, I can sometimes get overly focused on the technical aspects and need to consciously remind myself to maintain a balanced creative perspective.
Weakness: While I strive for perfection, sometimes my drive for detail can lead to spending excessive time on minor edits, potentially impacting project timelines. I am actively working on improving my time management skills to mitigate this.
Q 25. Describe a time you had to solve a complex editing problem.
In one project, we had a significant portion of footage lost due to a hard drive failure. We were already deep into post-production, and panic set in. Instead of panicking, I immediately assessed the situation. Fortunately, a substantial amount of the affected footage had been backed up, but not all of it. I used proxy editing techniques to assemble as much of the project as possible from the available backups. Then, I meticulously recreated some of the lost shots from previous project backups. The missing bits were either interpolated smoothly or cleverly replaced by B-roll footage, ensuring minimal interruption to the narrative flow. While the process was time-consuming, the final product was seamless and was deemed satisfactory by the client.
This experience taught me the invaluable lesson of implementing robust backup strategies and using proxy editing to manage large projects efficiently.
Q 26. How do you stay up-to-date with the latest trends in video editing technology?
Staying current in video editing is essential. I actively participate in online forums and communities dedicated to video editing, such as Reddit’s r/videoediting. I subscribe to industry publications and follow influential editors and companies on social media. I attend webinars and online courses regularly to learn about new software features and editing techniques. Additionally, I explore new software and hardware, experimenting with different NLEs and plugins to expand my skillset. This continuous learning allows me to adopt the latest trends in software and techniques, ensuring my editing skills remain cutting-edge.
Example: Recently, I explored the capabilities of AI-powered editing tools and learned how to use them to enhance workflows and achieve specific artistic effects. I also attended a workshop on HDR (High Dynamic Range) video editing, gaining valuable insight into working with this emerging technology.
Q 27. How do you handle constructive criticism of your editing work?
I view constructive criticism as an invaluable opportunity for growth. I approach feedback with an open mind, focusing on understanding the specific points raised. I avoid taking it personally, instead seeing it as an objective evaluation of my work. I ask clarifying questions if needed, to ensure I fully understand the concerns. Then, I carefully review my work, considering the feedback and re-evaluating my choices. This process often involves revisiting my initial creative decisions and making adjustments to better align with the feedback. I firmly believe that productive dialogue improves the quality of the final product, fostering a collaborative and iterative approach to the editing process.
Example: If someone suggests that a transition feels abrupt, I would carefully re-examine the pacing and possibly introduce a smoother transition or add bridging footage.
Q 28. Describe your experience with working with different types of media (e.g., graphics, audio, video).
My experience encompasses a broad range of media types, encompassing video, audio, and graphics. I am proficient in integrating various visual elements, including motion graphics, 2D and 3D animation, and lower thirds. I have extensive experience in audio mixing and mastering, ensuring that the audio perfectly complements the visuals. My skillset includes color correction and grading to create a visually cohesive and appealing final product. My ability to seamlessly integrate these diverse elements reflects my understanding of visual storytelling and my ability to craft a unified and compelling narrative.
Example: In a recent project, I integrated archival footage, animated maps, and original interviews to create a historical documentary. The careful synchronization of audio narration, music, and sound effects enhanced the emotional impact of the storytelling.
Key Topics to Learn for VTR Editing Interview
- Linear and Non-Linear Editing: Understanding the fundamental differences and practical applications of each approach in VTR editing workflows.
- Videotape Formats and Characteristics: Familiarize yourself with various tape formats (e.g., Betacam SP, DVCPRO) and their unique properties impacting editing decisions.
- Mastering Editing Software: Demonstrate proficiency in common VTR editing software (mention specific software if appropriate to the target audience, e.g., Avid Media Composer). Practice using key features like timeline manipulation, effects application, and transitions.
- Audio Synchronization and Mixing: Understand the importance of precise audio syncing and basic audio mixing techniques for professional-quality video production.
- Video Compression and Encoding: Gain knowledge of different video compression codecs and their impact on file size and quality, crucial for efficient workflow and broadcast standards.
- Workflow Optimization: Discuss strategies for efficient and organized editing projects, including media management, logging, and archiving.
- Troubleshooting and Problem-Solving: Be prepared to discuss how you approach technical issues encountered during the editing process, such as tape damage, audio dropouts, or software glitches.
- Post-Production Processes: Understand the broader context of VTR editing within the overall post-production pipeline, including color correction and mastering.
Next Steps
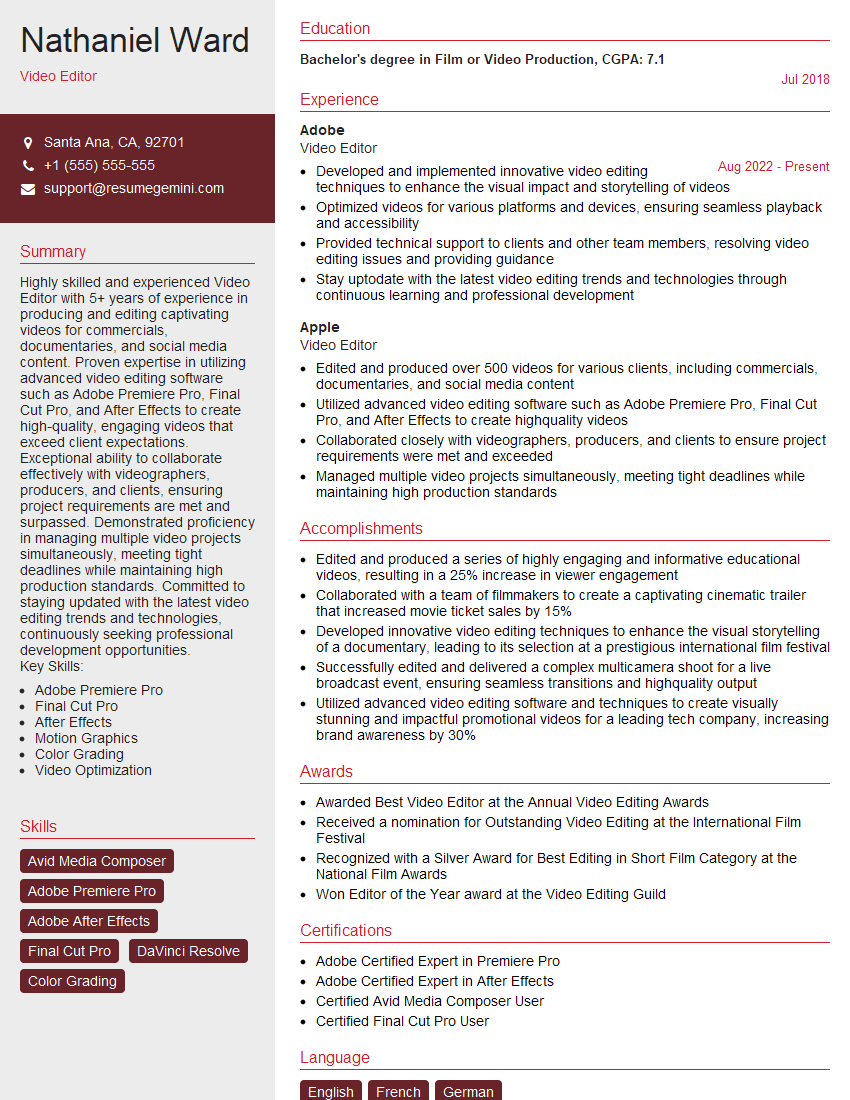
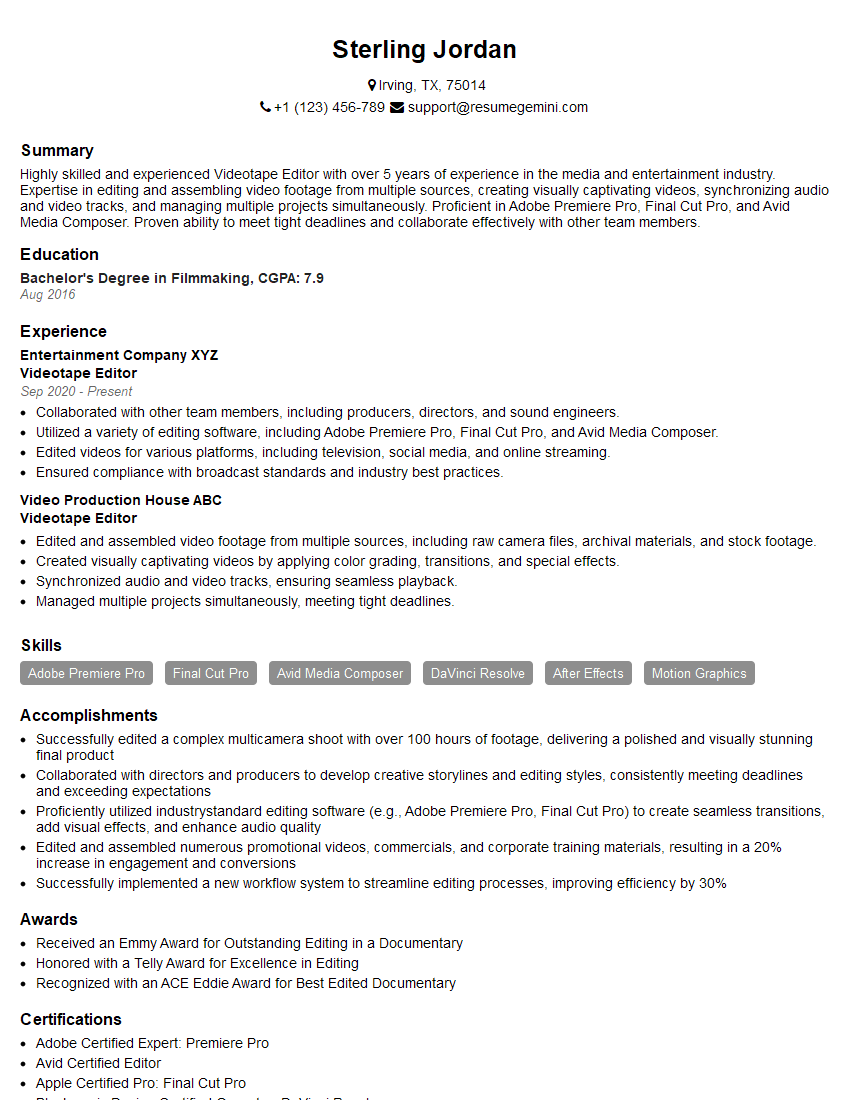
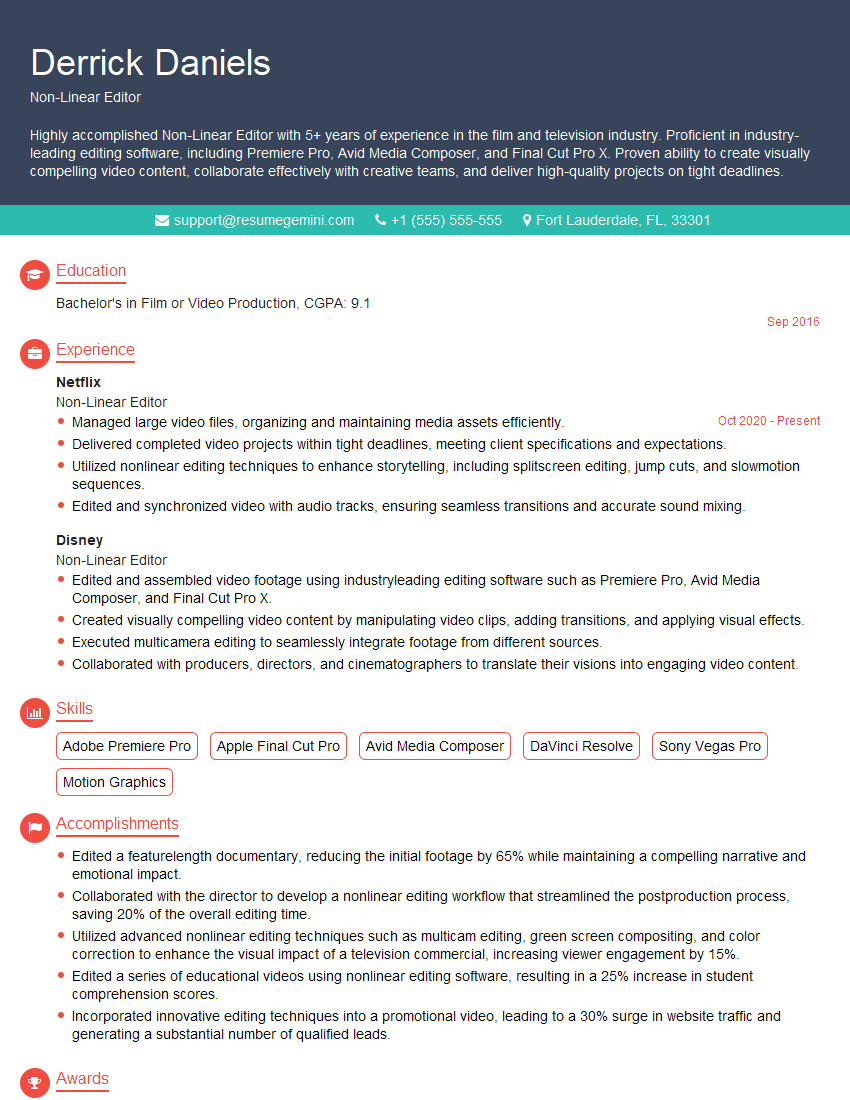
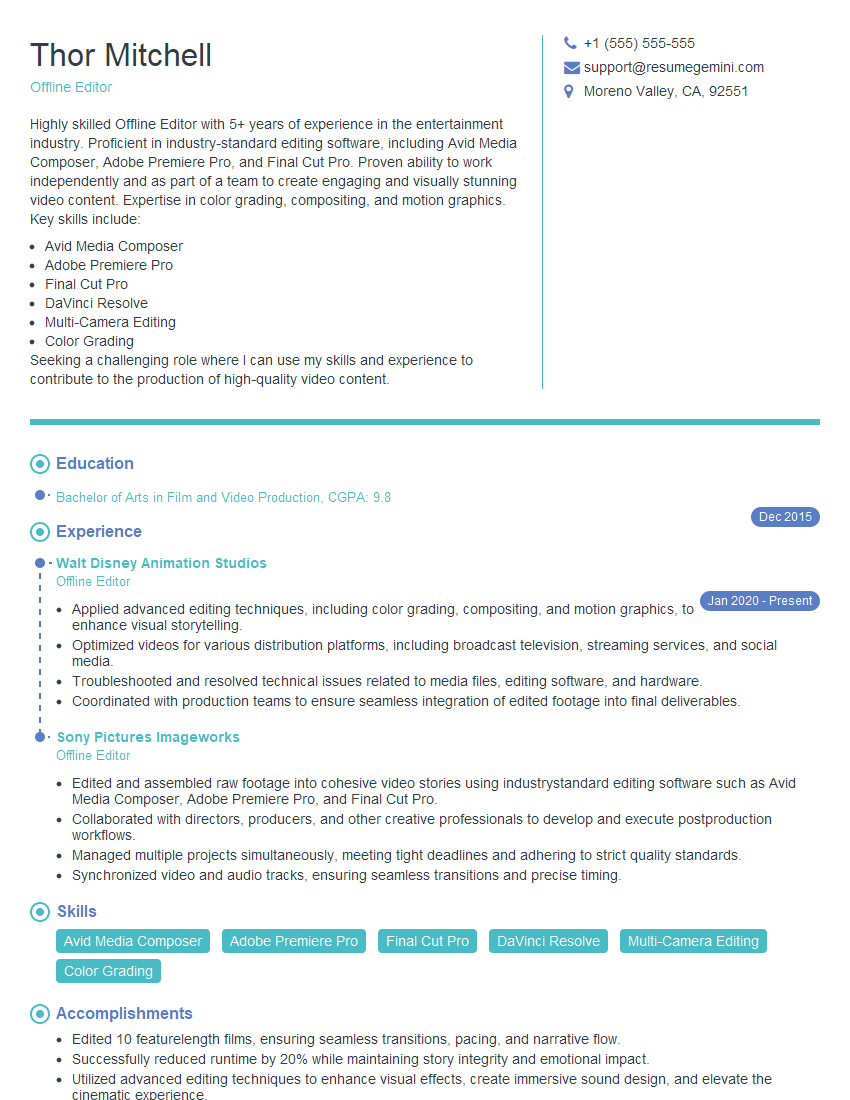
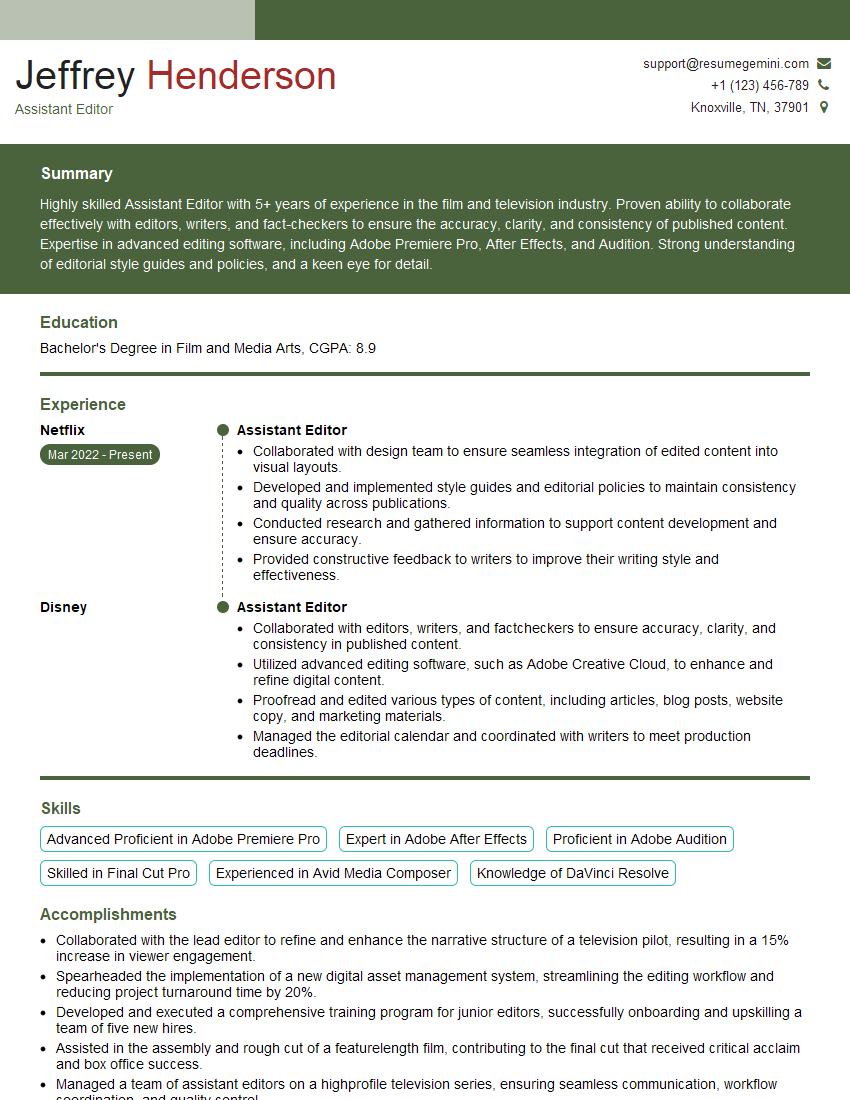
Mastering VTR editing skills opens doors to exciting career opportunities in broadcast television, film production, and corporate video. A strong understanding of these techniques is highly sought after and will significantly boost your career prospects. To make your application stand out, focus on creating an ATS-friendly resume that highlights your skills and experience effectively. ResumeGemini is a trusted resource that can help you build a professional and compelling resume, optimized to get noticed by recruiters. Examples of resumes tailored to VTR Editing are available through ResumeGemini to help guide your creation.
Explore more articles
Users Rating of Our Blogs
Share Your Experience
We value your feedback! Please rate our content and share your thoughts (optional).
What Readers Say About Our Blog
Hi, I represent a social media marketing agency that creates 15 engaging posts per month for businesses like yours. Our clients typically see a 40-60% increase in followers and engagement for just $199/month. Would you be interested?”
Hi, I represent an SEO company that specialises in getting you AI citations and higher rankings on Google. I’d like to offer you a 100% free SEO audit for your website. Would you be interested?
