Interviews are more than just a Q&A session—they’re a chance to prove your worth. This blog dives into essential Specialized tools (e.g., circular saw, impact driver) interview questions and expert tips to help you align your answers with what hiring managers are looking for. Start preparing to shine!
Questions Asked in Specialized tools (e.g., circular saw, impact driver) Interview
Q 1. Explain the safety procedures for operating a circular saw.
Operating a circular saw safely is paramount. Think of it like driving a car – you need to understand the controls and respect its power. Before you even turn it on, always wear safety glasses, hearing protection, and a dust mask. Loose clothing should be avoided, and long hair should be tied back. Ensure the work area is clear of obstructions and well-lit. Clamp down your workpiece securely to prevent kickback. Never force the saw; let it do the work at its own pace. Finally, always disconnect the saw from the power source before making any adjustments or changing blades.
- Pre-Cut Inspection: Always carefully check the material for nails, screws, or other embedded objects before cutting.
- Firm Grip: Maintain a firm, two-handed grip on the saw, keeping your body balanced and your stance stable.
- Blade Alignment: Ensure the blade is aligned correctly with the cut line before starting.
- Controlled Starts: Begin cutting slowly and gradually increase the speed as the blade engages the material.
- Post-Cut Inspection: Always inspect the cut and the surrounding area after completing the cut for any damage or hidden hazards.
Q 2. What are the different types of circular saw blades and their applications?
Circular saw blades come in a variety of types, each designed for a specific application. Choosing the right blade is crucial for efficient cutting and a smooth finish.
- General Purpose Blades: These are the workhorses, suitable for most common wood cutting tasks. They have a combination of teeth for a balance between cutting speed and smoothness.
- Fine Finish Blades: These blades have more teeth, resulting in cleaner, smoother cuts, ideal for finishing work where precision is key. They are typically used for trimming, intricate cuts, and applications where a high-quality surface is required.
- Crosscut Blades: Designed for cutting across the grain of wood, these blades feature a different tooth configuration for cleaner crosscuts. Think of cutting boards or making precise angled cuts.
- Rip Blades: Used for cutting with the grain of the wood, these blades have larger teeth, enabling faster cutting speed but potentially a rougher finish. They’re great for ripping long boards into narrower strips.
- Specialty Blades: Various specialty blades cater to materials beyond wood, including metal, plastic, and masonry. These are specifically designed for the material they are intended to cut.
Q 3. How do you adjust the depth of cut on a circular saw?
Adjusting the depth of cut on a circular saw is usually done using a depth adjustment lever or knob, typically located on the base of the saw. This mechanism controls how deeply the blade extends below the base plate. It’s like setting the cutting depth on a plane – you adjust it based on the thickness of the material you’re cutting. The adjustment is usually marked with increments or a scale, which will help ensure the cut depth is the correct size.
Example: To cut a 1-inch thick piece of wood, you would adjust the depth of cut to 1 inch or slightly more to ensure the blade cuts completely through the material. Always check your measurement carefully to avoid damaging the blade or the material.
Q 4. Describe the proper technique for making a bevel cut with a circular saw.
Making bevel cuts with a circular saw requires using the bevel adjustment mechanism, often a rotating base plate. This mechanism allows you to tilt the blade at an angle relative to the base plate. The angle is generally measured in degrees. Bevel cuts are often used for creating decorative edges or angles for joining materials.
Technique: First, securely clamp your workpiece. Then, adjust the bevel angle to the desired degree using the bevel adjustment scale. Once set, ensure the blade is fully extended. Engage the blade slowly and maintain a firm grip on the saw while making the cut. The saw’s base plate should remain flush with the workpiece for a consistent and accurate cut. Always practice caution and make test cuts on scrap material first.
Q 5. What are the signs of a dull circular saw blade?
A dull circular saw blade shows several telltale signs. The most obvious is a slower cutting speed and increased effort required to cut through materials. You might also notice burning or scorching of the wood, an uneven cut, or excessive vibration during operation. A dull blade can also produce a noticeably rougher cut surface.
Analogy: Imagine trying to cut a cake with a blunt knife. You would need to push much harder, and the cut wouldn’t be clean. Similarly, a dull circular saw blade requires more force, produces a rougher cut, and can potentially damage the blade.
Q 6. How do you maintain a circular saw to ensure optimal performance?
Maintaining your circular saw is crucial for its longevity and optimal performance. Regular maintenance will reduce the chances of damage and will extend the lifespan of your saw. After each use, clean the saw thoroughly, removing sawdust and debris from the blade, base plate, and motor housing. Lubricate moving parts as needed, according to the manufacturer’s recommendations. Periodically inspect the blade for damage or dullness and replace or sharpen it as necessary. Always check the blade’s alignment before each use. Keep the saw stored in a dry place to prevent rust and corrosion.
Q 7. Explain the difference between a hammer drill and an impact driver.
While both hammer drills and impact drivers are rotary percussion tools used for fastening and drilling, there are key differences. A hammer drill primarily uses rotary motion with a hammering action to create holes in tough materials like concrete or brick. The hammering action helps break through the material. The chuck is typically larger, allowing for larger bits. An impact driver uses rotational and impactful forces, but focuses on driving screws, particularly large or stubborn ones, with superior torque and speed. It’s not designed to create holes, as it uses a spinning action.
In short: Use a hammer drill for drilling holes in hard materials. Use an impact driver for driving screws, especially large or hard-to-drive ones. They’re specialized tools for different applications.
Q 8. What are the various bit types used with an impact driver and their purpose?
Impact drivers utilize a variety of bits, each designed for specific fastening applications. The choice depends on the type of screw or fastener you’re working with.
- Phillips (#1, #2, etc.): The most common type, featuring an X-shaped recess. Good for general-purpose applications but prone to cam-out (slipping) if over-torqued.
- Slotted (Flathead): A simple, straight slot. Less secure than other types and easily damaged. Generally avoided for power tools.
- Square Drive (Robertson): A square-shaped recess, offering superior torque transfer and resistance to cam-out compared to Phillips. Excellent for demanding applications.
- Torx (Star-shaped): Features a six-point star shape. Offers excellent torque transfer and resists cam-out.
- Hex (Hexagonal): A six-sided recess. Commonly used for bolts and hex screws, providing high torque capacity and good grip.
- Pozidriv: Similar to Phillips but with additional smaller grooves, reducing the chances of cam-out.
Choosing the correct bit is crucial. Using the wrong bit can strip the screw head, damage the bit, or even cause injury.
Q 9. How do you select the appropriate torque setting for an impact driver?
Selecting the appropriate torque setting for your impact driver is paramount to avoid damaging the fastener or the material being fastened. It prevents stripping screws and ensures a secure joint. The setting should be matched to both the screw’s size and the material it’s going into.
Many impact drivers offer adjustable torque settings, often indicated by numbers or letters. Start with the lowest setting and gradually increase as needed. For example, when installing drywall screws into wood, a lower torque setting is appropriate; when working with lag bolts in hardwood, a higher torque setting would be necessary. Always consider the material’s strength; harder materials like steel need more torque than softer woods.
Tip: Always test the setting on a scrap piece of the material before starting the actual project to find the optimal setting without causing damage.
Q 10. Describe the safety precautions to take when using an impact driver.
Safety is paramount when using power tools. Always follow these precautions:
- Wear safety glasses: This protects your eyes from flying debris.
- Use appropriate hearing protection: Impact drivers can be quite loud.
- Wear work gloves: To protect your hands.
- Ensure proper footing and balance: Avoid using the tool while standing on a ladder or unstable surface.
- Keep your hands clear of the rotating bit: Never put your fingers in the path of the driver.
- Use the right bit for the job: Using a damaged or incorrect bit can lead to accidents.
- Always disconnect the power before changing bits or performing maintenance.
- Inspect the tool before each use: Check for any damage, loose parts, or worn components.
Remember, a moment of carelessness can lead to serious injury. Prioritize safety at all times.
Q 11. How would you troubleshoot a problem with an impact driver that isn’t turning?
Troubleshooting an impact driver that isn’t turning involves a systematic approach.
- Check the battery: Ensure the battery is charged and properly installed. A dead or faulty battery is the most common culprit.
- Check the power switch: Make sure the switch is in the ‘on’ position.
- Examine the bit: A stripped or damaged bit can prevent the driver from functioning. Replace it if necessary.
- Inspect for obstructions: Sometimes debris or material can jam the mechanism. Clean the chuck and any moving parts.
- Check the chuck: Make sure the bit is securely tightened in the chuck. Loose bits can slip and prevent the driver from operating effectively.
- Check the motor brushes (if accessible): Worn-out motor brushes are a common cause of failure in older tools. Replacement may be necessary.
- Check the belt (if applicable): Some impact drivers have belts that can break or slip. Examine for damage or misalignment.
If none of these steps work, consult the user manual or seek professional repair.
Q 12. What are the common causes of stripped screws and how can they be prevented?
Stripped screws are a frustrating problem, often caused by:
- Using the wrong size bit: A bit that’s too large will damage the screw head.
- Applying too much pressure: Forcing the screw can strip the head.
- Using a worn-out bit: A dull or damaged bit will slip and strip the screw.
- Using the wrong type of bit: Using a Phillips bit on a Pozidriv screw can cause slippage and damage.
- Over-torquing: Applying excessive force can strip the head.
- Damaged or inferior screws: Lower quality screws are more prone to stripping.
Prevention strategies include:
- Use the correct size and type of bit: Ensure a snug fit between the bit and the screw head.
- Apply consistent, controlled pressure: Avoid excessive force.
- Use fresh, high-quality bits: Replace worn or damaged bits regularly.
- Use high-quality screws: Invest in good quality screws which are less prone to stripping.
- Properly lubricate the screw threads: Lubrication makes screw insertion easier, reducing the chances of stripping.
Remember, prevention is easier and more cost-effective than fixing stripped screws.
Q 13. Describe the different types of drill bits and their applications.
Drill bits come in a variety of types, each designed for a specific material and application.
- Twist Drill Bits: The most common type, suitable for general-purpose drilling in wood, metal, and plastic. They have a helical flute design to efficiently remove material.
- Brad Point Bits: Designed for precise drilling in wood, featuring a sharp point to minimize tear-out. Excellent for pocket holes and accurate hole placement.
- Forstner Bits: Create flat-bottomed holes with clean edges, ideal for mortise and tenon joinery in wood.
- Spade Bits: Used for larger-diameter holes in wood, typically employed for rough work and not requiring high accuracy.
- Masonry Drill Bits: Specifically designed for drilling into brick, concrete, and other masonry materials. They typically have a carbide tip for increased durability.
- Metal Drill Bits: Made of high-speed steel (HSS) or cobalt steel for drilling into metal. The geometry of the cutting edges is crucial for efficient and clean cutting in various types of metals.
The choice of bit depends entirely on the material and the required hole characteristics.
Q 14. How do you choose the correct drill bit size for a specific task?
Choosing the correct drill bit size is essential for a successful project. The size must be appropriate for the fastener or application.
For screws: Use a pilot hole slightly smaller than the screw’s shank diameter. This prevents wood splitting and ensures the screw threads engage properly. For instance, a #8 screw typically uses a 1/16-inch pilot hole in softer wood and a slightly larger hole in hardwoods.
For other applications: Consider the desired hole diameter. Measure the application’s requirements and select the bit accordingly. If drilling through multiple layers of material, use a bit size appropriate for the thickest layer to avoid excessive wear and tear on the drill bit.
Always refer to the instructions provided with the fastener or the project plans for the specific recommendations, as it is easier to drill a larger hole than to repair a wrongly sized one.
Q 15. Explain the importance of using the correct safety equipment when operating power tools.
Safety equipment is paramount when using power tools; it’s not just about following rules, it’s about preventing serious injury. Think of it like this: your tools are powerful machines, and you need the right protective gear to act as a shield between you and potential hazards.
- Eye protection: Safety glasses or a face shield are essential to protect against flying debris. I once saw a piece of wood splinter off a cut and nearly hit a coworker’s eye – thankfully, he was wearing safety glasses.
- Hearing protection: Many power tools are incredibly loud. Earmuffs or earplugs significantly reduce the risk of hearing damage over time. Prolonged exposure to loud noises can lead to permanent hearing loss, impacting your ability to do your job.
- Respiratory protection: When working with dust-producing materials like wood, a dust mask is crucial. Inhaling fine wood particles can cause respiratory problems. A respirator is even better for finer dusts.
- Gloves: Gloves protect your hands from cuts, splinters, and abrasions. Different materials offer various levels of protection, so choosing the right glove for the job is vital.
- Appropriate clothing: Loose clothing, jewelry, or long hair can get caught in moving parts. Always wear close-fitting clothing and tie back long hair.
Ignoring safety measures can lead to serious consequences, ranging from minor injuries to permanent disabilities or even fatalities. It’s simply not worth the risk.
Career Expert Tips:
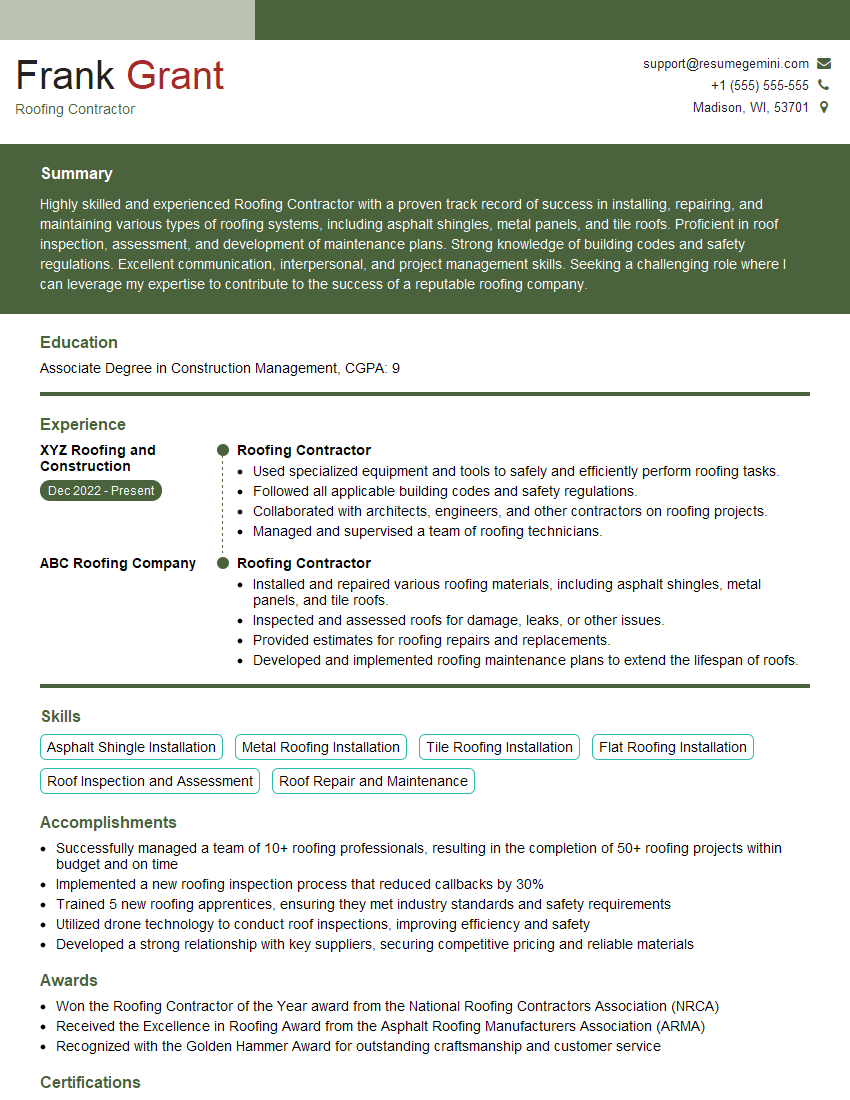
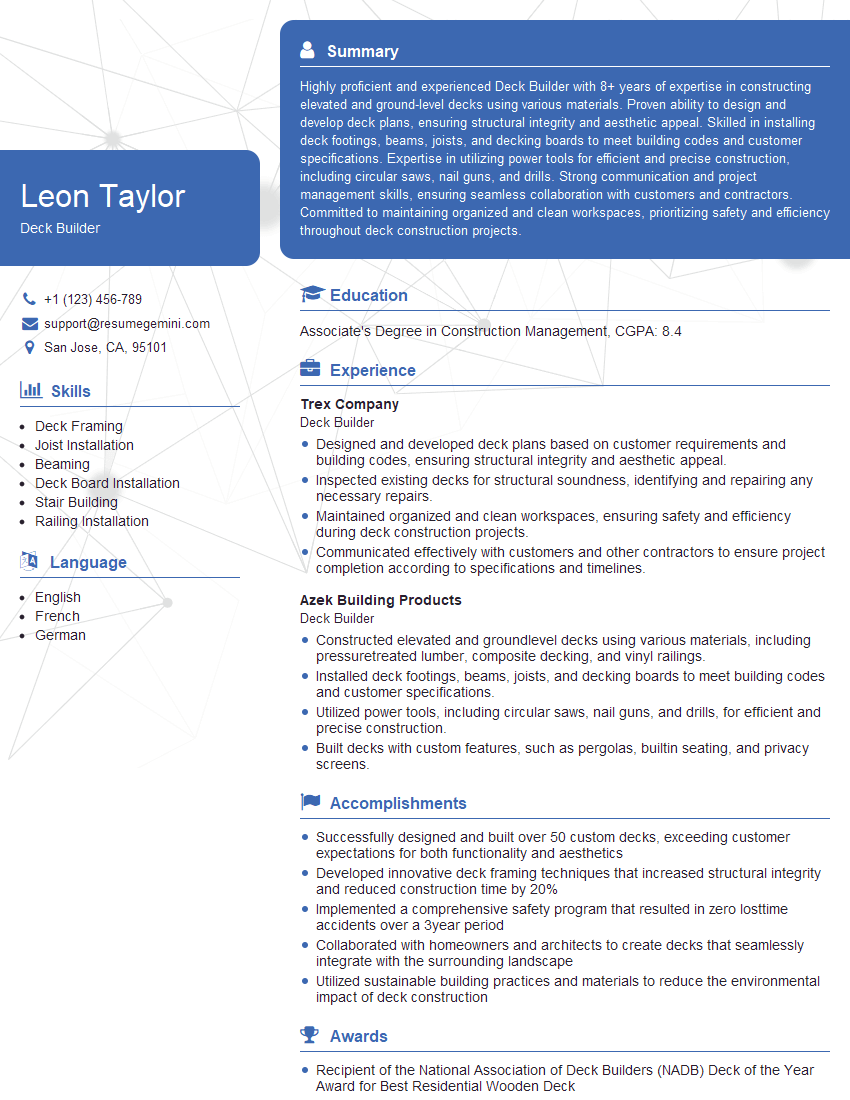
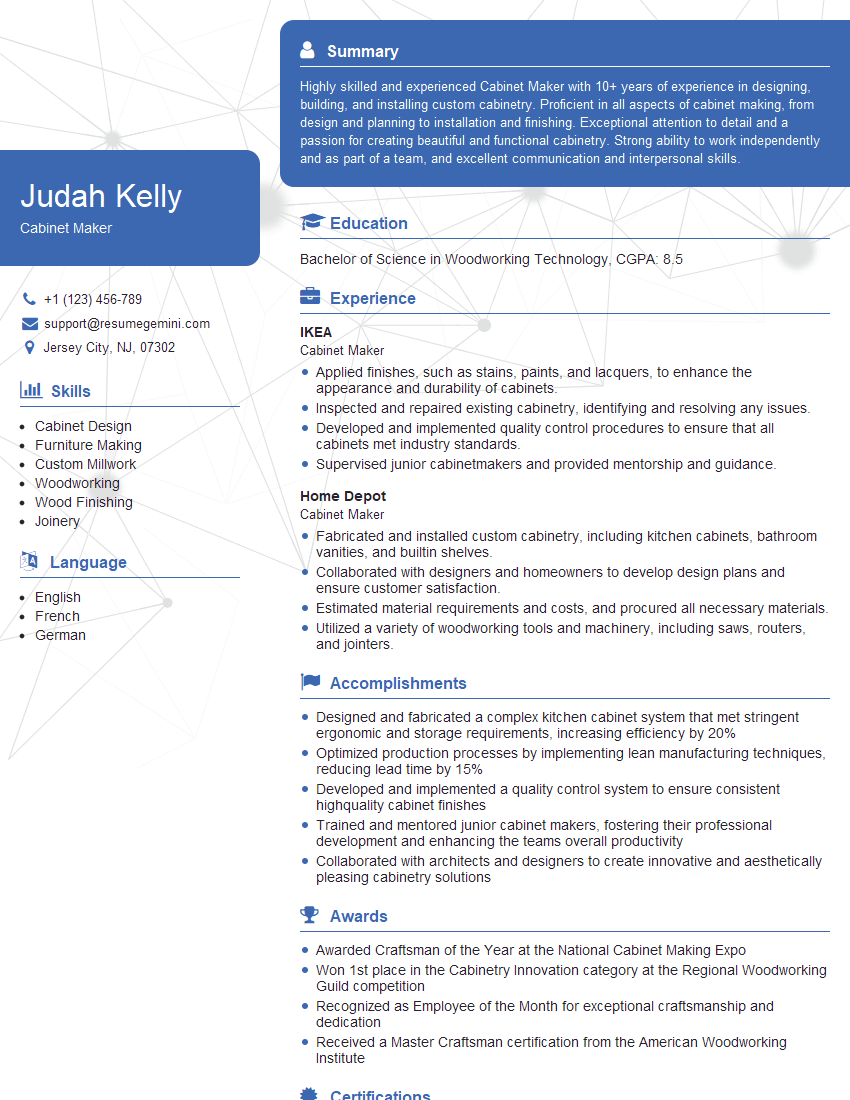
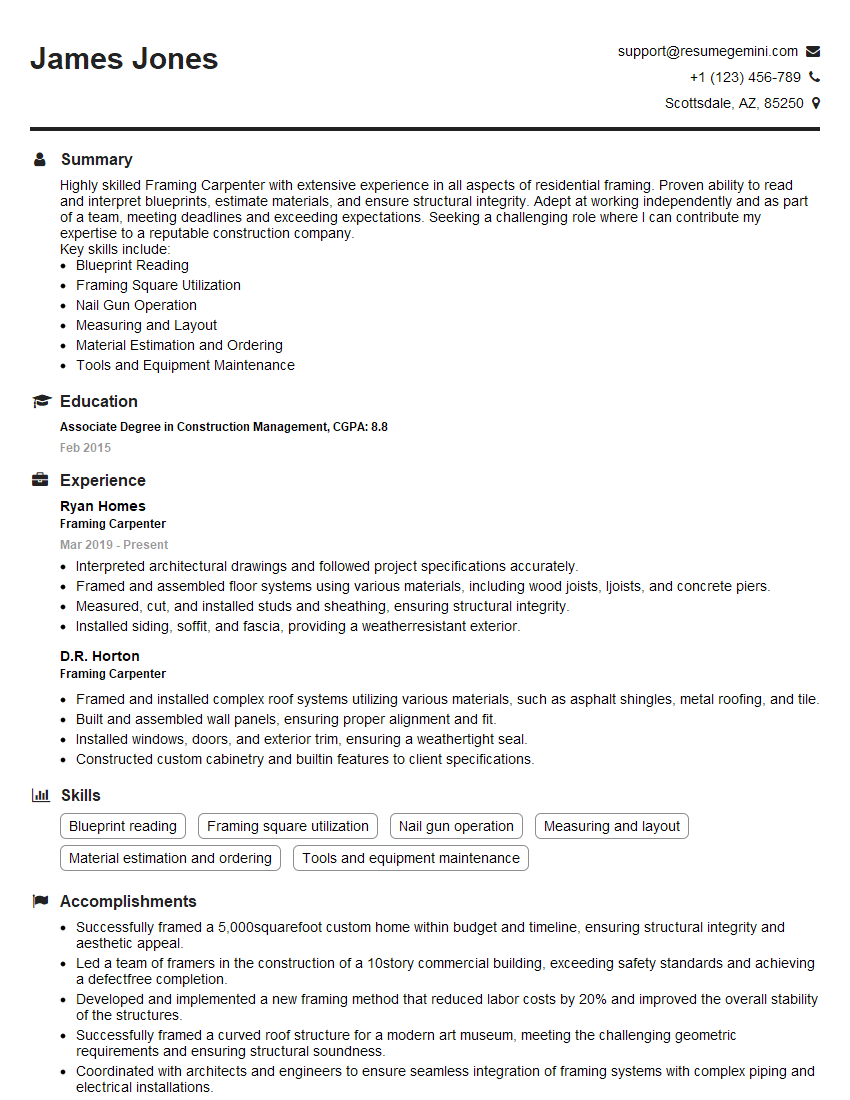
- Ace those interviews! Prepare effectively by reviewing the Top 50 Most Common Interview Questions on ResumeGemini.
- Navigate your job search with confidence! Explore a wide range of Career Tips on ResumeGemini. Learn about common challenges and recommendations to overcome them.
- Craft the perfect resume! Master the Art of Resume Writing with ResumeGemini’s guide. Showcase your unique qualifications and achievements effectively.
- Don’t miss out on holiday savings! Build your dream resume with ResumeGemini’s ATS optimized templates.
Q 16. How do you handle a power tool malfunction during a project?
A power tool malfunction requires immediate and calm action. The first step is always safety. Immediately turn off the power tool and unplug it. Never attempt to repair a malfunctioning tool while it’s still plugged in.
Next, assess the situation. What exactly went wrong? Was there a strange noise, a sudden stop, or something else? This helps determine the next steps. If it’s a minor issue, like a jammed blade, I might be able to clear it safely. If it’s more serious, such as a sparking motor or broken component, I’d immediately report it to my supervisor and/or refer to the manufacturer’s troubleshooting guide.
Prevention is key. Regular maintenance, such as checking blades for sharpness and ensuring proper lubrication, is crucial to avoid malfunctions. I always visually inspect my tools before each use to identify potential problems.
Q 17. What are the different types of wood and how does it impact tool selection?
Wood selection significantly impacts tool choice and technique. Different woods have varying densities, hardness, and grain patterns, affecting how they respond to cutting and fastening.
- Softwoods (e.g., Pine, Fir, Cedar): These are easier to work with, requiring less powerful tools and slower speeds. Their softer nature means they’re less prone to blade chipping or tear-out.
- Hardwoods (e.g., Oak, Maple, Walnut): Hardwoods are much denser and more resistant to cutting. They require sharper blades, higher power tools, and often slower feed rates to prevent blade damage and ensure clean cuts. A dull blade will be more likely to cause tear-out in hardwoods.
- Engineered Wood (e.g., Plywood, MDF): Engineered wood products often have different characteristics depending on the core and facing materials. Plywood can be relatively easy to work with, while MDF can be quite abrasive and dusty. Appropriate blade selection is critical to avoid tear-out or burning.
For example, cutting through a thick oak board requires a powerful circular saw with a sharp, carbide-tipped blade, and potentially a slower feed rate. In contrast, cutting through pine might only need a basic circular saw and a faster feed rate.
Q 18. How do you determine the appropriate speed and feed rate for a given material?
Determining the appropriate speed and feed rate is crucial for achieving clean, accurate cuts and preventing tool damage. It’s a balance; too fast, and you risk burning or tearing the material; too slow, and you’ll be inefficient.
Factors to consider include the type of material, the tool being used, and the blade type. Hardwoods generally require slower feed rates and sometimes lower speeds than softwoods. A sharper blade allows for a faster feed rate. Manufacturer recommendations are a good starting point, but experience plays a huge role.
I usually start with a test cut on a scrap piece of the same material. This allows me to adjust the speed and feed rate until I achieve a clean cut without burning or tearing. It’s like finding the ‘sweet spot’ – the optimal balance between speed and precision. Experienced professionals often learn to ‘feel’ the correct rate through the vibration and resistance felt on the tool.
Q 19. Describe your experience with various types of measuring tools (tape measure, level, square).
Accuracy is foundational in carpentry. My experience with measuring tools is extensive. I rely heavily on these tools for accurate and consistent results.
- Tape Measure: Essential for linear measurements. I always double-check measurements, particularly for critical cuts. I’ve learned to account for the ‘hook’ at the end of the tape measure.
- Level: Crucial for ensuring surfaces are perfectly horizontal or vertical. Different levels exist for various applications, from basic bubble levels to more sophisticated digital levels. The accuracy of your level directly impacts the straightness and stability of your project.
- Square: Used to ensure accurate 90-degree angles. Different types, including try squares, speed squares, and combination squares, offer versatility. Checking angles frequently ensures a flawless project. For example, when building a square frame, any small inaccuracy in the angle will compound throughout the build.
I always make sure my tools are well-maintained and calibrated for accurate readings. A worn-out tape measure or a damaged level can lead to significant errors.
Q 20. How do you ensure accuracy when making cuts or measurements?
Accuracy is paramount. It’s not just about getting close; it’s about precision. Multiple checks are crucial.
- Measure Twice, Cut Once: This age-old adage remains true. Always double-check your measurements before making any cuts. This simple step saves time and materials in the long run. I often triple-check critical measurements.
- Use the Right Tools: Employing the appropriate tools for the task ensures precision. A sharp blade in a well-maintained tool is essential for accurate cuts.
- Clamps and Guides: Secure your workpiece firmly using clamps or jigs to prevent movement during cutting or fastening. Guides like fences on circular saws provide consistent accuracy for repetitive cuts. This ensures the blade follows a precise path.
- Test Cuts: On intricate projects, a test cut on scrap material can verify the accuracy of your measurements and settings before committing to the final workpiece.
In essence, a combination of careful planning, precise measuring, and the use of appropriate tools and techniques contribute to accuracy.
Q 21. What are the different types of fasteners (nails, screws, bolts) and their applications?
Fasteners are the backbone of many construction projects, each serving a specific purpose.
- Nails: These are relatively quick and easy to drive into wood, often used for framing or less critical applications. Different nail types exist (common, finishing, brad nails) depending on the application and the required hold.
- Screws: Offer superior holding power and are easily removed. Various screw types (wood screws, machine screws, sheet metal screws) cater to different materials and applications. They offer more strength and versatility.
- Bolts: Generally used with nuts and washers, bolts are ideal for high-strength applications, especially when joining metal or heavier wood components. They are the strongest type of fastener but require more time and precision to install.
Choosing the right fastener depends on the material being joined, the required strength, and the aesthetic requirements. For example, I might use nails for framing a wall, but screws for assembling a cabinet, and bolts for connecting structural elements of a larger project.
Q 22. Explain your experience with using jigs and fixtures to improve accuracy and efficiency.
Jigs and fixtures are essential for achieving consistent accuracy and boosting efficiency when using power tools. Think of them as custom guides that ensure repeatable results, eliminating guesswork and minimizing errors. They essentially hold the workpiece securely and precisely in place, allowing for accurate cuts, drilling, or other operations.
For example, when using a router to create a mortise and tenon joint, a jig ensures the router bit is positioned correctly every time, resulting in perfectly sized mortises. Similarly, a drilling jig guarantees perfectly aligned holes for assembling furniture or other projects. Another example is using a miter saw jig to ensure accurate 45-degree cuts for picture frames or trim work, preventing frustrating inconsistencies.
My experience includes designing and building custom jigs for specific projects, significantly improving my workflow. For instance, I built a jig to replicate a complex curve repeatedly for a curved countertop installation, saving considerable time and effort compared to freehand methods. This resulted in a perfectly uniform final product.
Q 23. How do you identify and address potential safety hazards when working with power tools?
Safety is paramount when working with power tools. My approach to hazard identification involves a multi-step process: First, I conduct a thorough pre-job assessment, inspecting the tools for damage, ensuring blades are sharp and securely fastened, and checking cords for wear and tear. Second, I evaluate the workspace, ensuring adequate lighting, a clear work area free from obstructions, and proper ventilation. Finally, I select appropriate Personal Protective Equipment (PPE), including safety glasses, hearing protection, and dust masks, depending on the task.
Addressing hazards involves implementing preventive measures such as using push sticks to keep hands away from blades, employing anti-kickback devices on chainsaws, and utilizing clamps and work holding devices to secure workpieces. I am also acutely aware of the potential for kickback with tools like circular saws and miter saws and employ proper techniques to mitigate risk. Regularly maintaining tools is key, as malfunctioning equipment presents a significant safety hazard.
Q 24. Describe your experience with troubleshooting common power tool problems.
Troubleshooting power tools requires systematic diagnosis. When a tool malfunctions, I start by checking the power source: Is the outlet working? Is the cord damaged? Then, I inspect the tool itself for obvious issues like loose screws, broken parts, or clogged vents. For example, if a drill won’t turn, it could be due to a dead battery (cordless), a tripped circuit breaker, or a faulty switch mechanism. I carefully examine the tool’s components, following the manufacturer’s instructions or referring to online resources to diagnose and rectify the problem.
One instance involved a circular saw that was binding. Through methodical troubleshooting, I discovered the blade was slightly bent and the motor was overheating. Replacing the blade solved the issue and prevented potential damage to the motor. My approach to troubleshooting emphasizes careful observation, a methodical process of elimination, and the ability to consult appropriate documentation when needed.
Q 25. How do you maintain a clean and organized workspace?
A clean and organized workspace is fundamental to safety and efficiency. My method involves a three-pronged approach: First, I clear the area of unnecessary items before starting a task. Second, I keep tools organized and readily accessible, often using tool organizers or shadow boards. Third, I clean up debris and dispose of waste materials regularly, preventing accidents and improving workflow.
I utilize designated storage for various items, ensuring everything has its place, minimizing clutter and facilitating quick access to required tools. This organized workspace fosters a safe and efficient environment conducive to high-quality work.
Q 26. Explain your experience working from blueprints or schematics.
Working from blueprints and schematics is a core skill. My approach involves carefully reviewing the drawings to understand the project’s scope, dimensions, and specifications. I translate the 2D representations into 3D reality, ensuring accurate measurements and material selection. This often involves breaking down complex plans into smaller, manageable steps.
For example, when constructing a custom bookshelf from a blueprint, I meticulously measured and cut the wood according to the specified dimensions, ensuring precise angles for joints and accurate placement of shelves. I pay close attention to details such as tolerances and alignment, ensuring the final product conforms precisely to the design specifications.
Q 27. Describe a time you had to adapt your approach to a problem while using power tools.
During the construction of a custom staircase, the original design required a complex miter cut on the balusters that proved impractical with my existing tools. Instead of abandoning the plan, I adapted my approach by designing a simple jig using readily available materials to achieve the required angles accurately and efficiently. This jig allowed me to replicate the cut perfectly on all the balusters, ensuring consistency and saving considerable time.
This exemplifies my problem-solving abilities and emphasizes my adaptability when faced with unexpected challenges, illustrating a willingness to find creative solutions within the constraints of available resources and tools.
Q 28. How do you ensure quality control in your work when using power tools?
Quality control is integral to my work. It starts with selecting high-quality materials and using appropriate tools for the task. During the process, I regularly inspect my work, making corrections as needed, and using measuring tools to verify dimensions. After completion, I perform a final inspection, checking for accuracy, consistency, and overall quality.
For instance, after assembling a cabinet, I carefully check all joints for tightness, alignment, and squareness, ensuring doors and drawers operate smoothly. If imperfections are found, I address them before considering the project complete. My dedication to quality control reflects a commitment to delivering superior work that meets or exceeds expectations.
Key Topics to Learn for Specialized Tools (e.g., circular saw, impact driver) Interview
- Safety Procedures: Understanding and applying safe operating procedures for each tool, including personal protective equipment (PPE) requirements.
- Tool Operation & Maintenance: Mastering the proper techniques for starting, stopping, and operating each tool. Knowing how to perform basic maintenance, including blade changes and cleaning.
- Material Selection & Application: Understanding the appropriate materials to use with each tool and the impact of different materials on tool performance and lifespan.
- Troubleshooting Common Issues: Identifying and resolving common problems encountered while using specialized power tools, such as binding, stalling, or overheating.
- Different Blade/Bit Types: Knowing the purpose and application of various blades (circular saw) and bits (impact driver) for different materials and cutting techniques.
- Power Source Understanding: Familiarity with different power sources (cordless, corded) and their impact on tool performance and operational considerations.
- Precision & Accuracy: Demonstrating an understanding of techniques to achieve precise cuts and accurate results with each tool.
- Project Planning & Execution: Applying knowledge of tool usage within the context of a larger project, understanding the sequence of operations.
Next Steps
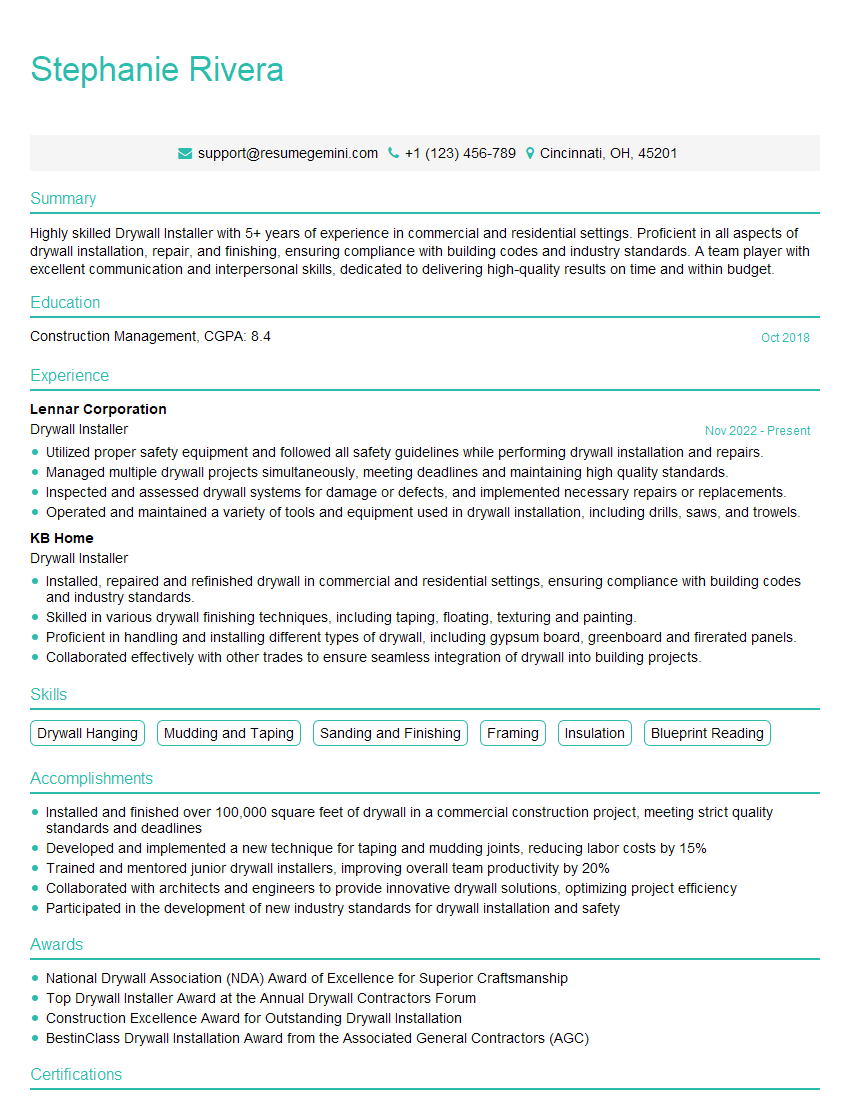
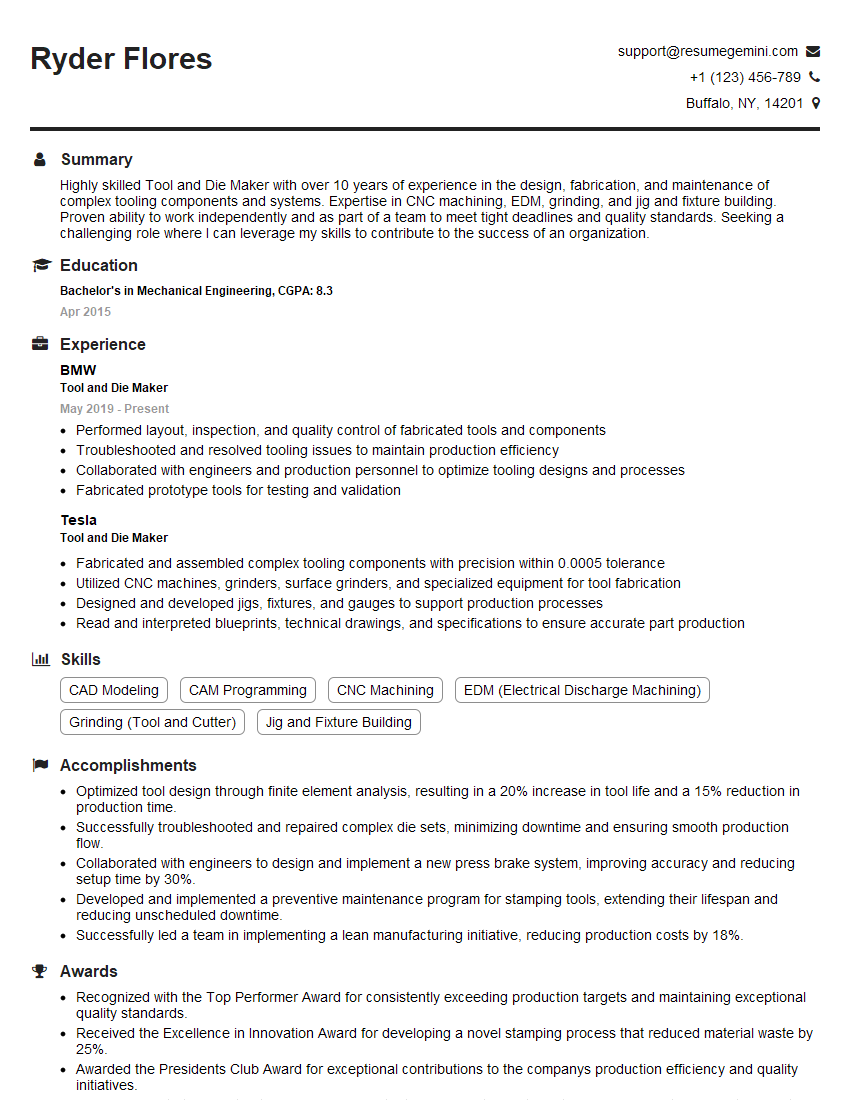
Mastering specialized tools like circular saws and impact drivers is crucial for career advancement in many skilled trades. Proficiency in these areas demonstrates your competence and safety consciousness, making you a highly valuable asset to any team. To maximize your job prospects, it’s vital to create a compelling and ATS-friendly resume that highlights your skills and experience. ResumeGemini is a trusted resource to help you build a professional resume that showcases your abilities effectively. Examples of resumes tailored to specialized tools experience, like those involving circular saws and impact drivers, are available to guide you. Take the next step in your career journey – build a winning resume today!
Explore more articles
Users Rating of Our Blogs
Share Your Experience
We value your feedback! Please rate our content and share your thoughts (optional).
What Readers Say About Our Blog
Amazing blog
hello,
Our consultant firm based in the USA and our client are interested in your products.
Could you provide your company brochure and respond from your official email id (if different from the current in use), so i can send you the client’s requirement.
Payment before production.
I await your answer.
Regards,
MrSmith
These apartments are so amazing, posting them online would break the algorithm.
https://bit.ly/Lovely2BedsApartmentHudsonYards
Reach out at [email protected] and let’s get started!
Take a look at this stunning 2-bedroom apartment perfectly situated NYC’s coveted Hudson Yards!
https://bit.ly/Lovely2BedsApartmentHudsonYards
Live Rent Free!
https://bit.ly/LiveRentFREE
Interesting Article, I liked the depth of knowledge you’ve shared.
Helpful, thanks for sharing.
Hi, I represent a social media marketing agency and liked your blog
Hi, I represent an SEO company that specialises in getting you AI citations and higher rankings on Google. I’d like to offer you a 100% free SEO audit for your website. Would you be interested?
