Are you ready to stand out in your next interview? Understanding and preparing for Experience with theatrical projection design interview questions is a game-changer. In this blog, we’ve compiled key questions and expert advice to help you showcase your skills with confidence and precision. Let’s get started on your journey to acing the interview.
Questions Asked in Experience with theatrical projection design Interview
Q 1. Explain your experience with different types of projection systems (e.g., DLP, LCD, laser).
My experience spans a wide range of projection systems, each with its own strengths and weaknesses. DLP (Digital Light Processing) projectors, known for their high contrast ratios and sharp images, are a mainstay in many theatrical productions. I’ve extensively used them for creating impactful, high-resolution imagery, particularly where deep blacks and crisp detail are crucial, like in a dramatic scene requiring intense shadows. LCD (Liquid Crystal Display) projectors, while generally offering brighter images and better color uniformity, sometimes struggle to match the contrast levels of DLP. However, I’ve found their smooth color transitions beneficial for projections requiring subtle gradations, perhaps a dreamy sunset scene. More recently, I’ve embraced laser projectors, which boast exceptional brightness, longevity, and color accuracy. Their efficiency and reduced maintenance make them ideal for large-scale installations or extended performance runs where lamp replacements are a significant factor. For example, I specified laser projectors for a recent outdoor spectacle due to their ability to overcome ambient light and maintain consistent color across the large projection surface.
Q 2. Describe your workflow for creating a projection design from concept to implementation.
My projection design workflow is iterative and highly collaborative. It begins with a close reading of the script and discussions with the director to understand the overall vision. We define the key moments requiring projection and establish the mood and atmosphere desired. Next, I create initial concept sketches and mood boards, often incorporating imagery and color palettes. This is followed by the creation of storyboards outlining specific projection sequences, timing, and effects. Using software like (see answer to question 3), I then build the actual projection content, often working closely with video artists and animators. Testing and refinement is crucial; we project content onto the set during rehearsals, making adjustments to alignment, brightness, and color to ensure it seamlessly integrates with the overall production design. The final step involves programming the media server, meticulously setting up cues, transitions, and interactions with other stage elements. For instance, in a recent opera, I coordinated projections with lighting cues to create a breathtaking transformation of the set during a climactic scene.
Q 3. What software are you proficient in for projection design and media server control?
I’m proficient in a range of software essential for projection design and media server control. For content creation, I regularly utilize Adobe After Effects and Photoshop to create and manipulate visuals, incorporating techniques like compositing and motion graphics. For projection mapping and geometry correction, I rely heavily on software like Notch, Resolume Arena, and MadMapper. These programs allow me to precisely map projections onto complex three-dimensional surfaces, ensuring a seamless blend even on irregularly shaped objects. Finally, I’m experienced in controlling media servers using software like Dataton Watchout and disguise. These programs enable me to synchronize and manage multiple projectors with precision, delivering complex and dynamic visual experiences.
Q 4. How do you handle unexpected technical issues during a performance?
Handling unexpected technical issues during a performance is a critical part of my role, demanding a quick-thinking and problem-solving approach. My strategy involves a layered approach, starting with preventative measures: thorough pre-show checks of all equipment, backups of all media, and a comprehensive understanding of the system’s architecture. However, if a problem does occur, my first step is a rapid assessment of the issue, focusing on identifying the root cause – is it a projector malfunction, a media server glitch, or a problem with the content itself? I then implement a solution based on the severity and urgency. Minor issues might be addressed with quick adjustments to brightness or color, while more serious problems may require switching to backup projectors or pre-prepared alternative content. Clear communication with the stage manager and technical crew is paramount to coordinate a smooth response and minimize disruption to the performance. For example, during a recent ballet, a sudden power surge caused one projector to fail. We swiftly switched to a backup projector with a pre-loaded, simplified version of the scene, minimizing the impact on the audience.
Q 5. Explain your experience with projection mapping techniques.
Projection mapping is a technique I’ve used extensively to create truly immersive and transformative environments. It involves projecting images onto irregularly shaped surfaces, making them appear as part of the scenery. This requires a detailed understanding of both the projector’s capabilities and the three-dimensional geometry of the target surface. My workflow starts with a 3D scan of the target surface, using software to create a precise digital model. This model is then imported into projection mapping software, allowing me to manipulate the projected image to conform to the contours of the surface. Calibration is critical, involving adjusting the projector’s perspective and adjusting the image to seamlessly wrap around the surface, avoiding distortions or seams. I’ve utilized projection mapping to transform everything from simple architectural features to entire stage sets, creating astonishing visual illusions that enhance storytelling. For example, I recently mapped projections onto a sculpted rock formation to create the illusion of a volcanic eruption, a key moment in the production.
Q 6. How do you ensure accurate color calibration and consistency across multiple projectors?
Color calibration and consistency are paramount for a professional projection design. I use colorimeters and specialized software to measure and adjust the color output of each projector, ensuring a consistent color temperature and gamma across the entire projection system. This process involves creating a test pattern and adjusting the projector’s settings until the measured color values align with a pre-defined standard. The process is iterative; fine adjustments are made until we reach a match between all projectors. Regular recalibration is necessary, particularly when using multiple projectors or in environments with varying ambient light levels. For instance, in a recent museum exhibit, I used a colorimeter to calibrate multiple projectors to ensure the projected artwork appeared consistent and vibrant regardless of the viewer’s position.
Q 7. Describe your experience with blending and edge-blending techniques.
Blending and edge-blending are essential techniques for creating seamless, large-scale projections using multiple projectors. Blending involves overlapping the projected images from adjacent projectors to create a single, unified image. Edge-blending, a more advanced technique, corrects for brightness and color variations at the edges of overlapping images, ensuring a smooth transition between projectors. I use specialized software to define the overlap areas and adjust the brightness and color at the edges to create a uniform image without visible seams. Careful planning and precise alignment are essential. For example, in a recent immersive theatre production, I used edge-blending to create a panoramic 360° projection on a cylindrical set, immersing the audience within the virtual environment. This technique allowed the projection to appear as a single, continuous image without any noticeable seams.
Q 8. How do you integrate projection design with other theatrical elements (lighting, sound, set design)?
Integrating projection design with other theatrical elements is crucial for creating a cohesive and immersive experience. It’s not about simply overlaying projections onto a set; it’s about weaving them into the fabric of the production. Think of it like a symphony orchestra – each instrument (lighting, sound, set, projections) plays a unique part, but together they create a harmonious whole.
- Lighting: Projections can be enhanced by carefully designed lighting. For instance, a projected image of a forest might be made more realistic with strategically placed green and blue lights to emphasize depth and shadows, while contrasting warmer lights could highlight specific characters within the scene. Conversely, lighting can alter the perceived color and intensity of the projection itself.
- Sound: Sound effects and music can be perfectly synchronized with projected animations or videos. Imagine a spaceship launching – the roar of the engines synced with a projection of the ship taking off would significantly increase the impact and believability of the scene.
- Set Design: The set design should complement the projections. A minimal set might be used to create a sense of vastness, allowing the projections to establish the environment. Conversely, a detailed set can interact with projections, with projected images seemingly appearing behind or through physical elements. This is called ‘projections mapping’ and requires precise alignment and calibration.
For example, in a recent production of Macbeth, we used projections to create the ethereal atmosphere of the witches’ cauldron, which was enhanced by low-lying fog and eerie green lighting. The sound design of crackling fire and ominous whispers further immersed the audience in the scene. The set, a simple circular platform, allowed the projections to expand the space and create a variety of locations without cumbersome set changes.
Q 9. What is your experience with different types of media servers and their functionalities?
My experience spans several media server platforms, each offering unique strengths. Choosing the right server depends heavily on the project’s scale and complexity. I’m proficient with industry-standard servers like:
- Disguise: Powerful and scalable, often used for large-scale projects and complex shows requiring extensive processing and real-time effects.
- d3: Known for its intuitive interface and excellent support, particularly useful for smaller to mid-sized productions or when a simple workflow is desired.
- Resolume: A highly versatile option that excels at real-time manipulation of video and effects, very popular for VJ-style performances and more experimental work.
The functionalities I utilize most frequently include:
- Cueing and Sequencing: Creating timed sequences of video clips and effects for precise synchronization with the show.
- Blending and Layering: Combining multiple video layers and blending modes to achieve complex visual effects.
- Warping and Mapping: Adjusting the geometry of projections to perfectly fit uneven or complex surfaces using geometric correction.
- Networking: Controlling multiple projectors from a central server and ensuring seamless synchronization across multiple displays.
For instance, in a recent immersive installation, we utilized Disguise’s powerful processing capabilities to seamlessly blend multiple high-resolution video streams across a curved projection surface, while using d3 for a smaller, secondary projection area that required simpler control. This allowed us to manage both environments with efficient workflow processes.
Q 10. How do you manage large video files and ensure smooth playback?
Managing large video files and ensuring smooth playback requires a multi-pronged approach focusing on compression, storage, and network infrastructure.
- Compression: Using codecs like ProRes or DNxHD provides high-quality video at manageable file sizes. Avoid lossy compression formats like h.264 unless absolutely necessary, as they can result in noticeable quality loss, particularly when zoomed or manipulated.
- Storage: Utilizing high-speed, reliable storage solutions like RAID arrays is critical for preventing hiccups and delays. This allows for fast access and redundancy in the event of a drive failure.
- Network Infrastructure: A robust gigabit Ethernet network is essential. Ensuring sufficient bandwidth and minimizing network latency will minimize interruptions and maintain smooth playback, especially when working with multiple projectors and high-resolution video.
- Pre-rendering: Complex effects and transitions should be pre-rendered to avoid real-time processing demands which can impact playback. This reduces the computational load on the media server.
For example, on a recent outdoor projection mapping project, we utilized a RAID array to house large 4K video files. We used ProRes codec to maintain quality while keeping file sizes manageable. Furthermore, we used a dedicated gigabit network to prevent network congestion and ensure smooth playback across multiple projectors, addressing potential challenges posed by the outdoor environment.
Q 11. Describe your experience with creating and managing show control sequences.
Creating and managing show control sequences is fundamental to any projection design. I use a combination of software and hardware tools to orchestrate these sequences, ensuring precise timing and synchronization.
- Software: I’m proficient in various show control software packages, such as QLab, GrandMA, and Notch. These programs allow for the creation of complex cues, timed sequences, and interactions between different systems (lighting, sound, projections).
- Hardware: Depending on the project’s scale and complexity, we may incorporate hardware solutions like timecode generators, DMX controllers, and MIDI interfaces for precise control over the various elements.
- Data exchange protocols: I’m comfortable working with protocols like OSC (Open Sound Control) and Art-Net, which are commonly used for communication between various show control systems and projectors.
For example, in a recent musical theatre production, we created a complex sequence using QLab that synchronized projected animations, lighting cues, and sound effects to underscore specific moments in the story. Each cue in QLab triggered a specific action in the media server and the lighting console, creating a seamless and unified performance.
Q 12. Explain your understanding of aspect ratios and resolutions in projection design.
Understanding aspect ratios and resolutions is vital for creating effective and visually appealing projections. Aspect ratio refers to the proportional relationship between the width and height of an image, while resolution describes the number of pixels in an image.
- Aspect Ratios: Common aspect ratios include 16:9 (widescreen), 4:3 (standard), and 1:1 (square). The chosen aspect ratio should complement the projection surface and the overall design aesthetic. Using an incorrect aspect ratio can result in letterboxing or pillarboxing (black bars on the sides or top/bottom).
- Resolutions: Higher resolutions like 4K or 8K provide greater detail and clarity, but demand more processing power and larger file sizes. The chosen resolution should match the capabilities of the projector and the desired image quality. A resolution that exceeds the projector’s native capabilities will result in image scaling, which can negatively impact sharpness and detail.
- Matching aspect ratios and resolutions: Ensuring that the source material’s aspect ratio matches the projector’s native aspect ratio is important to avoid distortion and maintain the intended image composition.
In one project, we had to meticulously match the 16:9 aspect ratio of our source videos to the projectors’ native resolution to avoid any stretching or compression that would impact the projected imagery. This also simplified the geometric correction process during alignment, reducing potential workflow issues.
Q 13. How do you troubleshoot problems with projector alignment and geometry correction?
Troubleshooting projector alignment and geometry correction is a crucial aspect of projection design. Inaccurate alignment results in distorted or misaligned images. My approach is systematic, using both software and hardware tools.
- Software-based correction: Most media servers offer powerful geometry correction tools that allow for warping, keystone correction, and other adjustments to compensate for uneven surfaces or projector placement. This often involves using a grid or point-based system to align the projection to the target surface.
- Hardware-based alignment: This may involve physically adjusting the projector’s position and angle to optimize image alignment. For curved or complex surfaces, precise measurement and careful planning are vital.
- Testing and calibration: Thorough testing and calibration are crucial to ensure accurate alignment and color consistency across multiple projectors. This process often involves iteratively adjusting settings and observing the results.
For example, in a recent project involving a projection mapping onto a multi-faceted building, we used a combination of software-based geometry correction and meticulous manual adjustment. We used a laser pointer to mark key points on the building’s surface, then used these as references in the media server’s geometry correction tools to align and correct the projection flawlessly. This careful process ensured the projection was accurately mapped to the different planes of the building.
Q 14. Describe your experience with working with different types of projection surfaces.
My experience encompasses a wide range of projection surfaces, each presenting unique challenges and opportunities.
- Screens: From matte white screens for even light diffusion to specialized screens with different gain factors (measuring reflectivity) for optimized brightness and contrast in various lighting conditions. The choice depends on the environment and the desired image quality.
- Architectural surfaces: Projecting onto buildings, sculptures, or other irregular surfaces requires precise geometry correction and careful consideration of surface texture and reflectivity. This requires detailed pre-visualization and advanced software tools.
- Holographic materials: Working with holographic projection films and techniques offers exciting possibilities for creating three-dimensional illusions, though these often require specialized projectors and software.
- Fabric projection surfaces: Translucent or semi-opaque fabrics can be used to create interesting effects, with light passing through the material or interacting with it in creative ways.
For instance, I’ve worked on projects projecting onto both standard projection screens in a theatre setting, as well as onto the exterior walls of a historic building for a nighttime light show. For the building projection, we used specialized software to map the projection onto the irregular surface, compensating for architectural features and ensuring accurate alignment. The choice of surface dramatically influenced the projection design, the software used, and the overall technical approach.
Q 15. How familiar are you with the different file formats used for projection content?
My familiarity with file formats for projection content is extensive. Different projects demand different formats, and understanding their nuances is crucial for optimal results. Common formats include:
- JPEG/PNG: Still images, ideal for static elements or backgrounds. Their compression makes them efficient for large quantities of images.
- TIFF: High-resolution images, often preferred for archival purposes or when maximum image quality is needed. Lossless compression ensures no data is lost.
- QuickTime (MOV): A versatile video format offering good quality and compatibility with a range of projectors.
- MP4: Another popular video format, known for its efficiency and widespread compatibility. H.264 or H.265 codecs are commonly used for optimal balance of quality and file size.
- DPX: A professional-grade image format commonly used in film and high-end video post-production, providing exceptional color accuracy.
- Cineform: An efficient codec ideal for high-resolution video projection, minimizing file sizes without significant loss of quality.
Choosing the right format depends on factors like image resolution, color depth, video length, and the capabilities of the projection system. For instance, using a large, uncompressed TIFF file would be impractical for a fast-paced video projection, while using a low-resolution JPEG for a detailed architectural projection would result in a poor viewing experience.
Career Expert Tips:
- Ace those interviews! Prepare effectively by reviewing the Top 50 Most Common Interview Questions on ResumeGemini.
- Navigate your job search with confidence! Explore a wide range of Career Tips on ResumeGemini. Learn about common challenges and recommendations to overcome them.
- Craft the perfect resume! Master the Art of Resume Writing with ResumeGemini’s guide. Showcase your unique qualifications and achievements effectively.
- Don’t miss out on holiday savings! Build your dream resume with ResumeGemini’s ATS optimized templates.
Q 16. How do you address potential issues related to brightness and contrast in different environments?
Addressing brightness and contrast issues across different environments is a critical aspect of projection design. The key is understanding the interplay between projector lumens, ambient light, screen material, and the content itself.
For low-light environments, such as a theatre, higher contrast ratios are beneficial. In bright environments like outdoor events, higher projector lumens are necessary to ensure the projection remains visible. This often involves using screens with high gain, which amplify the reflected light.
I typically use a multi-pronged approach:
- Site survey and light measurement: Before any design work begins, a thorough assessment of the environment’s ambient light levels is crucial. This provides baseline data to inform projector selection and screen material choices.
- Projector selection: Choosing the right projector is paramount. This involves considering the necessary brightness (lumens), contrast ratio, resolution, and throw distance (the distance between the projector and the screen).
- Screen material selection: Screen material significantly affects brightness and contrast. High-gain screens amplify the projected image, but can also introduce hot spots. Matte screens offer better diffusion, but may reduce overall brightness.
- Content adjustment: The content itself should be optimized for the specific environment. This can involve adjusting color grading, contrast levels, and overall brightness to ensure visibility.
- Lighting control: In controlled environments, such as theatres, dimming or strategically placed lighting can minimize ambient light interference.
For example, on a recent outdoor projection mapping project, we used high-lumen projectors with a specialized high-gain screen to combat bright daylight. We also adjusted the content’s color grading to make it more vibrant and increase saturation to ensure the projection remained visible during the day.
Q 17. What is your experience with creating interactive projection designs?
I have considerable experience with interactive projection design. This involves creating engaging experiences where the audience can interact with the projected content in real-time. This frequently utilizes technologies like motion tracking, touch screens, depth cameras, and custom software development.
Here are some techniques I commonly use:
- Motion tracking: This allows the projection to respond to the movement of people or objects in front of the screen. It adds a dynamic and responsive element to the experience.
- Touch screens: When appropriate, using touch-sensitive surfaces allows direct interaction with the projected content, creating a more intuitive experience.
- Depth sensing: Using depth cameras allows the projection to interact with the three-dimensional space, creating unique and engaging immersive experiences. This technique is fantastic for creating reactive environments.
- Custom software development: Often requires bespoke software to handle complex interactions and coordinate various hardware components. Languages like C++, C#, and Processing are often used for this purpose.
In one project, we created an interactive installation where visitors could ‘paint’ on a large projected surface using their hands. A depth sensor tracked their movements, translating their gestures into digital paint strokes. This required a custom software solution to handle real-time tracking, input processing, and image rendering.
Q 18. Explain your understanding of health and safety regulations related to projection equipment.
Health and safety regulations related to projection equipment are paramount. My understanding covers several key areas:
- Laser safety: Lasers used in projection, especially high-powered ones, pose significant eye hazards. I always adhere to strict safety protocols, including appropriate laser safety eyewear for technicians and audience members where necessary, designated safety zones, and emergency shut-off mechanisms.
- Electrical safety: Proper grounding and use of certified cables are vital to prevent electrical shocks. Regular equipment inspections are conducted to identify any potential hazards.
- Fire safety: Projectors can generate heat, so ensuring adequate ventilation and keeping flammable materials away is crucial. I always adhere to the venue’s fire safety regulations.
- Ergonomics: Projectors and associated equipment can be heavy, so safe lifting and handling procedures are essential for preventing injuries during setup and teardown.
- Audience safety: In interactive installations, I ensure that the projection setup doesn’t create tripping hazards or obstruct emergency exits. Proper signage and supervision can minimize risk.
Compliance is a key element, and I always work within the framework of national and local regulations, often consulting with safety officers on site to ensure best practices.
Q 19. How do you manage and maintain projection equipment?
Managing and maintaining projection equipment requires a proactive approach. This encompasses regular cleaning, preventative maintenance, and prompt troubleshooting:
- Regular cleaning: Dust buildup can affect the projector’s performance and longevity. I regularly clean the projector lens, air vents, and filters to maintain optimal functionality. Cleaning supplies need to be appropriate for optical components.
- Preventative maintenance: This includes periodic lamp replacements (for lamp-based projectors), checking cable connections, ensuring proper ventilation, and regularly reviewing the projector’s operational logs to identify any potential issues early on.
- Troubleshooting: When issues arise, I have a systematic approach involving diagnosing the problem, identifying the root cause, and implementing the necessary repair or replacement. This often includes contacting the manufacturer’s support if necessary.
- Calibration: Regular calibration of color and image settings is crucial for maintaining consistent image quality. We may use colorimeters to ensure accuracy.
- Storage: When not in use, the equipment is stored correctly to prevent damage from dust, moisture, or physical impact. This involves proper packaging and storage environments.
Keeping detailed records of maintenance activities ensures efficient management and aids in identifying trends that may indicate larger issues.
Q 20. How do you create and manage a project timeline and budget for projection design?
Creating a project timeline and budget for projection design requires a structured approach. I typically follow these steps:
- Scope definition: Clearly define the project scope, including the desired outcomes, technical requirements, and deliverables.
- Task breakdown: Break down the project into manageable tasks, assigning timelines and responsibilities.
- Resource estimation: Estimate the time required for each task, factoring in potential delays and unforeseen circumstances.
- Cost estimation: Estimate the costs associated with equipment rental or purchase, software licenses, personnel, travel, and other project-related expenses.
- Timeline development: Create a detailed timeline using project management software, clearly outlining milestones and deadlines. Gantt charts are often utilized for visualization.
- Budget creation: Develop a detailed budget, outlining all anticipated expenses and outlining contingencies for potential cost overruns.
- Regular monitoring: Track progress against the timeline and budget throughout the project. Regular updates and adjustments are made as needed.
Software like Microsoft Project or Asana can help manage timelines and budgets effectively. Using a spreadsheet for cost tracking allows a granular view of expenses.
Q 21. Describe a challenging projection design project you worked on and how you overcame the challenges.
One challenging project involved projecting onto a highly irregular, three-dimensional surface – the exterior of an old castle during a night-time festival. The uneven surfaces and complex geometry presented significant challenges for geometric warping and calibration. The ambient light conditions also fluctuated wildly due to passing clouds.
We overcame these challenges by using a combination of techniques:
- High-resolution photography and 3D modeling: A detailed 3D model of the castle’s exterior was created using photogrammetry. This model served as the foundation for mapping the projection.
- Advanced projection mapping software: We utilized specialized software capable of handling complex geometry warping and distortion correction. This allowed us to precisely align the projection onto the irregular surface.
- Multiple projectors: Employing multiple projectors, each covering a specific section of the castle, allowed for improved image quality and minimized the effect of shading from the surface irregularities. Careful blending of the images from different projectors was crucial.
- Real-time adjustments: Because of the shifting light conditions, a team was dedicated to real-time monitoring of the projections and adjusting brightness and color balance as needed.
- Test runs: We conducted extensive test runs to refine the mapping and lighting adjustments, ensuring optimal results under various lighting conditions.
The successful completion of this project demonstrated the value of thorough planning, meticulous execution, and the ability to adapt to unforeseen challenges using a combination of advanced techniques and collaborative teamwork.
Q 22. How do you collaborate effectively with other members of the production team?
Effective collaboration is the cornerstone of any successful theatrical production. My approach centers around clear communication, proactive problem-solving, and a commitment to shared goals. I begin by actively listening to the director’s vision and the needs of other designers (lighting, set, costume). This ensures the projection design integrates seamlessly with the overall artistic concept. I then participate in regular meetings, offering input and actively seeking feedback. For example, during a recent production of Macbeth, early discussions with the lighting designer ensured our projected textures and colors complemented, rather than clashed with, the overall lighting scheme. We even mapped out specific cues collaboratively, ensuring seamless transitions between projected elements and lighting effects. Finally, I advocate for transparent communication throughout the process, using tools like shared online project boards or collaborative software to track progress and address issues proactively. This collaborative spirit fosters trust and efficiency, leading to a more polished and unified final product.
Q 23. What is your experience with creating content for different types of events (theater, concerts, corporate events)?
My experience spans a wide range of event types, each requiring a tailored approach to projection design. In theatre, the focus is on storytelling and enhancing the dramatic impact. This might involve creating atmospheric backgrounds, subtly highlighting key moments with projected imagery, or even projecting live actors’ movements onto the set for innovative effects. For example, in a recent production of A Midsummer Night’s Dream, we used projection mapping on intricately carved set pieces to create a sense of depth and magic, making the fairy world truly come alive. Concert projection design often emphasizes visual spectacle and audience engagement. This could involve synchronizing projections with the music’s rhythm, creating stunning light shows, or displaying artist information and promotional material. Corporate events typically need a balance between aesthetic appeal and brand messaging. This might mean creating animated logos, displaying statistics in a visually engaging way, or projecting company presentations onto large screens for maximum impact. In all cases, I adapt my creative style and technical approach to achieve the event’s specific objectives.
Q 24. How do you stay updated with the latest technologies and trends in projection design?
Staying current in projection design demands continuous learning. I regularly attend industry conferences and workshops to learn about the latest hardware and software. Trade publications, online forums, and professional networking are invaluable resources. Specifically, I actively follow advancements in technologies such as laser projection (for increased brightness and longevity), 4K and 8K resolution projection for sharper image quality, and real-time projection mapping software for more dynamic and interactive visuals. I also experiment with new software and techniques in my personal projects, pushing creative boundaries and developing my skillset. For instance, I recently explored using generative art algorithms to create unique and dynamic projections that changed and evolved over time, achieving a level of creative freedom previously unavailable.
Q 25. Describe your understanding of different lens types and their applications in projection.
Understanding lens types is crucial for achieving the desired projection results. Different lenses offer varying focal lengths, affecting the projected image size and throw distance (the distance between the projector and screen). Short-throw lenses are ideal for smaller spaces, enabling large projections from a close distance. Long-throw lenses, conversely, allow for larger projections from further away. Additionally, the lens’ aperture influences the image’s brightness and depth of field (the area in focus). A wider aperture (smaller f-stop number) produces a brighter but potentially shallower depth of field image, while a narrower aperture (larger f-stop number) yields a dimmer but sharper image across a greater depth of field. For instance, in a large-scale outdoor projection, a long-throw lens with a wide aperture is essential to achieve sufficient brightness and image size over a significant distance. For more intimate spaces, a short-throw lens might be preferred, especially when projection area is limited.
Q 26. What is your experience with using different types of projection screens (e.g., front projection, rear projection)?
My experience encompasses various projection screen types, each with its strengths and weaknesses. Front projection is the most common, with the image projected directly onto the screen’s surface. This is typically cost-effective but susceptible to ambient light washout. Rear projection involves projecting the image onto the back of a translucent screen, resulting in a brighter image less affected by ambient light. This method is ideal for situations where bright room lighting is unavoidable, such as high-traffic public spaces. I’ve also worked with curved screens and specialized screens like perforated screens (allowing for rear-projection without significant image loss in visibility) and screens treated for increased light rejection (reducing ambient light interference with front projections). The choice of screen depends heavily on the venue, budget, and desired aesthetic. A recent trade show presentation required a rear-projection screen to counter the bright ambient lighting, whereas a small theatre production utilized a front projection screen in a controlled environment for a more economical solution.
Q 27. How do you balance creative vision with technical feasibility in your projection designs?
Balancing creative vision and technical feasibility is an ongoing process requiring both artistic sensitivity and practical knowledge. I begin by clearly defining the creative goals with the director. This includes considering the overall aesthetic, narrative needs, and desired emotional impact of the projections. Then, I meticulously assess the technical constraints—venue size, budget, available equipment, and lighting conditions. If the initial vision is technically unfeasible, I collaborate with the director to explore alternative solutions without compromising the core artistic goals. For instance, during a recent production, the director wanted a large-scale projection of a swirling nebula onto the backdrop. However, the budget limited us to a smaller projector. We creatively solved this by using a combination of smaller projections strategically placed, creating the illusion of a much larger nebula without requiring an overly expensive projector. Such compromise creates creative innovation within a pragmatic framework.
Q 28. Describe your experience with creating and implementing custom projection solutions.
Creating and implementing custom projection solutions frequently involves thinking outside the box. This might involve developing unique projection mapping techniques for irregularly shaped surfaces, designing custom gobos (metal templates creating patterned light) for specific lighting effects, or integrating projection with interactive elements. A memorable example was a projection design for a historical museum exhibit, where we projected interactive elements onto a three-dimensional model of an ancient city. By using custom-designed software and sensors, visitors could interact with the projected elements, discovering hidden details and layers of the historical context. This required intricate collaboration with programmers and engineers, alongside artistic input. These custom projects demand a strong understanding of various technologies and the ability to solve complex problems, fostering innovative solutions that enhance the overall viewer experience.
Key Topics to Learn for Theatrical Projection Design Interviews
- Projector Technologies: Understanding different projector types (LCD, DLP, LED), their strengths and weaknesses, and appropriate applications for theatrical settings. Consider lumen output, resolution, and throw distance.
- Media Server Operation: Familiarity with common media server software (e.g., disguise, d3, Resolume) including content playback, layering, effects, and synchronization with other stage elements.
- Lighting and Projection Integration: Discuss how projection interacts with lighting design, including color mixing, gobo projection, and achieving specific visual effects through coordinated lighting and projection cues.
- Content Creation and Workflow: Describe your experience with creating or sourcing projection content, including image editing, video processing, and working with various file formats. Outline your workflow from initial concept to final projection.
- Calibration and Troubleshooting: Explain your approach to calibrating projectors for color accuracy, geometry correction, and achieving even brightness across the projection surface. Detail how you troubleshoot technical issues during rehearsals and performances.
- Safety and Rigging: Discuss safe handling procedures for projectors and related equipment, and your understanding of rigging techniques for suspending projectors and screens.
- Budgeting and Resource Management: Explain how you approach the selection of projection equipment based on budget constraints and project requirements.
- Collaboration and Communication: Highlight your ability to effectively communicate technical concepts to non-technical team members, and collaborate with lighting designers, stage managers, and other production personnel.
Next Steps
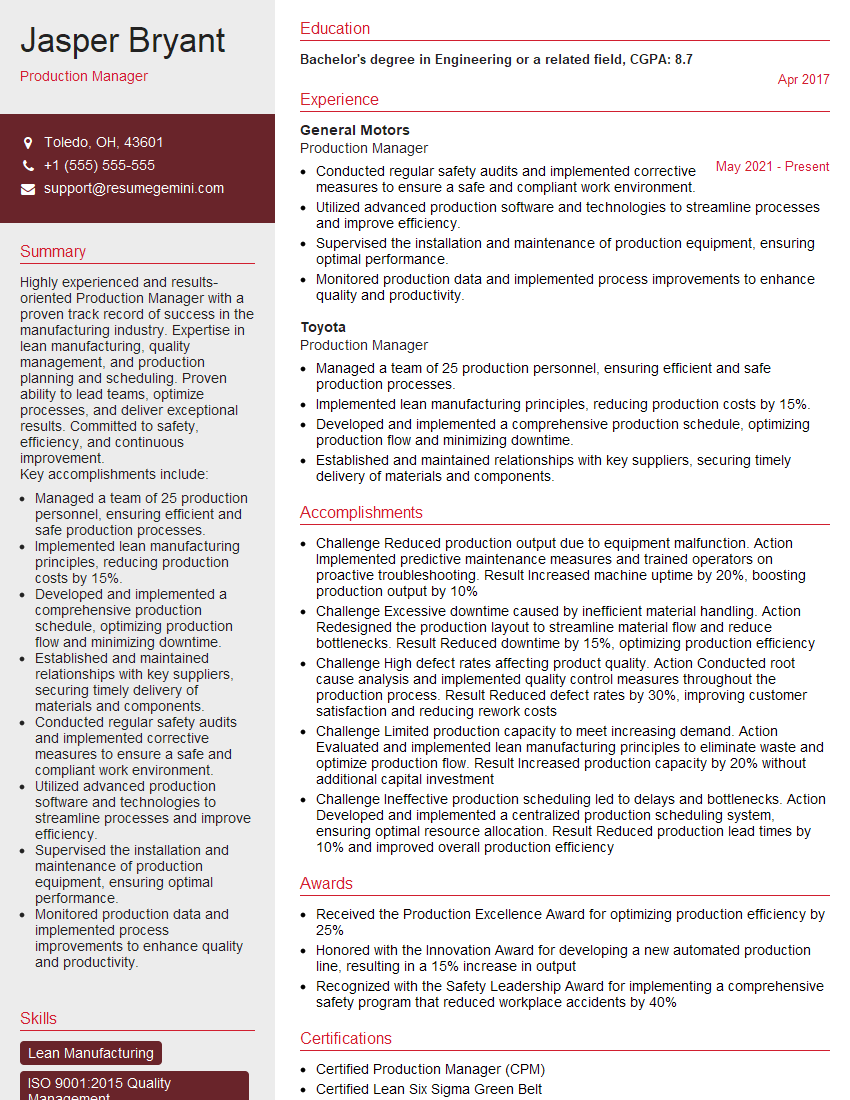
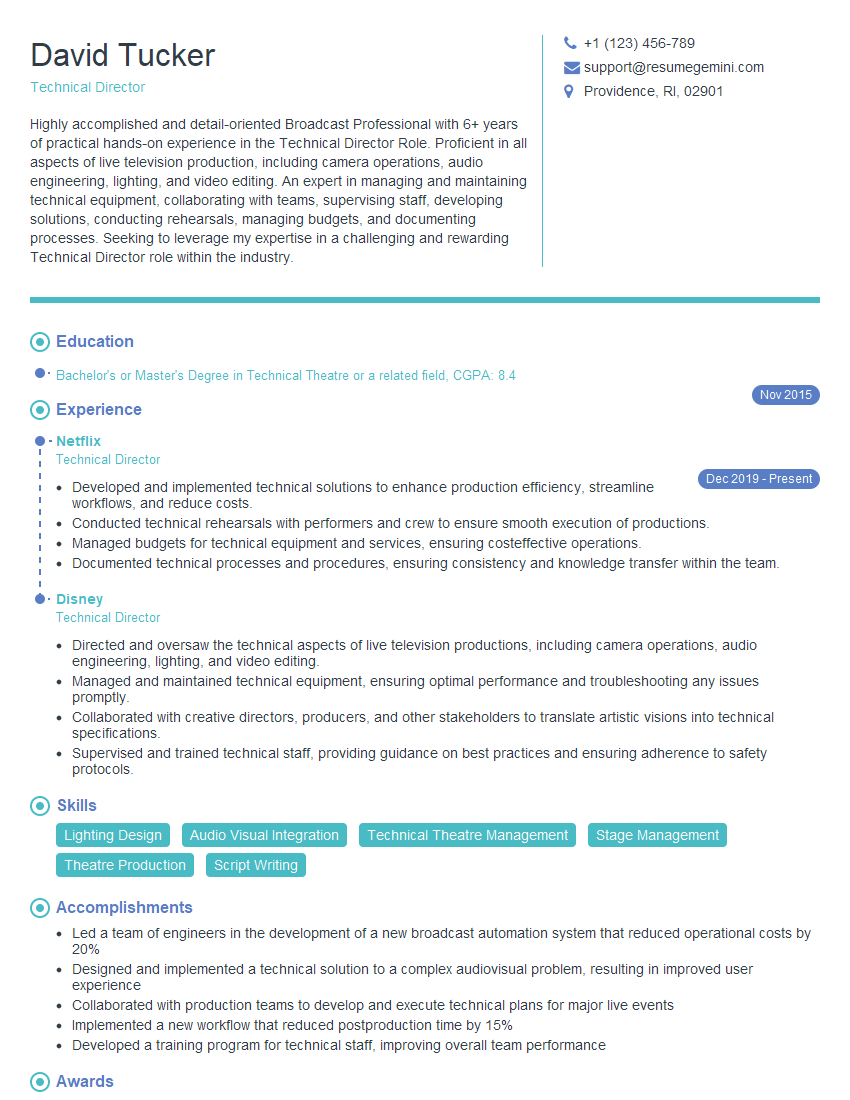
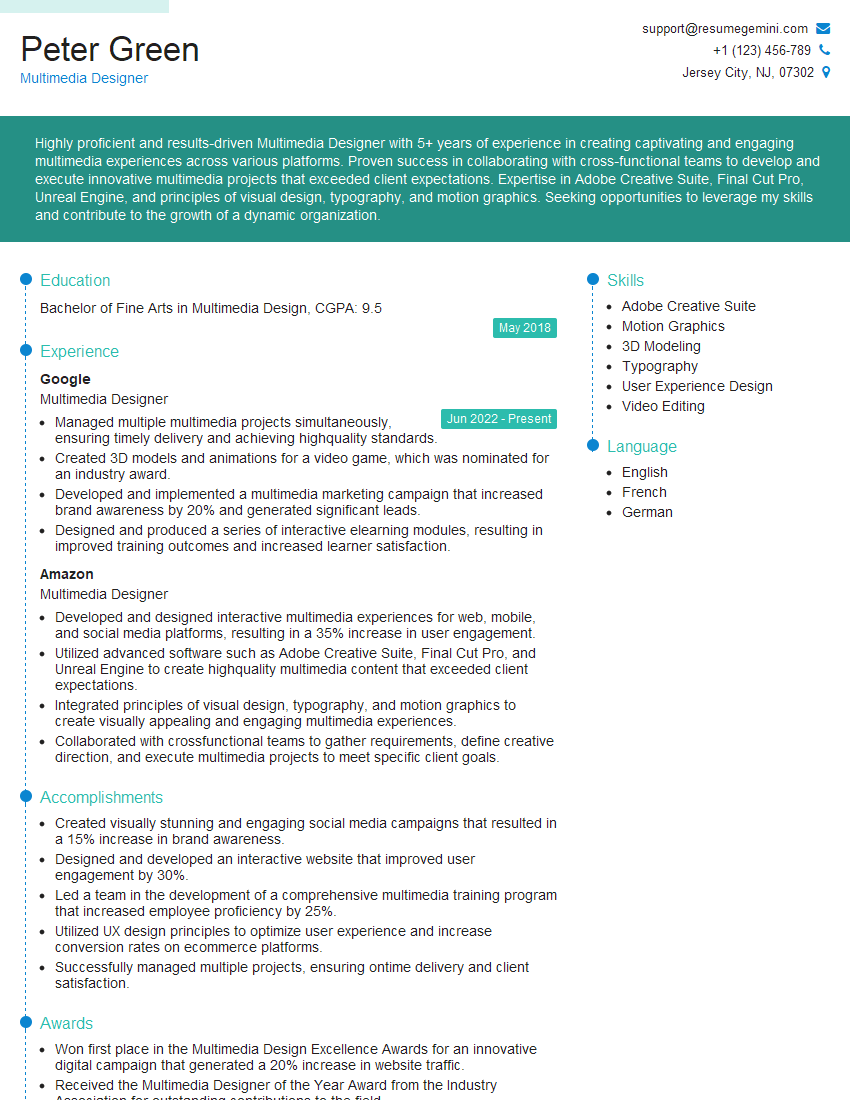
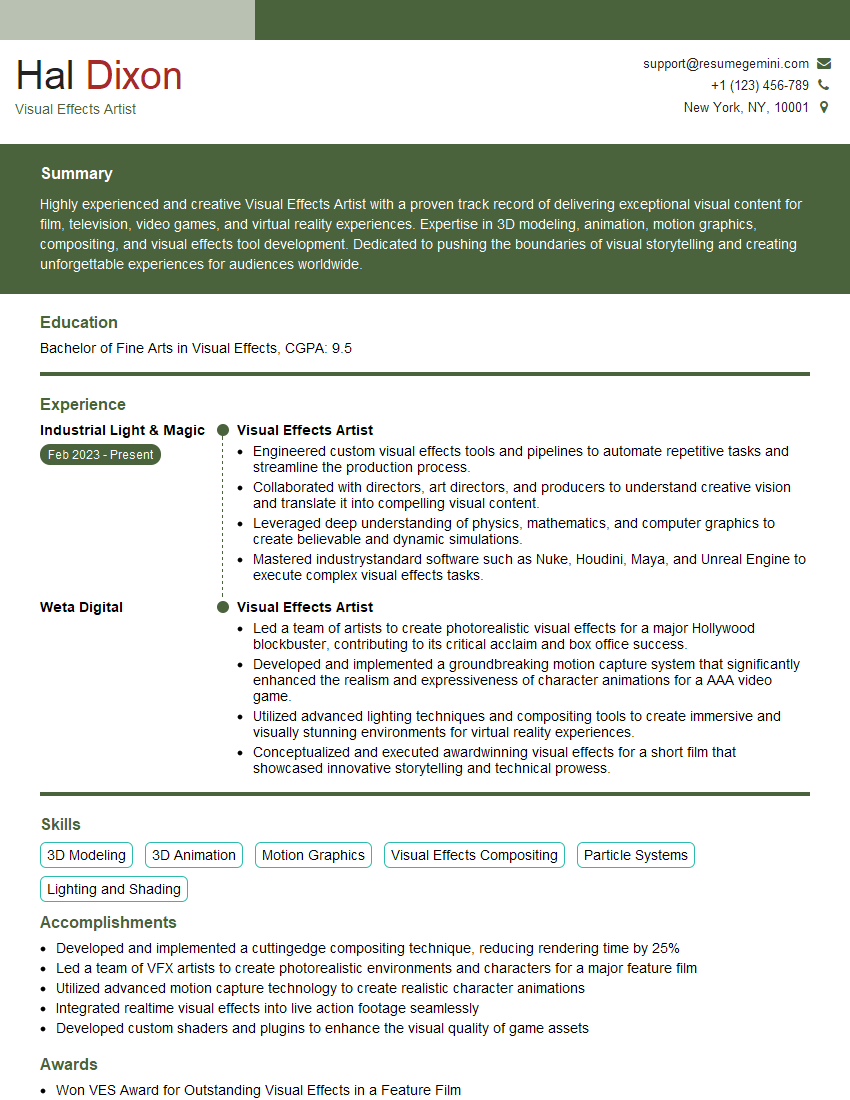
Mastering theatrical projection design is crucial for career advancement in the dynamic world of live performance. A strong understanding of these technical skills, coupled with excellent communication and collaboration abilities, will significantly increase your job prospects. Creating an ATS-friendly resume is key to getting your application noticed. To make your resume stand out, we encourage you to use ResumeGemini, a trusted resource for building professional and effective resumes. ResumeGemini provides examples of resumes tailored to theatrical projection design, helping you showcase your skills and experience in the best possible light.
Explore more articles
Users Rating of Our Blogs
Share Your Experience
We value your feedback! Please rate our content and share your thoughts (optional).
What Readers Say About Our Blog
Live Rent Free!
https://bit.ly/LiveRentFREE
Interesting Article, I liked the depth of knowledge you’ve shared.
Helpful, thanks for sharing.
Hi, I represent a social media marketing agency and liked your blog
Hi, I represent an SEO company that specialises in getting you AI citations and higher rankings on Google. I’d like to offer you a 100% free SEO audit for your website. Would you be interested?
