Every successful interview starts with knowing what to expect. In this blog, we’ll take you through the top Audio Mixing and Level Control interview questions, breaking them down with expert tips to help you deliver impactful answers. Step into your next interview fully prepared and ready to succeed.
Questions Asked in Audio Mixing and Level Control Interview
Q 1. Explain the difference between gain staging and level control.
Gain staging and level control are closely related but distinct aspects of audio mixing. Gain staging refers to the process of setting the optimal input and output levels at each stage of your signal chain, from the microphone preamp all the way to the final output. It’s about preventing clipping and maximizing the dynamic range throughout. Level control, on the other hand, is the adjustment of individual signal levels during the mixing process to achieve a balanced and well-defined sonic landscape. Think of gain staging as the foundation, ensuring a clean and powerful signal, and level control as the artistry, shaping the final mix.
For example, if you have a quiet microphone signal, you’d use gain staging to boost its level appropriately at the preamp, avoiding excessively boosting it during the mix. This prevents noise and allows for more headroom for processing. Then, you’d use level control in the mixer to adjust the balance relative to other instruments.
Q 2. Describe your experience with various mixing consoles (analog and digital).
My experience spans both analog and digital mixing consoles. I’ve worked extensively with classic analog boards like the Neve 1073 and API Vision consoles, appreciating their warmth and character. The hands-on feel and immediate feedback are invaluable for intuitive mixing. I’ve also mastered various digital consoles, from smaller Allen & Heath mixers used in live settings to large-format Avid S6 consoles for studio work. Digital consoles offer unparalleled flexibility with recall capabilities, extensive processing options, and automation features.
For instance, the immediacy of analog EQs allows for very fine-tuned frequency shaping by ‘ear’, while digital platforms give you the ability to precisely recall and modify settings for multiple sessions and projects. Each approach has its strengths and weaknesses; the best approach depends greatly on the project, budget, and personal preference.
Q 3. How do you handle feedback in a live sound environment?
Feedback, that dreaded high-pitched squeal, is a common problem in live sound. My approach is multifaceted, starting with proper microphone placement and aiming to minimize the signal path from the speakers back to the microphones. This includes strategic positioning of monitors and using directional microphones.
If feedback is persistent, I utilize EQ to surgically notch out the offending frequencies. I also utilize feedback suppression systems or utilize gain reduction techniques to proactively deal with it. Finally, careful gain staging of the whole system is crucial to avoid reaching the threshold where feedback occurs. It’s a matter of understanding the acoustic environment and systematically addressing the causes. Sometimes, simply turning down one or two troublesome channels can resolve the issue before more advanced techniques are needed.
Q 4. What are your preferred methods for achieving a balanced mix?
Achieving a balanced mix requires a holistic approach. I start by carefully listening to each individual instrument or vocal, ensuring it sits well in the overall frequency spectrum. I pay attention to the low-end, making sure the bass isn’t muddy, the mids are clear, and the high-end is sparkling but not harsh.
I use a combination of EQ, compression, and panning to sculpt individual elements and create space within the mix. The ‘mix as you go’ approach works best for me. Constantly comparing levels of individual channels to the sum of the mix helps me achieve better balance throughout the process. Ultimately, a balanced mix is subjective and depends heavily on the genre and the desired sonic outcome, however, ensuring there is adequate headroom for individual channels is crucial.
Q 5. Explain your understanding of dynamic processing (compressors, limiters, gates).
Dynamic processing tools like compressors, limiters, and gates are essential for controlling the dynamics of audio signals. Compressors reduce the difference between the loudest and quietest parts of a signal, creating a more consistent level. Limiters prevent signals from exceeding a certain threshold, preventing clipping. Gates silence a signal below a certain level, useful for reducing background noise.
For instance, I might use a compressor on a snare drum to control its transient peaks, making it punchier and more controlled. A limiter on the master bus ensures that the final mix doesn’t exceed the maximum output level. And, a gate on a vocal mic can eliminate background noise between phrases. The type of compressor, the ratio, threshold, attack and release settings are all very important in influencing the final sound. Understanding these parameters is key to successful dynamic processing.
Q 6. How do you use EQ to shape the sound of individual instruments and vocals?
EQ (Equalization) is a powerful tool for shaping the sound of individual instruments and vocals. By boosting or cutting specific frequencies, I can highlight desirable characteristics and tame unwanted resonances. For vocals, I might cut muddiness in the low-mids and boost clarity in the high-mids for presence.
On guitars, I might boost specific frequencies to create a particular tone; cutting at specific areas could help to remove unwanted resonance. For example, I might use a high-pass filter to remove low-frequency rumble from a vocal track. This process is highly context-dependent and often involves experimenting until the sound feels right within the context of the entire track. The choice of EQ type – parametric, graphic, shelving – also greatly influences the end result.
Q 7. Describe your experience with various audio file formats (WAV, AIFF, MP3).
I’m proficient with various audio file formats. WAV and AIFF are lossless formats, meaning they preserve the original audio data without any compression, ideal for mastering and archiving. MP3 is a lossy format that compresses the file size, resulting in some audio quality loss; however, it is very practical for distribution, particularly on the web.
The choice of format depends on the application. For example, I’d use WAV for studio work where preserving audio quality is paramount, and MP3 for online distribution where smaller file sizes are essential. Understanding the trade-offs between file size and quality is crucial for making informed decisions.
Q 8. What is your experience with different microphone types and their applications?
My experience with microphones spans decades, encompassing a wide range of types and applications. Understanding the nuances of each microphone is crucial for capturing the best possible sound. For instance, I’m proficient with:
- Large-diaphragm condenser microphones (LDCs): Ideal for capturing warm, detailed vocals and instruments like acoustic guitars. Their sensitivity makes them perfect for capturing subtle nuances, but they also require careful placement to avoid unwanted noise.
- Small-diaphragm condenser microphones (SMDCs): These are versatile and excellent for capturing crisp, detailed high-frequency sounds, making them a go-to for overhead drum miking, acoustic instruments, and even some vocal applications where a brighter sound is desired. I often use them in arrays for capturing a more realistic spatial sound.
- Dynamic microphones: These are robust, less sensitive to handling noise, and perfect for live performances and instruments like snare drums and electric guitars. Their durability and high SPL (Sound Pressure Level) handling make them invaluable in loud environments.
- Ribbon microphones: Known for their smooth, warm sound with a characteristic figure-8 polar pattern, these are great for capturing delicate sounds, such as vocals or acoustic instruments where a specific, intimate tone is preferred. Their fragility demands careful handling.
The choice of microphone depends heavily on the source, the desired sound, and the acoustic environment. For example, I might use an LDC for a solo vocalist in a treated studio booth, while using SMDCs for a drum overhead setup to capture the cymbal shimmer and room ambiance.
Q 9. How do you approach mixing dialogue for clarity and intelligibility?
Mixing dialogue for clarity and intelligibility is paramount, especially in film and television post-production. My approach involves a multi-step process:
- Careful Editing: Removing mouth clicks, breaths, and background noise is crucial before any mixing begins. This sets the foundation for a clean sound.
- EQ: I carefully sculpt the frequency response, using high-pass filters to remove low-frequency rumble and unwanted coloration. I’ll boost presence frequencies (around 3kHz-5kHz) to enhance clarity, but carefully to avoid harshness. This is where understanding the specific needs of the voice is crucial – every voice is unique.
- Compression: This helps control dynamic range and even out the volume level, preventing dialogue from being buried or too loud. I use gentle compression to retain natural dynamics.
- De-essing: Removes harsh sibilance (s sounds) by using de-essers strategically. This is crucial for creating a smooth and polished vocal track.
- Dialogue Mixing: Balancing different dialogue tracks carefully, making sure they are well-integrated and do not mask each other.
- Spatialization: Employing techniques to place dialogue in the stereo or surround sound field, using panning and delay to create a sense of space.
I always listen on various playback systems to ensure the dialogue is intelligibly across a range of speakers and sound systems.
Q 10. Explain your workflow for mixing a typical music track.
My workflow for mixing a typical music track is iterative and often involves these steps:
- Preparation: Importing and organizing all tracks, setting up a solid template with clear naming conventions.
- Gain Staging: Setting the individual track levels accurately to prevent clipping and maximize headroom before further processing. This is the foundation for a good mix.
- Editing: Refining the individual tracks, removing clicks, pops, and unwanted noise. Comping (choosing the best takes) is done at this stage.
- Basic Processing: Applying EQ, compression, and other basic effects to individual tracks. This involves finding the right sound for each instrument and vocal track.
- Arrangement and Positioning: Determining the placement of elements in the stereo field, using panning and delay to create a sense of space.
- Mixing Balance and Dynamics: Integrating all the tracks together by balancing volume, panning, and using compression and limiting to control dynamics.
- Automation: Automating volume, panning, or other effects to create movement and interest in the track.
- Effects Processing: Applying reverb, delay, chorus, and other effects to add depth and texture. This step involves making decisions about the sonic space of the track.
- Mastering Preparation: Making any final adjustments to the mix before sending it to mastering.
Throughout this process, I constantly refer to my reference mix to maintain a consistent sound and quality.
Q 11. Describe your experience with surround sound mixing techniques.
I have extensive experience in surround sound mixing, primarily using 5.1 and 7.1 configurations. Understanding the spatial characteristics of each speaker is critical. My approach focuses on:
- Immersive Soundscapes: Creating a sense of depth and envelopment by strategically placing elements across the different speakers. This could involve using panning to create movement and dimension.
- Maintaining Stereo Compatibility: Ensuring the mix sounds good in stereo playback, which is important since many listeners may experience content in stereo.
- Channel Assignment: Careful assignment of elements to the correct surround channels, considering their spatial relationship to create a cohesive soundstage.
- Low-Frequency Effects: Using the LFE (Low-Frequency Effects) channel correctly to handle low-frequency sounds that can contribute to a sense of power and impact without muddying the other channels.
- Dialogue and Voice Placement: Strategically positioning dialogue within the front speakers for maximum clarity, while adding subtle effects to enhance the sense of location and immersion.
Pro Tools and other DAWs provide excellent tools for surround sound mixing, including panning tools and speaker matrix visualization that aid in navigating the spatial aspects. I also heavily utilize binaural techniques for effective spatial positioning.
Q 12. How do you handle phase cancellation issues during mixing?
Phase cancellation is a common issue in mixing, occurring when two identical sounds are out of phase, resulting in a loss of volume or even complete cancellation. My strategies for handling this include:
- Careful Mic Placement: This is the first line of defense. Avoiding placing microphones too close together can minimize phase issues. Understanding microphone polar patterns is vital here.
- Phase Alignment Tools: DAWs offer plugins that can visually analyze and correct phase issues between tracks. These tools allow for adjustments to align waveforms and reduce cancellation.
- Mono Compatibility: Mixing in mono can help identify phase issues. If a track sounds significantly quieter or different in mono, it’s a sign of potential phase problems.
- EQ: Sometimes, subtle EQ adjustments can help mitigate phase issues by reducing frequencies where cancellation is most severe.
- Reverse Polarity: In some cases, flipping the polarity of one track can resolve phase cancellation, effectively aligning the waveforms.
Phase issues are often subtle and can be challenging to pinpoint. Carefully listening in mono and using visual analysis tools are key to identifying and correcting them effectively.
Q 13. What are your strategies for achieving a consistent sound across different playback systems?
Achieving a consistent sound across various playback systems is critical for any professional mix. My strategies involve:
- Reference Monitoring: Using high-quality, calibrated monitors as a reference point. This allows for a consistent baseline throughout the mixing process.
- Loudness Maximization: Employing appropriate loudness standards (like LUFS) to ensure the mix translates well across different systems and playback environments.
- Test on Different Systems: Regularly testing the mix on a variety of playback systems (computers, phones, car stereos) to ensure it sounds acceptable across the board. This can reveal unexpected problems.
- Genre Conventions: Considering genre conventions for target loudness. For instance, some genres naturally have louder mixes.
It’s important to remember that perfect consistency is virtually impossible, but these steps significantly improve translation across different playback systems.
Q 14. Explain your process for creating a reference mix.
Creating a robust reference mix is essential for maintaining consistency and perspective throughout the mixing process. My process involves:
- Choosing a High-Quality Track: Selecting a commercially released track from a similar genre, known for its excellent mix. This acts as a sonic benchmark.
- Careful Analysis: Analyzing the reference track’s frequency balance, dynamics, and overall sound. This informs decisions about EQ, compression, and other processing.
- A/B Comparison: Regularly comparing my mix to the reference track throughout the mixing process. This facilitates objective evaluation and ensures the overall character aligns with the benchmark track.
- Note-Taking: Documenting my findings and decisions during comparisons. This improves workflow and memory recall in future mix sessions.
The reference mix should guide decisions, not dictate the sound. It provides a framework to work within, enabling a professional and consistent result.
Q 15. What software and hardware are you proficient with (DAWs, plugins, consoles)?
My proficiency spans a wide range of Digital Audio Workstations (DAWs), plugins, and mixing consoles. I’m highly experienced with industry-standard DAWs like Pro Tools, Logic Pro X, and Ableton Live. My plugin expertise includes a deep understanding of compressors (like Waves CLA-76, Universal Audio LA-2A), equalizers (FabFilter Pro-Q 3, Brainworx bx_digital V3), reverbs (Lexicon PCM Native, Valhalla Room), and a wide array of other processing tools. I’m equally comfortable working on both analog and digital mixing consoles; I’ve extensive experience with SSL consoles (like the 4000 series) and API consoles (like the Vision series), understanding their unique sonic characteristics. This broad knowledge allows me to adapt to different studio environments and client preferences effectively.
For example, on a recent project involving a complex orchestral score, I leveraged Pro Tools’ powerful session management capabilities alongside Waves plugins for precise and efficient mixing. On another project focusing on a live recording of a rock band, I utilized the punch and clarity of an API console to capture the energy of the performance. In essence, my tool selection is always driven by the specific needs of the project and the desired sonic outcome.
Career Expert Tips:
- Ace those interviews! Prepare effectively by reviewing the Top 50 Most Common Interview Questions on ResumeGemini.
- Navigate your job search with confidence! Explore a wide range of Career Tips on ResumeGemini. Learn about common challenges and recommendations to overcome them.
- Craft the perfect resume! Master the Art of Resume Writing with ResumeGemini’s guide. Showcase your unique qualifications and achievements effectively.
- Don’t miss out on holiday savings! Build your dream resume with ResumeGemini’s ATS optimized templates.
Q 16. Describe your experience with automation in audio mixing.
Automation is fundamental to modern audio mixing; it allows for dynamic and nuanced control over parameters throughout a track. My experience encompasses a wide array of automation techniques, from simple volume rides to complex parameter modulation using envelopes and LFOs. I frequently use automation for tasks such as:
- Volume and Panning Automation: Creating dynamic movements in the mix, emphasizing key elements, and avoiding listener fatigue.
- EQ Automation: Adapting EQ settings over time to address frequency conflicts or enhance certain aspects of a sound depending on the context of the track.
- Effects Automation: Dynamically adjusting effects sends, like reverb or delay, to create subtle shifts in texture and space. This is useful for instance to create a sense of a developing soundscape.
- Plugin Parameter Automation: Automating parameters within individual plugins like compressor thresholds or gain staging to create subtle dynamic variations.
I am proficient in both drawing automation curves directly within the DAW and using MIDI controllers for real-time control. For example, on a recent project I automated the send to a delay plugin on a vocal track, gradually increasing the delay time during the chorus to create a sense of widening and spaciousness.
Q 17. How do you troubleshoot technical issues during a mixing session?
Troubleshooting is an integral part of the mixing process. My approach is systematic and follows a logical process. I begin by identifying the nature of the problem, then isolate the potential sources. My troubleshooting steps typically involve:
- Identify the symptom: Pinpoint the specific issue (e.g., unexpected distortion, phase cancellation, lack of clarity).
- Isolate the source: Check individual tracks, plugins, and hardware components. Start by checking the signal path and eliminating obvious causes. I often use solo and mute functions to isolate the problem track.
- Reproduce the problem: Try to consistently reproduce the issue to narrow down the cause and ensure a consistent result of the troubleshooting steps.
- Test and iterate: Gradually apply solutions and test whether they resolve the issue. This may include bypassing plugins, replacing cables, or adjusting settings.
- Document findings: Keep notes of the problem, the steps taken, and the solution to avoid similar problems in the future.
For instance, if I encounter unexpected distortion, I’d systematically check each track for clipping, examine plugin settings for excessive gain, and verify proper input/output levels. If the problem persists, I would then consider hardware issues like a faulty cable or malfunctioning interface.
Q 18. How do you manage your time effectively during a mixing project?
Effective time management is crucial for successful mixing. My strategy revolves around careful planning and efficient workflow. This includes:
- Detailed Planning: Before starting the mix, I create a detailed plan outlining my approach for each section, instrument, and effect. This allows for an organized process and less time spent on decision-making during the actual mixing phase.
- Prioritization: I prioritize tasks based on their impact on the overall mix. For instance, I usually focus on fundamental elements like drums and bass before moving to more subtle details.
- Regular Breaks: Taking short breaks helps maintain focus and prevent listener fatigue, which can significantly impact mixing decisions. This allows for fresh ears when returning to the process.
- Batch Processing: I utilize batch processing functions to automate tasks such as volume adjustments or effects application, reducing tedious manual work.
- Version Control: Regular saving and versioning of the project is vital for safeguarding progress and enabling easy recall of previous mix states. This is particularly relevant for large projects.
For example, on a recent album project, I broke down the mixing process into manageable chunks per song, focusing on one or two key elements at a time. I also implemented a rigorous version control system, saving the project after each significant mixing stage.
Q 19. What is your understanding of psychoacoustics and its relevance to mixing?
Psychoacoustics is the study of the perception of sound. Understanding psychoacoustics is paramount in mixing because it directly influences how listeners perceive the audio. Key concepts include:
- Frequency Masking: Louder sounds can mask quieter sounds in adjacent frequency ranges. I use this knowledge to strategically arrange instruments and avoid frequency clashes.
- Temporal Masking: A loud sound can mask a quieter sound that immediately precedes or follows it. I leverage this to manage dynamics and transient sounds effectively. For example, careful arrangement of drum hits can prevent them from being masked by each other.
- Loudness Perception: Our perception of loudness is not linear. I use loudness metering tools (like LUFS metering) to ensure consistency and optimal loudness across different playback systems.
- Spatial Perception: Our brains use subtle cues to perceive the location and distance of sounds. I use panning, stereo widening, and reverb to create a believable and immersive soundscape.
For example, when mixing a track with a prominent bassline and a quiet vocal melody, I would make sure the frequency range of the bass isn’t overwhelmingly masking the vocal, by using EQ.
Q 20. Explain the importance of monitoring your mix on various playback systems.
Monitoring a mix on various playback systems is crucial for ensuring its translation across different listening environments. A mix sounding great on high-end studio monitors might sound muddy or thin on smaller speakers, headphones, or in a car. Therefore, I always reference mix on various devices to optimize its sound across a range of playback systems. I typically use:
- Studio Monitors: High-quality speakers provide a reference point for accurate frequency response.
- Near-Field Monitors: Smaller speakers for evaluating the mix in a more confined acoustic environment.
- Headphones: To evaluate different aspects of stereo imaging and individual instrument separation.
- Laptop Speakers: To evaluate the mix on consumer-grade systems.
- Car Stereo: To evaluate the mix in a compressed audio environment.
By checking the mix across these different systems, I can identify potential issues and address them before the final mastering process. For example, a mix sounding rich and warm on my studio monitors might sound overly bass-heavy in a car, prompting me to adjust the low-frequency content for better translation.
Q 21. How do you collaborate effectively with other members of an audio production team?
Effective collaboration is essential in audio production. My approach emphasizes clear communication, mutual respect, and a shared vision for the project. This involves:
- Regular Communication: Maintaining open and frequent communication with producers, engineers, and artists. Sharing ideas, feedback and progress updates is crucial for maintaining a smooth and collaborative workflow.
- Active Listening: Carefully listening to feedback from team members, acknowledging their perspectives, and incorporating their input when appropriate.
- Clear Roles and Responsibilities: Ensuring everyone has a well-defined role and understands their responsibilities to prevent confusion and overlap.
- Constructive Feedback: Providing clear, constructive feedback that focuses on solutions rather than criticism. This promotes a positive and supportive environment.
- Shared Workflow: Establishing a shared workflow using cloud-based services or shared drives for seamless file sharing and collaboration.
For example, during a recent project, I worked closely with the producer to define the overall sonic direction, regularly exchanged ideas and feedback during the mixing process, and ensured the final mix adhered to the artistic vision we had collaboratively established.
Q 22. How do you balance creative expression with technical accuracy in your mixing work?
Balancing creative expression and technical accuracy in mixing is like finding the perfect recipe: you need the right ingredients (technical skills) and the artistry (creative vision) to achieve the desired flavor (final mix). Technical accuracy ensures the mix is clear, well-balanced, and free of technical flaws – a solid foundation. Creative expression allows your artistic vision to shine through – the unique seasoning that makes it memorable. It’s a continuous interplay.
For example, I might have a creative vision for a particularly lush and atmospheric soundscape. Technically, I’d ensure proper gain staging, avoid clipping, and use precise EQ to sculpt the sonic elements. But the creative aspect comes in the way I layer sounds, use effects like reverb and delay, and ultimately shape the emotional impact of the music. The key is to find the sweet spot where neither element overshadows the other.
I achieve this balance through meticulous planning, utilizing reference tracks, iterative listening, and critical self-assessment. Constant monitoring and comparison with high-quality productions help me understand the boundary between artistic choices and technical limitations.
Q 23. Describe a challenging mixing project and how you overcame it.
One particularly challenging project involved mixing a live recording of a jazz quintet in a notoriously reverberant church. The original recording suffered from significant bleed between instruments, excessive ambient noise, and uneven frequency responses. My initial strategy focused on isolating each instrument using a combination of EQ and phase alignment techniques. This involved carefully identifying and attenuating frequencies where instruments bled into each other.
For example, the bass guitar was bleeding heavily into the kick drum’s low-end. By utilizing a surgical notch filter on the bass EQ, I was able to isolate and reduce the frequencies causing the bleed, cleaning up the kick drum’s tone. This process took time, and I employed multiple passes and revisions, A/B-ing my progress consistently.
Further, I used a de-esser plugin to tame sibilance in the vocal track and employed noise reduction to minimize the church’s ambient background hum. I also used sophisticated reverb plugins to carefully shape the natural reverb while managing the pre-existing excessive room reflections. The final step involved dynamic processing, compression, and limiting to achieve a cohesive and dynamic feel for the overall mix.
Q 24. What are your preferred techniques for achieving a natural-sounding reverb?
Achieving a natural-sounding reverb is a crucial aspect of mixing. I avoid using pre-sets and instead employ a combination of techniques to craft a reverb that complements the music naturally. I start by considering the acoustic space I want to emulate – is it a small room, a large hall, a cathedral? This shapes my choice of reverb algorithms.
I often prefer convolution reverb which uses impulse responses (IRs) captured from real acoustic spaces. These give you a very realistic feel. However, algorithmic reverbs can be manipulated and fine-tuned in ways that make them versatile. I might blend both types to get the optimal outcome. The key is to understand the decay time, pre-delay, and diffusion parameters and how they contribute to the overall feel.
For example, in a vocal track, I might use a shorter, more intimate reverb to add depth and presence without making it sound artificial. For instrumental tracks like guitars or piano, I might choose a larger reverb space for a more spacious feel. Always listening critically and ensuring the reverb adds to the mix without overshadowing the source material is essential.
Q 25. Explain your approach to mastering a mix (if applicable).
My approach to mastering is to treat it as a separate process from mixing, focusing on optimizing the overall loudness and sonic balance of the final product for distribution. I would never master my own mixes if I’m in charge of the mastering. It’s beneficial to have fresh ears.
After receiving a properly mixed track, I start by checking for any remaining technical flaws and addressing any issues with dynamic range. It’s also important to analyze the frequency spectrum to ensure evenness across the entire frequency spectrum, removing any potential masking. Gain staging across multiple tracks is also essential for a good master.
Next, I use careful compression, limiting, and equalization to enhance clarity, loudness, and overall consistency. The aim is to make the mix sound as good as possible on various playback systems without sacrificing detail or dynamics. Throughout the entire process, I constantly refer to mastering standards and use high-quality mastering plugins for a professional result.
Q 26. What are your strategies for dealing with noise and unwanted artifacts in audio recordings?
Dealing with noise and unwanted artifacts is a significant part of audio mixing. My approach is multi-faceted, starting with noise reduction during the recording phase—minimizing background noise and using proper microphone techniques is crucial. But if noise is already present, I employ a variety of tools in post-production.
For background hums or consistent noise, I use noise reduction plugins which analyze the noise profile and subtract it from the audio, but this needs to be used cautiously to avoid artifacts. For clicks and pops, I use audio editing software to identify and manually remove them, or I can use specialized tools for restoration. For unwanted artifacts like microphone handling noise, this often means careful selection of audio and removal of problematic sections.
It’s important to remember that excessive noise reduction can damage the sonic quality, so I always employ a delicate approach. Listening critically and understanding the tools and their limitations is key. Often, a little bit of judicious editing or careful choices in the initial recording process is more effective than applying heavy noise reduction.
Q 27. How do you stay updated on the latest trends and technologies in audio mixing?
Staying updated in the rapidly evolving field of audio mixing requires a proactive approach. I regularly attend industry conferences and workshops, where I can learn about new techniques, technologies, and meet fellow professionals. I also actively participate in online communities and forums, engaging with discussions on best practices and challenges.
I subscribe to various audio engineering publications and regularly read articles and blogs by leading experts in the field. I also keep a close watch on the development of new audio software and plugins, testing and incorporating them into my workflow. Learning from renowned mix engineers through their online tutorials and masterclasses is another way I maintain expertise.
Finally, I continually challenge myself with different projects and musical styles, forcing me to explore new techniques and refine my skills. The best way to remain current is to stay curious and actively engage with the field.
Key Topics to Learn for Audio Mixing and Level Control Interview
- Gain Staging: Understanding the importance of setting appropriate input levels to maximize dynamic range and minimize distortion. Practical application: Explaining your workflow for setting levels on various audio sources (microphones, instruments, etc.).
- EQ Techniques: Mastering the use of equalization to shape the tonal balance of individual tracks and the overall mix. Practical application: Describing scenarios where you’ve used EQ to solve specific mixing problems (e.g., muddiness in the low-end, harshness in the high-end).
- Compression and Dynamics Processing: Utilizing compressors, limiters, and expanders to control dynamics and create a polished and consistent sound. Practical application: Explaining your choice of compressor settings for different instruments or vocal tracks, and justifying your decisions.
- Panning and Stereo Imaging: Effectively positioning sounds within the stereo field to create a wide and immersive soundscape. Practical application: Describing techniques for creating a balanced and spacious stereo mix.
- Signal Flow and Routing: Understanding the path of audio signals through a mixing console or DAW (Digital Audio Workstation). Practical application: Explain how you would route signals to achieve a specific effect or solve a routing problem.
- Mixing Styles and Conventions: Familiarity with different mixing styles (e.g., pop, rock, classical) and their associated techniques. Practical application: Discuss how mixing techniques vary across different genres.
- Troubleshooting and Problem-Solving: Identifying and resolving common audio mixing issues such as feedback, phasing, and clipping. Practical application: Describe a situation where you successfully diagnosed and fixed an audio problem.
- Monitoring and Calibration: Understanding the importance of accurate monitoring and proper speaker calibration for consistent mixing. Practical application: Explain your process for setting up your monitoring environment for accurate mixing.
Next Steps
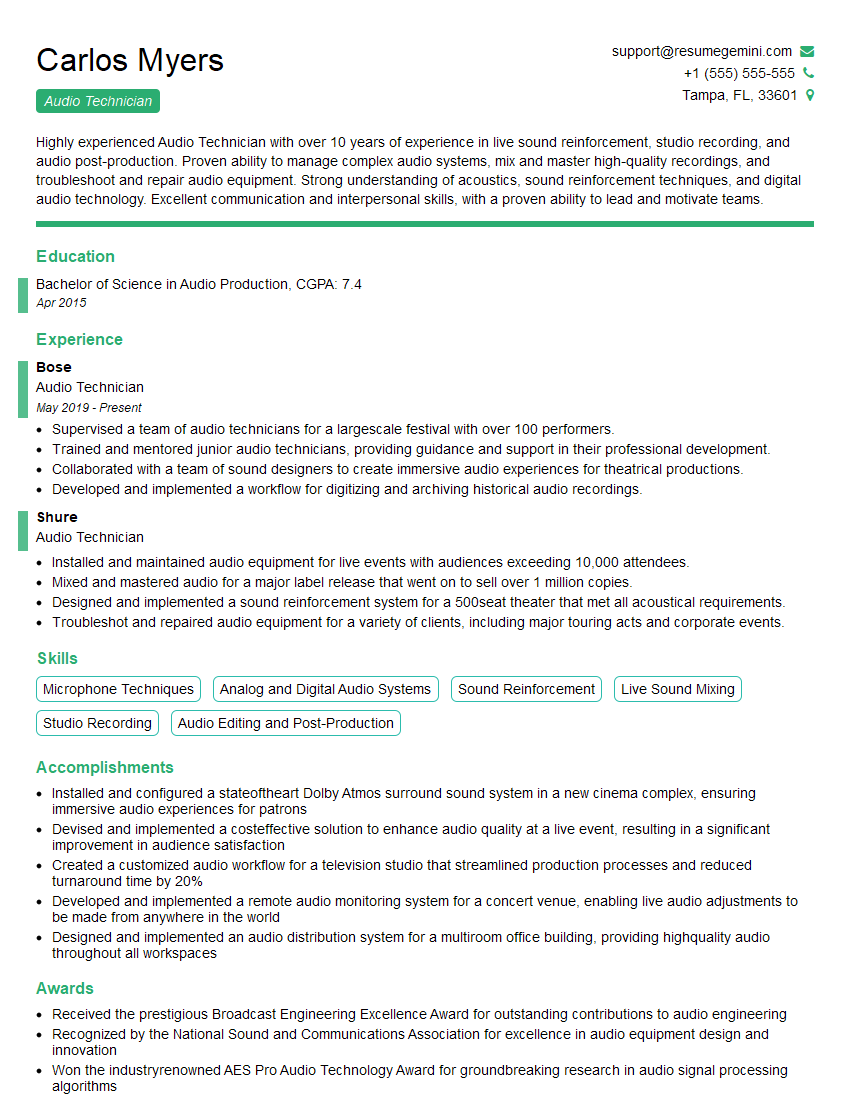
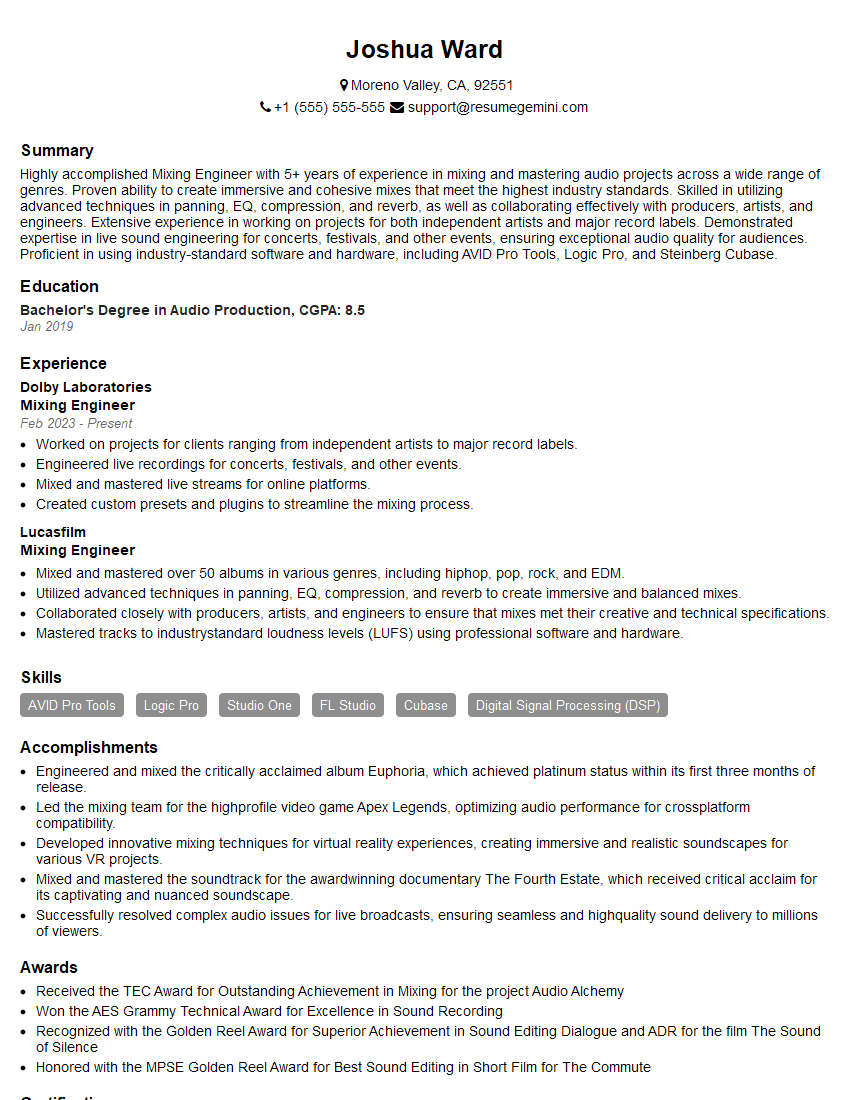
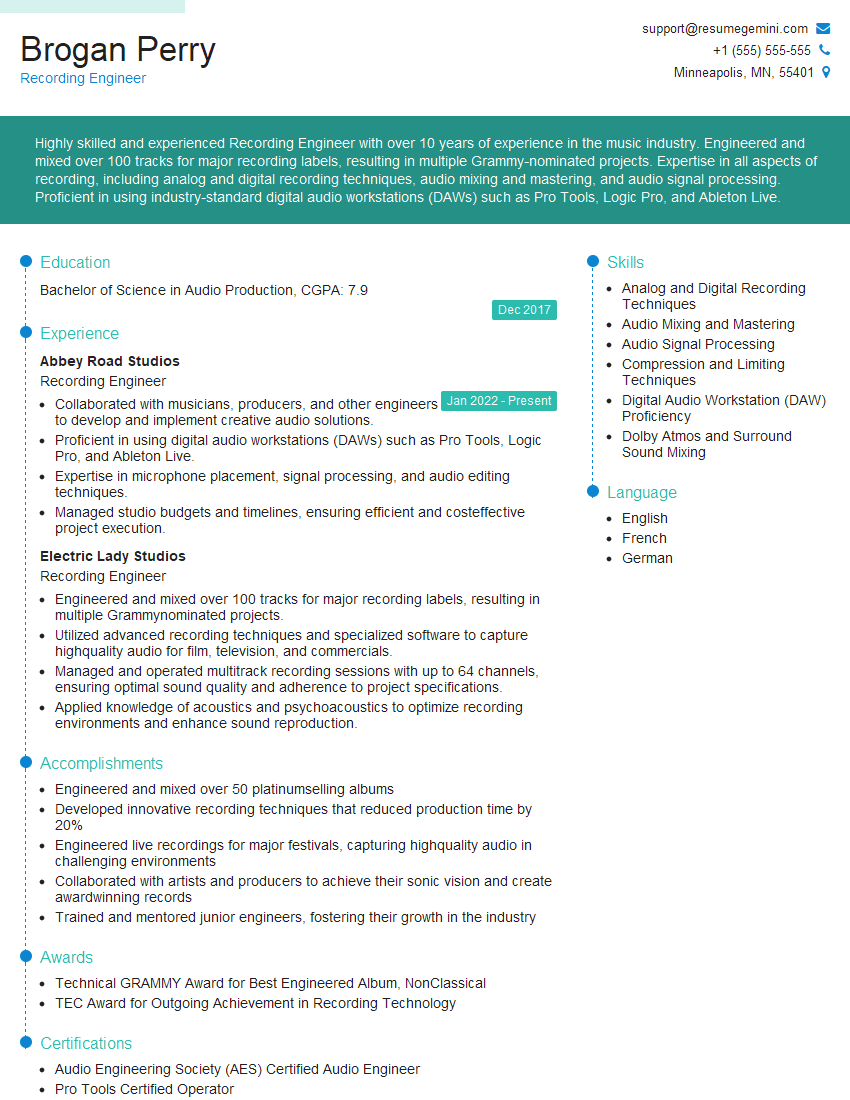
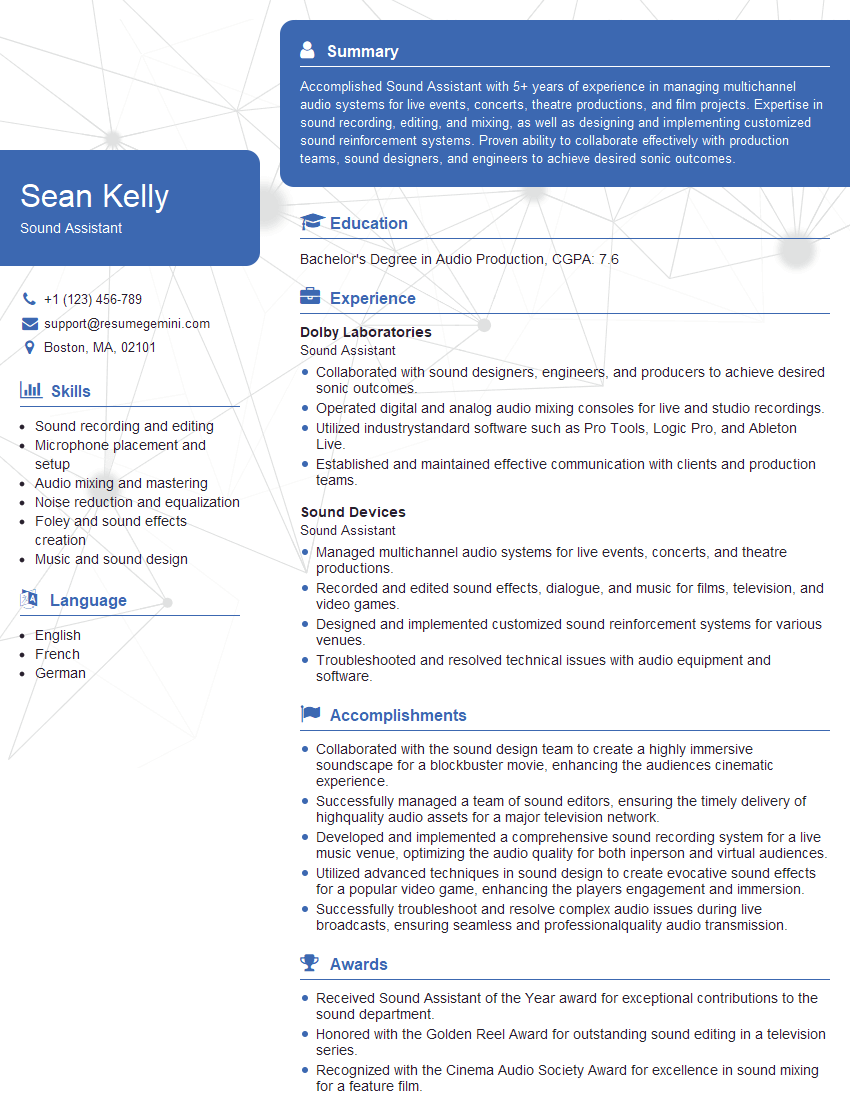
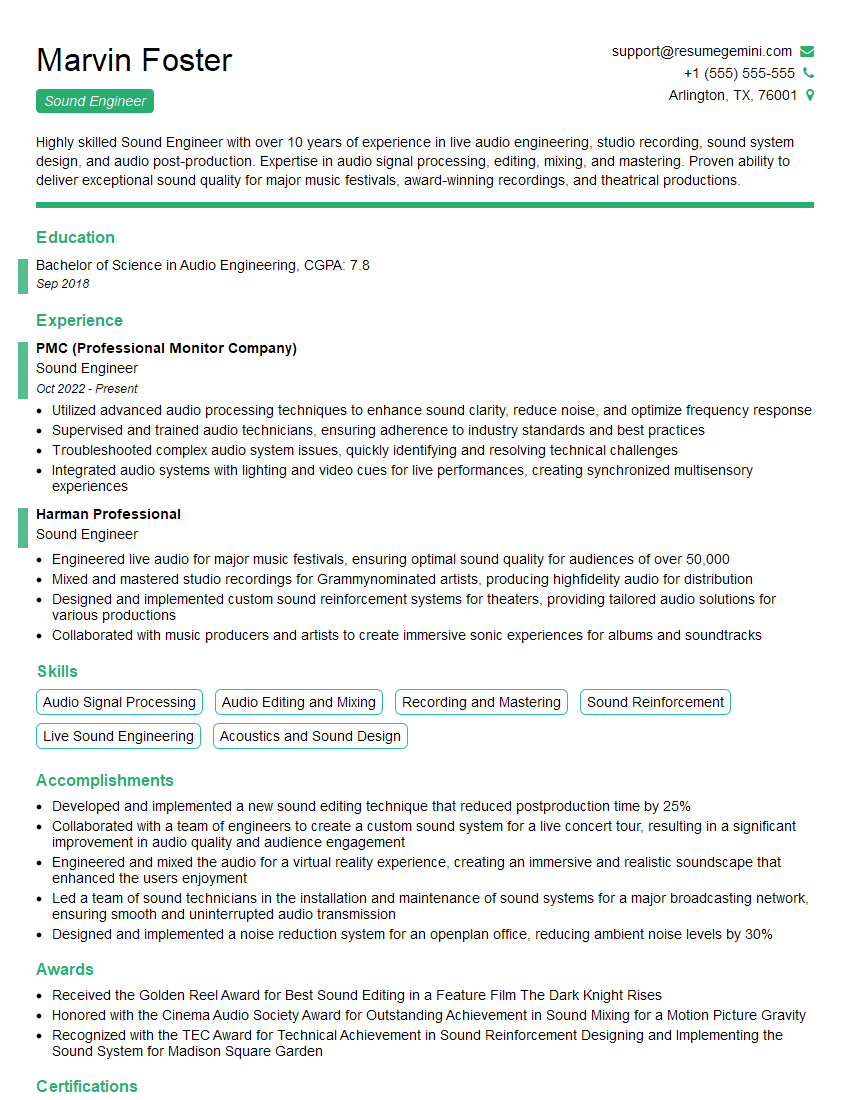
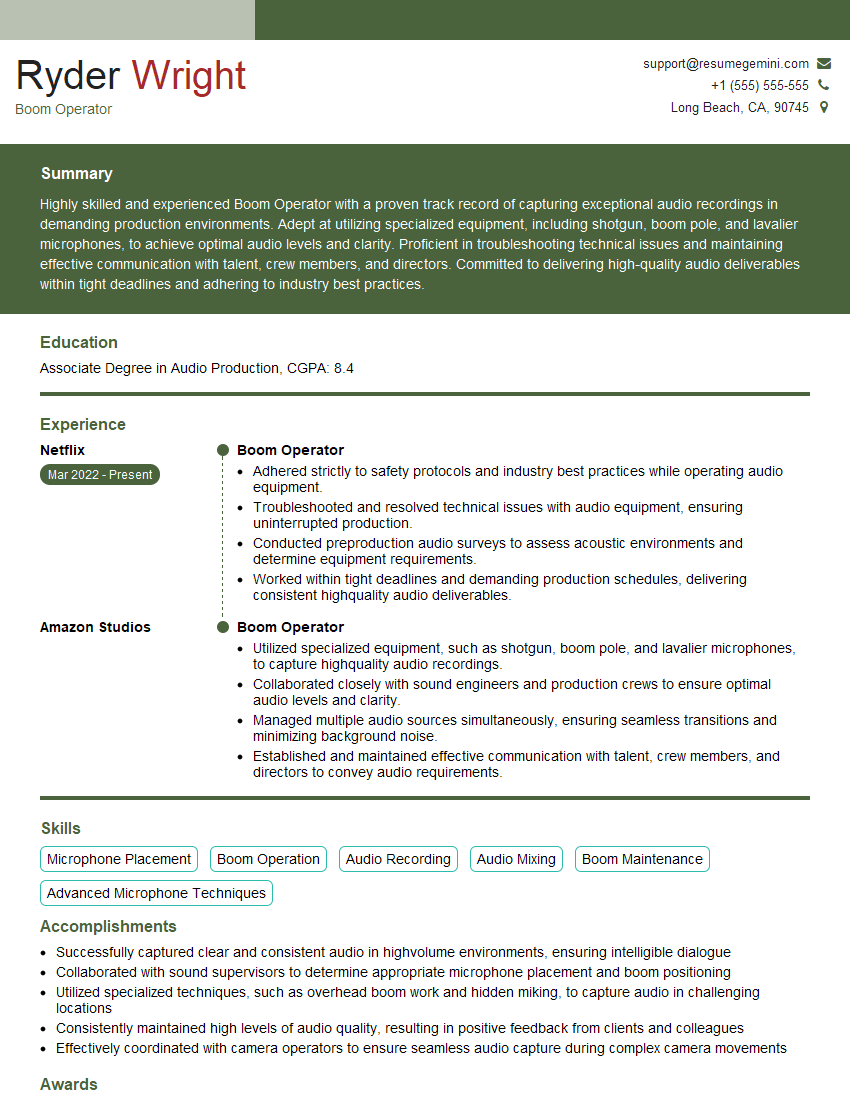
Mastering audio mixing and level control is crucial for career advancement in the audio industry, opening doors to diverse roles with higher earning potential and greater creative freedom. To significantly boost your job prospects, creating an ATS-friendly resume is paramount. ResumeGemini is a trusted resource that can help you build a professional resume that showcases your skills effectively. Examples of resumes tailored to Audio Mixing and Level Control are available through ResumeGemini, helping you present your qualifications compellingly to potential employers.
Explore more articles
Users Rating of Our Blogs
Share Your Experience
We value your feedback! Please rate our content and share your thoughts (optional).
What Readers Say About Our Blog
Interesting Article, I liked the depth of knowledge you’ve shared.
Helpful, thanks for sharing.
Hi, I represent a social media marketing agency and liked your blog
Hi, I represent an SEO company that specialises in getting you AI citations and higher rankings on Google. I’d like to offer you a 100% free SEO audit for your website. Would you be interested?
