Cracking a skill-specific interview, like one for Pillow, requires understanding the nuances of the role. In this blog, we present the questions you’re most likely to encounter, along with insights into how to answer them effectively. Let’s ensure you’re ready to make a strong impression.
Questions Asked in Pillow Interview
Q 1. Explain the difference between Pillow and PIL.
Pillow and PIL are essentially the same library; Pillow is just a more user-friendly fork of the older PIL (Python Imaging Library). PIL was the original library, but development stalled. Pillow picked up where PIL left off, adding features, improving stability, and offering better support. Think of it like this: PIL is the classic car, reliable but a bit outdated, while Pillow is the newer model with all the modern upgrades. For all practical purposes, when people talk about image manipulation in Python, they’re referring to Pillow.
Q 2. How do you open and save an image using Pillow?
Opening and saving images with Pillow is straightforward. You use the Image.open() method to open an image file and the Image.save() method to save it. The file format is usually inferred from the file extension, but you can specify it explicitly.
Here’s how you’d open a JPEG image and save it as a PNG:
from PIL import Image
img = Image.open('my_image.jpg')
img.save('my_image.png')
This code first imports the Image module from the Pillow library. Then it opens ‘my_image.jpg’ and saves it as ‘my_image.png’. Remember to have the ‘my_image.jpg’ file in the same directory as your Python script. Error handling (checking if the file exists and is readable) is crucial in production-level code.
Q 3. Describe the Image class in Pillow.
The Image class is the core of Pillow. It represents a single image and provides methods for accessing and manipulating its pixels, metadata (like EXIF data), and format. Think of it as a container holding all the image data and the tools to work with it. Every image you load using Image.open() is an instance of the Image class. You can access its properties like width, height, and pixel data, and use its methods to perform various image manipulations.
For example, img.size gives you the dimensions (width, height) as a tuple, and img.getpixel((x, y)) retrieves the pixel value at coordinate (x,y).
Q 4. How do you resize an image using Pillow?
Resizing images is a common task. Pillow makes it easy with the Image.resize() method. You provide the desired size as a tuple (width, height), and Pillow uses efficient algorithms to resize the image. You can also specify the resampling filter to control the quality. The default is Image.NEAREST, but better results often come from Image.ANTIALIAS (also known as Lanczos resampling), especially for significant size changes.
from PIL import Image
img = Image.open('my_image.jpg')
resized_img = img.resize((300, 200), Image.ANTIALIAS)
resized_img.save('resized_image.jpg')
This code resizes ‘my_image.jpg’ to 300×200 pixels using antialiasing and saves it as ‘resized_image.jpg’. Consider the trade-off between speed and quality when choosing a resampling filter. For quick resizing, Image.NEAREST is faster, but Image.ANTIALIAS produces smoother results.
Q 5. How do you crop an image using Pillow?
Cropping involves extracting a rectangular region from an image. You use the Image.crop() method, passing a tuple specifying the bounding box: (left, upper, right, lower) coordinates.
from PIL import Image
img = Image.open('my_image.jpg')
cropped_img = img.crop((100, 50, 400, 300))
cropped_img.save('cropped_image.jpg')
This example crops a 300×250 pixel area starting from (100,50) and ending at (400,300). Remember that coordinates are (x,y) with (0,0) being the top-left corner. Incorrect coordinates can lead to errors or unexpected results.
Q 6. How do you rotate an image using Pillow?
Rotating images is done using the Image.rotate() method. You specify the rotation angle in degrees (clockwise) as the first argument. Optional arguments allow you to define what happens with the area outside the original image boundaries (default is to fill with black). You can choose to expand the canvas to prevent cropping.
from PIL import Image
img = Image.open('my_image.jpg')
rotated_img = img.rotate(45, expand=True)
rotated_img.save('rotated_image.jpg')
This rotates ‘my_image.jpg’ by 45 degrees and expands the canvas to fit the rotated image, preventing data loss. The expand=True argument is important to avoid cutting off parts of the image after rotation.
Q 7. How do you convert an image to grayscale using Pillow?
Converting an image to grayscale is done using the Image.convert() method with the ‘L’ mode. ‘L’ stands for luminance, representing grayscale images.
from PIL import Image
img = Image.open('my_image.jpg')
grayscale_img = img.convert('L')
grayscale_img.save('grayscale_image.jpg')
This code efficiently converts a color image to grayscale. The result is a simpler image with reduced color information, useful for various applications, like image processing or data compression.
Q 8. How do you adjust the brightness and contrast of an image using Pillow?
Adjusting brightness and contrast in Pillow involves manipulating the pixel values of an image. Think of it like adjusting the dials on a photo editor – you’re changing the overall lightness and the difference between the darkest and lightest parts. Pillow provides convenient functions to do this without directly accessing individual pixel data. We leverage the ImageEnhance module.
Here’s how you can do it:
from PIL import Image, ImageEnhance
im = Image.open('myimage.jpg')
enhancer = ImageEnhance.Brightness(im)
im_bright = enhancer.enhance(1.5) # 1.5 increases brightness; values >1 brighten, <1 darken
im_bright.save('brighter_image.jpg')
enhancer = ImageEnhance.Contrast(im)
im_contrast = enhancer.enhance(1.2) # 1.2 increases contrast; values >1 increase, <1 decrease
im_contrast.save('higher_contrast_image.jpg')
In this example, we increase the brightness by 50% (1.5x) and contrast by 20% (1.2x). You can experiment with different values to achieve your desired effect. Remember that extremely high or low values can lead to a loss of detail or a washed-out appearance.
Q 9. How do you perform image filtering (e.g., blurring, sharpening) using Pillow?
Image filtering in Pillow uses the ImageFilter module, offering various pre-built filters and the ability to create custom ones. Imagine it like applying different lenses to your camera – each filter produces a unique visual effect.
Here's how to apply common filters:
from PIL import Image, ImageFilter
im = Image.open('myimage.jpg')
blurred_image = im.filter(ImageFilter.BLUR)
sharpened_image = im.filter(ImageFilter.SHARPEN)
blurred_image.save('blurred.jpg')
sharpened_image.save('sharpened.jpg')
This code applies a simple blur and sharpen filter. More advanced filtering techniques involve convolution kernels, which are beyond the scope of this quick overview, but Pillow supports them for finer control.
For example, Gaussian blur is another popular option and you can control its radius using ImageFilter.GaussianBlur(radius=2). The higher the radius, the more the image will be blurred.
Q 10. Explain different image formats supported by Pillow and their characteristics.
Pillow boasts support for a wide array of image formats, each with its own strengths and weaknesses. Think of it as a universal translator for image files.
- JPEG (JPG): Lossy compression, good for photographs, smaller file sizes but some quality loss.
- PNG: Lossless compression, supports transparency, ideal for graphics and images with sharp lines and text.
- li>GIF: Lossless compression, supports animation and limited palette colors, often used for simple animations and logos.
- TIFF: Lossless or lossy compression, supports many tags and metadata, often used for high-quality images and archiving.
- BMP: Uncompressed format, simple and widely compatible, large file sizes.
- WebP: Modern format offering both lossy and lossless compression, often superior compression compared to JPEG and PNG.
The choice of format depends largely on your application's needs. If you need lossless compression and transparency, PNG is a great choice. For photographs where file size is a concern, JPEG is typically preferred. If you need animation, GIF is a good option though its color palette is limited. WebP is an increasingly popular alternative offering better compression than both JPEG and PNG.
Q 11. How do you work with image palettes in Pillow?
Working with image palettes in Pillow is crucial for formats like GIF, which uses a limited number of colors. A palette dictates the available colors for an image; think of it as a painter's limited set of paints.
Pillow allows you to:
- Get the current palette:
palette = im.getpalette() - Set a palette:
im.putpalette(new_palette)wherenew_paletteis a list of RGB values. - Quantize an image to reduce the number of colors:
im = im.quantize(colors=256)This reduces the number of colors in the image to a specified number, creating a palette.
When creating GIF images, you'll frequently work with palettes directly as GIFs have a limited number of colors. You can define a custom palette to control the colors used in your GIF, allowing for greater control and potentially smaller file sizes.
Q 12. How do you handle image transparency using Pillow?
Handling transparency in Pillow is straightforward, primarily using the alpha channel. The alpha channel defines the opacity of each pixel, ranging from 0 (completely transparent) to 255 (completely opaque). Think of it like controlling the visibility of each pixel.
Here are key functionalities:
- Checking for an alpha channel:
im.mode == 'RGBA'(or 'LA' for grayscale with alpha) - Creating an image with transparency:
im = Image.new('RGBA', (width, height), (0,0,0,0))(Creates a transparent image) - Setting transparency using a mask: A mask image defines transparency with white (opaque) and black (transparent).
im.putalpha(mask) - Modifying Alpha values directly: Pixel access allows more fine-grained control. For example, setting alpha to 128 makes the pixel 50% transparent.
Transparency is essential in many applications, from compositing images to creating logos or overlays on other images. Pillow makes it very easy to manage this crucial aspect of image manipulation.
Q 13. How do you draw shapes and text on an image using Pillow?
Drawing shapes and text on images using Pillow involves using the ImageDraw module. Imagine this module as a virtual art canvas where you can add elements to your image.
Here's an example:
from PIL import Image, ImageDraw, ImageFont
im = Image.open('myimage.jpg')
draw = ImageDraw.Draw(im)
draw.rectangle([(10, 10), (100, 100)], fill='red')
font = ImageFont.truetype('arial.ttf', 24) # Ensure you have arial.ttf in the right location
draw.text((120, 20), 'Hello!', fill='blue', font=font)
im.save('image_with_shapes.jpg')
This code adds a red rectangle and blue text to the image. ImageFont enables various text styles and sizes. You can draw various shapes like ellipses, lines, and polygons using the methods available in ImageDraw.
This feature is immensely useful for creating thumbnails, adding watermarks, or generating custom images for different purposes.
Q 14. How do you extract image metadata using Pillow?
Extracting image metadata with Pillow relies on the image's properties and format capabilities. Think of metadata as the image's hidden information, like the camera settings used to capture it, or its creation date. The amount of metadata varies across formats.
Here's an example:
from PIL import Image
im = Image.open('myimage.jpg')
print(im.format) # Image format (e.g., JPEG)
print(im.size) # Image dimensions
print(im.mode) # Image mode (e.g., RGB, RGBA)
print(im.info) # Dictionary containing additional metadata (format-dependent)
im.info provides a dictionary containing various details depending on the image format. JPEG files generally contain less metadata than TIFF files, which are often used for archiving and preserving image information.
This ability to access metadata is crucial for managing large image collections, ensuring quality control, or for applications needing specific image characteristics.
Q 15. How do you handle exceptions during image processing in Pillow?
Error handling is crucial in image processing because you'll often encounter unexpected issues like corrupted files or unsupported formats. Pillow, thankfully, leverages Python's exception handling mechanisms. The most common approach is using try...except blocks to gracefully handle potential errors. For example, if you're trying to open an image that doesn't exist, you'd expect a FileNotFoundError. Similarly, attempting to open an image with an unsupported format might raise an IOError.
Here's how you'd structure your code:
try:
    img = Image.open('my_image.jpg')
except FileNotFoundError:
    print("Image file not found!")
except IOError:
    print("Error opening image. Check the file format.")
except Exception as e:
    print(f"An unexpected error occurred: {e}")
This comprehensive approach catches specific exceptions first, allowing you to provide tailored error messages, and then uses a generic Exception block as a safety net to catch any unforeseen issues. Always log errors for debugging purposes in a production environment. Think of it like having a backup plan – you’re prepared for various scenarios, making your code robust and user-friendly.
Career Expert Tips:
- Ace those interviews! Prepare effectively by reviewing the Top 50 Most Common Interview Questions on ResumeGemini.
- Navigate your job search with confidence! Explore a wide range of Career Tips on ResumeGemini. Learn about common challenges and recommendations to overcome them.
- Craft the perfect resume! Master the Art of Resume Writing with ResumeGemini's guide. Showcase your unique qualifications and achievements effectively.
- Don't miss out on holiday savings! Build your dream resume with ResumeGemini's ATS optimized templates.
Q 16. Explain the concept of image modes in Pillow (e.g., RGB, RGBA, L).
Image modes in Pillow define the color characteristics of an image. Think of it like choosing the right paint for a canvas – each mode represents a different color palette and data structure. The most common modes are:
L(Luminance): Grayscale images. Each pixel is represented by a single byte (0-255), representing the intensity of light. Perfect for black and white images or when you only need intensity information.RGB(Red, Green, Blue): Full-color images using three bytes per pixel (one for each color component). This is the standard for most color photos.RGBA(Red, Green, Blue, Alpha): Same as RGB, but with an additional byte representing the alpha channel (transparency). This allows for semi-transparent pixels.CMYK(Cyan, Magenta, Yellow, Key [Black]): Used in print media. Represents colors using subtractive color mixing.P(Palette): Uses a color palette. Each pixel is represented by an index into the palette. This is good for images with a limited number of colors, leading to smaller file sizes.
Understanding image modes is crucial for image manipulation. Incorrect mode assumptions can lead to unexpected color distortions or errors during processing.
Q 17. How do you convert between different image modes using Pillow?
Converting between image modes is a common task in Pillow. The Image.convert() method is your primary tool. It takes the desired mode as an argument. For example, to convert an RGB image to grayscale (L mode):
from PIL import Image
img = Image.open('my_image.jpg')
grayscale_img = img.convert('L')
grayscale_img.save('grayscale.jpg')
You can convert between virtually any mode; the process involves remapping the pixel data according to the new mode's requirements. Converting from RGB to RGBA adds an alpha channel with full opacity (255) to each pixel. Converting to palette mode ('P') might require dithering (introducing subtle color variations) if the image contains colors not present in the palette to avoid drastic color changes.
Q 18. How do you work with color palettes in Pillow?
Pillow allows for working with color palettes, especially when dealing with indexed images (mode 'P'). You can define your own palettes or use pre-defined ones. For custom palettes, you create a list of RGB color tuples and pass them to Image.new('P', size, palette).
Example: Creating an image with a simple palette:
from PIL import Image
palette = [(255, 0, 0), (0, 255, 0), (0, 0, 255)] # Red, Green, Blue
img = Image.new('P', (100, 100), 0) # Create a new palette image
img.putpalette(palette) # Set the palette
img.putpixel((0, 0), 0) # Set pixel at (0,0) to Red (index 0)
img.putpixel((10, 10), 1) # Set pixel at (10,10) to Green (index 1)
img.save('palette_example.png')
The putpalette() method sets the palette for the image. Using putpixel, the index from the palette is used, not the RGB values themselves.
Q 19. How do you perform image blending using Pillow?
Image blending in Pillow involves combining two or more images, often with transparency. The Image.blend() function is the primary method, but it's more efficient to use array operations directly if handling numerous images for performance reasons. Image.blend() takes two images and an alpha value (between 0 and 1) as input. Alpha controls the blend ratio: 0 makes the first image fully transparent, while 1 makes it fully opaque. For example:
from PIL import Image
image1 = Image.open('image1.png')
image2 = Image.open('image2.png')
blended_image = Image.blend(image1, image2, 0.5) # 50% blend
blended_image.save('blended.png')
For more complex blending scenarios or non-linear blending techniques, consider using NumPy to directly manipulate the pixel arrays for greater efficiency. NumPy allows for vectorized operations that are significantly faster than iterating over pixels individually.
Q 20. How do you efficiently process large images using Pillow?
Processing large images efficiently in Pillow requires strategic approaches to avoid memory issues and long processing times. Key strategies include:
- Processing in tiles/chunks: Instead of loading the entire image into memory, load and process it in smaller, manageable sections (tiles). This drastically reduces memory footprint.
- Using memory-mapped files: Instead of loading the whole image, map the image file to memory. Only the parts of the image that are accessed are loaded into memory. This is excellent for read-heavy operations like analysis or image conversion.
- Employing efficient algorithms: Choose algorithms optimized for speed. For instance, using NumPy vectorized operations is significantly faster than using nested Python loops for pixel-level manipulation.
- Utilizing multiprocessing: Break down the image processing into independent tasks and distribute them across multiple CPU cores to parallelize the work. Python's
multiprocessinglibrary is useful here.
The approach you choose depends on the specific task; for example, if you need to analyze the entire image (like identifying features), a tile approach is better than memory mapping. However, if you need to simply change the format, memory mapping works best.
Q 21. How do you optimize Pillow code for performance?
Optimizing Pillow code for performance involves several techniques that go beyond simply using efficient algorithms:
- Profiling your code: Identify bottlenecks using profiling tools (like cProfile) to pinpoint slow sections of your code. This allows you to focus your optimization efforts on the parts that matter most.
- Vectorization with NumPy: Replace loops that iterate over pixels with NumPy's vectorized operations. NumPy's optimized implementation significantly speeds up array manipulation.
- Minimize object creation: Avoid creating numerous intermediate image objects. This reduces memory allocation and garbage collection overhead.
- Use appropriate data types: Choose the most efficient data type for your image data. For instance, using
numpy.uint8for pixel values instead of general Python integers can lead to performance improvements. - Avoid unnecessary function calls: Reduce function calls that incur extra processing. Consider combining operations or using bulk-processing methods to perform tasks in fewer steps.
Remember that optimization is iterative. Start by profiling, implement changes, and re-profile to assess the effect of your modifications. A good optimization strategy is crucial, especially when working with numerous large images in a production environment.
Q 22. What are some common issues encountered when working with Pillow and how can you solve them?
Pillow, while a powerful and user-friendly library, presents certain challenges. One common issue is dealing with different image formats. Pillow might not inherently support every obscure format, leading to errors during image opening. The solution involves ensuring the image format is supported or using a converter library beforehand. Another frequent problem is memory management, particularly with large images. Loading a massive image directly into memory can cause crashes. To solve this, employ techniques like progressive loading (processing parts of the image at a time) or using memory-mapped files, which minimizes RAM usage. Finally, handling exceptions is crucial. Incorrect file paths, corrupt image data, and unsupported operations all produce errors. Robust error handling, with try...except blocks and specific exception handling, prevents abrupt program termination.
Example:
try:
    img = Image.open('my_image.jpg')
except FileNotFoundError:
    print('Image file not found!')
except IOError:
    print('Error opening image!')
except Exception as e:
    print(f'An unexpected error occurred: {e}')
Q 23. How do you use Pillow to generate thumbnails?
Generating thumbnails with Pillow is straightforward and efficient. The thumbnail() method directly resizes the image while maintaining its aspect ratio. You can specify the desired size as a tuple. Pillow intelligently handles the resizing, preventing distortion. You can further fine-tune the process by using other resizing filters available in Pillow for better control over the quality and sharpness.
Example:
from PIL import Image
img = Image.open('my_image.jpg')
img.thumbnail((128, 128))
img.save('thumbnail.jpg')
Q 24. How do you compare the efficiency of Pillow with other image processing libraries?
Comparing Pillow's efficiency to other libraries like OpenCV and scikit-image requires considering various factors. Pillow excels in its simplicity and ease of use for common image manipulations. It's often faster for basic tasks like resizing and format conversion, particularly with smaller images. However, for complex operations, especially those involving numerical processing or advanced algorithms (like image segmentation or feature extraction), OpenCV and scikit-image are more efficient and provide a wider range of functionalities. OpenCV leverages optimized C++ code under the hood, offering significant performance benefits for computationally demanding operations. Scikit-image provides strong support for scientific image analysis. The best choice depends on the specific needs of your project; Pillow is ideal for straightforward tasks, while OpenCV and scikit-image are better suited for more complex, performance-critical image processing.
Q 25. Discuss the use of Pillow in a real-world application.
I recently used Pillow in a web application that allowed users to upload images and automatically generate various sizes for different display purposes (thumbnails for previews, larger versions for detailed views). The application handled image resizing and format conversions using Pillow's efficient functions. This significantly improved the user experience by providing fast and consistent image rendering across various devices and screen sizes. The simplicity of Pillow's API made integration seamless, and its robust error handling ensured a stable application even with unexpected input. Another example would be a system that automatically crops images to a specific aspect ratio, a feature commonly seen in e-commerce platforms for consistent product image presentation.
Q 26. How can Pillow be used for image watermarking?
Pillow allows for watermarking by blending a watermark image onto the main image. You achieve this by opening both images, determining the watermark's position, and using the paste() function with appropriate alpha blending. The transparency of the watermark can be adjusted for subtle or prominent effects. This process requires careful handling of image sizes and positions to avoid cropping or undesirable visual artifacts.
Example:
from PIL import Image
img = Image.open('main_image.jpg')
watermark = Image.open('watermark.png')
img.paste(watermark, (10, 10), watermark)
img.save('watermarked_image.jpg')
Q 27. Explain your experience with error handling in Pillow.
My experience with error handling in Pillow emphasizes the importance of anticipating potential issues. I consistently use try...except blocks to catch IOError (for file access problems), ValueError (for incorrect image parameters), and OSError (for system-level errors). I also use specific exception types whenever possible for more targeted error handling, which makes debugging easier and increases code reliability. Thorough testing with various image types and edge cases is vital. Furthermore, I often include informative error messages that guide users and developers toward resolving the issue. For instance, instead of a generic 'Error', I'd display 'Could not open image: invalid file format' for better clarity.
Key Topics to Learn for Pillow Interview
- Core Pillow Concepts: Understand the fundamental architecture and design principles behind Pillow. This includes image formats, color spaces, and pixel manipulation.
- Image Processing Techniques: Familiarize yourself with common image manipulation tasks achievable with Pillow, such as resizing, cropping, rotating, filtering, and color adjustments. Practice applying these techniques to solve practical problems.
- Image Enhancement and Restoration: Explore advanced techniques like noise reduction, sharpening, contrast enhancement, and potentially image stitching. Understand the algorithms and their practical implications.
- Working with Different Image Formats: Gain proficiency in handling various image formats supported by Pillow and the nuances involved in their processing. Consider the trade-offs between different formats.
- Error Handling and Debugging: Learn how to effectively debug common issues related to image processing using Pillow. Understand how to handle exceptions and prevent unexpected errors.
- Performance Optimization: Explore techniques to optimize the performance of your Pillow code, particularly when dealing with large images or complex processing tasks.
- Integration with Other Libraries: Understand how Pillow can be integrated with other Python libraries for broader applications in areas like machine learning or web development.
Next Steps
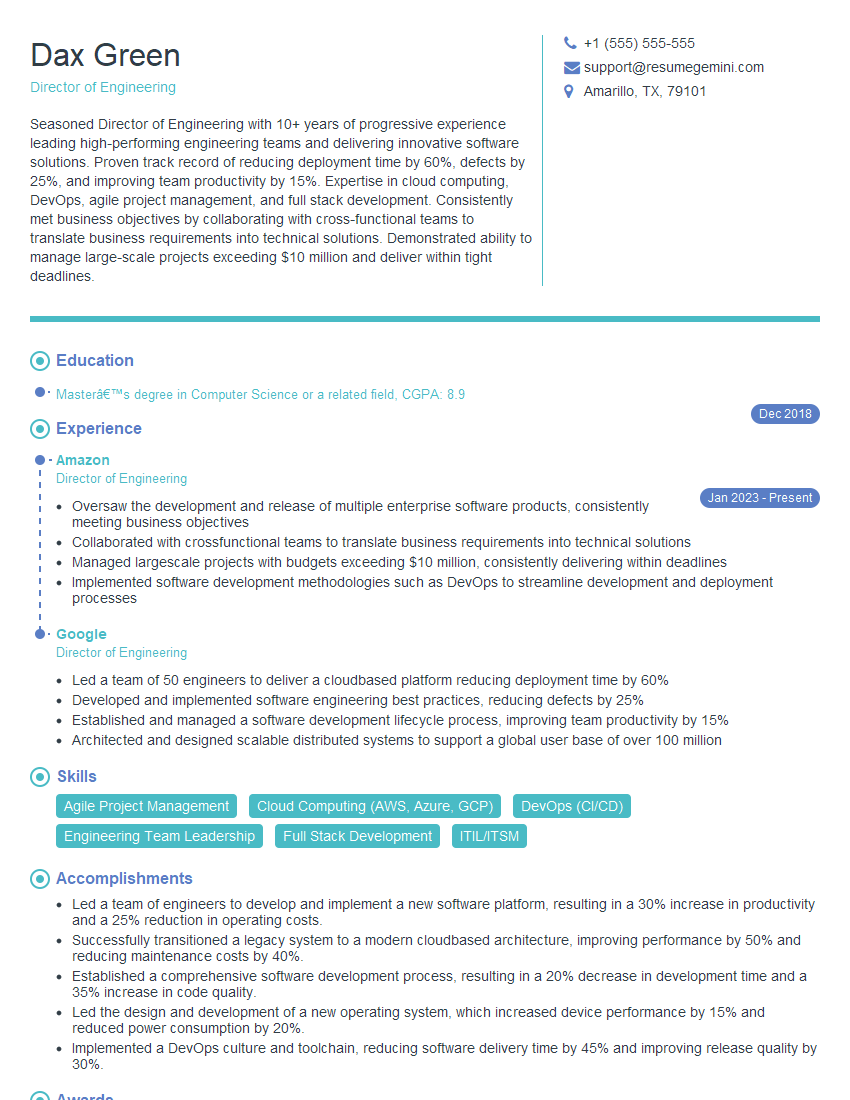
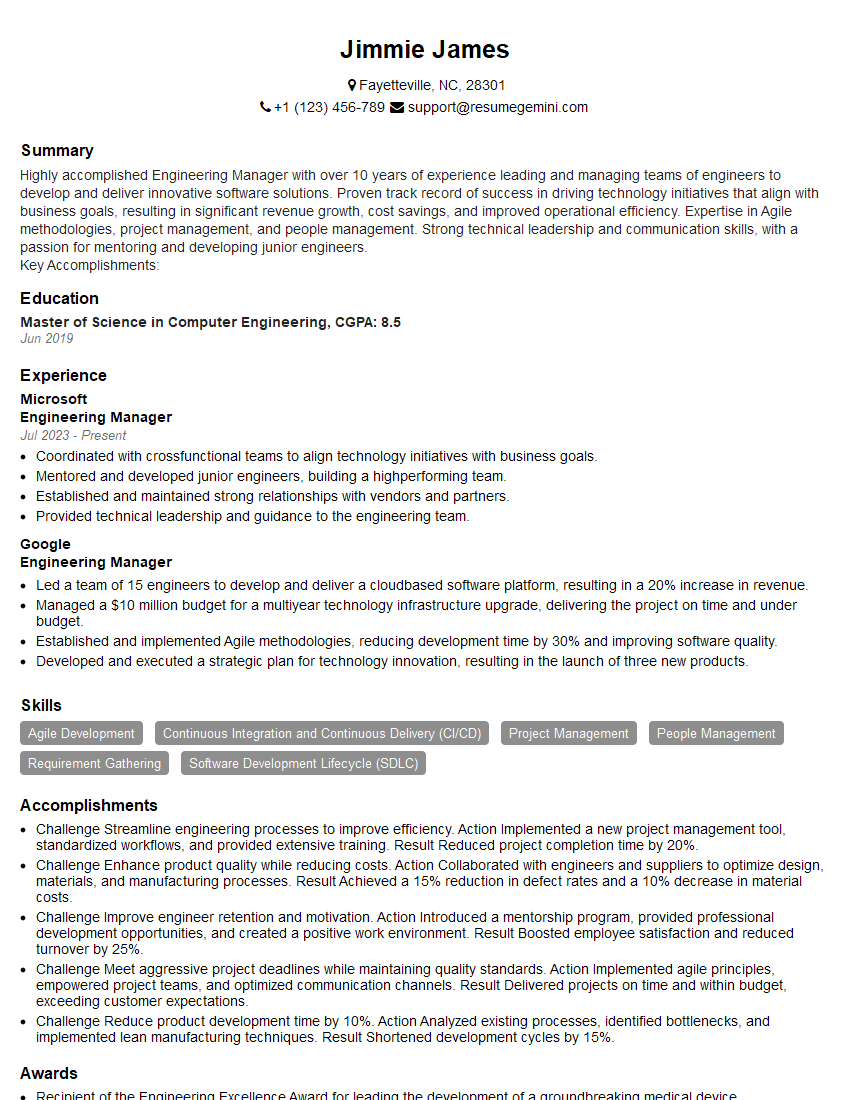
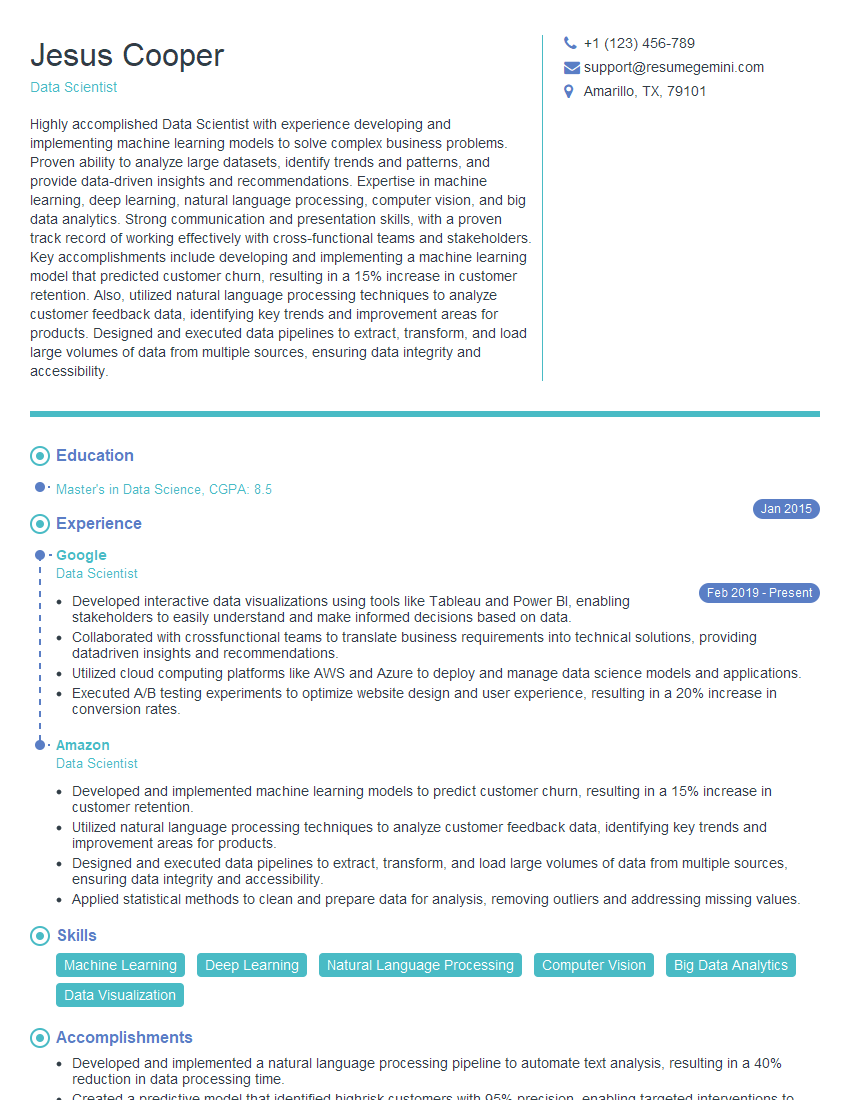
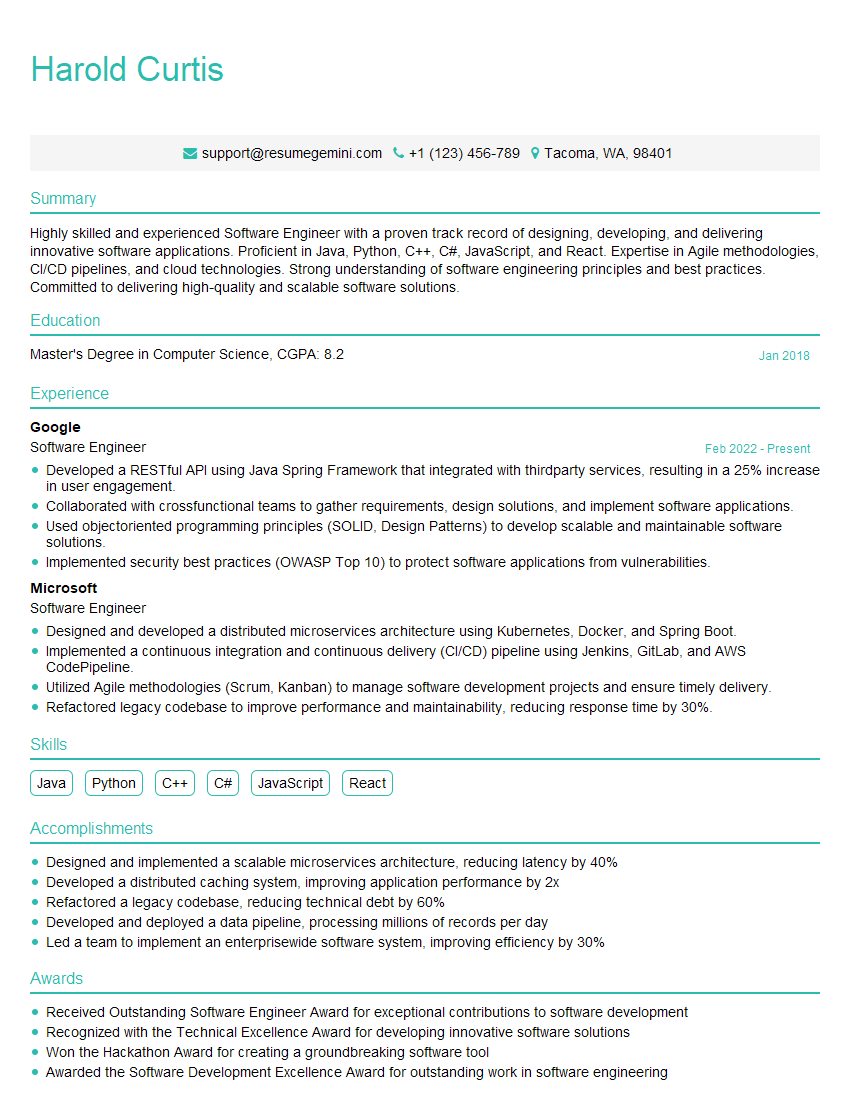
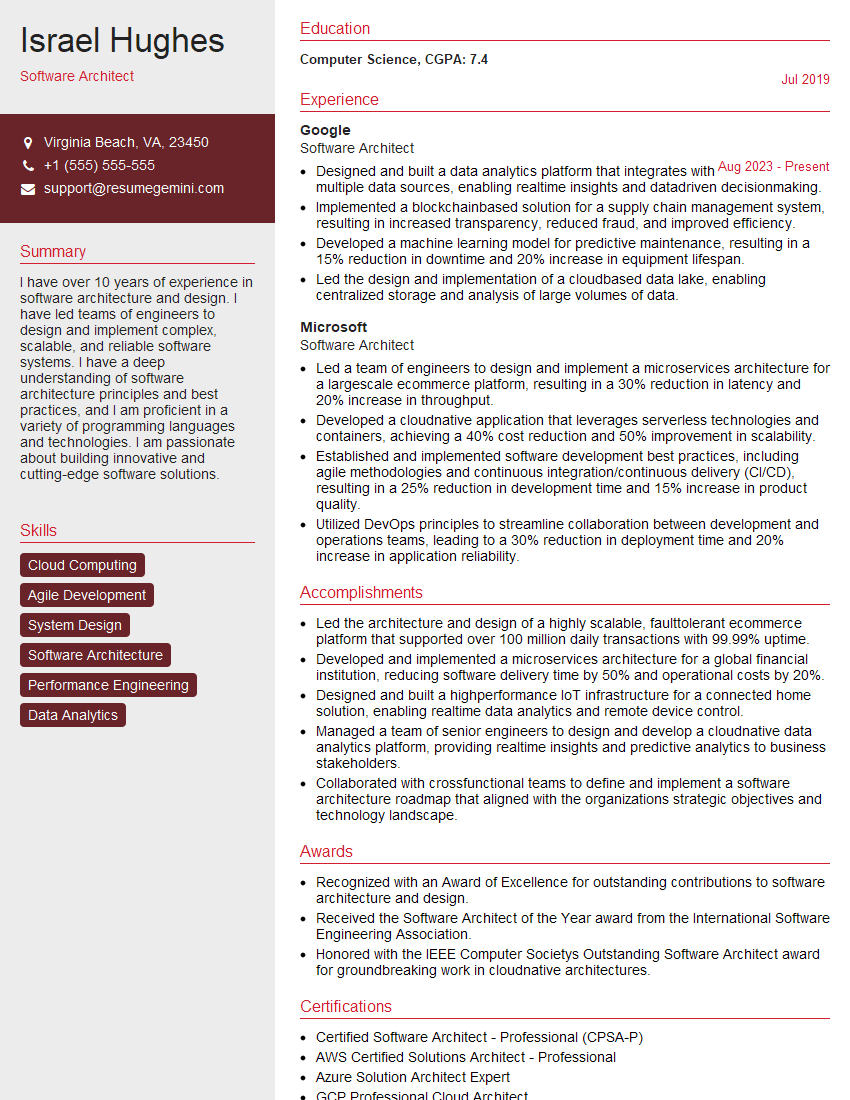
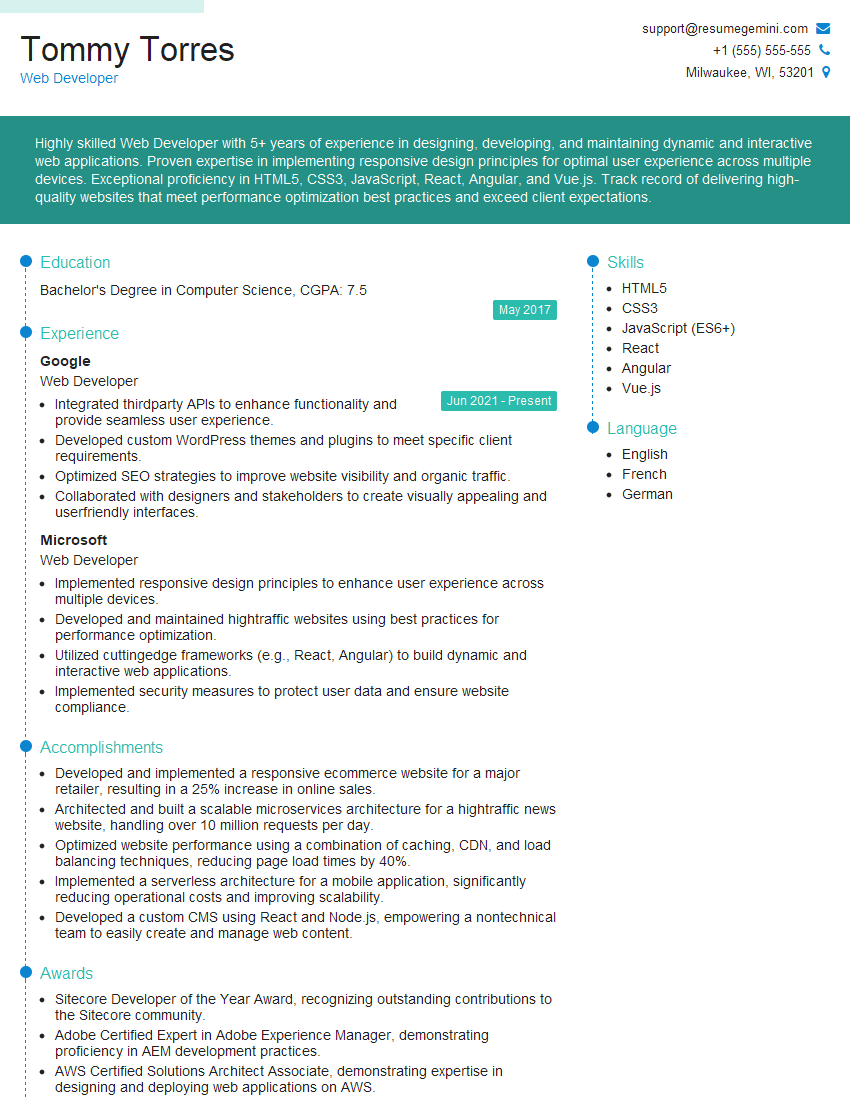
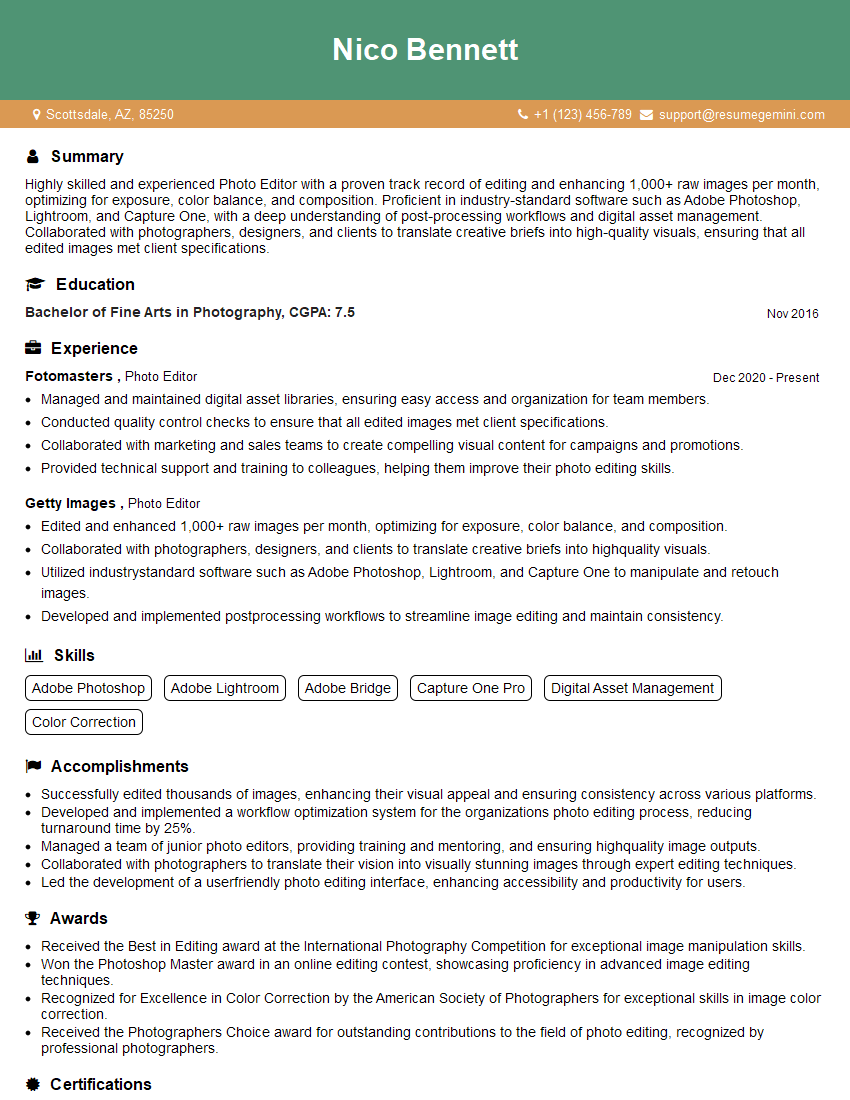
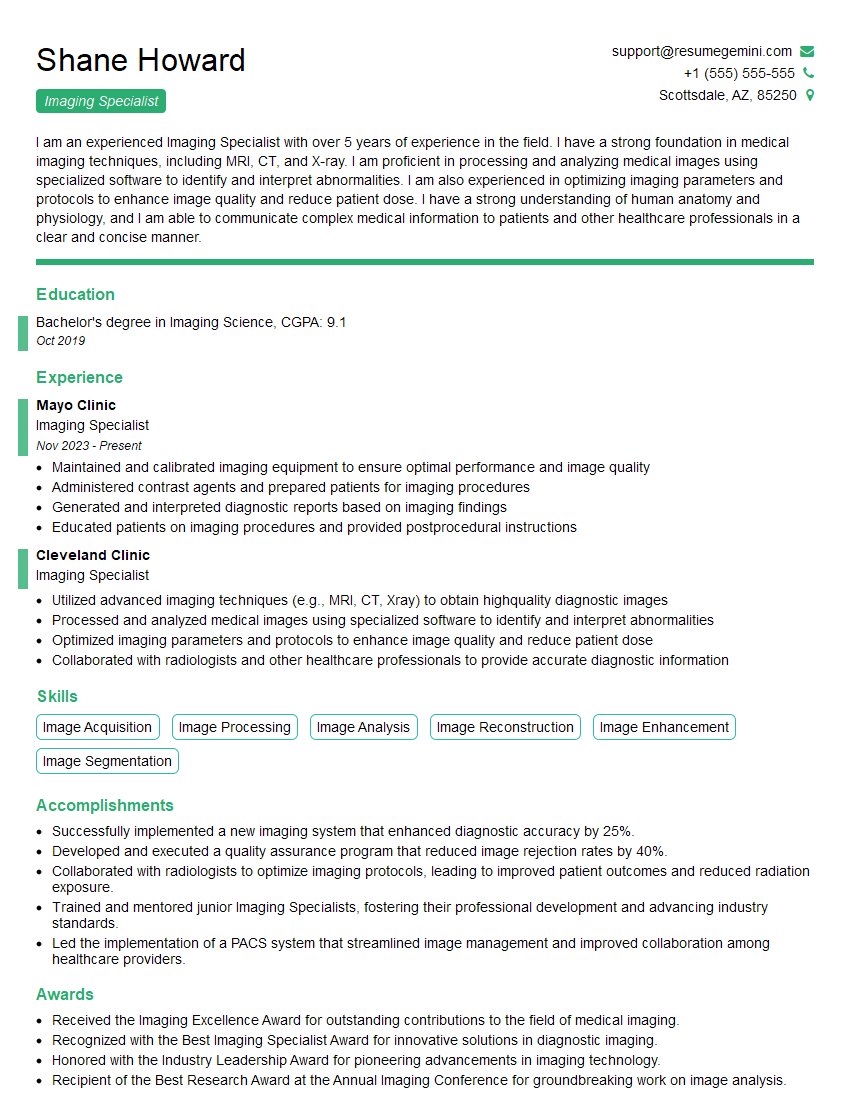
Mastering Pillow significantly enhances your skills in image processing and opens doors to diverse roles in fields such as computer vision, data science, and web development. To maximize your job prospects, it's crucial to have an ATS-friendly resume that showcases your expertise effectively. We highly recommend using ResumeGemini to build a professional and impactful resume that highlights your Pillow skills. Examples of resumes tailored to Pillow positions are available to guide you in this process.
Explore more articles
Users Rating of Our Blogs
Share Your Experience
We value your feedback! Please rate our content and share your thoughts (optional).
What Readers Say About Our Blog
Amazing blog
hello,
Our consultant firm based in the USA and our client are interested in your products.
Could you provide your company brochure and respond from your official email id (if different from the current in use), so i can send you the client’s requirement.
Payment before production.
I await your answer.
Regards,
MrSmith
These apartments are so amazing, posting them online would break the algorithm.
https://bit.ly/Lovely2BedsApartmentHudsonYards
Reach out at [email protected] and let’s get started!
Take a look at this stunning 2-bedroom apartment perfectly situated NYC’s coveted Hudson Yards!
https://bit.ly/Lovely2BedsApartmentHudsonYards
Live Rent Free!
https://bit.ly/LiveRentFREE
Interesting Article, I liked the depth of knowledge you’ve shared.
Helpful, thanks for sharing.
Hi, I represent a social media marketing agency and liked your blog
Hi, I represent an SEO company that specialises in getting you AI citations and higher rankings on Google. I’d like to offer you a 100% free SEO audit for your website. Would you be interested?
