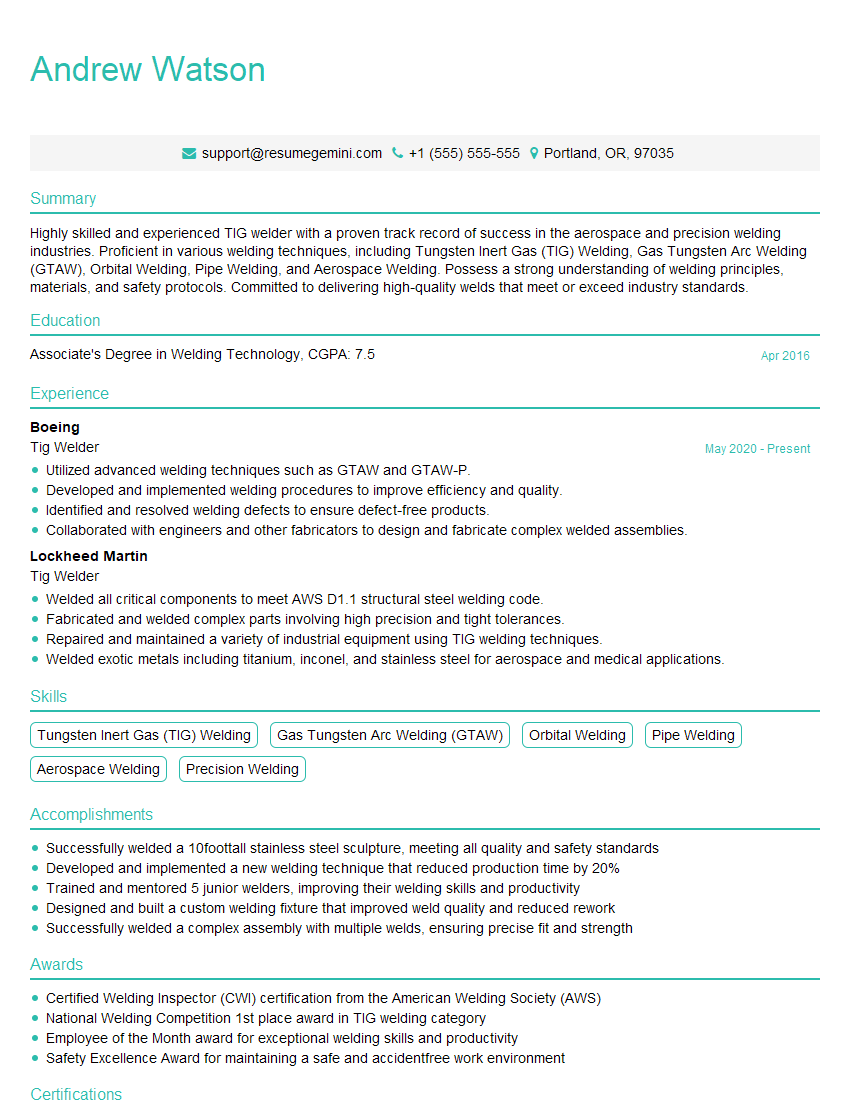
Preparation is the key to success in any interview. In this post, we’ll explore crucial Seaming and Welding interview questions and equip you with strategies to craft impactful answers. Whether you’re a beginner or a pro, these tips will elevate your preparation.
Questions Asked in Seaming and Welding Interview
Q 1. Explain the difference between MIG, TIG, and stick welding.
MIG, TIG, and stick welding are three common arc welding processes, each with distinct characteristics. Think of them as three different tools in a welder’s toolbox, each best suited for different jobs.
- MIG (Metal Inert Gas) welding, also known as GMAW (Gas Metal Arc Welding), uses a continuous consumable wire electrode fed through a welding gun. A shielding gas, usually argon or CO2, protects the weld from atmospheric contamination. It’s known for its speed and ease of use, making it ideal for high-volume production work and less demanding applications like automotive repair. Imagine it like a glue gun that melts metal and fuses it together.
- TIG (Tungsten Inert Gas) welding, or GTAW (Gas Tungsten Arc Welding), uses a non-consumable tungsten electrode to create an arc. Filler metal is added separately. A shielding gas (usually argon or a mixture) protects the weld. TIG welding provides excellent control and produces high-quality welds, making it perfect for precise work on thin materials or applications requiring a clean, aesthetic finish. Think of it as a more delicate and artistic approach to welding.
- Stick welding, or SMAW (Shielded Metal Arc Welding), utilizes a consumable electrode coated with flux that provides shielding and adds filler metal simultaneously. The flux also helps to stabilize the arc and clean the weld. This method is very portable and requires less sophisticated equipment, making it suitable for outdoor and field applications, where power may be limited. It’s a robust technique, even capable of welding in challenging conditions. Think of this as the classic, workhorse approach, often used in fabrication or construction.
In short: MIG is fast and efficient; TIG is precise and high-quality; stick welding is portable and robust.
Q 2. Describe the various types of welding seams.
Welding seams are classified based on their geometry and the position of the joint. Understanding the different types is crucial for selecting appropriate welding techniques and ensuring weld integrity.
- Butt Joint: Two pieces of metal are joined end-to-end. This is common in structural welding.
- Lap Joint: One piece of metal overlaps another. This is simpler to weld than a butt joint.
- T-Joint: One piece of metal is perpendicular to another. This type of joint is found in many applications.
- Corner Joint: Two pieces of metal are joined at a right angle.
- Edge Joint: The edges of two pieces are joined together.
Furthermore, each type of joint can have variations depending on the joint preparation (e.g., beveling, edge preparation) and the type of weld used (e.g., fillet weld, groove weld). Proper joint design greatly impacts the strength and quality of the final weld.
Q 3. What are the common defects found in welding and seaming?
Welding and seaming defects can severely compromise structural integrity and safety. Careful inspection is essential to identify and address these issues.
- Porosity: Holes or voids within the weld metal caused by gas entrapment.
- Cracks: Fractures in the weld metal or the heat-affected zone (HAZ), often due to rapid cooling or high stresses.
- Incomplete Penetration: The weld doesn’t fuse completely through the thickness of the joint.
- Undercutting: A groove melted into the base metal at the edge of the weld.
- Slag Inclusion: Trapped flux or other foreign material within the weld.
- Lack of Fusion: The weld metal doesn’t fuse properly to the base metal.
The specific cause of each defect depends on factors like welding parameters, base material composition, and welding technique. Visual inspection, radiographic testing (RT), and ultrasonic testing (UT) are commonly used methods to detect these flaws.
Q 4. How do you determine the appropriate welding parameters (voltage, amperage, etc.)?
Determining appropriate welding parameters is crucial for achieving high-quality welds. This involves considering several factors and often relies on experience and reference materials like Welding Procedure Specifications (WPS).
Factors influencing parameter selection:
- Base material thickness and type: Thicker materials require higher amperage and voltage.
- Welding process: MIG, TIG, and stick welding each have their own optimal parameter ranges.
- Filler metal type: The filler metal’s diameter and composition influence the settings.
- Joint design: Different joint types require different parameters.
- Desired weld penetration: Deeper penetration requires higher amperage.
Determining the parameters:
Often, welders start with recommended values from a WPS or manufacturer’s guidelines and then fine-tune the settings based on the observed weld bead appearance. They might adjust the voltage to control penetration and the amperage to control bead width and shape. Experience plays a significant role, helping welders adjust parameters based on visual cues and understanding the correlation between parameters and weld quality.
Q 5. What safety precautions are essential when performing welding and seaming operations?
Welding and seaming operations pose significant safety hazards. Strict adherence to safety protocols is paramount.
- Eye protection: Always wear appropriate welding helmets or safety glasses with adequate shade numbers.
- Respiratory protection: Weld fumes are toxic; use a respirator or work in a well-ventilated area.
- Protective clothing: Wear flame-resistant clothing, gloves, and footwear.
- Fire prevention: Keep flammable materials away from the welding area and have a fire extinguisher readily available.
- Electrical safety: Ensure proper grounding and insulation to prevent electric shocks.
- Personal protective equipment (PPE): Proper PPE selection and usage is crucial, including hearing protection due to high noise levels from the process.
Furthermore, proper training and understanding of the hazards are essential before performing any welding or seaming operations. Always follow established safety procedures and regulations.
Q 6. Explain the process of setting up a welding machine.
Setting up a welding machine depends on the type of machine being used, but there are common steps involved.
- Inspect the machine: Check for any damage or loose connections.
- Connect the power source: Ensure the machine is connected to a stable power supply.
- Set the gas flow (if applicable): For MIG and TIG welding, regulate the gas flow using a flow meter.
- Select the appropriate parameters: Set the voltage and amperage according to the selected WPS or your experience with the material and process.
- Connect the electrode or wire feed: Attach the correct size and type of electrode or wire to the machine.
- Ground the work piece: Securely ground the metal you’ll be welding to prevent electrical hazards.
- Test the arc: Perform a test weld to verify the settings before commencing the main weld.
Always consult the manufacturer’s instructions for specific setup procedures for your welding machine model.
Q 7. Describe your experience with different types of welding filler metals.
Experience with filler metals is critical for achieving the desired weld properties. Different metals possess unique characteristics and are suited for specific applications.
- Mild Steel Filler Metals: These are commonly used for welding mild steel structures and are readily available in various diameters and compositions (e.g., E6010, E7018). I’ve extensively utilized these in construction and fabrication projects.
- Stainless Steel Filler Metals: Stainless steel filler metals are crucial for maintaining the corrosion resistance of stainless steel welds. The choice of filler metal depends on the specific grade of stainless steel being welded (e.g., 304L, 316L). My experience includes working with these in food processing equipment and chemical plant applications.
- Aluminum Filler Metals: Aluminum filler metals require specialized techniques due to aluminum’s high thermal conductivity and oxide layer. I have successfully used different aluminum filler metals (e.g., 4043, 5356) in aerospace and automotive applications.
Selecting the right filler metal requires careful consideration of the base material, welding process, and desired mechanical properties of the final weld. Understanding the AWS (American Welding Society) classification system for filler metals is crucial for this selection process. My experience encompasses many years of successful selection and application of a wide variety of filler metals for varied industrial and structural applications.
Q 8. How do you ensure the quality of your welds?
Ensuring weld quality is paramount. It’s a multi-faceted process starting even before the welding begins. We meticulously check the base materials for defects, ensuring proper cleanliness and surface preparation. During welding, I utilize appropriate parameters for the chosen welding process – things like amperage, voltage, and travel speed are critical and are closely monitored and documented. Visual inspection is performed throughout the welding process to catch any immediate issues like undercutting or lack of fusion. Finally, and most importantly, we employ Non-Destructive Testing (NDT) methods. This typically includes radiographic testing (RT) to detect internal flaws like porosity or cracks, and ultrasonic testing (UT) for deeper penetration inspection. For crucial welds, we might even use dye penetrant testing (PT) to find surface cracks.
Think of it like baking a cake; you wouldn’t just throw ingredients together and hope for the best. Precise measurements, the right oven temperature, and a final inspection are all essential for a perfect result. Welding is no different. Consistent adherence to these procedures ensures we meet, and often exceed, the required quality standards.
Q 9. What are the different types of joint preparations used in welding?
Joint preparation is crucial for achieving strong and reliable welds. The type of preparation depends heavily on the thickness of the materials being joined, the welding process, and the desired weld quality. Common preparations include:
- Square Butt Joint: Simple, with square edges butted together. Suitable for thinner materials and automated processes.
- Single Bevel Joint: One edge is beveled at an angle, allowing better penetration for thicker materials.
- Double Bevel Joint: Both edges are beveled, providing even better penetration for very thick sections. This is often used in pipeline welding.
- Single J-Joint: One edge is prepared in a J-shape, offering excellent penetration and a strong weld. More complex to prepare.
- Double J-Joint: Both edges are prepared in a J-shape; provides maximum penetration and strength, particularly suitable for high-stress applications.
- U-Joint and V-Joint:** Similar to J-Joints but with different angles and shapes.
The choice of joint preparation is a critical design decision, impacting both the welding process itself and the final weld strength and quality. Incorrect preparation leads to poor penetration, weakening the joint and potentially causing failure.
Q 10. Explain the importance of pre- and post-weld inspection.
Pre- and post-weld inspections are essential parts of quality control, much like a doctor performing a check-up before and after surgery. Pre-weld inspection identifies any potential problems before welding even starts. This includes checking the base materials for flaws, ensuring proper cleaning and joint preparation, verifying that the correct welding procedures and materials are being used. Post-weld inspection, on the other hand, assesses the quality of the completed weld. This can involve visual inspection, dimensional checks, and importantly, NDT methods as discussed earlier. Any defects detected at this stage can be rectified before the component moves to the next stage of manufacturing or use.
Consider a bridge construction. A pre-weld inspection ensures that the steel components are free from defects, and the joint preparation is appropriate. Post-weld inspection, using techniques like ultrasonic testing, ensures that there are no internal flaws in the critical welds that bear the weight of the bridge. This two-pronged approach is fundamental to ensuring structural integrity and safety.
Q 11. How do you address porosity in a weld?
Porosity in a weld is the presence of small, gas-filled holes. It significantly weakens the weld and reduces its fatigue strength. Addressing it requires understanding its root cause. Common causes include moisture in the base material or shielding gas, improper welding technique, or insufficient shielding. The solution involves addressing these root causes:
- Improved Shielding: Ensuring proper gas coverage and flow rate.
- Proper Material Preparation: Thorough cleaning of the base material to remove contaminants.
- Correct Welding Parameters: Optimizing welding current, voltage, and travel speed.
- Preheating: Heating the base material before welding to drive out moisture.
- Rework: In some cases, the weld may need to be ground out and rewelded using appropriate techniques.
Ignoring porosity can lead to catastrophic failures, especially in critical applications. Therefore, a thorough understanding of its causes and implementing corrective measures is crucial.
Q 12. How do you handle weld spatter?
Weld spatter, those small metal droplets ejected during welding, can be unsightly and can affect the weld’s quality. Its causes include high current, incorrect shielding gas, and improper electrode angle. Several methods address weld spatter:
- Adjusting Welding Parameters: Reducing the current and voltage often minimizes spatter.
- Using Anti-Spatter Compounds: Applying these to the workpiece surface before welding.
- Optimizing Shielding Gas: Using the correct type and flow rate of shielding gas.
- Post-Weld Cleaning: Removing spatter after welding using appropriate methods.
While it might seem minor, unaddressed spatter can hinder inspection and even create small defects, so proactive measures are essential.
Q 13. Describe your experience with different types of seaming machinery.
My experience with seaming machinery encompasses a wide range of equipment, used for various applications. I’ve worked extensively with:
- Roll Seamers: Primarily for joining sheet metal, these machines use rollers to form and interlock the edges of the material, creating a strong, watertight seam. I’m familiar with both manual and automated roll seamers, capable of handling various materials and thicknesses.
- Lock Seamers: These machines create a seam by folding and interlocking edges, forming a strong and rigid joint. They are particularly well-suited for applications where a smooth, aesthetically pleasing finish is required.
- Standing Seam Machines: These are often employed for roofing applications. They create a strong and durable seam by interlocking two sheets of metal, raising a significant portion of the seam to give it a pleasing aesthetic profile and increase its weather resistance.
My experience also involves troubleshooting these machines, performing routine maintenance, and optimizing their settings for different materials and applications. Understanding the specific capabilities and limitations of each machine is vital for producing high-quality, consistent seams.
Q 14. What is the significance of penetration in a weld?
Penetration in a weld refers to the depth of fusion between the weld metal and the base material. It’s crucial because insufficient penetration results in a weak, discontinuous joint, prone to cracking and failure under load. Think of it like gluing two pieces of wood together; you need adequate glue penetration for a strong bond. The same principle applies to welding.
Adequate penetration ensures a strong, reliable joint. Factors influencing penetration include welding current, voltage, travel speed, and joint preparation. Measuring and verifying penetration is often a key part of quality control inspections, and ensuring this is within specified tolerances is essential for structural integrity and safety in the application.
Q 15. Explain the concept of weld heat input.
Weld heat input is a crucial parameter in welding, representing the amount of heat energy supplied to the weld joint per unit length. It’s essentially a measure of how much heat is ‘put in’ during the welding process. Think of it like cooking – you wouldn’t cook a steak with the same amount of heat as a roast chicken. Different materials and thicknesses require different heat inputs to achieve optimal weld quality.
It’s calculated by the formula: Heat Input (J/mm) = (Voltage x Current x 60) / (Welding Speed x 1000). This formula helps determine the amount of heat delivered to the workpiece in Joules per millimeter of weld length. A higher heat input results in a wider, flatter weld bead, while a lower heat input produces a narrower, more peaked bead. Incorrect heat input can lead to issues such as excessive heat-affected zones (HAZ), cracking, or incomplete fusion.
For instance, welding thin sheet metal requires a low heat input to avoid burning through, whereas thick steel plates need a higher heat input to ensure complete penetration. Monitoring and controlling heat input is vital for achieving consistent, high-quality welds.
Career Expert Tips:
- Ace those interviews! Prepare effectively by reviewing the Top 50 Most Common Interview Questions on ResumeGemini.
- Navigate your job search with confidence! Explore a wide range of Career Tips on ResumeGemini. Learn about common challenges and recommendations to overcome them.
- Craft the perfect resume! Master the Art of Resume Writing with ResumeGemini’s guide. Showcase your unique qualifications and achievements effectively.
- Don’t miss out on holiday savings! Build your dream resume with ResumeGemini’s ATS optimized templates.
Q 16. How do you ensure consistent weld bead formation?
Consistent weld bead formation is paramount for ensuring the integrity of a weld. Several factors contribute to this consistency. The most crucial aspects include consistent travel speed, maintaining a stable arc length, proper electrode angle and technique, and using appropriate parameters such as amperage and voltage.
- Consistent Travel Speed: Maintaining a steady pace ensures uniform heat distribution along the weld seam. Think of it like painting a wall – a slow, consistent stroke produces a smooth, even finish, while a jerky stroke leaves uneven patches.
- Stable Arc Length: The distance between the electrode and the workpiece directly impacts heat transfer. A consistent arc length ensures that heat is distributed evenly, leading to uniform weld bead formation. Too short of an arc length may lead to sticking; too long and the heat becomes too diffused.
- Proper Electrode Angle and Technique: This impacts the heat distribution across the weld bead. The optimal angle varies based on the process, material, and joint configuration.
- Parameter Control (Amperage and Voltage): These directly influence the heat produced. The correct settings depend on the thickness of the metal and the type of welding process used. Using the wrong parameters could lead to an undercut, an inconsistent bead, or even burn-through.
Regular monitoring of the welding process, calibration of equipment, and skilled operator expertise are all essential in achieving this consistency.
Q 17. What are the different types of welding gases and their applications?
Welding gases play a crucial role in shielding the weld pool from atmospheric contaminants like oxygen and nitrogen, which can negatively impact weld quality. Different gases offer unique properties suitable for various applications.
- Shielding Gases:
- Argon (Ar): Inert gas, commonly used in Gas Metal Arc Welding (GMAW) and Gas Tungsten Arc Welding (GTAW), especially for aluminum and stainless steel. It provides excellent arc stability and reduces porosity.
- Helium (He): Another inert gas, offering higher heat transfer than argon. Used in GTAW for its ability to penetrate deeper, particularly useful for thicker materials.
- Carbon Dioxide (CO2): Active shielding gas often used in GMAW for steel welding. It’s relatively inexpensive but produces less stable arcs compared to Argon.
- Argon-Helium Mixtures: Combine the benefits of both gases for improved penetration and arc stability.
- Argon-CO2 Mixtures: Used in GMAW for improved arc stability and penetration compared to pure CO2.
- Other Gases:
- Oxygen (O2): Used in some oxy-fuel processes (oxy-acetylene welding) but can be detrimental to weld quality in other processes.
- Acetylene (C2H2): Used with oxygen in oxy-fuel welding and cutting processes.
The choice of shielding gas depends heavily on the base metal, the welding process used, and the desired weld characteristics.
Q 18. Describe your experience with non-destructive testing (NDT) methods for welds.
My experience with non-destructive testing (NDT) methods for welds is extensive. I am proficient in several techniques, including visual inspection, radiographic testing (RT), ultrasonic testing (UT), and magnetic particle inspection (MPI).
- Visual Inspection (VT): The most fundamental method, identifying surface defects like cracks, porosity, or lack of fusion. It’s quick and easy to perform but has limitations in detecting internal flaws.
- Radiographic Testing (RT): Uses X-rays or gamma rays to detect internal defects. It’s highly sensitive to volumetric flaws but requires specialized equipment and expertise in interpreting radiographs.
- Ultrasonic Testing (UT): Employs high-frequency sound waves to detect both surface and internal flaws. It’s suitable for a wide range of materials and thicknesses, offering good penetration and resolution. I’m particularly experienced in using UT to assess weld penetration and identify potential cracks.
- Magnetic Particle Inspection (MPI): Suitable for ferromagnetic materials, detecting surface and near-surface discontinuities. A magnetic field is applied, and magnetic particles are used to reveal flaws through leakage fields.
I have used these NDT methods extensively in quality control processes, ensuring that welds meet required specifications and are free from defects that could compromise structural integrity. The choice of NDT method depends on factors such as the material being tested, the type of weld, and the accessibility of the weld joint. For example, RT might be preferred for thicker materials and crucial welds where detecting internal defects is paramount.
Q 19. How do you interpret welding symbols?
Welding symbols are a standardized way of communicating weld requirements on engineering drawings. They’re crucial for ensuring that welds are made to the correct specifications. A symbol consists of a reference line, an arrow, and various elements indicating the weld type, size, length, and other relevant details.
The arrow points to the joint where the weld is to be applied. The symbol itself indicates several key aspects:
- Type of weld: e.g., fillet weld, groove weld, plug weld. Different symbols represent different weld types. For example, a triangle within a rectangle typically denotes a fillet weld.
- Weld size: This is usually represented by a number or dimension, indicating the leg length (for fillet welds) or the size of the weld bead (for groove welds).
- Weld length: The length of the weld can be indicated directly on the drawing or by specifying a particular distance.
- Specific requirements: Additional symbols can indicate specific requirements such as the weld location (e.g., inside or outside corner), the type of filler metal to be used, and the welding process.
Understanding welding symbols is essential for welders and engineers alike, ensuring clear communication and the production of welds that meet the required specifications. Improper interpretation could result in a weld that is not fit for purpose, which could be catastrophic in the long term.
Q 20. What is your experience with different types of welding codes (e.g., AWS D1.1)?
I have extensive experience with various welding codes, including AWS D1.1 (Structural Welding Code – Steel), ASME Section IX (Welding and Brazing Qualifications), and ISO 15614 (Welding – Welder qualification).
AWS D1.1, for instance, provides detailed requirements for the design, fabrication, and inspection of welded steel structures. I am familiar with its specifications regarding weld types, sizes, procedures, and quality control methods. Understanding these codes is critical to ensuring structural integrity, as they dictate how welds should be executed, inspected, and qualified.
ASME Section IX governs the qualification of welders and welding procedures. My experience involves ensuring that welding procedures are qualified according to these codes, and that welders possess the necessary certifications to perform the specified welds. This involves preparing procedure qualification records (PQRs) and welder performance qualification records (WQRs).
My knowledge of these codes helps to guarantee that the welds I create or oversee meet the highest industry standards and are safe for the intended application. This knowledge extends beyond simply following the codes; it includes understanding the rationale behind the various requirements and the potential consequences of non-compliance.
Q 21. Describe your experience with robotic welding systems.
I have significant experience working with robotic welding systems. My expertise encompasses programming, setup, troubleshooting, and maintenance of robotic welding cells. These systems enhance efficiency, consistency, and safety in many welding applications.
I’m proficient in using various robotic programming languages and software packages to create welding programs, including path planning and parameter adjustments. I can adapt robot programs for diverse joint configurations and materials.
My experience includes working with different types of robots, including 6-axis articulated robots and cartesian robots. I understand the importance of robot calibration, ensuring accuracy and repeatability in the welding process. Troubleshooting issues such as arc instability, weld bead inconsistencies, and mechanical malfunctions is a routine part of my work. I am familiar with safety protocols associated with working around and operating robotic welding systems.
Robotic welding systems offer several advantages over manual welding, including improved consistency, higher production rates, and reduced human error. However, they also demand skilled operators who understand both the robotic system and the welding process itself. I find these systems to be incredibly valuable tools for increasing productivity and consistently achieving high-quality welds.
Q 22. How do you troubleshoot common welding problems?
Troubleshooting welding problems requires a systematic approach. It starts with careful observation of the weld itself – looking for defects like porosity (small holes), cracks, incomplete penetration (the weld doesn’t fully join the base metals), or excessive spatter (droplets of molten metal). The next step involves analyzing the process parameters. Was the correct amperage and voltage used? Was the travel speed appropriate for the material thickness and type of weld? The type of filler material (the welding rod or wire) also plays a significant role. Incorrect filler material can lead to poor weld quality. Finally, the cleanliness of the base metal is critical. Any contamination (oil, grease, rust) will severely compromise the weld.
For example, if I encounter excessive porosity, I would first check the shielding gas flow rate (if using a gas-shielded process like MIG or TIG welding). Insufficient shielding gas allows atmospheric contamination to enter the weld pool, causing porosity. If the problem persists, I would then investigate the base metal cleanliness and the electrode/wire condition. If the issue is incomplete penetration, I’d focus on amperage (too low), travel speed (too fast), or possibly the joint design itself. Troubleshooting is iterative; you systematically eliminate possibilities.
I always keep a detailed record of my welding parameters and observations, facilitating quicker troubleshooting in the future. This approach helps build a strong understanding of the welding process and the factors influencing its success.
Q 23. Explain the process of setting up a seaming machine.
Setting up a seaming machine involves several key steps, and the specifics vary depending on the type of machine (e.g., roll seaming, lock seaming, etc.). However, some common elements include:
- Material Preparation: The material to be seamed needs to be correctly sized and cleaned. This might involve cutting, deburring (removing sharp edges), and ensuring the surfaces are free of contaminants that could affect the seam’s integrity.
- Machine Adjustment: The machine needs to be adjusted according to the material thickness and type. This usually includes setting the rollers’ pressure, speed, and the overall seam geometry. Incorrect settings can lead to poor seams – too little pressure might result in a weak seam, while too much could damage the material.
- Trial Run and Adjustment: A trial run is crucial to verify the settings. The operator needs to examine the seam for defects such as wrinkles, gaps, or overlapping. Based on the initial trial, fine adjustments to the machine are made to achieve the desired seam quality.
- Safety Checks: Before starting full-scale production, safety checks are paramount, including verifying that all guards are in place and safety interlocks are functioning correctly.
Think of it like baking a cake. You need the right ingredients (material), the right oven temperature (machine settings), and a careful eye to ensure the cake (seam) turns out perfectly. Experience and careful observation are crucial for optimal results.
Q 24. What are the critical factors influencing seam strength and durability?
Seam strength and durability depend on several interconnected factors:
- Material Properties: The type of material (e.g., steel, aluminum, stainless steel) significantly influences the seam’s strength. The material’s tensile strength, yield strength, and ductility all play critical roles. For instance, a high-strength steel will yield a stronger seam compared to a mild steel.
- Seam Design: The type of seam (e.g., lap seam, butt seam, edge seam) and its geometry affect the stress distribution along the seam. A well-designed seam will distribute stresses more evenly, leading to enhanced durability.
- Welding/Seaming Parameters: In welding, the amperage, voltage, travel speed, and shielding gas flow rate (if applicable) affect the weld’s metallurgical properties and strength. In seaming, roller pressure, speed, and the machine’s configuration are critical factors.
- Surface Preparation: The cleanliness and surface finish of the materials to be joined are crucial. Contaminants weaken the bond. Proper surface preparation ensures a strong, consistent bond.
- Post-Weld/Seam Treatment: Treatments such as heat treatment (annealing, tempering) can improve the overall strength and reduce internal stresses within the seam.
A well-executed seam is crucial. A weak seam can lead to catastrophic failures in applications ranging from pipelines to automotive parts.
Q 25. What maintenance procedures are required for welding and seaming equipment?
Regular maintenance is vital for both welding and seaming equipment to ensure safe and efficient operation and consistent seam quality.
- Welding Equipment: This involves regular checks of the power supply, gas regulators (if applicable), and the welding torch or gun. Regular cleaning of the contact tips, nozzles, and the wire feeder are crucial. Any worn or damaged components should be replaced promptly.
- Seaming Equipment: This includes lubrication of moving parts (rollers, gears), regular checks of roller alignment, and the condition of the dies. Cleaning the machine to remove debris and ensuring the rollers are free of damage are crucial for maintaining seam quality.
- Preventative Maintenance: A planned preventative maintenance (PPM) schedule ensures that potential problems are addressed before they lead to downtime or safety hazards. This schedule could include regular inspections, lubrication, and minor repairs.
Think of it as regular servicing for your car. Regular maintenance extends the lifespan of the equipment and minimizes unexpected breakdowns, leading to higher productivity and improved safety.
Q 26. Describe your experience with different types of seaming materials.
My experience encompasses a wide range of seaming materials, including various grades of steel (mild steel, stainless steel, high-strength low-alloy steel), aluminum alloys, and certain types of plastics. Each material presents unique challenges.
For example, stainless steel requires specialized techniques to prevent weld discoloration and ensure proper penetration. Aluminum alloys are prone to oxidation, requiring careful cleaning and the use of appropriate filler materials and shielding gases. Plastics require different seaming techniques, often involving heat or ultrasonic welding, rather than traditional fusion welding. My expertise extends to selecting the appropriate seaming techniques and parameters based on the material properties to achieve optimal results.
Q 27. How do you handle different types of metal thickness in welding and seaming?
Handling different metal thicknesses in welding and seaming requires adapting the process parameters. Thicker materials necessitate higher amperage and voltage in welding, along with potentially slower travel speeds to ensure proper penetration. In seaming, thicker materials might require adjustments to the roller pressure and speed to avoid damage or inconsistent seams.
For instance, when welding thin sheet metal, the amperage and travel speed need to be carefully controlled to prevent burn-through. Conversely, when welding thicker plates, increased amperage and voltage are necessary for sufficient penetration. I always adapt the process to the specific material thickness and ensure sufficient heat input for complete fusion without compromising the quality of the joint.
Q 28. Explain your experience with working to tight tolerances in welding and seaming.
Working to tight tolerances in welding and seaming demands precision and meticulous attention to detail. This involves using appropriate fixturing to hold the parts in the correct position, precise control of the welding or seaming parameters, and rigorous quality control checks.
For example, in aerospace applications, tolerances are extremely tight, often measured in microns (thousandths of a millimeter). This necessitates the use of highly accurate equipment, advanced welding techniques (like laser welding), and stringent quality control procedures, including dimensional inspections and non-destructive testing (NDT) such as X-ray or ultrasonic testing to detect internal flaws. Experience and a deep understanding of the processes are key to meeting these stringent requirements.
Key Topics to Learn for Your Seaming and Welding Interview
- Types of Seams and Welds: Understand the differences between various seam types (e.g., lap, butt, edge) and welding processes (e.g., MIG, TIG, stick). Be prepared to discuss their applications and suitability for different materials.
- Material Properties and Selection: Demonstrate knowledge of how different metals and alloys behave during seaming and welding. This includes understanding factors like heat conductivity, tensile strength, and weldability.
- Joint Preparation and Design: Discuss the importance of proper joint preparation techniques for optimal weld strength and aesthetics. Be able to explain different joint designs and their implications.
- Welding Safety and Procedures: Highlight your understanding of safety regulations and procedures related to seaming and welding. This includes personal protective equipment (PPE) and hazard identification.
- Quality Control and Inspection: Explain common methods for inspecting welds for defects (e.g., visual inspection, non-destructive testing). Understand the importance of maintaining consistent weld quality.
- Troubleshooting and Problem-Solving: Be ready to discuss common welding problems, such as porosity, cracking, or incomplete fusion, and how to address them. Demonstrate your analytical and problem-solving skills.
- Advanced Welding Techniques (if applicable): Depending on the specific role, you may need to demonstrate knowledge of specialized techniques like robotic welding, laser welding, or underwater welding.
Next Steps: Unlock Your Career Potential
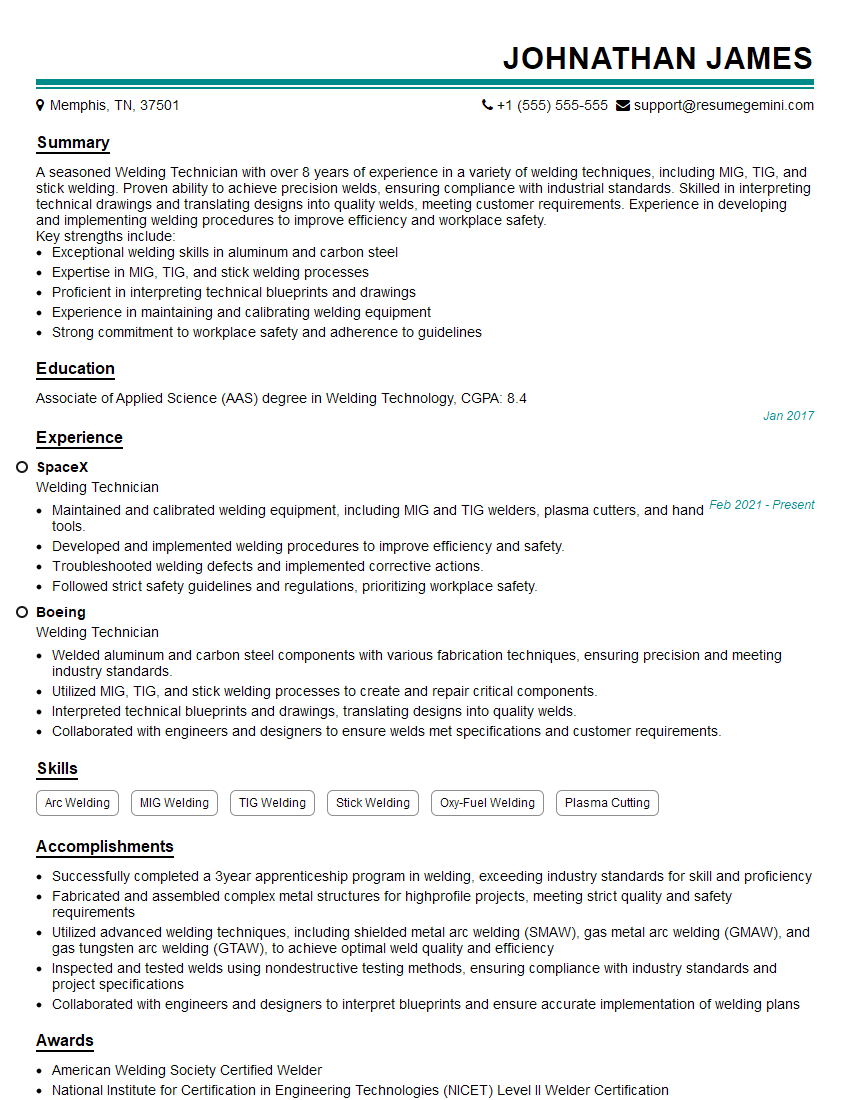
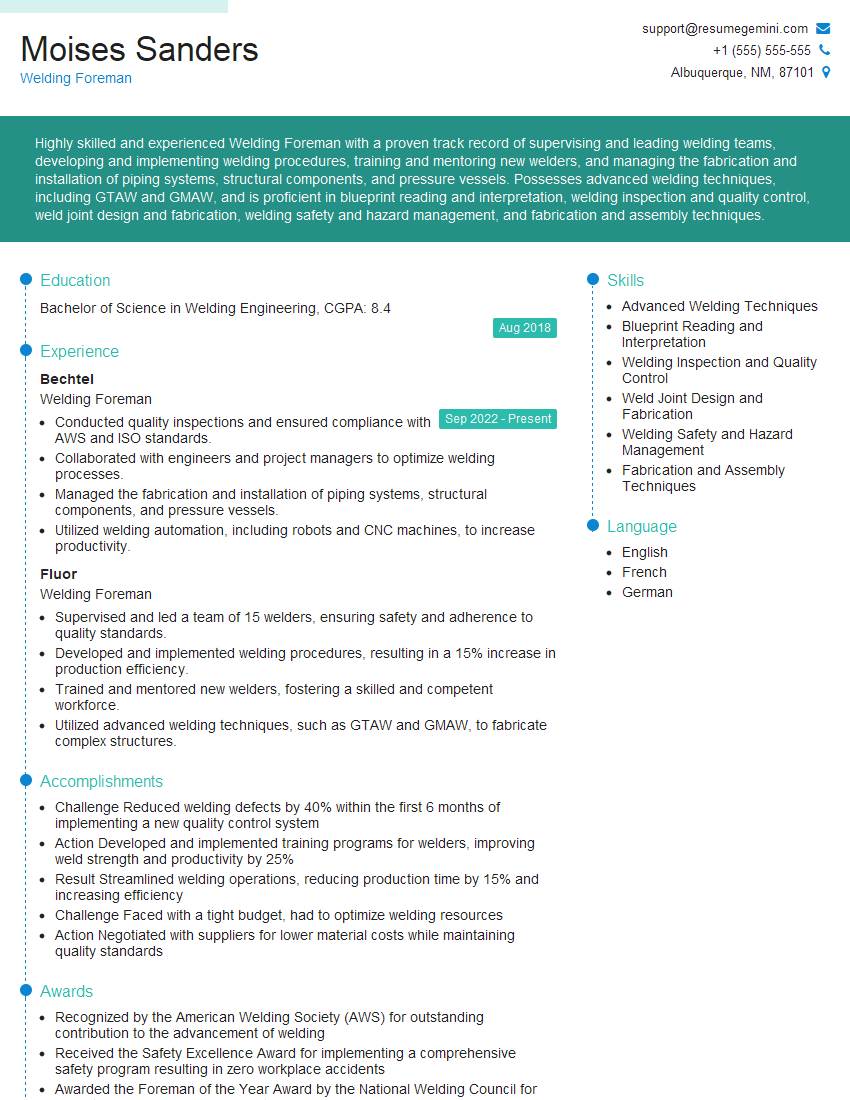
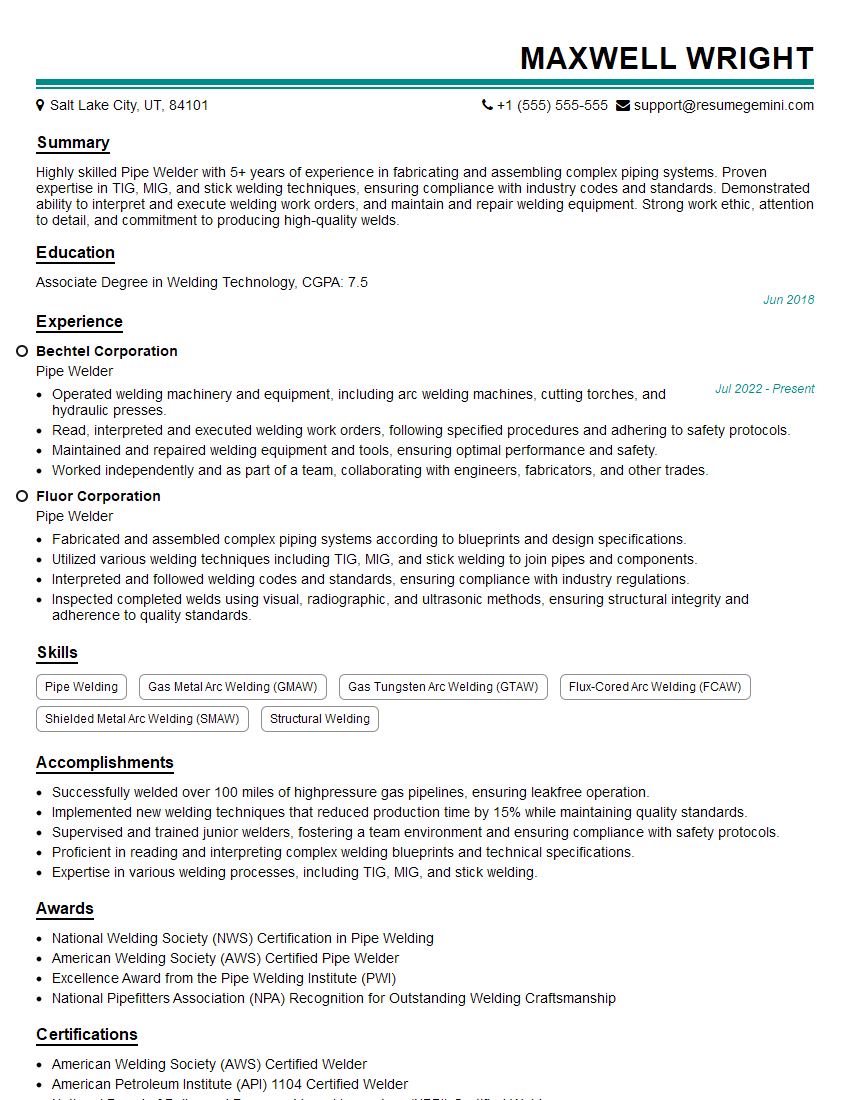
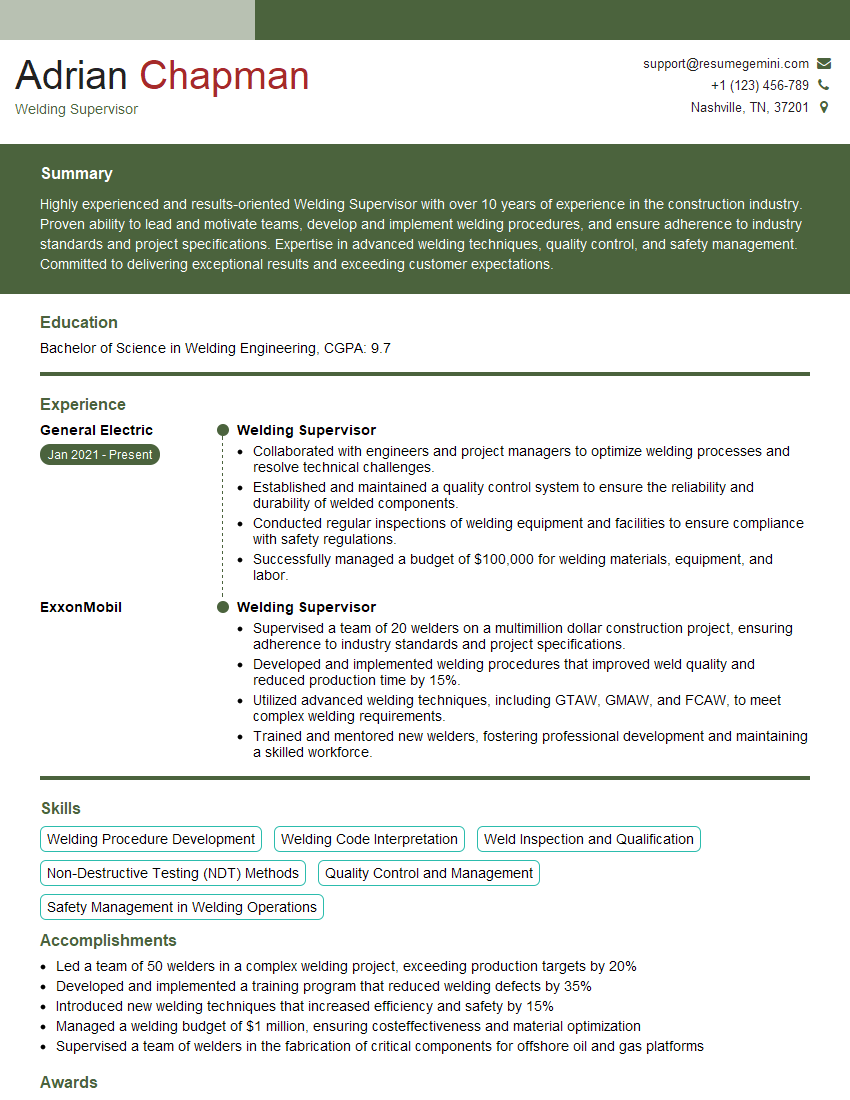
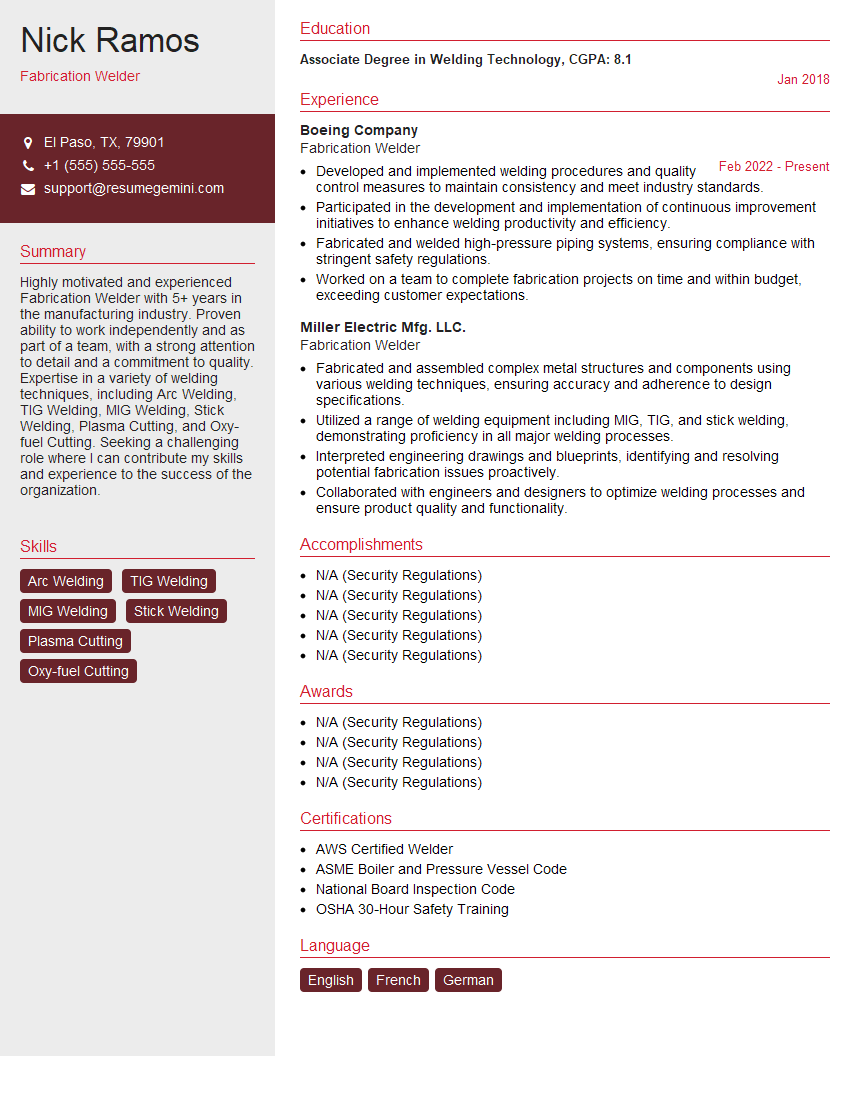
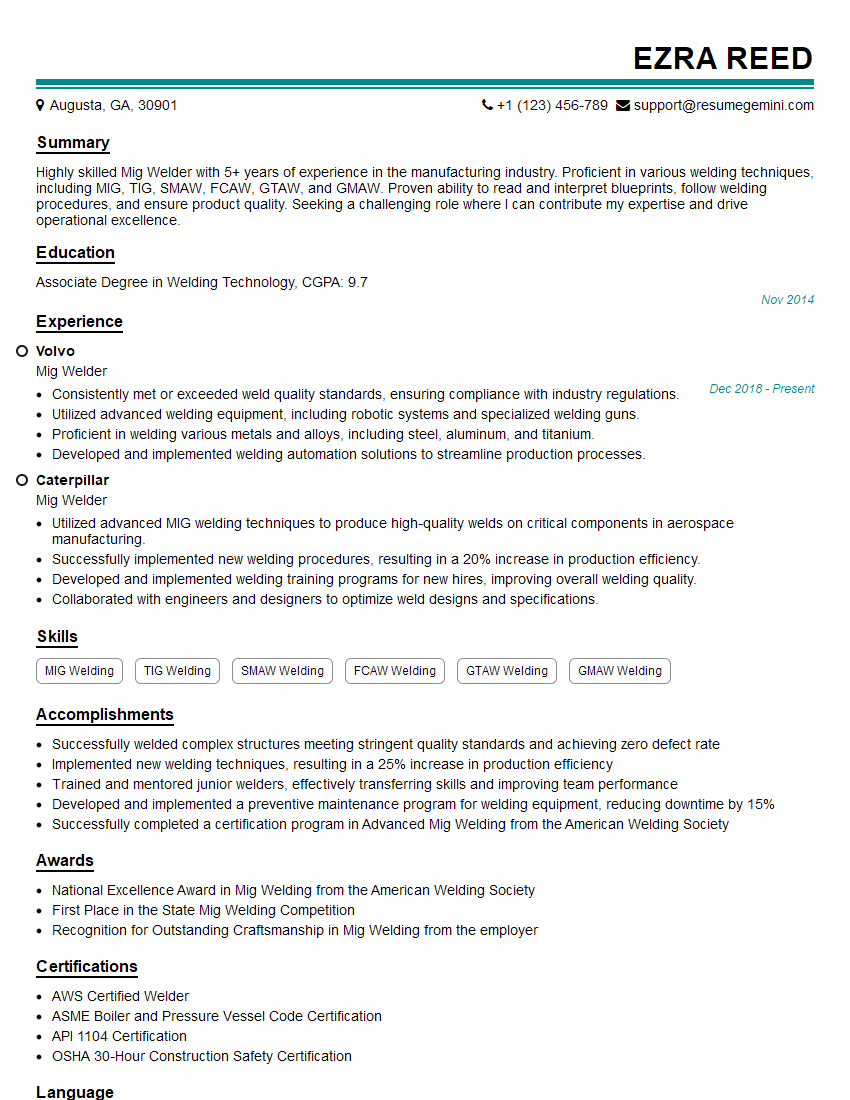
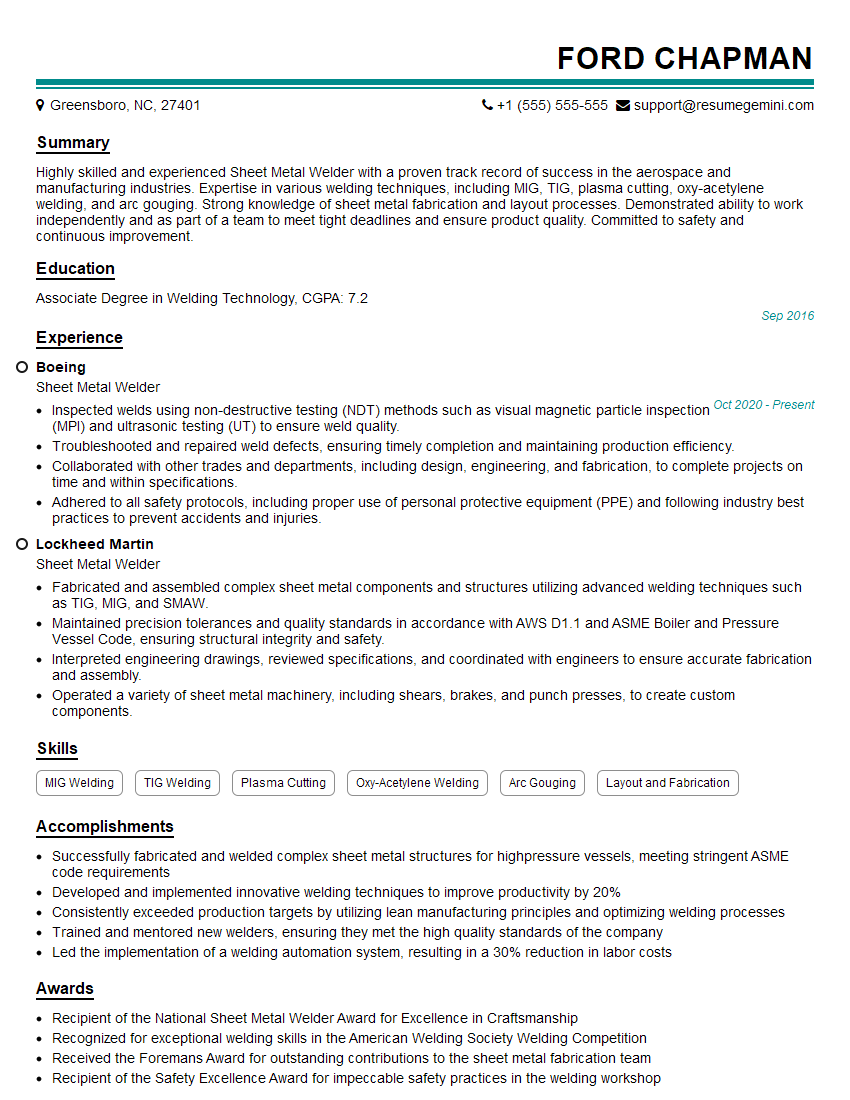
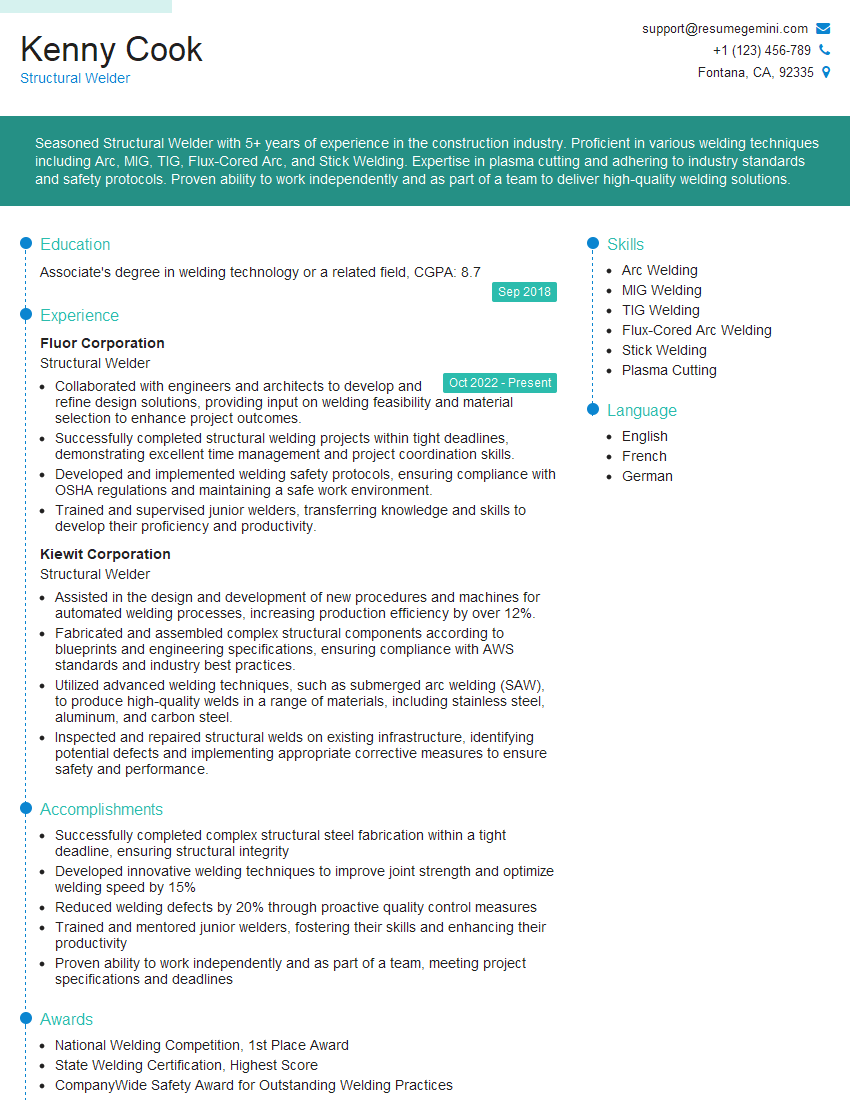
Mastering seaming and welding opens doors to exciting and rewarding career opportunities in various industries. To maximize your chances of landing your dream job, it’s crucial to present yourself effectively. Creating an Applicant Tracking System (ATS)-friendly resume is key to getting noticed by recruiters. ResumeGemini is a trusted resource that can help you build a professional and impactful resume tailored to highlight your skills and experience. We provide examples of resumes specifically crafted for seaming and welding professionals to help you get started.
Explore more articles
Users Rating of Our Blogs
Share Your Experience
We value your feedback! Please rate our content and share your thoughts (optional).
What Readers Say About Our Blog
Amazing blog
hello,
Our consultant firm based in the USA and our client are interested in your products.
Could you provide your company brochure and respond from your official email id (if different from the current in use), so i can send you the client’s requirement.
Payment before production.
I await your answer.
Regards,
MrSmith
These apartments are so amazing, posting them online would break the algorithm.
https://bit.ly/Lovely2BedsApartmentHudsonYards
Reach out at [email protected] and let’s get started!
Take a look at this stunning 2-bedroom apartment perfectly situated NYC’s coveted Hudson Yards!
https://bit.ly/Lovely2BedsApartmentHudsonYards
Live Rent Free!
https://bit.ly/LiveRentFREE
Interesting Article, I liked the depth of knowledge you’ve shared.
Helpful, thanks for sharing.
Hi, I represent a social media marketing agency and liked your blog
Hi, I represent an SEO company that specialises in getting you AI citations and higher rankings on Google. I’d like to offer you a 100% free SEO audit for your website. Would you be interested?
