Unlock your full potential by mastering the most common Material Inspection and Quality Control interview questions. This blog offers a deep dive into the critical topics, ensuring you’re not only prepared to answer but to excel. With these insights, you’ll approach your interview with clarity and confidence.
Questions Asked in Material Inspection and Quality Control Interview
Q 1. Explain the different types of non-destructive testing methods.
Non-destructive testing (NDT) encompasses various methods for evaluating materials, components, or assemblies without causing damage. This is crucial for ensuring quality and safety across industries like aerospace, construction, and manufacturing. The choice of method depends heavily on the material type, potential defects, and required level of detail.
- Visual Inspection: The simplest method, involving visual examination for surface cracks, corrosion, or other visible defects. Think of a mechanic checking a car’s engine for obvious problems.
- Liquid Penetrant Testing (LPT): A dye is applied to the surface, penetrating any cracks. After cleaning, a developer reveals the dye within the cracks, highlighting defects. Useful for detecting surface-breaking flaws in non-porous materials.
- Magnetic Particle Testing (MPT): Suitable for ferromagnetic materials, MPT involves magnetizing the component and applying magnetic particles (powder). These particles are attracted to any surface or near-surface flaws, revealing their presence. Common in detecting fatigue cracks in welded joints.
- Ultrasonic Testing (UT): Uses high-frequency sound waves to detect internal flaws. The echoes reflected from defects are analyzed to determine their size, location, and orientation. Essential for inspecting thick components or welds.
- Radiographic Testing (RT): Uses X-rays or gamma rays to penetrate the material, revealing internal flaws on film or digitally. Allows for detailed imaging of internal structures and defects. Commonly used for inspecting castings and welds.
- Eddy Current Testing (ECT): A non-contact method that uses electromagnetic induction to detect surface and subsurface flaws in conductive materials. Ideal for inspecting tubing and wires for cracks or corrosion.
The selection of the appropriate NDT method often involves considering factors like accessibility, material properties, defect type, and cost-effectiveness.
Q 2. Describe your experience with dimensional inspection techniques.
My experience with dimensional inspection techniques spans various technologies and applications. I’ve extensively used coordinate measuring machines (CMMs) for high-precision measurements of complex parts. CMMs provide highly accurate three-dimensional measurements, crucial for ensuring parts meet tight tolerances. I’ve also used laser scanners for rapid dimensional inspection of large components, particularly useful for reverse engineering and quality control in larger-scale production settings. Additionally, I am proficient in using various hand-held measurement tools like calipers, micrometers, and height gauges for quick spot checks and routine inspections.
For example, in a recent project involving the production of aerospace components, we used a CMM to measure the critical dimensions of turbine blades with micron-level accuracy, ensuring that they met the demanding aerodynamic specifications. In another project, involving the quality control of large automotive body panels, we leveraged laser scanning to quickly and efficiently identify any deviations from the designed dimensions.
My approach involves a thorough understanding of the part’s design specifications, selecting the appropriate tools for the task, and documenting the results meticulously to ensure traceability and maintain quality records.
Q 3. How do you handle discrepancies found during material inspection?
Handling discrepancies involves a structured approach to ensure timely resolution and prevent recurrence. The first step involves a thorough investigation to understand the root cause of the discrepancy. This often includes reviewing the inspection process, checking the measurement equipment’s calibration, and examining the manufacturing process itself. We then document all findings and involve relevant stakeholders, including production engineers, quality managers, and potentially even suppliers.
Depending on the severity of the discrepancy, we may implement corrective actions, such as reworking the affected materials, adjusting the manufacturing process, or implementing improved quality control measures. A critical aspect is root cause analysis to prevent similar issues in the future. This often involves using tools like Fishbone diagrams or 5 Whys to systematically identify the underlying cause of the problem. We then document the corrective actions taken and the results to ensure continuous improvement.
For example, if a batch of components shows dimensional discrepancies, we would investigate potential causes such as machine tool wear, incorrect tooling, or variations in raw materials. Depending on the root cause, we might recalibrate the machine, replace worn tools, or work with the supplier to address raw material inconsistencies. Throughout the process, meticulous record-keeping and clear communication are vital.
Q 4. What are the common causes of material defects and how can they be prevented?
Material defects can arise from various sources throughout the manufacturing process. Understanding these causes is critical for effective prevention.
- Processing Defects: These originate during material processing, such as casting, forging, machining, or welding. Examples include porosity in castings, cracks in welds, or surface imperfections caused by machining.
- Material Defects: Inherent flaws present in the raw material itself, such as inclusions, segregations, or variations in chemical composition. These are often difficult to detect and prevent completely.
- Design Defects: Flaws resulting from inadequate design, such as insufficient material thickness or stress concentrations that lead to failure.
- Environmental Factors: Corrosion, oxidation, or other environmental degradation can also lead to material defects.
Preventing these defects requires a multi-pronged approach including:
- Strict Quality Control of Raw Materials: Careful selection and inspection of raw materials before processing.
- Optimized Manufacturing Processes: Properly designed and controlled manufacturing processes to minimize the risk of defects.
- Regular Equipment Maintenance: Regular maintenance of machinery and tools to ensure optimal performance.
- Proper Handling and Storage: Safe handling and storage of materials to avoid damage.
- Employee Training: Well-trained personnel are essential to identify and prevent defects.
Q 5. Explain your understanding of Statistical Process Control (SPC).
Statistical Process Control (SPC) is a powerful methodology for monitoring and controlling manufacturing processes. It uses statistical techniques to identify and address variations in a process, enabling proactive rather than reactive quality management. The core concept lies in understanding that all processes exhibit natural variation; SPC helps distinguish between common cause variation (inherent to the process) and special cause variation (due to assignable causes).
SPC employs control charts, which visually display process data over time. These charts typically include control limits that represent the expected range of variation. Data points outside these limits signal potential problems requiring investigation. The type of control chart used depends on the type of data being collected (e.g., X-bar and R charts for continuous data, p-charts for proportions).
For example, in a bottling plant, SPC could be used to monitor the fill level of bottles. By plotting the fill level over time on a control chart, deviations from the target fill level can be quickly identified and addressed, preventing overfilling or underfilling, reducing waste and maintaining consistency.
Effective implementation of SPC requires a good understanding of statistical principles and a commitment to data-driven decision-making. It’s about proactive process management and continuous improvement, rather than simply reacting to defects after they occur.
Q 6. Describe your experience with different quality control tools (e.g., control charts, Pareto charts).
I have extensive experience utilizing various quality control tools, both in data analysis and process improvement. Control charts (as described above) are fundamental to my work. I regularly use X-bar and R charts for monitoring continuous data, p-charts for attribute data, and c-charts for defects per unit. My experience extends beyond basic control chart interpretation to using them for capability analysis, process improvement, and identifying opportunities for variation reduction.
Pareto charts are incredibly useful for prioritizing quality improvement efforts. By identifying the vital few causes contributing to most of the defects or problems, Pareto charts guide our focus toward the most impactful improvement initiatives. For example, if a Pareto chart of defects in a manufacturing process reveals that 80% of the defects are due to a specific machine or operator, we would concentrate our improvement efforts there first.
Other tools I regularly utilize include histograms for visualizing data distribution, scatter plots for investigating relationships between variables, and cause-and-effect diagrams (Fishbone diagrams) for root cause analysis. This toolkit allows for a comprehensive approach to quality control, moving beyond simple defect detection towards proactive prevention and continuous improvement.
Q 7. How do you ensure traceability of materials throughout the manufacturing process?
Material traceability is crucial for ensuring product quality and safety, particularly in regulated industries. It involves maintaining a complete and accurate record of a material’s journey throughout the manufacturing process, from its origin to the final product. This allows for efficient identification and recall of materials if defects are discovered.
Methods for ensuring traceability include:
- Unique Identification: Assigning unique identification numbers (e.g., batch numbers, serial numbers) to each batch or unit of material.
- Barcodes and RFID Tags: Using barcodes or RFID tags to facilitate automated tracking and data capture.
- Database Management Systems: Utilizing database systems to track material movement and process parameters throughout the manufacturing process.
- Detailed Documentation: Maintaining meticulous documentation of all material handling and processing steps, including dates, times, locations, and personnel involved.
In practice, traceability might involve using barcode scanners at each stage of production to record the movement of materials. This data is then stored in a database, allowing for a complete audit trail. If a defect is detected in a final product, the traceability information allows us to quickly identify the specific batch of material used, enabling efficient recall and problem resolution. This proactive approach minimizes risks and ensures the integrity of the manufacturing process.
Q 8. How familiar are you with ISO 9001 standards?
ISO 9001 is the internationally recognized standard for Quality Management Systems (QMS). I’m very familiar with its principles, which focus on consistently meeting customer and regulatory requirements. My experience includes working in organizations certified to ISO 9001, where I’ve been directly involved in implementing and maintaining the QMS, including its impact on material inspection and quality control procedures. This involves documenting processes, conducting internal audits, and participating in management reviews to ensure continuous improvement. For instance, I’ve helped develop and implement documented procedures for material traceability, ensuring that materials used in production can be tracked from their origin to the final product. This is crucial for identifying and rectifying issues, as well as meeting regulatory compliance demands. I understand the importance of risk-based thinking, as outlined in ISO 9001, and how it applies to material selection, testing, and acceptance criteria.
Q 9. What are your experience with different material standards (e.g., ASTM, ASME)?
I have extensive experience with various material standards, including ASTM (American Society for Testing and Materials) and ASME (American Society of Mechanical Engineers). My work has frequently involved referencing ASTM standards for material properties like tensile strength, yield strength, and elongation (e.g., ASTM A36 for structural steel), and ASME standards related to pressure vessel fabrication and component specifications (e.g., ASME Section VIII for pressure vessels). I understand the importance of selecting the appropriate standard for a given material and application. For example, when working with a titanium alloy for an aerospace component, I’d utilize the relevant ASTM specifications to verify its chemical composition, mechanical properties, and conformity to stringent aerospace quality requirements. Understanding these standards is critical to ensuring materials meet the necessary performance and safety criteria.
Q 10. Explain your understanding of root cause analysis techniques.
Root cause analysis (RCA) is a systematic process for identifying the underlying causes of a problem, rather than just addressing the symptoms. I’m proficient in several RCA techniques, including the 5 Whys, Fishbone diagrams (Ishikawa diagrams), and Fault Tree Analysis (FTA). The 5 Whys method involves repeatedly asking “why” to drill down to the root cause. For example, if a component fails, we might ask: Why did it fail? (Because of stress). Why was it stressed? (Because of a design flaw). Why was there a design flaw? (Because of inadequate testing). Fishbone diagrams visually represent potential causes categorized into different groups (e.g., materials, processes, equipment, personnel) to help brainstorm the root causes. FTA is a top-down approach to identify the potential causes that could lead to a specific failure event, often represented graphically using Boolean logic. Choosing the appropriate technique depends on the complexity of the issue and available data. Effectively using RCA ensures that corrective actions focus on preventing future occurrences rather than just treating immediate problems.
Q 11. Describe a time you identified a critical quality issue. How did you resolve it?
In a previous role, we experienced a high rate of cracking in a particular cast aluminum component. Initially, we treated the problem symptomatically by rejecting defective parts. However, I initiated a root cause analysis using the Fishbone diagram. We identified three potential root causes: material defects, improper casting process parameters, and inadequate heat treatment. Through metallurgical analysis and process data review, we discovered that a batch of aluminum alloy had a higher-than-specified level of impurities. This affected its ductility and increased susceptibility to cracking under stress. The solution involved implementing stricter incoming material inspection procedures, including more rigorous chemical analysis, and working with the supplier to improve their quality control measures. We also reviewed and adjusted the casting process parameters to ensure optimal solidification and reduced internal stresses. This multi-faceted approach eliminated the root cause and significantly reduced the number of cracked components.
Q 12. How do you ensure compliance with regulatory requirements related to material inspection?
Ensuring compliance with regulatory requirements is paramount in material inspection. This starts with a thorough understanding of all applicable regulations, such as those from the FDA (for medical devices), FAA (for aerospace components), or other industry-specific regulations. My approach involves establishing a comprehensive compliance program that includes procedures for material traceability, documentation of inspection and testing results, and adherence to specific material standards and certifications. Regular internal audits and management reviews ensure we’re up-to-date on changes in regulations. I stay informed about changes through industry publications, regulatory websites, and professional development. We also maintain meticulous records, ensuring that we can provide a complete audit trail for any material used in production. This proactive approach reduces risk and helps avoid costly non-compliance issues.
Q 13. What is your experience with different types of material testing equipment?
I’m experienced with a wide range of material testing equipment, including: tensile testing machines for determining material strength; hardness testers (Brinell, Rockwell, Vickers) for measuring material hardness; impact testers for evaluating toughness; spectrometers (optical emission, X-ray fluorescence) for chemical composition analysis; microscopes (optical and electron) for microstructure examination; and non-destructive testing (NDT) equipment such as ultrasonic flaw detectors, radiographic inspection systems, and liquid penetrant inspection systems. My experience extends to using and interpreting data from these instruments to ensure that materials meet specified requirements. The choice of equipment depends on the material type, the specific properties being evaluated, and the required level of detail.
Q 14. Explain your knowledge of different material properties and how they affect product performance.
Understanding material properties is essential for predicting product performance and ensuring its reliability. Key properties include mechanical properties (strength, ductility, hardness, toughness, fatigue strength); physical properties (density, melting point, thermal conductivity, electrical conductivity); and chemical properties (composition, reactivity). For example, high tensile strength is critical for structural components to withstand loads, while ductility is important to prevent brittle fracture. Similarly, corrosion resistance is vital for materials exposed to harsh environments. The interplay of these properties significantly impacts product performance. A poorly chosen material might fail prematurely, leading to safety hazards or product malfunction. I apply my knowledge of these properties to select the optimal materials for each application, considering cost, availability, and performance requirements. A detailed understanding of how these properties interact and are affected by processing is key to my successful application of material selection and quality control.
Q 15. How do you handle conflicting priorities between cost, quality and time?
Balancing cost, quality, and time is a constant challenge in material inspection. It’s like trying to juggle three balls – if you drop one, the whole act falls apart. My approach involves a prioritized, risk-based methodology.
First, I define the critical quality characteristics (CQCs) for the material. These are the properties that absolutely must meet specifications for safety and functionality. Then, I assess the risks associated with not meeting each CQC. High-risk CQCs require more rigorous and frequent inspection, potentially increasing cost and time but ultimately protecting quality. Lower-risk CQCs might allow for some cost-saving measures or quicker inspections.
For instance, if we’re inspecting steel for a bridge, the tensile strength is a high-risk CQC; we’ll invest heavily in thorough testing. However, the exact shade of paint might be a lower-risk CQC, allowing for some streamlining of inspection procedures. Finally, I collaborate closely with stakeholders to transparently communicate trade-offs, ensuring everyone understands the rationale behind the chosen approach. This prevents misunderstandings and fosters trust.
Career Expert Tips:
- Ace those interviews! Prepare effectively by reviewing the Top 50 Most Common Interview Questions on ResumeGemini.
- Navigate your job search with confidence! Explore a wide range of Career Tips on ResumeGemini. Learn about common challenges and recommendations to overcome them.
- Craft the perfect resume! Master the Art of Resume Writing with ResumeGemini’s guide. Showcase your unique qualifications and achievements effectively.
- Don’t miss out on holiday savings! Build your dream resume with ResumeGemini’s ATS optimized templates.
Q 16. What is your experience with calibration and maintenance of inspection equipment?
Calibration and maintenance are paramount in ensuring accurate and reliable inspection results. Think of it like this: an improperly calibrated scale will give you wrong weights, leading to faulty conclusions. My experience encompasses a wide range of equipment, including optical microscopes, hardness testers, tensile testing machines, and dimensional measuring devices. I meticulously follow manufacturers’ recommendations for calibration frequencies and procedures, meticulously documenting each step.
I utilize certified reference materials and standards to ensure traceability and accuracy. Maintenance includes regular cleaning, lubrication, and minor repairs to prevent equipment failures. I’m also proficient in creating and adhering to equipment maintenance schedules, identifying potential issues before they impact testing. For instance, I would immediately address any drift detected in a digital caliper to prevent flawed measurements from affecting the final quality assessment.
Q 17. Describe your understanding of sampling techniques for material inspection.
Sampling techniques are crucial for efficient and representative material inspection, especially when dealing with large batches. The wrong sampling method can lead to faulty conclusions. I’m experienced with various sampling methods, choosing the most appropriate based on the material, batch size, and inspection objectives.
For example, for homogenous materials like liquids or powders, simple random sampling is often sufficient. However, for heterogeneous materials like steel bars with potential variations in composition along the length, stratified sampling is more suitable. In this method, the material is divided into strata, and samples are randomly selected from each stratum to ensure adequate representation of variations. I also have experience with systematic sampling, where samples are taken at regular intervals, and judgment sampling, where expert knowledge is used to select representative samples. The choice of method is documented and justified, ensuring the integrity of the inspection process.
Q 18. How do you document your inspection findings?
Meticulous documentation is the cornerstone of credible material inspection. I utilize a combination of digital and paper-based records, ensuring traceability and auditability. Each inspection includes a detailed report specifying the material, date, testing methods, equipment used, observed data, and conclusions.
Photographs, videos, and digital data from testing equipment are incorporated as needed. All records are clearly labeled, timestamped, and stored securely following company procedures. A non-conformance report (NCR) is generated for any material failing to meet specifications, detailing the failure mode, corrective actions, and their verification. This comprehensive documentation system allows for effective tracking, analysis, and continuous improvement of the inspection process.
Q 19. How do you communicate inspection results effectively to different stakeholders?
Effective communication of inspection results is vital for informed decision-making across all levels. My approach is tailored to the audience. For technical personnel, I provide detailed reports with statistical analysis. For management, I present concise summaries highlighting key findings and recommendations. For clients, I use plain language avoiding technical jargon, emphasizing the impact on product quality and safety.
I utilize various communication methods like formal reports, presentations, and email updates, ensuring timely and accurate dissemination of information. Visual aids, such as charts and graphs, are effectively utilized to illustrate complex data. I encourage open communication, actively soliciting questions and feedback to ensure clarity and understanding.
Q 20. What is your experience with using quality management software?
I have extensive experience using quality management software, including Enterprise Resource Planning (ERP) systems and specialized quality control software. My proficiency includes data entry, report generation, trend analysis, and the management of non-conformances.
Software like [Software Name Example] allows for efficient tracking of inspection results, streamlining the entire quality control process and providing valuable data for continuous improvement initiatives. I’m comfortable using software to create dashboards that visualize key quality metrics, enabling proactive identification of potential issues. This reduces the risk of defects and improves overall efficiency and productivity.
Q 21. Describe your experience with auditing processes.
My experience with auditing processes spans various aspects of material inspection and quality control, both internal and external audits. I’m familiar with industry standards such as ISO 9001 and other relevant regulations.
During audits, I meticulously review documentation, observe processes, and interview personnel to assess compliance. I identify areas of strength and weakness, providing constructive feedback for improvement. I have experience developing corrective action plans (CAPAs) and verifying their effectiveness. My goal in auditing is not just to find flaws, but to promote a culture of continuous improvement and enhance overall quality. A well-executed audit process is preventative medicine for quality control; it ensures the organization remains efficient and consistently produces high-quality products.
Q 22. Explain your understanding of corrective and preventive actions (CAPA).
Corrective and Preventive Actions (CAPA) is a systematic process designed to identify the root cause of quality issues, correct them immediately, and implement preventative measures to stop similar issues from recurring. Think of it as a two-pronged approach: fixing the current problem (corrective) and stopping it from happening again (preventative).
- Corrective Action: This focuses on addressing the immediate problem. For example, if a batch of material fails a tensile strength test, corrective action might involve isolating the failed batch, investigating the cause (e.g., faulty equipment, incorrect mixing ratios), and disposing of the non-conforming material.
- Preventive Action: This goes a step further to prevent future occurrences. In the same example, preventative action might include calibrating the testing equipment, reviewing and revising the mixing process, and implementing additional quality checks during manufacturing.
A well-defined CAPA process typically involves five key steps: 1) Identifying the problem, 2) Investigating the root cause, 3) Implementing corrective actions, 4) Implementing preventive actions, and 5) Verifying the effectiveness of the actions taken. Effective CAPA systems are crucial for continuous improvement and maintaining high quality standards within any organization.
Q 23. How do you maintain accurate records of inspections and testing data?
Maintaining accurate records is paramount in material inspection and quality control. I utilize a combination of electronic and paper-based systems, depending on the specific requirements and regulations. For example, we might use a LIMS (Laboratory Information Management System) to electronically track samples, test results, and inspection data. This system allows for real-time data entry, automated reporting, and secure data storage. Crucially, LIMS systems often include features for audit trails and electronic signatures, enhancing traceability and data integrity. For certain tests or inspections that require immediate documentation, I utilize standardized paper-based forms, ensuring legible handwriting and clear identification of samples, testers, dates, and results. These paper forms are then scanned and integrated with the electronic records.
Regardless of the method, meticulous attention to detail is key. Each record must be accurately completed, reviewed for errors, and stored securely according to regulatory guidelines (e.g., GMP, ISO). Regular data backups and version control are essential to ensure data integrity and availability.
Q 24. What is your experience working in a GMP/ISO compliant environment?
I have extensive experience working in GMP (Good Manufacturing Practices) and ISO compliant environments. My previous role at [Previous Company Name] required strict adherence to ISO 9001 and GMP standards for the manufacturing of pharmaceutical products. This involved performing routine inspections on raw materials, in-process materials, and finished goods. I was responsible for ensuring that all materials met the defined quality specifications and that the manufacturing process complied with all relevant regulations. I actively participated in internal audits and provided support during external audits. This experience gave me a deep understanding of regulatory requirements, documentation practices, and the importance of rigorous quality control procedures within regulated industries. Understanding and complying with these standards is not merely a task; it’s integral to ensuring the safety and effectiveness of the products we produce.
Q 25. How do you stay up to date with the latest advancements in material inspection techniques?
Staying current in the field of material inspection requires continuous learning. I actively participate in professional development activities such as attending conferences (e.g., ASQ World Conference), webinars, and workshops focused on new techniques and technologies in material science and quality control. I also regularly review industry publications, journals (like ‘Materials Today’ and ‘Quality Engineering’), and technical articles to stay abreast of advancements in areas such as non-destructive testing methods (NDT), spectroscopic analysis, and automated inspection systems. Professional networking with other quality control professionals through organizations like ASQ is vital for sharing best practices and learning about innovative solutions.
Furthermore, I proactively seek opportunities for training on new equipment and software relevant to material inspection. This ensures I can effectively utilize the latest technologies to improve the efficiency and accuracy of our inspection processes. Continuous learning is not just a personal commitment but a crucial aspect of ensuring high quality standards in my work.
Q 26. Describe a situation where you had to make a difficult decision related to quality.
In a previous role, we received a shipment of raw materials that initially passed our standard quality checks, but subsequent testing revealed a slightly higher level of impurities than our specifications allowed. Releasing these materials could potentially compromise the quality of our end product, leading to costly recalls and damage to our reputation. The supplier insisted the materials were within acceptable tolerances and argued against rejection. The decision was difficult because rejecting the materials meant a significant delay in production, impacting our delivery schedules to customers. After a thorough review of all data and consulting with our engineering and legal teams, we decided to reject the materials despite the potential production delays. The supplier ultimately conceded and replaced the materials with a conforming batch. While this decision resulted in temporary disruption, prioritizing quality and preventing potential downstream issues ultimately proved to be the correct course of action. This reinforced the importance of unwavering adherence to quality standards and thorough due diligence, even when faced with external pressure.
Q 27. What are your strengths and weaknesses regarding Material Inspection and Quality Control?
My strengths lie in my meticulous attention to detail, my deep understanding of various inspection methods and statistical process control (SPC), and my proactive approach to problem-solving. I’m adept at identifying potential quality issues early in the process and implementing effective solutions. I also possess strong communication skills, which allows me to clearly explain complex technical concepts to both technical and non-technical audiences. I’m a team player, capable of working effectively with cross-functional teams to achieve common quality goals.
One area I’m continuously working on is expanding my knowledge of advanced automation techniques in material inspection. While I understand the principles, gaining hands-on experience with cutting-edge automated systems would enhance my skills and increase efficiency in our inspection processes. This is an area I actively seek to develop through professional training and exposure to new technologies.
Q 28. How do you handle pressure in a fast-paced manufacturing environment?
Fast-paced manufacturing environments often require rapid decision-making and the ability to prioritize tasks effectively. My approach to handling pressure involves a combination of organization, prioritization, and efficient time management. I utilize tools like Kanban boards or similar systems to visually track tasks and deadlines. This helps me stay organized and focused, even under pressure. I also proactively communicate with my team and management to ensure everyone is aware of potential bottlenecks or challenges. Open communication helps anticipate and address issues promptly, minimizing delays and reducing overall stress. When faced with a critical situation, I focus on breaking down the problem into manageable steps, systematically addressing each issue in order of priority. This methodical approach helps maintain calm and ensures that critical decisions are made efficiently and effectively.
Key Topics to Learn for Material Inspection and Quality Control Interview
- Understanding Material Properties: Learn to identify and interpret the physical and chemical properties of various materials relevant to your industry. This includes understanding how these properties impact performance and longevity.
- Inspection Methods and Techniques: Master various inspection techniques such as visual inspection, dimensional measurement, destructive and non-destructive testing (NDT) methods like ultrasonic testing, radiography, and chemical analysis. Be prepared to discuss your experience with specific equipment and procedures.
- Quality Control Standards and Regulations: Familiarize yourself with relevant industry standards (e.g., ISO 9001) and regulatory compliance requirements. Understand how these standards guide inspection processes and documentation.
- Data Analysis and Reporting: Practice analyzing inspection data, identifying trends, and creating clear and concise reports. This includes using statistical process control (SPC) techniques and presenting findings effectively.
- Root Cause Analysis and Problem Solving: Develop your skills in identifying the root cause of quality defects using problem-solving methodologies like the 5 Whys or fishbone diagrams. Be prepared to discuss how you’ve addressed quality issues in the past.
- Quality Management Systems (QMS): Understand the principles and implementation of QMS, including process improvement methodologies like Lean and Six Sigma. This demonstrates a commitment to continuous improvement.
- Calibration and Maintenance of Equipment: Familiarize yourself with the importance of proper calibration and regular maintenance of inspection equipment to ensure accurate and reliable results. Be prepared to discuss your experience with equipment maintenance and calibration procedures.
Next Steps
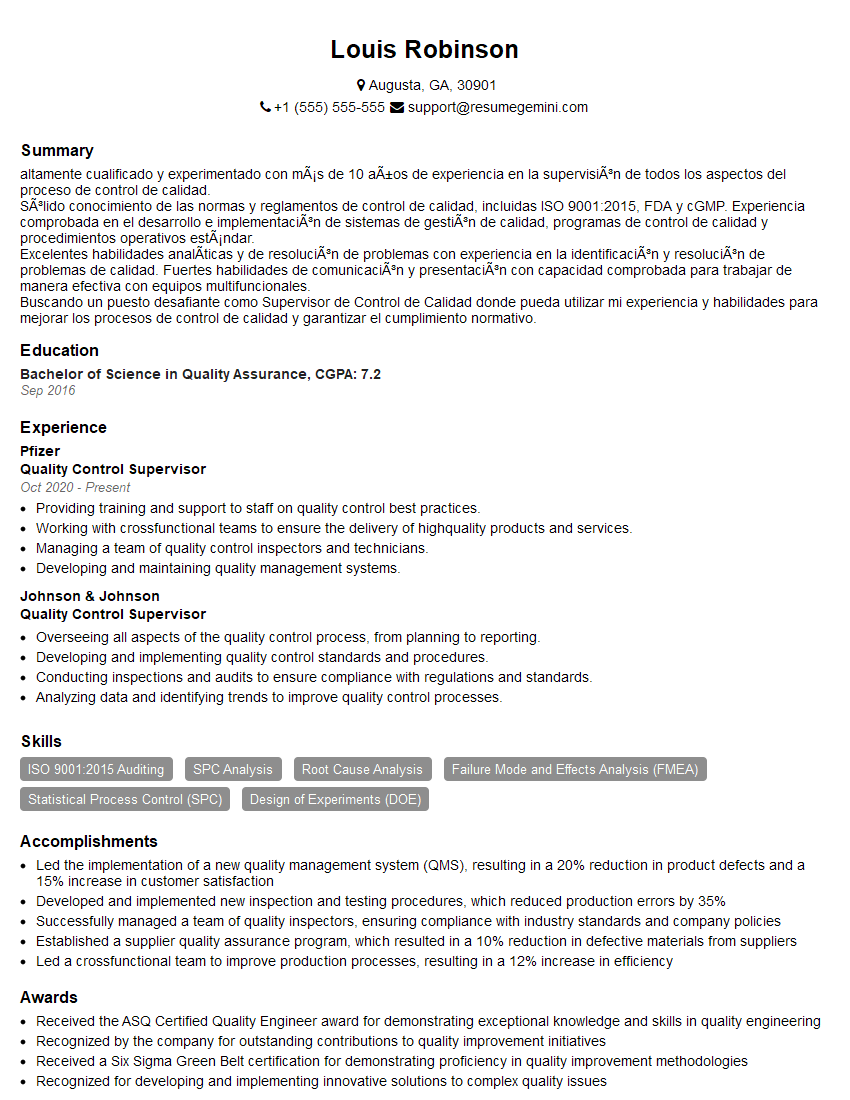
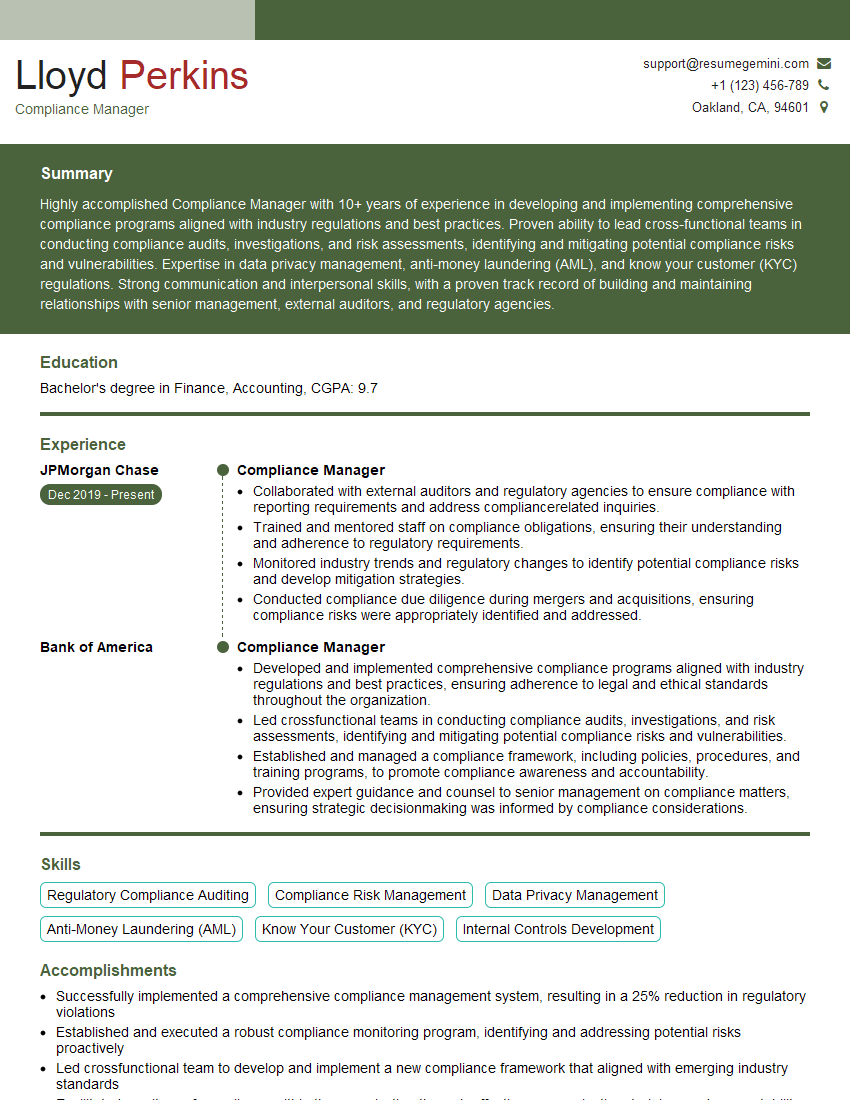
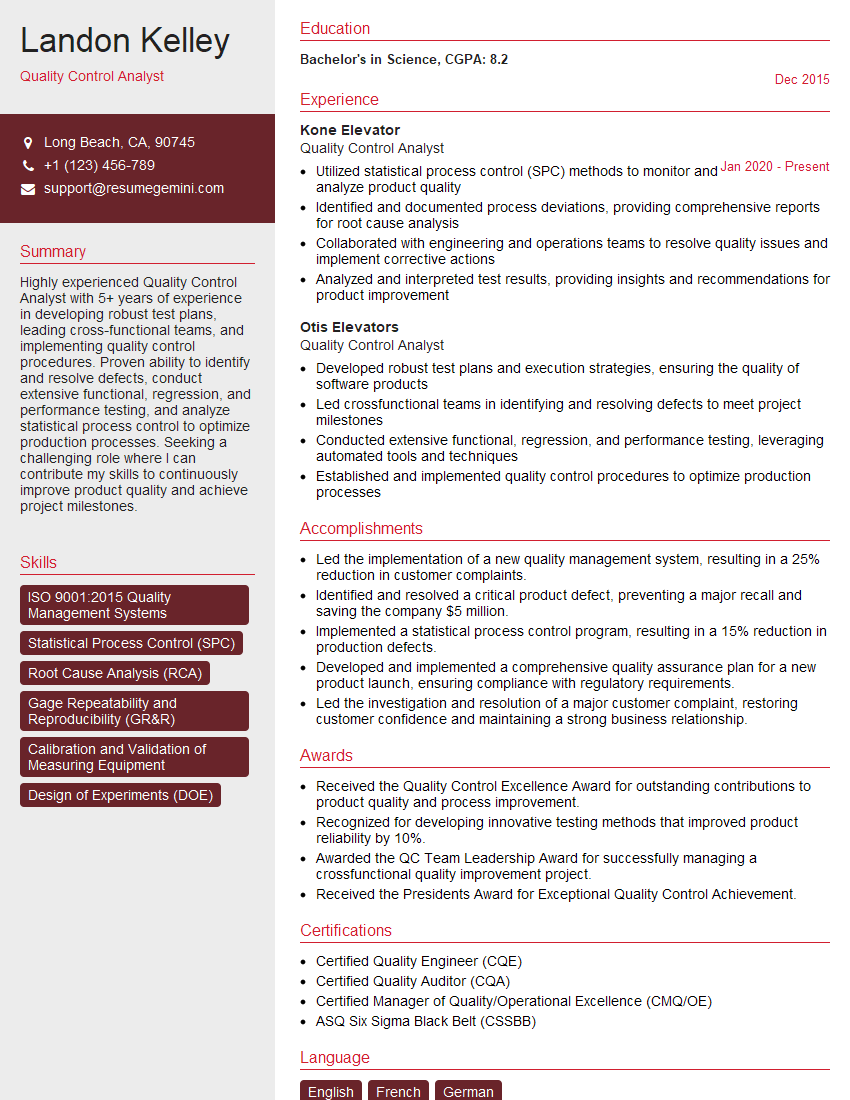
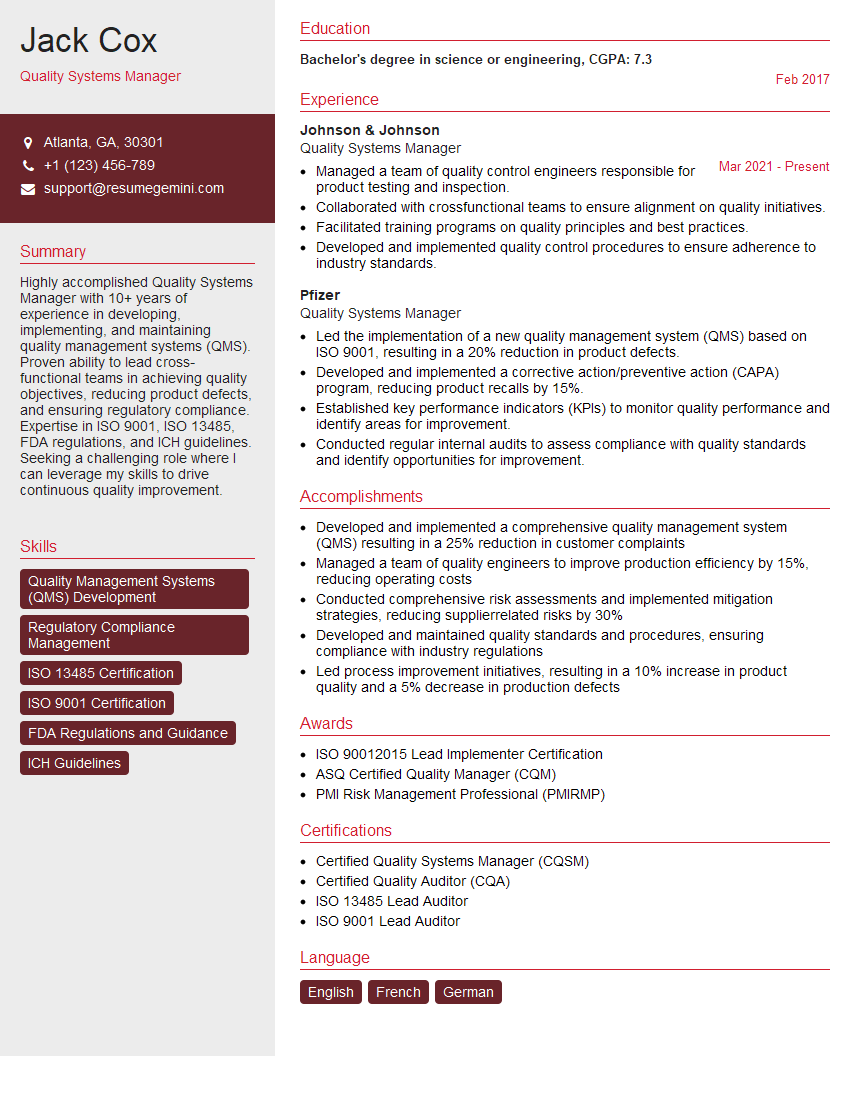
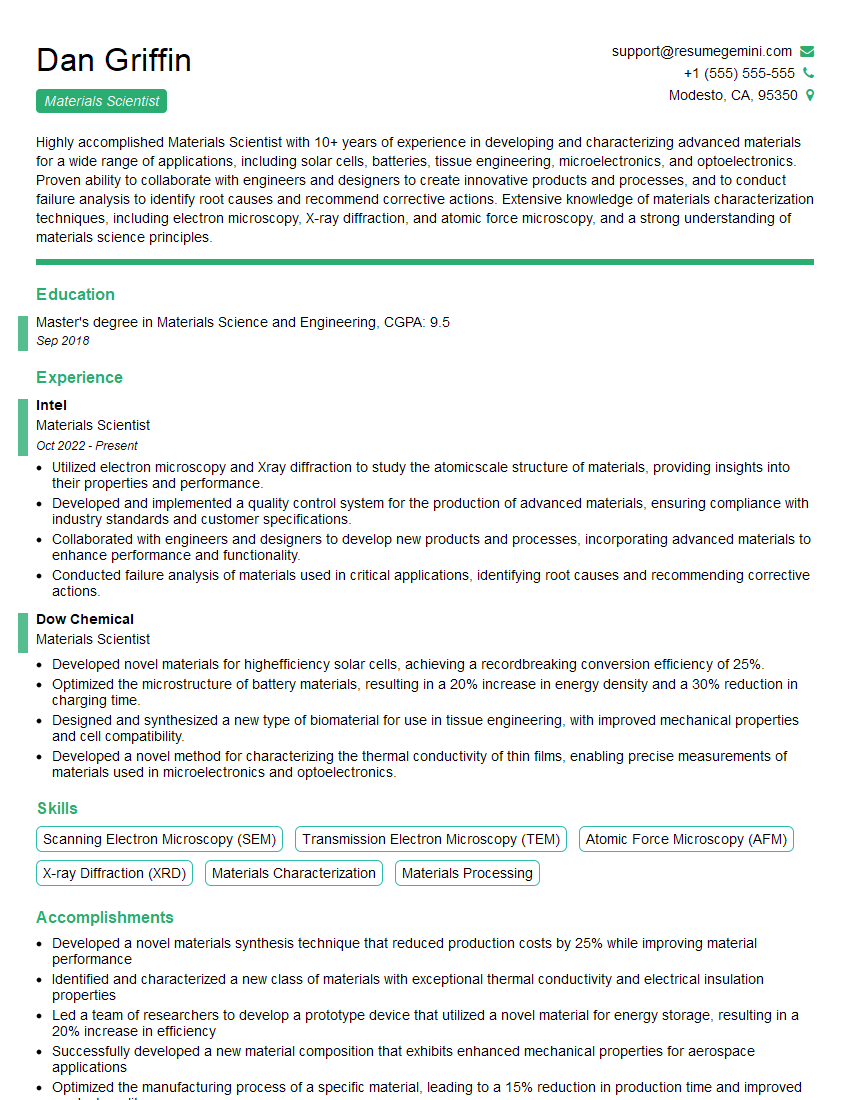
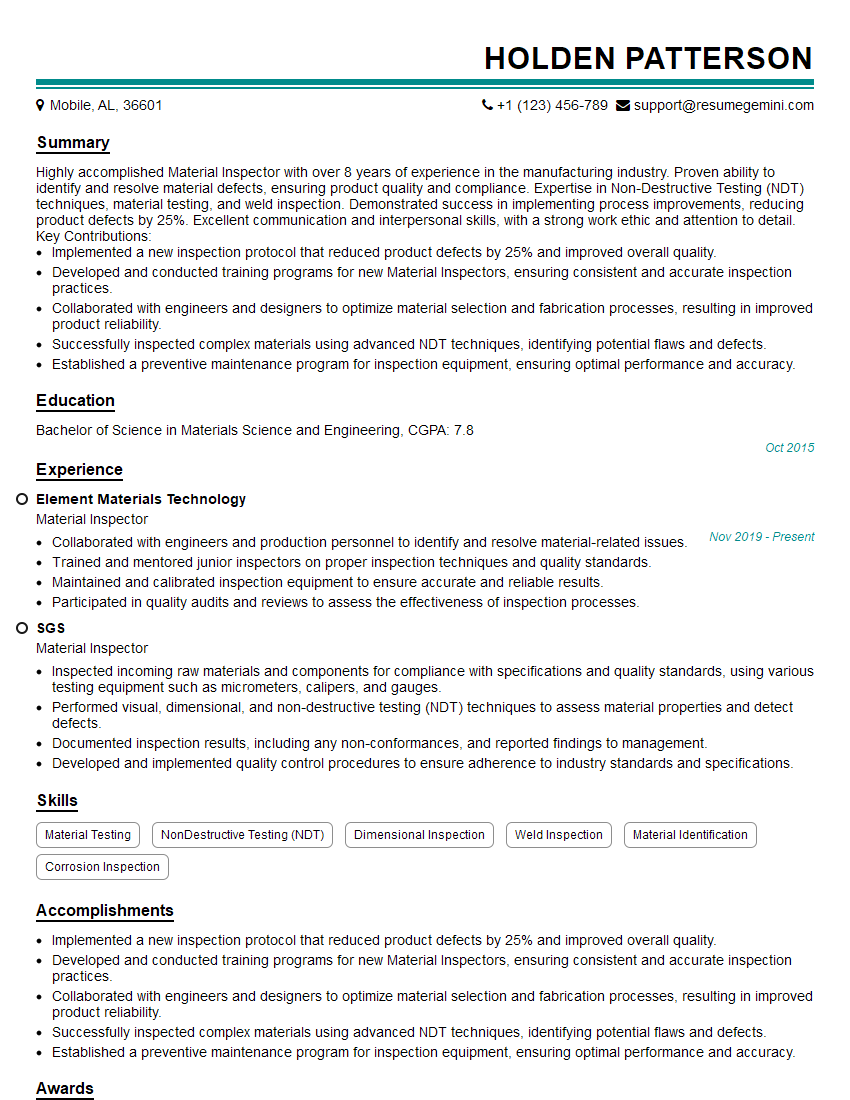
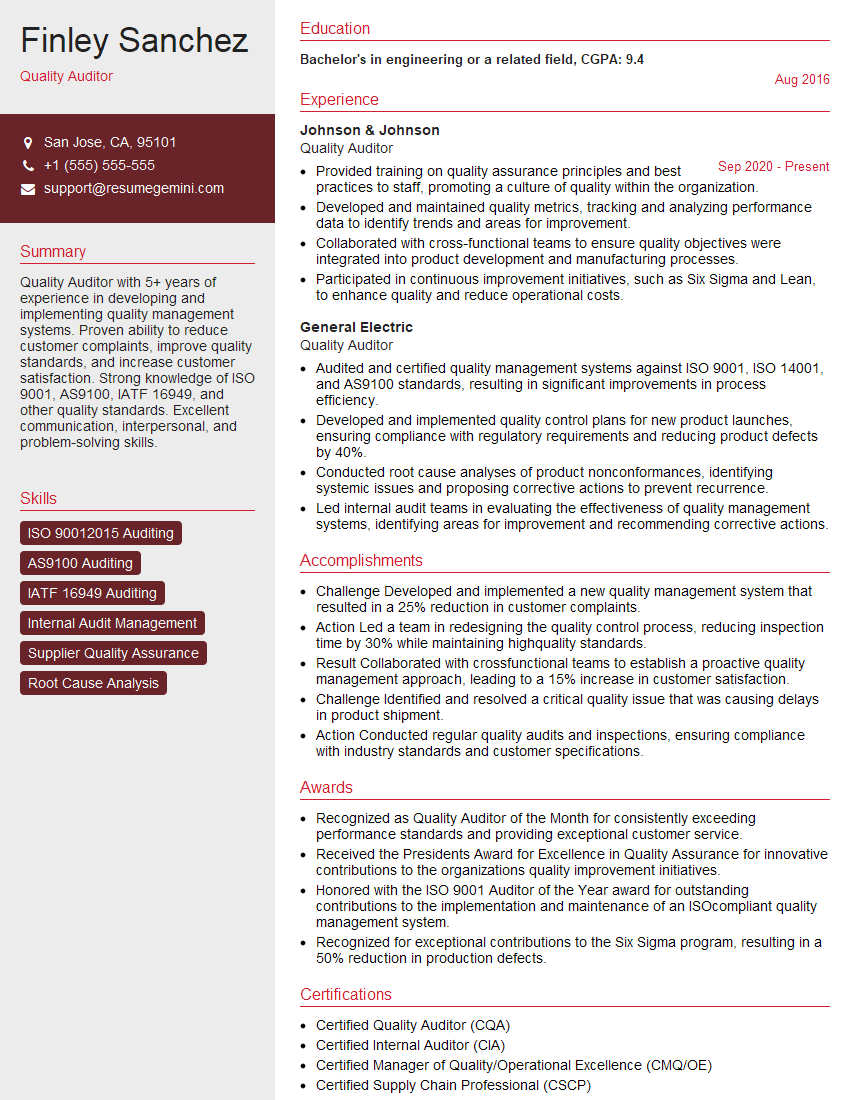
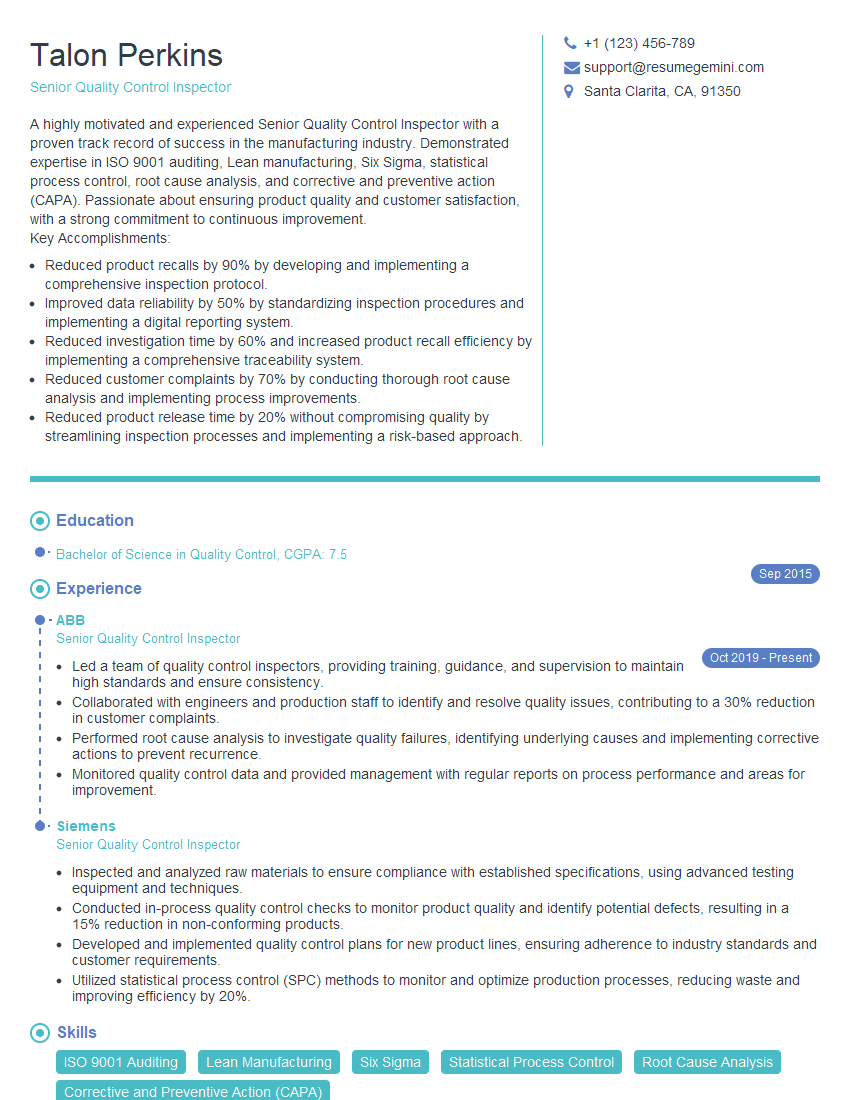
Mastering Material Inspection and Quality Control opens doors to rewarding careers with excellent growth potential. Companies highly value professionals who can ensure product quality, minimize defects, and uphold safety standards. To maximize your job prospects, crafting an ATS-friendly resume is crucial. A well-structured resume highlights your skills and experience effectively, increasing your chances of landing an interview. We highly recommend using ResumeGemini to build a professional and impactful resume. ResumeGemini provides valuable tools and resources, including examples of resumes tailored to Material Inspection and Quality Control, to help you present your qualifications in the best possible light. Take the next step towards your dream career – build your resume with ResumeGemini today!
Explore more articles
Users Rating of Our Blogs
Share Your Experience
We value your feedback! Please rate our content and share your thoughts (optional).
What Readers Say About Our Blog
hello,
Our consultant firm based in the USA and our client are interested in your products.
Could you provide your company brochure and respond from your official email id (if different from the current in use), so i can send you the client’s requirement.
Payment before production.
I await your answer.
Regards,
MrSmith
These apartments are so amazing, posting them online would break the algorithm.
https://bit.ly/Lovely2BedsApartmentHudsonYards
Reach out at [email protected] and let’s get started!
Take a look at this stunning 2-bedroom apartment perfectly situated NYC’s coveted Hudson Yards!
https://bit.ly/Lovely2BedsApartmentHudsonYards
Live Rent Free!
https://bit.ly/LiveRentFREE
Interesting Article, I liked the depth of knowledge you’ve shared.
Helpful, thanks for sharing.
Hi, I represent a social media marketing agency and liked your blog
Hi, I represent an SEO company that specialises in getting you AI citations and higher rankings on Google. I’d like to offer you a 100% free SEO audit for your website. Would you be interested?


