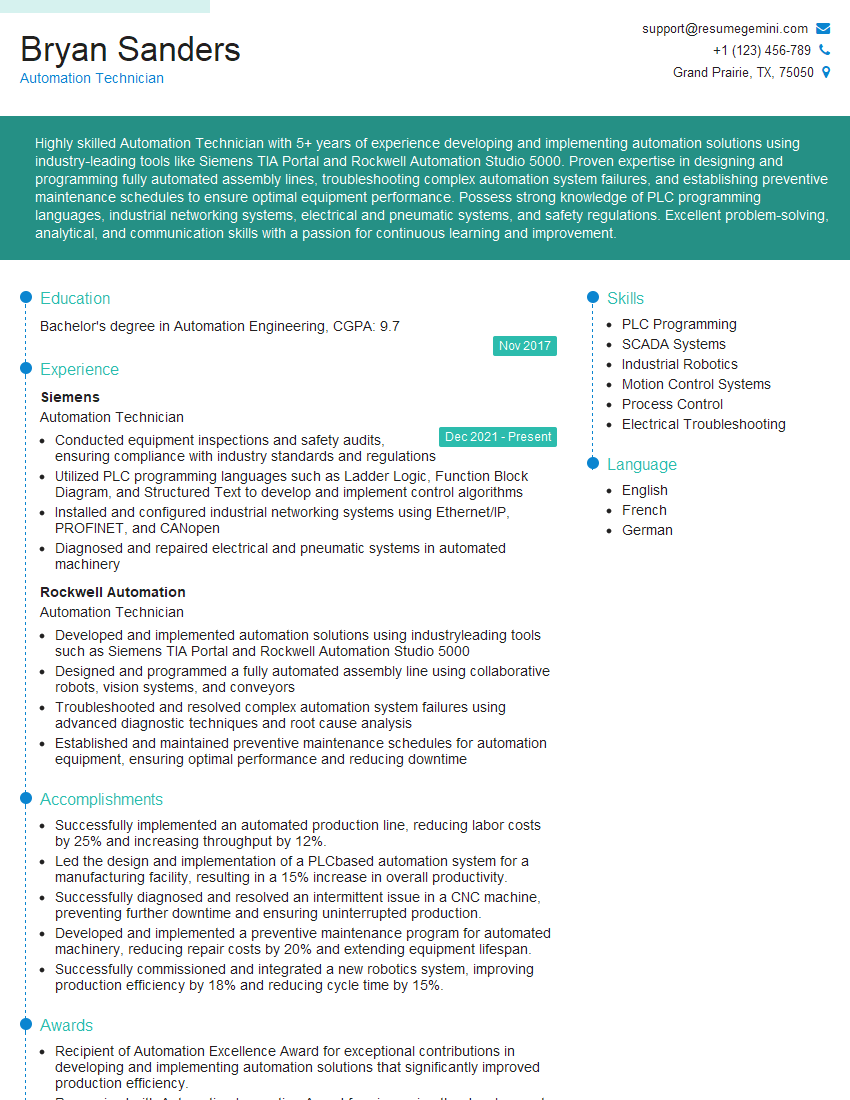
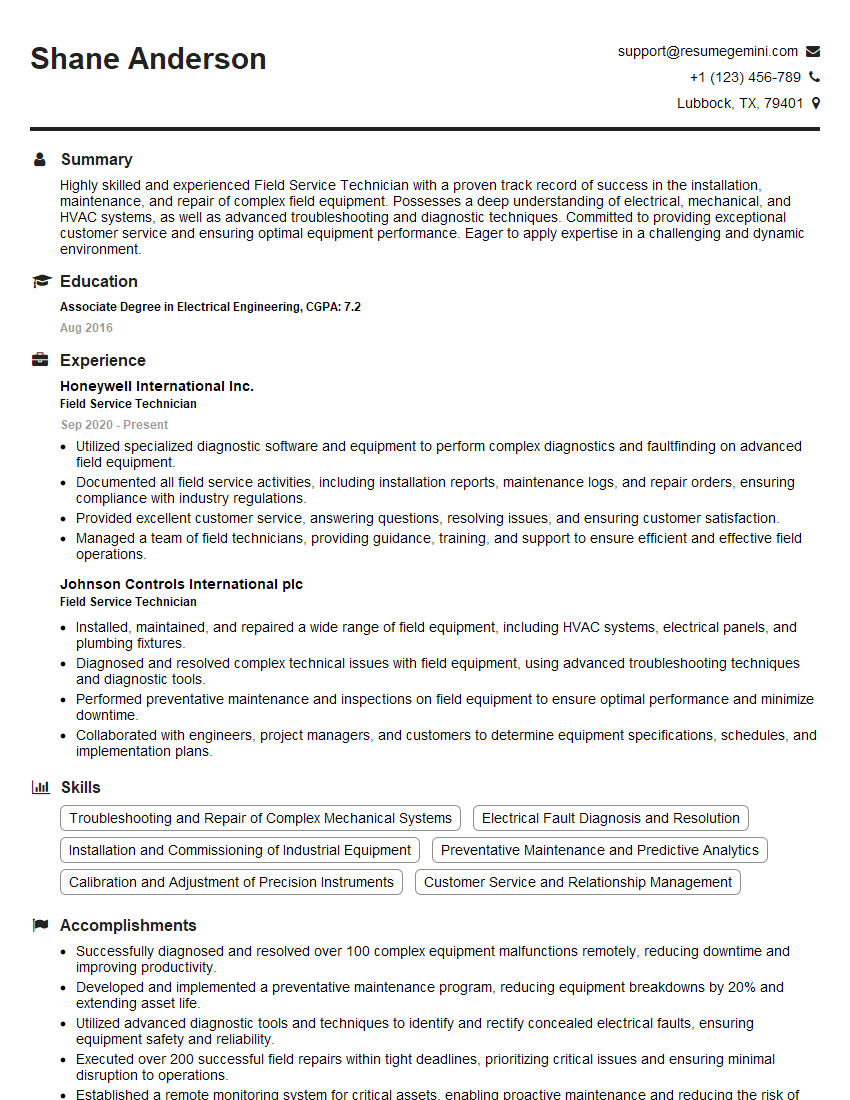
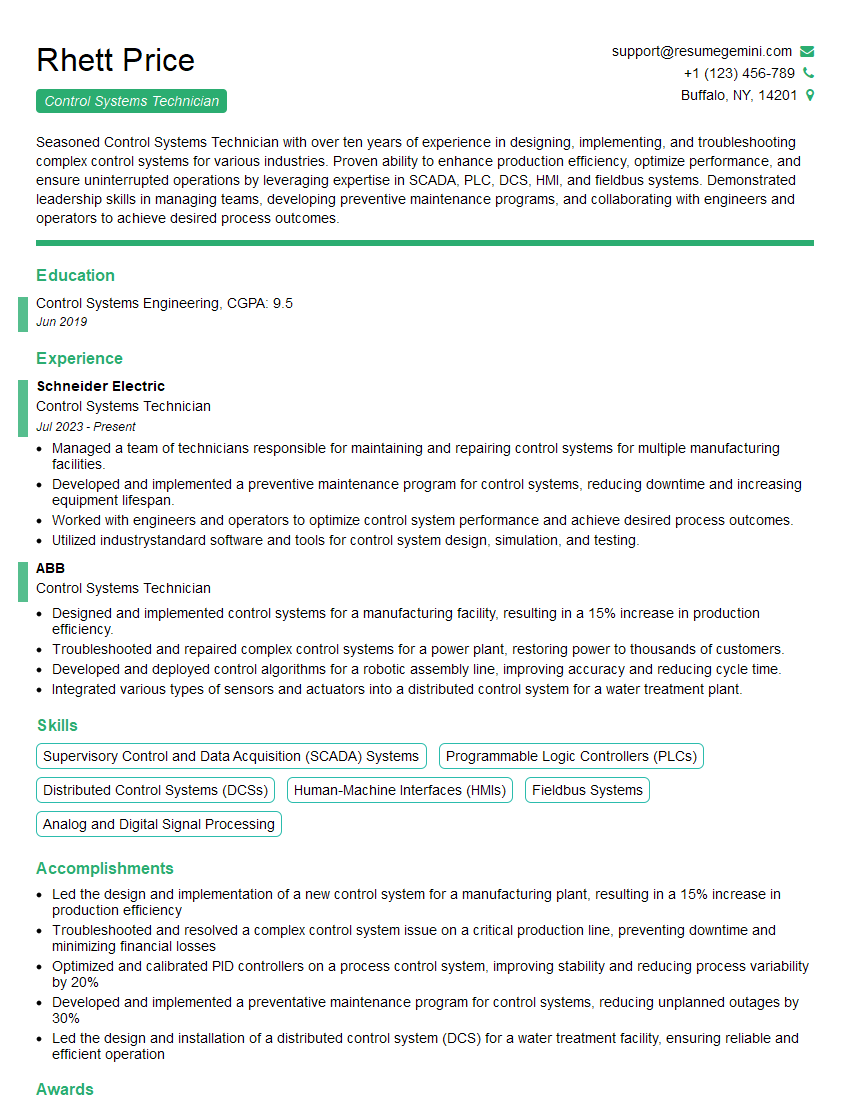
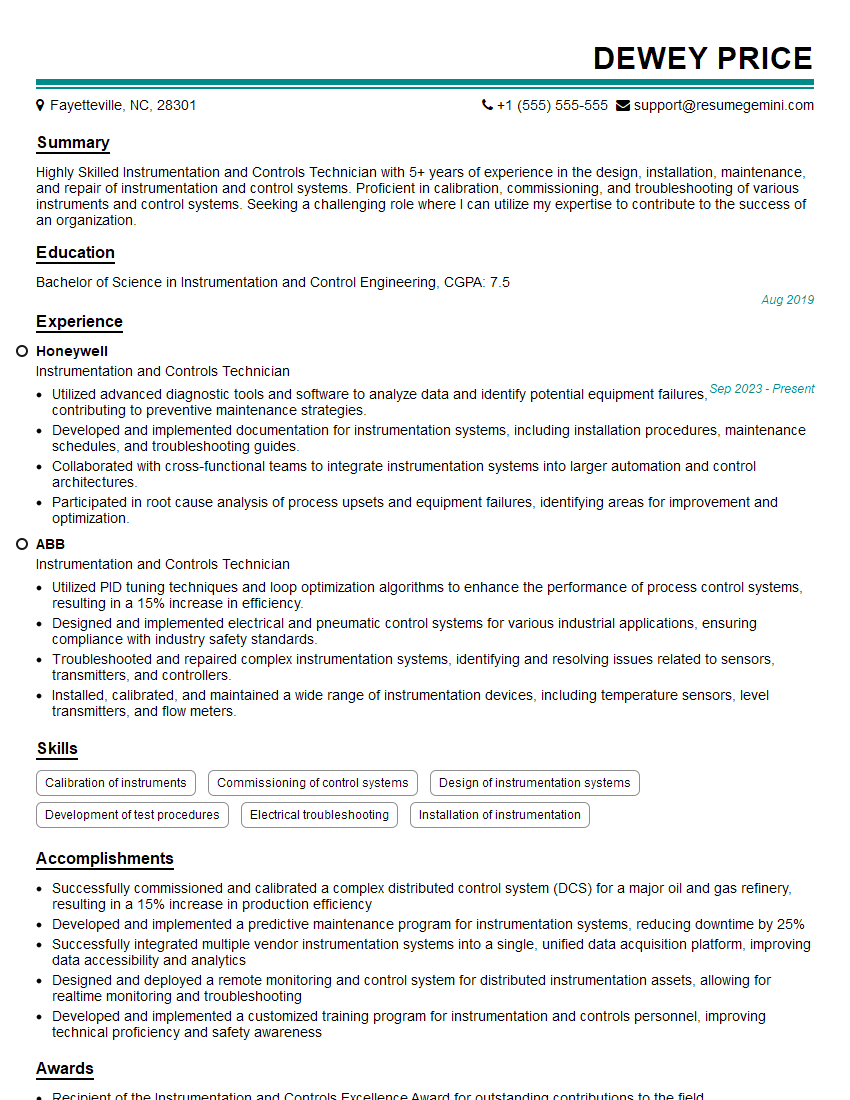
Interviews are more than just a Q&A session—they’re a chance to prove your worth. This blog dives into essential Instrumentation Maintenance and Calibration interview questions and expert tips to help you align your answers with what hiring managers are looking for. Start preparing to shine!
Questions Asked in Instrumentation Maintenance and Calibration Interview
Q 1. Explain the importance of instrument calibration.
Instrument calibration is crucial for ensuring the accuracy and reliability of measurements. Think of it like regularly tuning a musical instrument – without it, the notes would be off-key, and the music wouldn’t sound right. Similarly, uncalibrated instruments produce inaccurate readings, leading to flawed data, incorrect decisions, and potentially dangerous situations. Calibration guarantees that your instruments measure what they’re supposed to measure within an acceptable range of error, ensuring data integrity and process control.
For example, in a pharmaceutical manufacturing process, an improperly calibrated scale used to weigh active ingredients could result in incorrect dosages, leading to serious health consequences. Regular calibration prevents such risks by verifying the instrument’s accuracy against a traceable standard.
Q 2. Describe different calibration methods.
Several calibration methods exist, each suited to different instruments and applications. These include:
- Direct Comparison: The instrument is compared directly to a known standard with a higher accuracy. This is simple and effective for many instruments like thermometers or pressure gauges.
- Substitution: A known standard is substituted for the instrument’s input, and the output is compared. This method is useful for instruments where direct comparison isn’t feasible.
- Calibration with Reference Standards: This method uses certified reference materials or standards that are traceable to national or international standards. This is crucial for ensuring measurement traceability and high accuracy.
- In-situ Calibration: Calibration is performed in the instrument’s operational environment, minimizing discrepancies from changes in ambient conditions.
- Multi-point Calibration: Calibration is done at multiple points across the instrument’s measurement range to identify non-linearity or deviations.
The choice of method depends on factors such as instrument type, required accuracy, and available resources.
Q 3. What are the common causes of instrument malfunction?
Instrument malfunction can stem from a variety of causes. These can be broadly categorized into:
- Environmental Factors: Extreme temperatures, humidity, vibrations, and dust can damage sensitive components.
- Physical Damage: Drops, impacts, or improper handling can cause mechanical failures.
- Wear and Tear: Continuous use leads to degradation of parts, reducing accuracy and precision.
- Electrical Issues: Faulty wiring, power surges, or component failures can impact electronic instruments.
- Calibration Drift: The instrument’s accuracy gradually deteriorates over time due to aging or changes in calibration.
- Operator Error: Incorrect handling, operation, or maintenance practices can contribute to malfunction.
Identifying the root cause is crucial for effective troubleshooting.
Q 4. How do you troubleshoot a faulty instrument?
Troubleshooting a faulty instrument follows a systematic approach:
- Safety First: Isolate the instrument and ensure power is off before attempting any repairs. Follow all safety protocols.
- Visual Inspection: Check for any visible damage, loose connections, or unusual wear.
- Check Calibration Records: Review recent calibration records to determine if the malfunction is due to drift or a sudden failure.
- Consult Documentation: Refer to the instrument’s manual for troubleshooting guides and diagnostic procedures.
- Systematic Testing: Test individual components using appropriate tools and techniques to isolate the fault.
- Calibration Check: Even after identifying and fixing a problem, recalibration is crucial to verify accuracy.
- Documentation: Record the troubleshooting steps, findings, and corrective actions taken.
If the fault cannot be easily diagnosed or repaired, consider seeking assistance from qualified technicians or contacting the manufacturer.
Q 5. What safety precautions do you take during instrument maintenance?
Safety is paramount during instrument maintenance. Key precautions include:
- Lockout/Tagout Procedures: Always disconnect power sources and implement lockout/tagout procedures to prevent accidental energization.
- Personal Protective Equipment (PPE): Use appropriate PPE, such as safety glasses, gloves, and protective clothing, to prevent injuries from hazards like electrical shocks, chemicals, or sharp objects.
- Proper Handling: Handle instruments with care to prevent damage. Avoid dropping or impacting them.
- Grounding: Ensure proper grounding to prevent static electricity discharge that could damage sensitive components.
- Ventilation: In areas with volatile chemicals or potential fumes, ensure adequate ventilation.
- Training: Only trained and authorized personnel should perform maintenance procedures.
Following safety procedures minimizes risk and ensures a safe working environment.
Q 6. Explain the concept of instrument accuracy and precision.
Accuracy and precision are often confused but represent distinct aspects of measurement quality. Accuracy refers to how close a measurement is to the true value. Precision refers to how close repeated measurements are to each other. A dartboard analogy helps illustrate this:
- High Accuracy, High Precision: All darts are clustered tightly near the bullseye.
- High Accuracy, Low Precision: Darts are scattered across the board but their average location is near the bullseye.
- Low Accuracy, High Precision: Darts are clustered tightly together, but far from the bullseye.
- Low Accuracy, Low Precision: Darts are scattered randomly across the board.
Ideally, instruments should exhibit both high accuracy and high precision. Instrument specifications usually state these values to quantify their measurement capabilities.
Q 7. How do you interpret instrument specifications?
Interpreting instrument specifications is vital for selecting and using instruments appropriately. Specifications typically include:
- Range: The minimum and maximum values the instrument can measure.
- Accuracy: The maximum permissible error of the measurement.
- Precision: The repeatability of measurements.
- Resolution: The smallest increment the instrument can measure.
- Sensitivity: The smallest change in the measured quantity that can be detected.
- Operating Temperature: The acceptable range of environmental temperatures for operation.
- Response Time: The time taken for the instrument to respond to a change in the measured quantity.
Understanding these parameters ensures that the chosen instrument meets the requirements of the application. For instance, an instrument with low resolution might be unsuitable for precise measurements, while an instrument with a narrow range cannot be used outside its stated limits.
Q 8. What are the different types of calibration standards?
Calibration standards are the benchmarks against which instruments are compared to ensure accuracy. They are typically traceable to national or international standards organizations, like NIST (National Institute of Standards and Technology) in the US or equivalent bodies in other countries. This traceability ensures consistency and reliability across different calibrations.
- Primary Standards: These are the most accurate and precise standards, often maintained by national metrology institutes. They are usually not used directly for calibrating field instruments due to their high cost and fragility; instead, they’re used to calibrate secondary standards.
- Secondary Standards: These are calibrated against primary standards and are used to calibrate working standards or directly calibrate field instruments. They offer a good balance between accuracy and practicality.
- Working Standards: These are the most commonly used standards in day-to-day calibration activities. They are calibrated against secondary standards and are robust enough for frequent use in the field.
- Transfer Standards: These standards are used to transport a known value from a laboratory to a remote location for calibration purposes, particularly useful in situations where transporting instruments to a lab isn’t feasible.
Think of it like this: primary standards are the ‘gold standard’, secondary standards are like highly accurate copies used to check other copies, and working standards are the everyday measuring tools we use to check our instruments.
Q 9. Describe your experience with different types of instruments (e.g., pressure, temperature, flow).
My experience spans a wide range of instrumentation, including pressure, temperature, and flow measurement devices. I’ve worked with various technologies, from simple mechanical gauges to advanced digital sensors and transmitters.
- Pressure Instruments: I’m proficient in calibrating various pressure instruments, including Bourdon tube gauges, diaphragm seals, pressure transmitters (both analog and digital), and electronic pressure switches. I’ve handled calibrations from low vacuum to high-pressure applications, using both deadweight testers and electronic calibrators.
- Temperature Instruments: My experience encompasses thermocouples, RTDs (Resistance Temperature Detectors), thermistors, and infrared thermometers. I’m familiar with various calibration techniques, including ice point calibrations, and the use of dry block calibrators and temperature baths.
- Flow Instruments: I’ve worked with a variety of flow meters, including orifice plates, rotameters, vortex flow meters, and ultrasonic flow meters. My calibration experience includes using both primary and secondary flow calibration standards, depending on the application and accuracy requirements.
In one particular project, I successfully resolved a persistent inaccuracy in a critical high-pressure process using a combination of advanced diagnostics and precise deadweight tester calibration. The root cause was traced back to a faulty diaphragm seal, a situation that highlights the importance of comprehensive instrument knowledge and troubleshooting abilities.
Q 10. How do you maintain instrument documentation and records?
Maintaining accurate and organized instrument documentation and records is crucial for compliance and traceability. We use a comprehensive calibration management system, typically a combination of software and physical files.
- Calibration Software: We utilize calibration software to manage instrument data, schedule calibrations, generate reports, and track certificates. This helps automate many aspects of calibration management and ensures efficient data retrieval.
- Physical Records: We maintain hard copies of calibration certificates, maintenance logs, and instrument specifications. This ensures redundancy and accessibility, especially in situations where electronic access might be limited.
- Electronic Databases: All calibration data is digitally stored in a secure, accessible database, which allows for easy retrieval and analysis of historical calibration trends.
Each instrument has a unique identification number, and all calibration information is linked to that number. This ensures the complete history of the instrument is readily available, facilitating proactive maintenance and trouble-shooting.
Q 11. Explain your experience with calibration software.
I have extensive experience with various calibration software packages. My skills involve data entry, report generation, instrument tracking, and analysis of calibration data. I’m proficient in using software to manage calibration schedules, generate certificates of calibration, and track instrument performance over time.
I’ve used software such as [mention specific software examples if comfortable, e.g., Fluke Calibration Software, other industry-standard calibration management systems] to manage calibration workflows. This experience includes data entry, generating reports that meet regulatory requirements, managing user permissions and security, and integrating with other enterprise systems. Proficiency in such software helps streamline the calibration process, minimizing errors and improving efficiency.
Q 12. Describe your experience with preventative maintenance.
Preventative maintenance is key to maximizing instrument lifespan and minimizing downtime. My experience includes developing and implementing preventative maintenance plans, tailored to the specific requirements of different instruments. This involves regular inspections, cleaning, lubrication, and minor repairs to prevent major failures.
- Scheduled Inspections: We perform regular inspections of instruments to check for signs of wear and tear, corrosion, or damage. This includes visual checks and functional tests.
- Cleaning and Lubrication: Many instruments require regular cleaning and lubrication to ensure smooth operation and prevent premature wear. This is especially true for mechanical instruments.
- Parts Replacement: Preventative maintenance includes proactively replacing worn or damaged parts before they fail, minimizing downtime and preventing unexpected repairs.
For example, we implemented a preventative maintenance program for our flow meters that significantly reduced downtime by identifying and replacing worn seals and damaged components before they impacted critical process measurements.
Q 13. How do you handle calibration discrepancies?
Calibration discrepancies require careful investigation and resolution. The process involves identifying the source of the error and taking corrective action.
- Verification: First, we verify the discrepancy by repeating the calibration process. If the discrepancy persists, we investigate possible causes.
- Instrument Check: We check the instrument for any physical damage, contamination, or malfunction.
- Calibration Standard Check: We verify the accuracy of the calibration standard used.
- Environmental Factors: We consider environmental factors such as temperature and humidity that might have affected the calibration.
- Corrective Action: Based on the root cause analysis, we take appropriate corrective actions such as repair, recalibration, or replacement of the instrument or standard.
- Documentation: All steps taken are meticulously documented, including the initial discrepancy, investigation process, corrective actions, and final calibration results.
In one instance, a discrepancy in a temperature sensor was traced to a faulty connection. A simple re-wiring solved the problem, highlighting the importance of thorough troubleshooting.
Q 14. What are the different types of maintenance schedules?
Maintenance schedules vary depending on the instrument’s criticality, usage frequency, and environmental conditions. There are several types:
- Time-Based Maintenance: This is a schedule based on a predetermined time interval (e.g., monthly, quarterly, annual). It’s suitable for instruments with predictable wear and tear.
- Usage-Based Maintenance: This schedule is based on the number of operating hours or cycles. It’s appropriate for instruments used intensively.
- Condition-Based Maintenance: This schedule relies on monitoring the instrument’s performance and condition using sensors or diagnostics. Maintenance is performed only when needed, maximizing instrument uptime and minimizing unnecessary maintenance. This is increasingly common with advanced instrumentation.
- Preventive Maintenance (PM): As previously discussed, this aims to prevent failures through regular inspections and servicing.
- Corrective Maintenance (CM): This is reactive maintenance performed after an equipment failure.
Often a combination of these schedules is implemented for optimal efficiency. For example, a critical pressure transmitter might have a combination of time-based (monthly inspection) and condition-based (monitoring for drift) schedules.
Q 15. How do you prioritize maintenance tasks?
Prioritizing maintenance tasks is crucial for ensuring optimal instrument performance and minimizing downtime. I use a risk-based approach, combining several factors to establish a priority ranking. This typically involves a combination of:
- Criticality: Instruments vital to safety or production are prioritized higher. For example, a safety shutdown system would take precedence over a less critical data logger.
- Frequency of use: Instruments used frequently are more prone to wear and tear and thus need more regular maintenance. A high-throughput analytical instrument would require more frequent calibration than one used only occasionally.
- Instrument age and condition: Older instruments or those showing signs of degradation require more frequent attention. Regular visual inspections and trend analysis of calibration data assist in identifying such instruments.
- Manufacturer recommendations: These provide a crucial baseline for scheduled maintenance intervals. I always meticulously follow the manufacturer’s guidelines.
- Regulatory requirements: Compliance with industry regulations mandates specific maintenance schedules, which invariably take precedence.
I typically utilize a computerized maintenance management system (CMMS) to schedule and track maintenance activities, enabling proactive and efficient prioritization.
Career Expert Tips:
- Ace those interviews! Prepare effectively by reviewing the Top 50 Most Common Interview Questions on ResumeGemini.
- Navigate your job search with confidence! Explore a wide range of Career Tips on ResumeGemini. Learn about common challenges and recommendations to overcome them.
- Craft the perfect resume! Master the Art of Resume Writing with ResumeGemini’s guide. Showcase your unique qualifications and achievements effectively.
- Don’t miss out on holiday savings! Build your dream resume with ResumeGemini’s ATS optimized templates.
Q 16. How do you ensure compliance with industry standards (e.g., ISO 9001, ISO 17025)?
Compliance with standards like ISO 9001 (Quality Management Systems) and ISO 17025 (Testing and Calibration Laboratories) is paramount in our field. My approach to ensuring compliance is multifaceted:
- Documented procedures: We have meticulously documented Standard Operating Procedures (SOPs) for every aspect of instrumentation maintenance and calibration, from instrument handling to data recording and reporting. These SOPs ensure consistency and traceability.
- Traceable calibrations: All calibration equipment is traceable to national or international standards, establishing a clear chain of custody for measurement accuracy. We meticulously maintain calibration certificates and records.
- Regular internal audits: We conduct frequent internal audits to evaluate our compliance with established procedures and identify areas for improvement. These audits are thoroughly documented and any non-conformances are addressed immediately through corrective actions.
- Training and competence: Our technicians receive regular training on relevant standards and best practices. Their competency is regularly assessed to guarantee their ability to perform tasks accurately and consistently.
- External audits: We welcome external audits to independently verify our adherence to these standards and demonstrate to clients our commitment to quality.
Maintaining a robust quality management system is not merely about compliance, but about delivering reliable and consistent results to our clients. It’s about building trust and credibility.
Q 17. Describe your experience with different types of sensors.
My experience encompasses a wide range of sensor technologies, including:
- Temperature sensors: Thermocouples (various types like Type K, J, T), RTDs (Platinum RTDs being most common), thermistors. I understand the nuances of each, including their limitations and appropriate application scenarios.
- Pressure sensors: Diaphragm seals, capacitive sensors, piezoelectric sensors, strain gauge sensors. I’m experienced in selecting sensors based on pressure ranges, media compatibility, and required accuracy.
- Flow sensors: Orifice plates, rotameters, ultrasonic flow meters, vortex flow meters, Coriolis flow meters. The selection depends on the type of fluid, flow rate, and accuracy needed.
- Level sensors: Ultrasonic level sensors, radar level sensors, hydrostatic pressure level sensors, capacitive level sensors. The choice depends on the properties of the liquid or solid being measured and the tank geometry.
- pH sensors: Glass electrodes, combination electrodes. Understanding proper maintenance and calibration to avoid drift and fouling is critical.
- Gas sensors: Various types depending on the specific gas being measured, including electrochemical, semiconductor, and infrared sensors.
Beyond this, I’m proficient in troubleshooting sensor malfunctions, understanding common causes of failure such as signal drift, sensor fouling, and calibration inaccuracies.
Q 18. Explain the process of instrument selection and procurement.
Instrument selection and procurement is a rigorous process that ensures we acquire instruments that meet our specific needs and budget. This involves:
- Needs assessment: We start by carefully defining the application requirements, including the required accuracy, precision, range, and environmental conditions. This is often done in collaboration with end-users.
- Vendor research: We identify potential vendors based on reputation, technical expertise, and product offerings. We evaluate vendor responsiveness and support services.
- Technical specifications review: We thoroughly evaluate the technical specifications of different instruments, comparing performance metrics, and assessing features against our requirements.
- Cost-benefit analysis: The initial cost of an instrument is just one factor. We consider operational costs, maintenance requirements, and the overall lifetime cost. A higher upfront investment might be justified for an instrument with lower long-term maintenance and better accuracy.
- Procurement process: Once a suitable instrument is chosen, we follow a formal procurement process, including obtaining quotes, issuing purchase orders, and managing the delivery.
- Acceptance testing: Upon receipt, we conduct rigorous acceptance testing to verify the instrument’s performance against its specifications before putting it into service.
This systematic process ensures we invest in high-quality instrumentation that meets our performance and budget expectations.
Q 19. What are the common types of instrument errors?
Instrument errors can be broadly categorized into:
- Systematic errors: These are consistent and repeatable errors that are often due to instrument design flaws, environmental factors, or improper calibration. An example might be a temperature sensor consistently reading 2°C higher than the actual temperature.
- Random errors: These errors are unpredictable and vary randomly. They are often due to noise in the measurement system or subtle variations in environmental conditions. Repeated measurements will show variability around a central value.
- Gross errors: These are large, infrequent errors often caused by human mistakes, such as misreading a gauge, improper handling, or faulty installation. Identifying and correcting gross errors is key to maintaining data integrity.
Understanding the different types of errors is crucial for identifying their causes and implementing appropriate corrective actions. A well-designed calibration program includes procedures to mitigate all three types of errors.
Q 20. How do you use statistical process control (SPC) in calibration?
Statistical Process Control (SPC) provides a powerful tool for monitoring and improving the calibration process. By charting calibration data, we can identify trends and patterns that indicate potential problems before they lead to significant errors. We typically use:
- Control charts: These charts plot calibration data over time, allowing us to monitor for shifts in the mean or increases in variability. Shewhart charts (X-bar and R charts) are commonly used to track calibration data.
- Capability analysis: This determines if the calibration process is capable of meeting specified tolerances. This allows us to assess whether the process is sufficiently precise and accurate to maintain instrument performance within acceptable limits.
- Process capability indices (Cp, Cpk): These provide quantitative measures of process capability, allowing for objective comparisons between different calibration methods or technicians.
By using SPC, we not only ensure the accuracy of individual calibrations but also improve the overall consistency and reliability of the calibration process. Early detection of trends can lead to proactive maintenance and prevent costly downtime caused by inaccurate instrumentation.
Q 21. Explain the concept of traceability in calibration.
Traceability in calibration means establishing an unbroken chain of comparisons that links the measurements performed on an instrument to a known national or international standard. This ensures the accuracy and reliability of the calibration results. The traceability chain usually looks like this:
- Instrument under test: This is the instrument being calibrated.
- Calibration equipment: The equipment used to calibrate the instrument (e.g., a calibrated standard). This equipment must also be calibrated itself.
- Reference standards: These are high-accuracy standards that are calibrated by accredited laboratories against national or international standards.
- National metrology institute (NMI): These institutes maintain the highest-level standards and provide calibration services for reference standards.
Traceability is crucial for demonstrating compliance with standards and ensuring the reliability of measurement results. It builds confidence in the data generated by the instruments and provides a mechanism for identifying and resolving measurement discrepancies.
Q 22. Describe your experience with root cause analysis.
Root cause analysis (RCA) is a systematic process for identifying the underlying causes of problems, not just the symptoms. I’ve extensively used various RCA methodologies, including the 5 Whys, Fishbone diagrams (Ishikawa diagrams), and Fault Tree Analysis (FTA). For instance, in a recent incident involving erratic readings from a level transmitter in a chemical reactor, I didn’t just replace the transmitter. Instead, I used the 5 Whys:
- Why was the level transmitter giving erratic readings? Because of fluctuating voltage.
- Why was the voltage fluctuating? Because of a loose connection in the power supply.
- Why was the connection loose? Because of vibrations from a nearby pump.
- Why were the pump vibrations so high? Because of misalignment.
- Why was the pump misaligned? Because of improper installation during a recent maintenance shutdown.
This process identified the root cause – improper pump installation – leading to a permanent solution, preventing future recurrences. Using FTA, I would have mapped out potential failure points and their probabilities to proactively address vulnerabilities. My experience demonstrates that a thorough RCA prevents repetitive repairs and improves overall system reliability.
Q 23. How do you deal with unexpected instrument failures?
Unexpected instrument failures demand a swift and systematic response. My approach involves a three-pronged strategy: immediate action, investigation, and preventative measures. First, I prioritize safety and secure the area to prevent escalation or further damage. Then, I implement a temporary workaround – perhaps using a backup instrument or manual control – to maintain operational continuity. Following this immediate action, I thoroughly investigate the cause of the failure, using RCA techniques as previously described. Finally, and perhaps most importantly, I implement preventative measures to avoid similar future failures. This might involve enhanced preventative maintenance schedules, improved training for operators, or even upgrading to more robust instrumentation.
For example, during a night shift, a critical pressure transmitter failed. I immediately switched to a redundant transmitter and secured the area. After investigation (using the 5 Whys again), I found that the failure was caused by sensor fouling. I implemented a more rigorous cleaning schedule for that specific transmitter and retrained the operators on proper cleaning procedures.
Q 24. Explain your experience with different types of valves and actuators.
My experience encompasses a wide range of valves and actuators, including:
- Ball Valves: I’m familiar with their simple design and high flow rate, often used in larger pipelines.
- Globe Valves: I understand their use for precise flow control but also their higher pressure drop compared to ball valves. I’ve worked on both manual and automated globe valves.
- Butterfly Valves: I’m experienced with their quick-opening and closing capabilities, ideal for on-off applications and throttling.
- Actuators: I’ve worked with pneumatic, electric, and hydraulic actuators. Understanding their operation and troubleshooting malfunctions is crucial, including pneumatic air leaks, electrical short circuits, and hydraulic fluid leaks.
I’m adept at identifying valve and actuator malfunctions through careful inspection, understanding their operational principles, and conducting appropriate tests. For example, I recently troubleshooted a failing pneumatic actuator by identifying a small leak in the air supply line, a problem easily overlooked without the right attention to detail.
Q 25. Describe your experience with loop tuning and control.
Loop tuning and control are essential for maintaining optimal process performance. I’m proficient in using various tuning methods, including Ziegler-Nichols and the Cohen-Coon method. I understand the importance of selecting appropriate controllers (PID, etc.) based on process dynamics. My experience includes both manual and automated tuning procedures. I can leverage software tools for advanced tuning strategies and data logging for analysis.
In a recent project, I improved the control of a temperature loop in a distillation column by implementing a modified Ziegler-Nichols tuning method using the process reaction curve. This resulted in a 15% reduction in process variability and energy consumption. I regularly analyze loop performance through charts and data logging, making adjustments as necessary to optimize the response.
Q 26. What are your strengths and weaknesses in instrumentation maintenance?
Strengths: My strengths lie in my systematic troubleshooting approach, my ability to quickly identify root causes of failures, and my proactive approach to preventative maintenance. I’m highly skilled in using various diagnostic tools and possess strong analytical skills. My experience with diverse instrumentation ensures that I can confidently tackle a broad spectrum of maintenance challenges. My ability to effectively communicate technical information to both technical and non-technical audiences is also a key strength.
Weaknesses: While I’m experienced with many types of instrumentation, I always strive to broaden my expertise with newer technologies. I’m currently working on improving my knowledge of advanced control strategies, specifically model predictive control (MPC). I’m actively seeking opportunities to expand my knowledge in this area through training and hands-on experience. Continuous learning is crucial in this ever-evolving field.
Q 27. What are your salary expectations?
My salary expectations are commensurate with my experience and skills, and are in line with the industry standard for a senior instrumentation and calibration technician with my level of expertise. I’m open to discussing a competitive salary range based on the specifics of the role and benefits package offered.
Q 28. Do you have any questions for me?
Yes, I do have a few questions. I’d like to know more about the specific instrumentation used in your facility, the size of the team I would be working with, and the company’s approach to professional development and training opportunities.
Key Topics to Learn for Instrumentation Maintenance and Calibration Interview
- Calibration Techniques: Understanding various calibration methods (e.g., two-point, multi-point, linearity checks), traceability standards (NIST, ISO), and the use of calibration equipment.
- Troubleshooting and Diagnostics: Practical application of diagnostic tools and techniques to identify and resolve instrument malfunctions. This includes understanding error codes, sensor behavior, and signal analysis.
- Preventive Maintenance: Developing and implementing preventative maintenance schedules, including cleaning, lubrication, and component replacement to maximize instrument lifespan and accuracy.
- Instrumentation Types and Principles: Demonstrating a strong understanding of various instrument types (e.g., pressure transmitters, flow meters, temperature sensors) and their underlying operating principles.
- Safety Procedures: Knowledge of relevant safety regulations and practices for working with instrumentation, including lockout/tagout procedures and personal protective equipment (PPE).
- Data Analysis and Reporting: Experience in collecting, analyzing, and documenting calibration data, generating reports that meet regulatory compliance standards.
- Instrumentation Loop Diagrams & Process Understanding: Ability to interpret and understand process instrumentation diagrams (P&IDs), and how instrumentation interacts within a larger process system.
- Regulatory Compliance: Familiarity with relevant industry regulations and standards related to instrumentation maintenance and calibration.
- Advanced Troubleshooting Techniques: Exploring root cause analysis, statistical process control (SPC), and other advanced methods for complex instrumentation issues.
Next Steps
Mastering Instrumentation Maintenance and Calibration opens doors to exciting career advancements, higher earning potential, and increased job security within a high-demand field. To maximize your job prospects, a strong, ATS-friendly resume is crucial. ResumeGemini is a trusted resource to help you build a professional resume that highlights your skills and experience effectively. They offer examples of resumes tailored specifically to Instrumentation Maintenance and Calibration to give you a head start. Invest in your future – create a resume that gets noticed!
Explore more articles
Users Rating of Our Blogs
Share Your Experience
We value your feedback! Please rate our content and share your thoughts (optional).
What Readers Say About Our Blog
Live Rent Free!
https://bit.ly/LiveRentFREE
Interesting Article, I liked the depth of knowledge you’ve shared.
Helpful, thanks for sharing.
Hi, I represent a social media marketing agency and liked your blog
Hi, I represent an SEO company that specialises in getting you AI citations and higher rankings on Google. I’d like to offer you a 100% free SEO audit for your website. Would you be interested?
