Are you ready to stand out in your next interview? Understanding and preparing for Venipuncture and IV Insertion interview questions is a game-changer. In this blog, we’ve compiled key questions and expert advice to help you showcase your skills with confidence and precision. Let’s get started on your journey to acing the interview.
Questions Asked in Venipuncture and IV Insertion Interview
Q 1. Describe the proper technique for selecting a vein for venipuncture.
Selecting the appropriate vein for venipuncture is crucial for a successful and safe procedure. The ideal vein is easily palpable, straight, relatively large, and not fragile. I typically begin by inspecting the patient’s arms, looking for prominent veins in the antecubital fossa (the area inside the elbow) of the non-dominant arm. The median cubital vein is often the preferred choice due to its size and stability. However, cephalic and basilic veins are also viable options. I avoid veins that feel hard, cord-like (indicating potential phlebitis), or are located near joints where movement may cause discomfort or dislodge the needle.
Factors influencing vein selection:
- Patient’s age and condition: Children and the elderly may have smaller, more fragile veins, requiring a careful approach.
- Previous venipuncture sites: Avoiding previously used sites reduces the risk of complications like hematoma formation.
- Medical conditions: Conditions like diabetes or intravenous drug use may affect vein health, necessitating an alternative approach.
In challenging situations, I may try different techniques like warming the area to dilate the veins or applying a tourniquet to make them more visible and accessible. If no suitable vein is found in the arms, I’ll consider the dorsal veins of the hand as an alternative, but remember these can be more prone to infiltration.
Q 2. What are the potential complications associated with venipuncture?
Venipuncture, while a common procedure, carries potential complications. These can range from minor inconveniences to serious medical events.
- Hematoma: Blood leakage into the surrounding tissue, appearing as a bruise. This is often caused by improper needle insertion or insufficient pressure after withdrawal.
- Hematomas: Blood leakage into the surrounding tissue, appearing as a bruise. This is often caused by improper needle insertion or insufficient pressure after withdrawal.
- Nerve damage: Rare but possible, especially if the needle is inserted too deep or incorrectly angled.
- Phlebitis: Inflammation of the vein, characterized by pain, redness, and swelling. This is often due to vein irritation by the needle or antiseptic.
- Infection: Though uncommon, contamination of the puncture site can lead to infection. Strict adherence to aseptic techniques is crucial to prevent this.
- Syncope (fainting): Caused by vasovagal response due to anxiety, pain, or sight of blood.
- Thrombophlebitis: Formation of a blood clot within the vein, often accompanied by inflammation.
Proper technique, patient selection, and meticulous attention to detail are key to minimizing these risks.
Q 3. How do you manage a patient who experiences syncope during venipuncture?
Managing a patient experiencing syncope during venipuncture requires a calm and swift response. The first priority is to ensure the patient’s safety.
- Immediately remove the needle and tourniquet.
- Place the patient in a supine position with their legs slightly elevated. This helps increase blood flow to the brain.
- Loosen any tight clothing.
- Monitor the patient’s vital signs. Check their pulse, respiration, and blood pressure.
- Assess their level of consciousness. If they are unresponsive, call for emergency assistance.
- Once the patient has recovered, offer them reassurance and comfort. In some cases, it may be necessary to postpone the procedure until they feel better.
- Document the event thoroughly. Include the details of the syncope episode, the steps taken to manage it, and the patient’s subsequent condition.
Providing a supportive environment, explaining the procedure carefully, and offering comfort measures can often help prevent syncope.
Q 4. Explain the steps involved in performing a successful IV insertion.
IV insertion is a sterile procedure requiring precision and a thorough understanding of anatomy. Here are the steps:
- Gather supplies: This includes gloves, antiseptic solution, tourniquet, IV catheter, dressing, and tape.
- Patient identification and verification: Double-check patient identity and confirm the doctor’s order.
- Site selection: Choose an appropriate vein, typically in the non-dominant arm, as described earlier.
- Clean the site: Use antiseptic to thoroughly cleanse the area, following proper technique (e.g., concentric circles).
- Apply tourniquet: Place the tourniquet 3-4 inches above the insertion site, ensuring it’s snug but not too tight.
- Palpate the vein: Feel the vein to confirm its location and stability.
- Insert the catheter: With a bevel up, insert the needle at a 15-30 degree angle, observing the flashback of blood. Advance the catheter through the needle, then withdraw the needle.
- Secure the catheter: Connect the IV tubing and secure the catheter to the patient’s arm with tape.
- Remove tourniquet: After verifying proper placement and flow.
- Dress the insertion site: Protect the area with a sterile dressing.
- Document: Note the catheter size and gauge, insertion site, date, and time.
Throughout the entire procedure, maintaining sterile technique is paramount to avoid infection.
Q 5. What are the different types of IV catheters and when would you choose each?
Various IV catheters are available, each with its own characteristics and applications.
- Over-the-needle catheters (ONC): These are the most common type, featuring a needle that’s removed after the catheter is in place. They’re suitable for most patients and infusions.
- Peripherally inserted central catheters (PICC): Longer catheters inserted into peripheral veins that extend to the central circulation. Used for long-term medication administration or for patients needing frequent blood draws.
- Midline catheters: Longer than peripheral IV catheters, used for medium-term administration of medications (1-4 weeks).
- Central venous catheters (CVC): Inserted directly into large central veins, used for administering high-volume fluids, irritating medications, or when peripheral access is unavailable.
The choice depends on the patient’s needs, duration of therapy, and the type of medication or fluid being infused. For instance, a short-term antibiotic infusion might use a standard ONC, whereas a patient requiring long-term chemotherapy might need a PICC line.
Q 6. How do you determine the appropriate size and gauge of an IV catheter?
Selecting the appropriate catheter size and gauge is crucial for the success and safety of IV therapy. The gauge refers to the diameter of the catheter lumen (the inner channel through which fluids flow), with smaller gauge numbers indicating larger diameters. A larger diameter is preferred for faster infusion rates or thicker fluids. Conversely, smaller diameter catheters are more appropriate for fragile veins or administration of irritating medications.
Factors influencing size selection:
- Patient’s age and vein size: Smaller veins necessitate smaller-gauge catheters to minimize trauma and risk of infiltration.
- Type of fluid: Viscous fluids require larger lumens.
- Infusion rate: Faster rates require larger catheters.
- Duration of therapy: Longer-term therapy may benefit from a larger catheter for less frequent changes.
For example, a 24-gauge catheter is suitable for fragile veins, while an 18-gauge might be preferable for administering blood products quickly. Clinical judgment based on the patient’s individual characteristics and the specific needs of the treatment guides the final selection.
Q 7. Describe your approach to managing an infiltrated IV site.
An infiltrated IV site results when the IV fluid leaks out of the vein and into the surrounding tissue. This causes swelling, pain, and discomfort. Management involves:
- Stop the infusion: Immediately discontinue the infusion to prevent further infiltration.
- Remove the IV catheter: Carefully remove the catheter, avoiding any further trauma to the area.
- Elevate the affected extremity: Raising the arm helps reduce swelling.
- Apply a warm or cool compress (depending on patient preference): Warm compresses can help with pain relief and absorption of fluid. In some cases, cold packs may be preferred to reduce swelling initially.
- Monitor the site: Observe for signs of inflammation or infection.
- Restart the IV in a different location: Once the infiltration has resolved, insert a new IV in a different vein.
- Document: Thoroughly record the infiltration event and subsequent management.
In cases of severe infiltration or signs of cellulitis, further medical intervention, such as medication to reduce inflammation, may be necessary.
Q 8. How do you prevent hematoma formation during IV insertion?
Preventing hematoma formation during IV insertion is crucial for patient comfort and to ensure the integrity of the IV line. A hematoma, a collection of blood outside the blood vessel, occurs when blood leaks into the surrounding tissue. This is most often caused by puncturing the vessel and not applying enough pressure after removal of the needle.
- Proper Vein Selection: Choose a vein that is adequately sized and feels resilient to the touch. Avoid veins that are fragile, sclerosed (hardened), or near areas of previous venipuncture.
- Appropriate Needle Insertion: Insert the needle smoothly at a shallow angle (typically 15-30 degrees) with the bevel up. A sharp bevel minimizes trauma.
- Gentle Aspiration: Gently aspirate (draw back on the plunger) to confirm proper placement within the vein before injecting fluid. Avoid excessive force which can damage the vessel.
- Firm Pressure: After needle removal, apply firm, direct pressure to the insertion site for at least 1-2 minutes, or longer if needed, using a sterile gauze pad. This helps prevent bleeding.
- Proper Dressing Application: Apply a sterile dressing to maintain hemostasis and prevent contamination of the site.
For example, if I notice the vein rolling, I’ll use a different technique like stabilizing the vein with my non-dominant hand while inserting the needle. I will also pay close attention to applying enough pressure after removal.
Q 9. What are the signs and symptoms of phlebitis, and how do you treat it?
Phlebitis is inflammation of a vein, often occurring at the site of an intravenous catheter. It can range from mild to severe.
- Signs and Symptoms: These can include pain, tenderness, redness, swelling, warmth around the IV site, a palpable vein cord, and sometimes pus or drainage.
Treatment: Treatment depends on the severity. Mild phlebitis often resolves with removal of the IV catheter and application of warm compresses to the affected area. For more severe cases, the healthcare provider may prescribe antibiotics if an infection is present. In some instances, elevation of the limb might help reduce swelling. In all cases, the IV line should be removed. Documentation of the phlebitis and treatment given is crucial.
Imagine a patient complaining of pain and noticing redness along their IV line. This points to phlebitis. Prompt removal of the IV and application of warm compresses, followed by documentation in the chart, would be the appropriate response.
Q 10. How do you assess for patency of an IV line?
Assessing IV line patency ensures that the IV catheter is properly positioned and fluid can flow freely. Several methods are used:
- Visual Inspection: Observe the IV site for any swelling, redness, or signs of infiltration. The IV fluid should infuse smoothly without resistance.
- Palpation: Gently palpate the catheter insertion site to assess for tenderness, warmth, or firmness. A hard, painful area could indicate phlebitis or infiltration.
- Flush Test: Gently flush the IV line with a small amount of saline solution using a 10ml syringe. If the saline flows easily without resistance or significant back pressure, this indicates patency.
- Observe Infusion Rate: A significantly reduced or stopped infusion rate, assuming the pump is working properly, suggests a potential issue with patency.
For instance, if I notice the fluid infusion has slowed, and I suspect it’s not a pump issue, I will perform a saline flush. If the saline does not pass smoothly, I might suspect a clot and will assess the site for signs of phlebitis or infiltration.
Q 11. Explain the procedure for flushing an IV catheter.
Flushing an IV catheter is a routine procedure to maintain patency and prevent clots from forming.
- Gather Supplies: Obtain a 10 mL syringe, a saline flush (0.9% sodium chloride), and appropriate alcohol wipes.
- Prepare the Saline Flush: Draw up the prescribed amount of saline solution into the syringe. Inspect for particulate matter, bubbles, and expiration date.
- Clean the Port: Clean the injection port of the IV catheter using an alcohol swab, following aseptic technique.
- Flush the Catheter: Connect the syringe to the IV port. Gently push the saline into the catheter, observing for resistance. A smooth flush without resistance confirms patency.
- Disconnect the Syringe: Disconnect the syringe after flushing.
- Assess the Site: Observe the IV site for any swelling, redness, or other signs of complications.
Think of flushing the IV line like flushing a pipe—it prevents blockages.
Q 12. What are the safety precautions to be followed during venipuncture and IV insertion?
Safety is paramount during venipuncture and IV insertion.
- Hand Hygiene: Perform thorough hand hygiene before and after the procedure using soap and water or an alcohol-based hand rub.
- Aseptic Technique: Maintain strict aseptic technique throughout the procedure to prevent infection. This includes using sterile gloves, drapes, and equipment.
- Proper Waste Disposal: Dispose of all sharps (needles, syringes) in appropriate sharps containers.
- Patient Identification: Verify patient identity using two identifiers (e.g., name and date of birth) to avoid medication errors.
- Allergy Check: Check for any allergies to medications or materials to be administered intravenously.
- Appropriate PPE: Wear personal protective equipment (PPE) such as gloves, gowns, and eye protection if necessary.
- Needle Safety Devices: Use needle safety devices to prevent needlestick injuries.
Imagine a situation where you accidentally stuck yourself with a needle. Failure to follow proper safety procedures is a serious threat to both patient and healthcare worker safety.
Q 13. How do you handle a difficult or rolled vein?
Difficult veins, like rolled veins, require specific techniques. A rolled vein is one that moves away from the needle as the insertion is attempted.
- Stabilize the Vein: Use your non-dominant hand to firmly but gently stabilize the vein below and above the intended insertion point. This prevents the vein from rolling.
- Anchor the Vein: Apply firm, gentle pressure along the intended path of the needle insertion to keep the vein in place.
- Use a Smaller Gauge Needle: A smaller gauge needle (higher number, such as 24G or 26G) might cause less trauma and be less likely to cause the vein to collapse.
- Different Insertion Angle: A slightly shallower angle of insertion may prove successful.
- Consider a Tourniquet: A properly applied tourniquet can aid in vein visualization and distention; however, it should not be left in place for extended periods of time.
- Alternative Vein Selection: If all else fails, explore alternative vein sites.
For example, I might use a smaller gauge needle and anchor a rolled vein firmly with my thumb before insertion. In some cases, I might also use a vein finder device.
Q 14. Describe the procedure for removing an IV catheter.
Removing an IV catheter safely and efficiently is essential.
- Assess the Site: Inspect the IV site for signs of infection or complications (e.g., phlebitis or infiltration).
- Gather Supplies: Prepare sterile gauze pads, tape remover, and a sharps container.
- Explain the Procedure: Explain the procedure to the patient, reassuring them and providing comfort.
- Remove the Tape: Gently remove the tape securing the dressing and catheter.
- Hold the Catheter Hub: Hold the catheter hub firmly to prevent it from pulling away from the vein.
- Withdraw the Catheter: Withdraw the catheter smoothly and slowly using a smooth, continuous motion. Do not force the removal.
- Apply Pressure: Apply direct pressure to the insertion site with a sterile gauze pad for at least 1-2 minutes to prevent bleeding and hematoma formation.
- Inspect the Catheter Tip: Inspect the removed catheter for any signs of clot formation or disconnection to aid with assessment.
- Apply Dressing: Apply a sterile dressing to the insertion site.
- Dispose of the Catheter: Dispose of the used catheter safely into an appropriate sharps container.
- Document: Document the removal of the catheter and the patient’s condition.
Imagine removing an IV line from an elderly patient. Gentle, clear communication and slow removal are critical for a positive patient experience and to avoid accidental injury.
Q 15. What are the legal and ethical considerations related to venipuncture and IV insertion?
Venipuncture and IV insertion are medical procedures requiring strict adherence to legal and ethical guidelines. Legally, we must obtain informed consent from the patient, ensuring they understand the procedure, its risks, and benefits. This consent must be documented properly. We also need to follow all relevant infection control protocols to prevent the spread of disease. Ethically, we prioritize patient safety, dignity, and confidentiality. This means respecting patient autonomy, minimizing discomfort, and maintaining the strictest privacy concerning their medical information. For example, we are legally obligated to report any needlestick injuries immediately, and ethically, we must always strive to provide the most competent and compassionate care possible, regardless of the patient’s background or circumstances. Failure to obtain proper consent or to follow infection control procedures can result in legal action and disciplinary measures.
Career Expert Tips:
- Ace those interviews! Prepare effectively by reviewing the Top 50 Most Common Interview Questions on ResumeGemini.
- Navigate your job search with confidence! Explore a wide range of Career Tips on ResumeGemini. Learn about common challenges and recommendations to overcome them.
- Craft the perfect resume! Master the Art of Resume Writing with ResumeGemini’s guide. Showcase your unique qualifications and achievements effectively.
- Don’t miss out on holiday savings! Build your dream resume with ResumeGemini’s ATS optimized templates.
Q 16. How do you document your venipuncture and IV insertion procedures?
Documentation is critical for legal and quality assurance purposes. My documentation for venipuncture and IV insertion includes the date, time, and patient identification details. I note the site chosen for venipuncture or IV insertion, the gauge of the needle used, the type and amount of fluid or blood collected, any complications encountered (e.g., hematoma formation), and the patient’s response. For IVs, I also document the type of IV fluid, the infusion rate, the location and condition of the IV site at regular intervals, and any adjustments made to the infusion rate. I always sign and date my entries. For example, if there was a difficulty finding a suitable vein, I’d meticulously document the attempts made, the location of the insertion, and any reason for not selecting an alternative site. Accurate documentation protects both the patient and the healthcare provider.
Q 17. What are the different types of fluids that are commonly administered intravenously?
A wide variety of fluids are administered intravenously, depending on the patient’s needs. These include:
- Crystalloids: These are solutions containing water, electrolytes, and small molecules. Examples include normal saline (0.9% NaCl), lactated Ringer’s solution, and dextrose solutions. They are used for hydration, electrolyte replacement, and to deliver medications.
- Colloids: These contain larger molecules that remain in the bloodstream longer, expanding blood volume. Examples include albumin and dextran. They are used in cases of hypovolemic shock.
- Blood products: These include whole blood, packed red blood cells, platelets, and plasma. They are used to replace blood loss or correct specific blood deficiencies.
- Medication solutions: Many medications are administered intravenously, often diluted in compatible fluids. These can range from antibiotics to chemotherapy agents.
The choice of IV fluid depends entirely on the patient’s clinical condition and the reason for IV therapy. For instance, a patient with severe dehydration would benefit from a crystalloid like normal saline, while a patient with significant blood loss would need blood products.
Q 18. How do you calculate IV infusion rates?
Calculating IV infusion rates involves several steps. The basic formula is:
Infusion Rate (mL/hr) = (Total Volume (mL) / Infusion Time (hr))
For example, if we need to infuse 1000 mL of fluid over 8 hours, the infusion rate would be:
1000 mL / 8 hr = 125 mL/hr
However, IV infusion pumps often require the rate to be set in mL/min. To convert from mL/hr to mL/min, we divide by 60:
125 mL/hr / 60 min/hr ≈ 2.1 mL/min
It’s crucial to consider the patient’s condition when calculating rates. For example, a patient with heart failure might require a slower infusion rate than a patient with severe dehydration. Always double-check calculations and use appropriate IV infusion devices.
Q 19. What are the signs and symptoms of an allergic reaction to an IV medication?
Allergic reactions to IV medications can range from mild to severe. Mild reactions may include:
- Itching or rash at the IV site
- Mild hives
- Flushing
- Nausea
- Mild anxiety
Severe reactions, which are medical emergencies, include:
- Anaphylaxis: characterized by difficulty breathing, swelling of the face, lips, or tongue (angioedema), hypotension, and rapid pulse.
- Severe hives covering a large area of the body
- Loss of consciousness
It is imperative to immediately stop the infusion, notify the physician, and initiate emergency treatment according to the institution’s protocols. This often includes administering epinephrine and supportive measures like oxygen and airway management.
Q 20. How do you respond to an accidental needle stick injury?
Accidental needle stick injuries are a serious occupational hazard. My response follows a strict protocol. Firstly, I immediately remove myself from the situation. Then, I thoroughly wash the affected area with soap and water for at least 15 minutes. I then report the incident to my supervisor, and I seek immediate medical attention. The injury is documented in detail, including the source of the injury, the type of needle, and the individual’s vaccination status. Blood tests are usually conducted for both the injured healthcare worker and the patient to screen for blood-borne pathogens like Hepatitis B, Hepatitis C, and HIV. Post-exposure prophylaxis (PEP) medication may be started depending on the results of the testing and the risk assessment. Prevention is key, so I always practice safe injection techniques and dispose of needles carefully in designated sharps containers.
Q 21. Describe your experience with different types of blood collection tubes.
I have extensive experience using various blood collection tubes, each with a specific additive for different tests. For example:
- Red-top tubes (no additive): Used for serum collection for tests such as chemistry panels.
- Lavender-top tubes (EDTA): Contain ethylenediaminetetraacetic acid, an anticoagulant, used for hematology tests like complete blood counts (CBC).
- Light blue-top tubes (sodium citrate): Contain sodium citrate, an anticoagulant used for coagulation studies such as prothrombin time (PT) and activated partial thromboplastin time (aPTT).
- Green-top tubes (heparin): Contain heparin, an anticoagulant used for plasma-based tests that require immediate analysis.
- Gray-top tubes (sodium fluoride/potassium oxalate): Used for glucose testing, as the additives prevent glycolysis.
Proper tube selection is critical. Using the wrong tube can compromise the accuracy of the test results. For instance, if a test requiring plasma is collected in a red-top tube (no anticoagulant), the blood will clot, and the test cannot be performed. I always double-check the tube selection before collecting blood to ensure the accuracy of the results.
Q 22. How do you identify and address patient allergies before administering IV medications?
Identifying and addressing patient allergies before administering IV medications is paramount to patient safety. It’s a multi-step process beginning before I even consider accessing a vein. First, I always thoroughly review the patient’s medical record, specifically the allergy section. This includes checking for any documented allergies to medications, latex, adhesives, or even specific IV solutions.
Second, I directly ask the patient about any allergies, even if the chart indicates none. Patients’ understanding of their allergies can sometimes differ from what’s recorded. I use open-ended questions like, ‘Do you have any allergies to medications, or have you ever had a reaction to an IV or injection?’ I clarify the nature of any reactions reported, noting the severity and symptoms experienced (rash, hives, swelling, difficulty breathing, etc.).
Third, if any allergies are identified, I verify the allergy information with another healthcare professional, a nurse or physician, to ensure accuracy and avoid potential errors. This is especially crucial if the allergy is life-threatening. Finally, if the medication prescribed involves potential cross-reactivity with known allergies, I consult with the prescribing physician to discuss alternative medication options or appropriate precautions, like administering antihistamines prior to medication administration. This layered approach ensures patient safety and compliance with best practice guidelines.
Q 23. What is your experience with blood cultures?
I have extensive experience with blood cultures, having performed and supervised hundreds over my career. Blood cultures are vital for identifying bloodstream infections (bacteremia or septicemia). Accurate collection technique is critical for reliable results. The process begins with proper hand hygiene and the selection of appropriate antiseptic (e.g., chlorhexidine or iodine). It’s essential to ensure the site is cleaned vigorously, following manufacturer’s guidelines to avoid contamination.
After cleansing, I use aseptic technique to perform venipuncture, drawing blood from multiple sites (ideally, aerobic and anaerobic bottles) to maximize the chance of identifying pathogens. The order of draw is essential to prevent cross-contamination. I always label the bottles clearly and immediately after collection, including patient identifiers, date, time, and source (e.g., peripheral vein, central line). Documentation is critical, including any signs of infection at the venipuncture site or any challenges encountered during collection. Improper technique can yield false negative results, delaying treatment and potentially harming the patient.
Q 24. What is your experience with central venous catheters (CVCs)?
My experience with central venous catheters (CVCs) encompasses both insertion and maintenance. I’m proficient in various CVC insertion techniques, including subclavian, internal jugular, and femoral approaches, always adhering to strict sterile protocols. Prior to insertion, thorough patient assessment is mandatory – this includes assessing the patient’s anatomy, identifying potential anatomical landmarks, and considering any coagulopathies which could increase bleeding risk.
Using ultrasound guidance significantly improves the success rate and reduces complications associated with CVC placement. Post-insertion, I meticulously monitor the catheter site for signs of infection (redness, swelling, drainage), ensuring the dressing remains clean and intact. Regular flushing with heparinized saline is performed to maintain patency and prevent thrombus formation. I’m adept at managing potential complications, such as pneumothorax or arterial puncture, and am trained in utilizing x-ray confirmation to verify correct catheter placement.
I regularly participate in in-service trainings to stay updated with the latest best practices and advancements in CVC insertion and care, highlighting my continued commitment to providing safe and effective care.
Q 25. How do you handle a patient with fragile veins?
Patients with fragile veins present a unique challenge. My approach emphasizes a meticulous and gentle technique to minimize trauma. I start by selecting the smallest gauge needle possible, while still ensuring appropriate flow. Often, I opt for butterfly needles, which allow for better maneuverability and reduced risk of vein collapse.
Before inserting the needle, I utilize a tourniquet only for a short duration and at a low pressure, releasing it immediately if I feel the vein is compromising. I locate the vein carefully, using visual inspection and palpation. A warmed compress applied before venipuncture can dilate the veins. If visualization is difficult, I may use a vein finder, a device which assists in locating veins that may not be easily visible.
Slow, deliberate insertion is key. I avoid multiple attempts, as this significantly increases the risk of bruising and hematoma formation. In cases where a peripheral intravenous access is difficult, other access methods may be considered, such as a central venous catheter or intraosseous access, which is always under doctor supervision and only done when absolutely necessary.
Q 26. What is your experience with PICC line insertion and maintenance?
I have significant experience with PICC (Peripherally Inserted Central Catheter) line insertion and maintenance. PICC line insertion requires a high degree of precision and aseptic technique. Prior to insertion, I perform a thorough assessment, including reviewing the patient’s medical history and checking for any contraindications. Ultrasound guidance is frequently employed to visualize the vein and ensure accurate catheter placement. The insertion site is meticulously cleaned and prepared using an appropriate antiseptic solution. Following successful insertion, confirmation of placement is obtained via chest x-ray.
Ongoing maintenance involves regular monitoring for signs of infection, complications like thrombosis, and ensuring patency. I am proficient in performing dressing changes, flushing the catheter with appropriate solutions, and providing patient education on proper care and potential complications. Strict adherence to infection control protocols is mandatory, to decrease the risk of catheter-related bloodstream infections (CRBSI). Regular follow-up appointments ensure early detection and management of any issues.
Q 27. Describe your experience with complications such as extravasation and thrombosis.
Extravasation and thrombosis are potential complications of IV therapy and venipuncture. Extravasation, or leakage of fluid from the vein into surrounding tissue, can lead to swelling, pain, and tissue damage. Immediate intervention is crucial. I stop the infusion, remove the IV catheter, and elevate the affected extremity. Warm or cold compresses, depending on the infusate, may be applied. In severe cases, hyaluronidase, an enzyme that breaks down hyaluronic acid in the tissues, may be administered.
Thrombosis, or blood clot formation, can lead to pain, swelling, and potentially more serious complications. Risk factors include prolonged cannulation, dehydration, and certain medications. Prevention strategies include proper hydration, using the smallest gauge catheter appropriate, and ensuring the catheter is well-flushed regularly. If a thrombus forms, I follow hospital protocols, which may include administering anticoagulants, and monitoring the patient closely for any progression. Clear and timely documentation of all interventions is critical for both complications.
Q 28. What is your understanding of infection control procedures related to venipuncture and IV insertion?
Infection control is paramount in venipuncture and IV insertion. My understanding encompasses strict adherence to established protocols aimed at reducing the risk of healthcare-associated infections. This begins with thorough hand hygiene, using soap and water or an alcohol-based hand rub before and after every procedure.
Proper antiseptic preparation of the venipuncture site is critical. I always use chlorhexidine or iodine-based solutions, following manufacturer recommendations for application time and technique. Strict aseptic technique is practiced during catheter insertion, minimizing touch contamination. All equipment used is sterile and properly disposed of. I meticulously monitor the insertion site for any signs of infection, including redness, swelling, pain, or drainage, and promptly report and document any concerns.
The use of appropriate personal protective equipment (PPE), such as gloves and gowns, is essential. Patient education also plays a role, advising patients on recognizing signs of infection and proper care of their IV site. Regular reviews and updates on infection control guidelines are a part of my continued professional development, ensuring I am always abreast of the latest best practices.
Key Topics to Learn for Venipuncture and IV Insertion Interview
- Anatomy and Physiology of Veins: Understanding vein structure, location, and variations is crucial for successful venipuncture. This includes identifying suitable veins and avoiding complications.
- Equipment Selection and Preparation: Mastering the proper selection and preparation of needles, syringes, tourniquets, and other supplies is essential for maintaining sterility and patient safety.
- Venipuncture Techniques: Practice and perfect different venipuncture techniques, including the appropriate angle of insertion, depth, and pressure. Understanding patient positioning is also vital.
- Complications and Troubleshooting: Be prepared to discuss common complications such as hematoma formation, nerve damage, and phlebitis, and how to prevent and address them. Knowing how to handle difficult sticks is crucial.
- IV Insertion Techniques: Learn the steps involved in proper IV catheter insertion, including site selection, catheter insertion, and securing the IV line. Be ready to discuss different catheter sizes and types.
- Infection Control and Prevention: Demonstrate a thorough understanding of aseptic techniques to minimize the risk of infection. This includes proper hand hygiene, equipment sterilization, and wound care.
- Patient Communication and Assessment: Effective communication with patients is critical. Be prepared to discuss techniques for calming anxious patients and assessing their suitability for venipuncture or IV insertion.
- Legal and Ethical Considerations: Understand the legal and ethical implications of venipuncture and IV insertion, including informed consent and patient confidentiality.
- Fluid Management and Infusion Therapy (for IV Insertion): For IV insertion, discuss the principles of fluid management, including different types of IV fluids and their applications.
- Post-Procedure Care: Describe the proper aftercare for both venipuncture and IV insertion sites, including monitoring for complications.
Next Steps
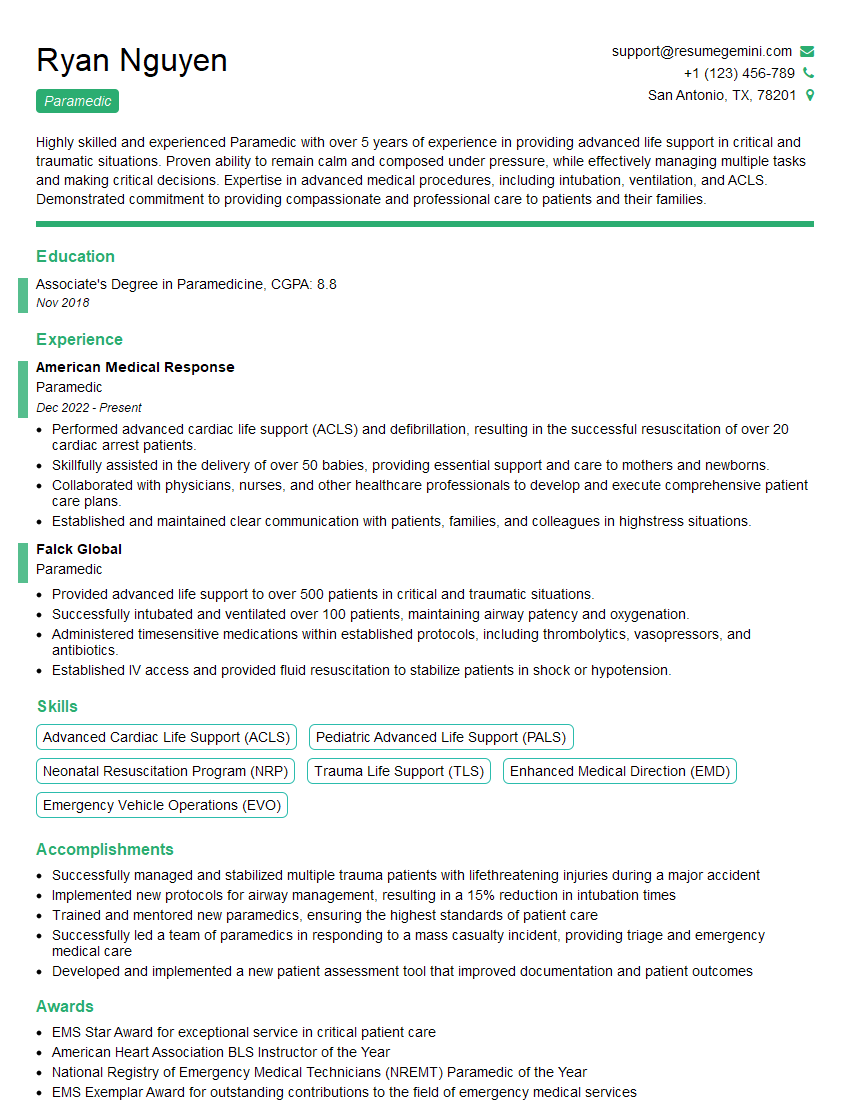
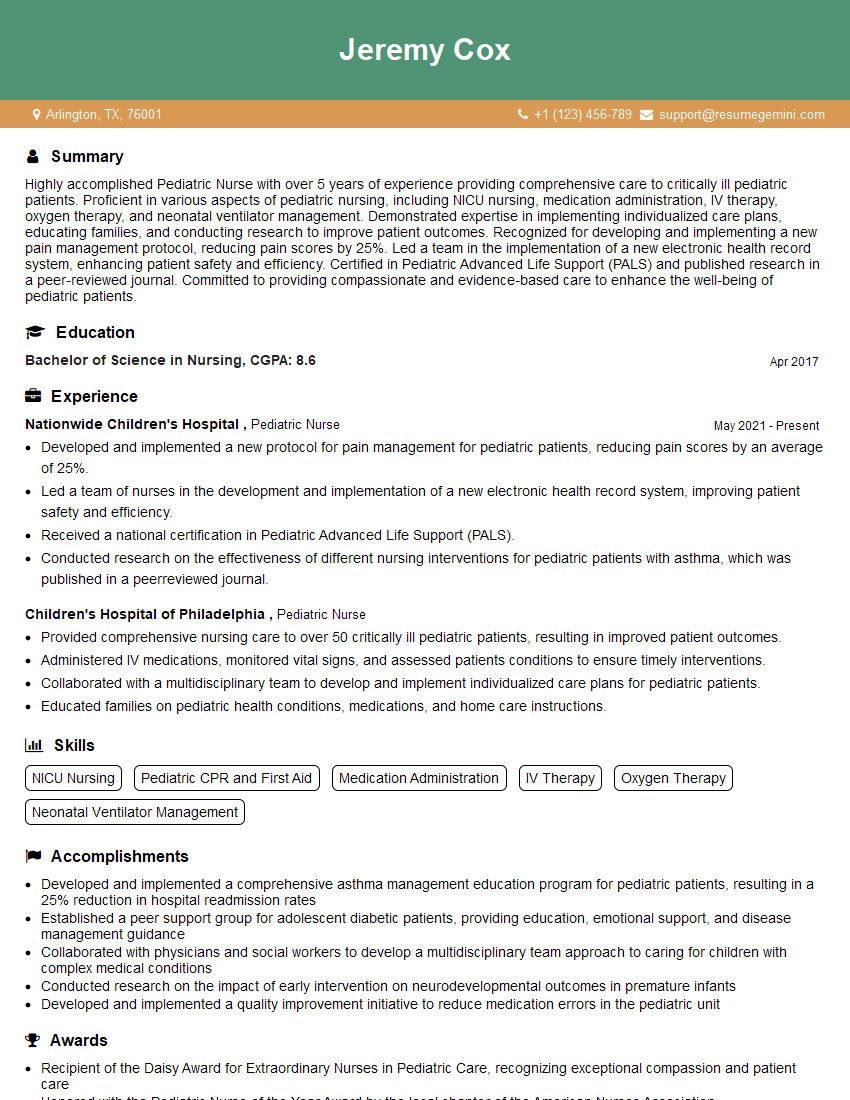
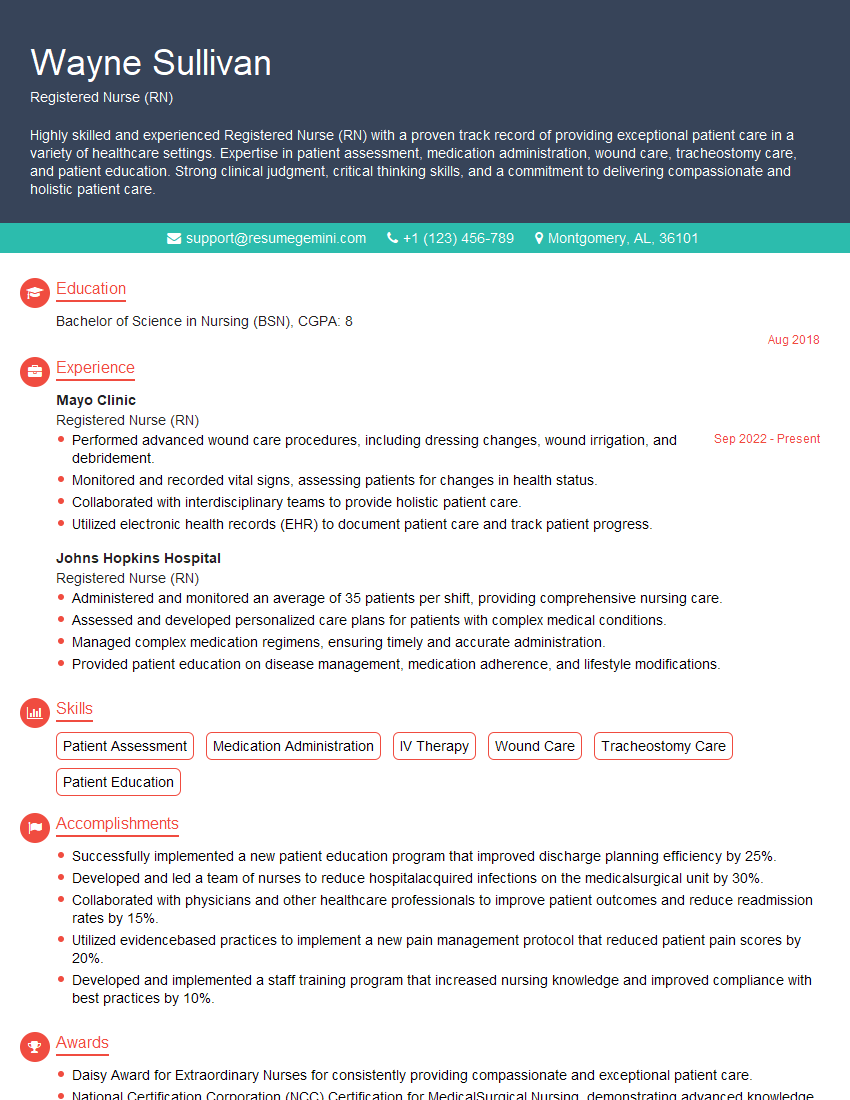
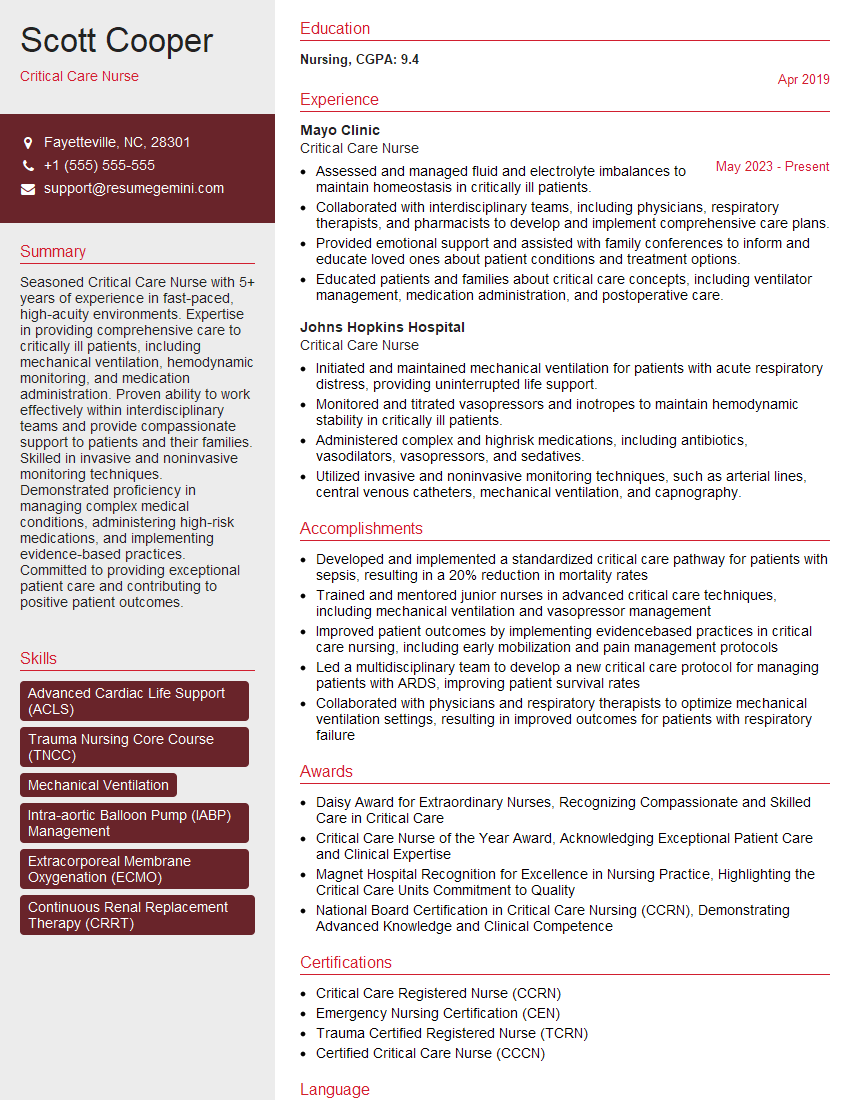
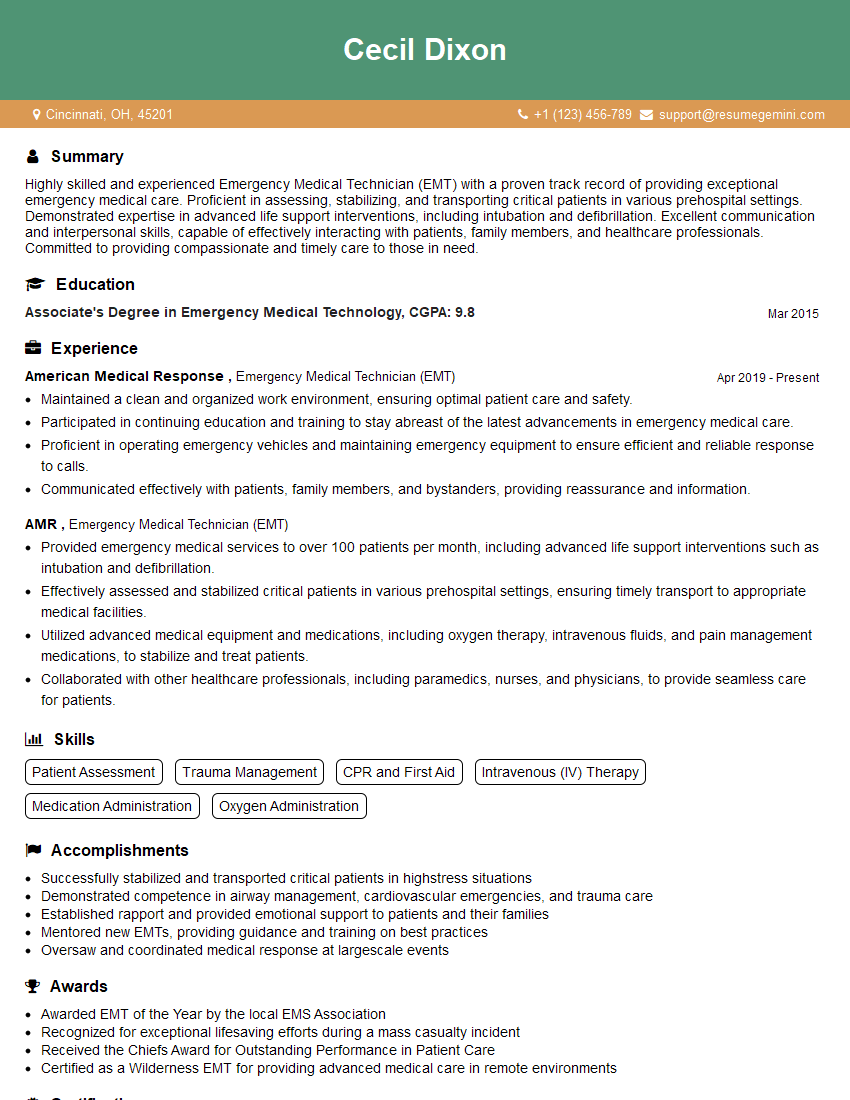
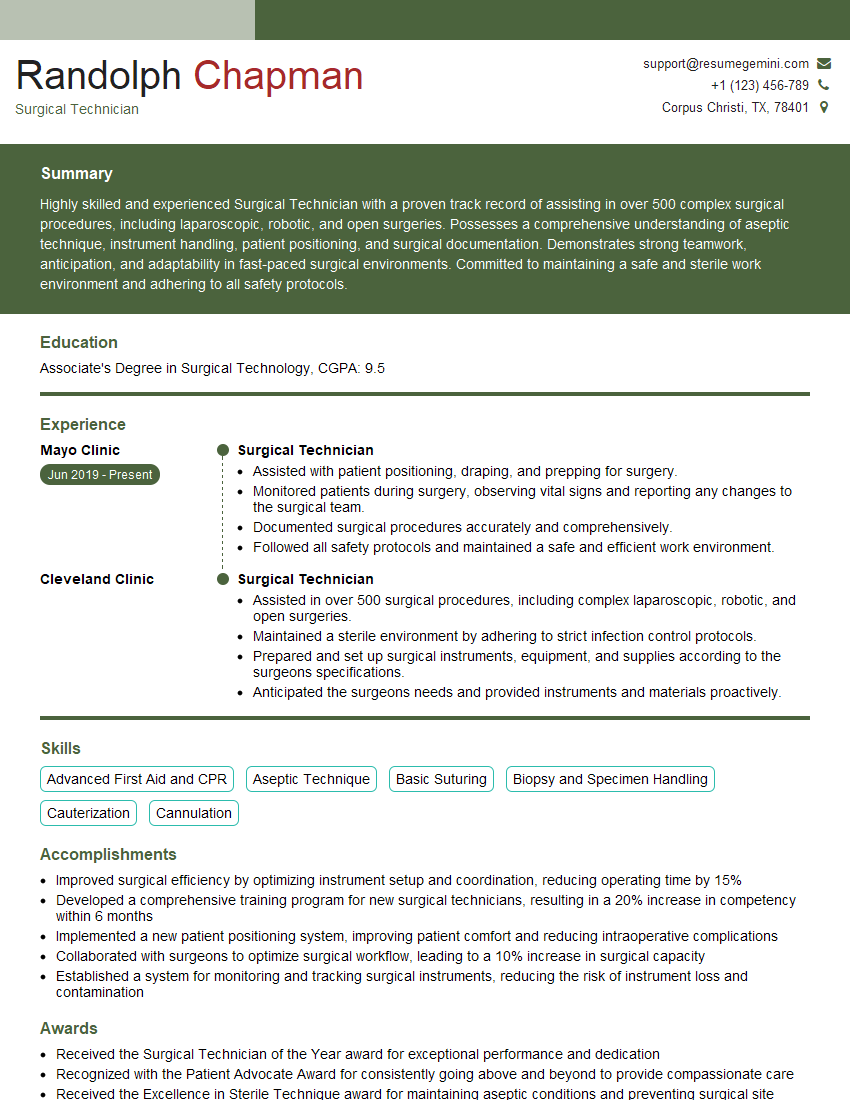
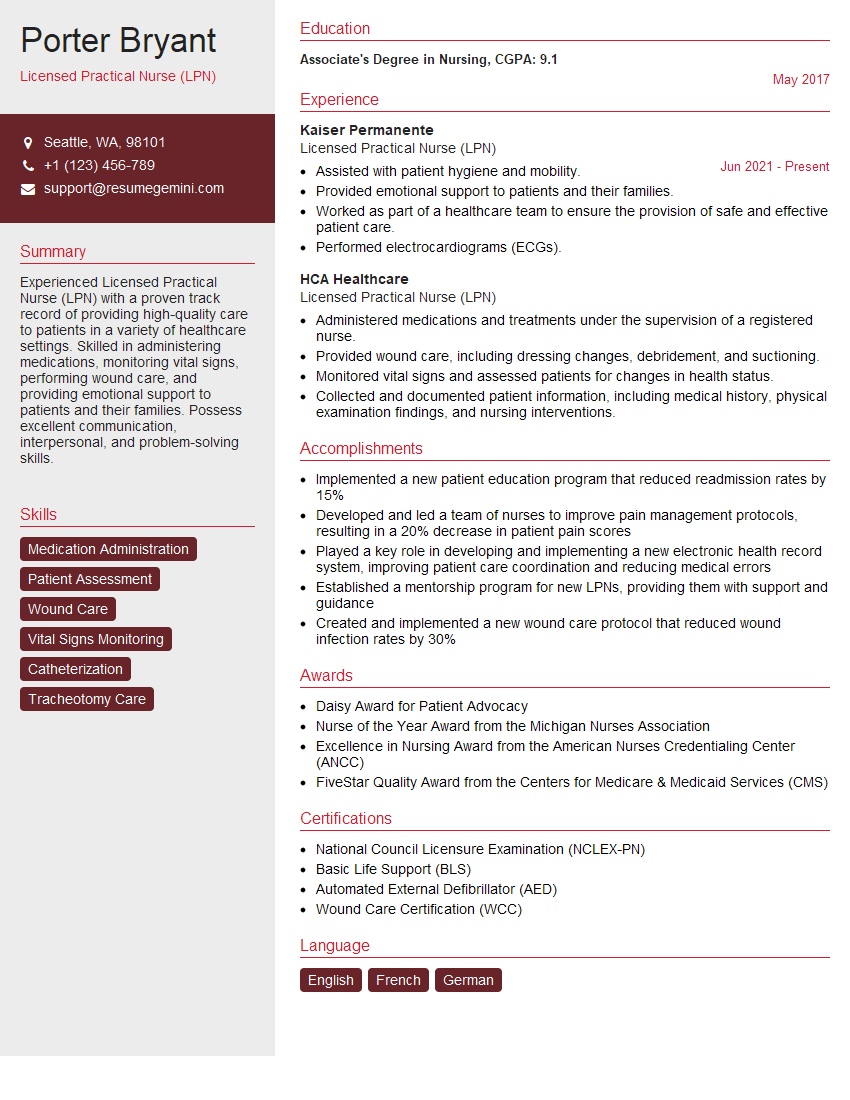
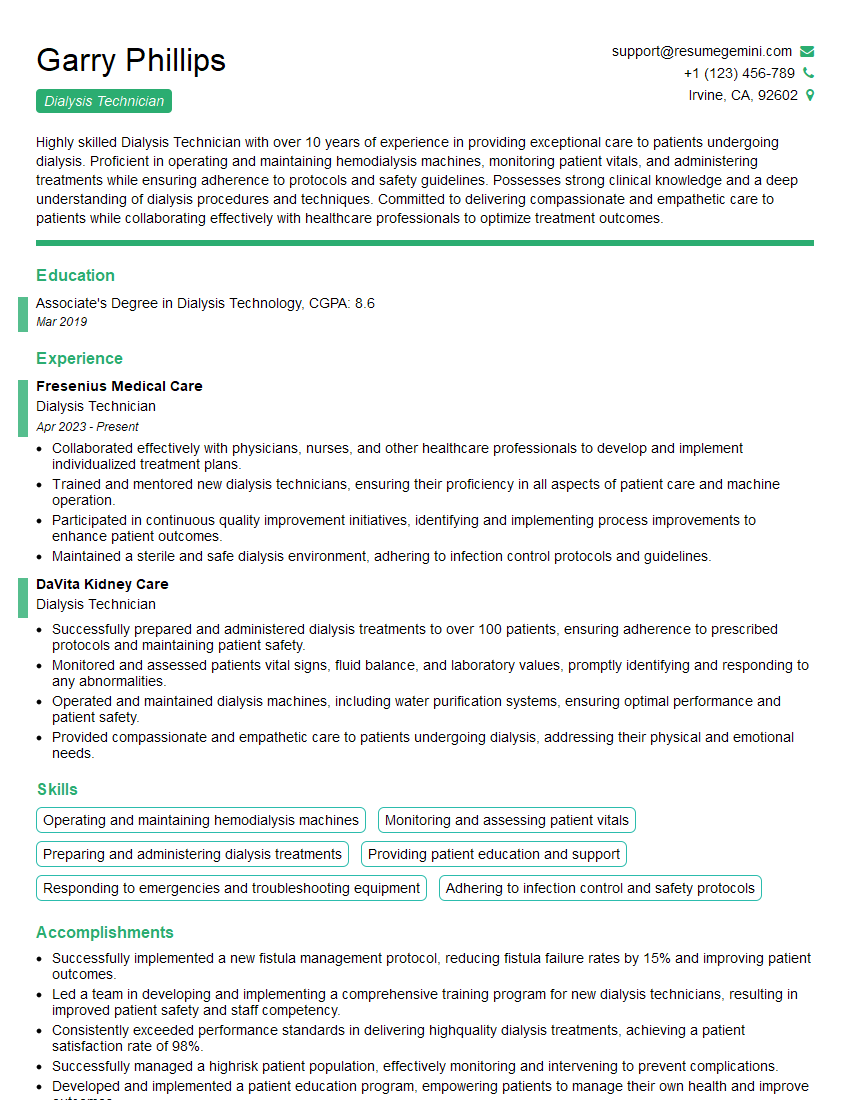
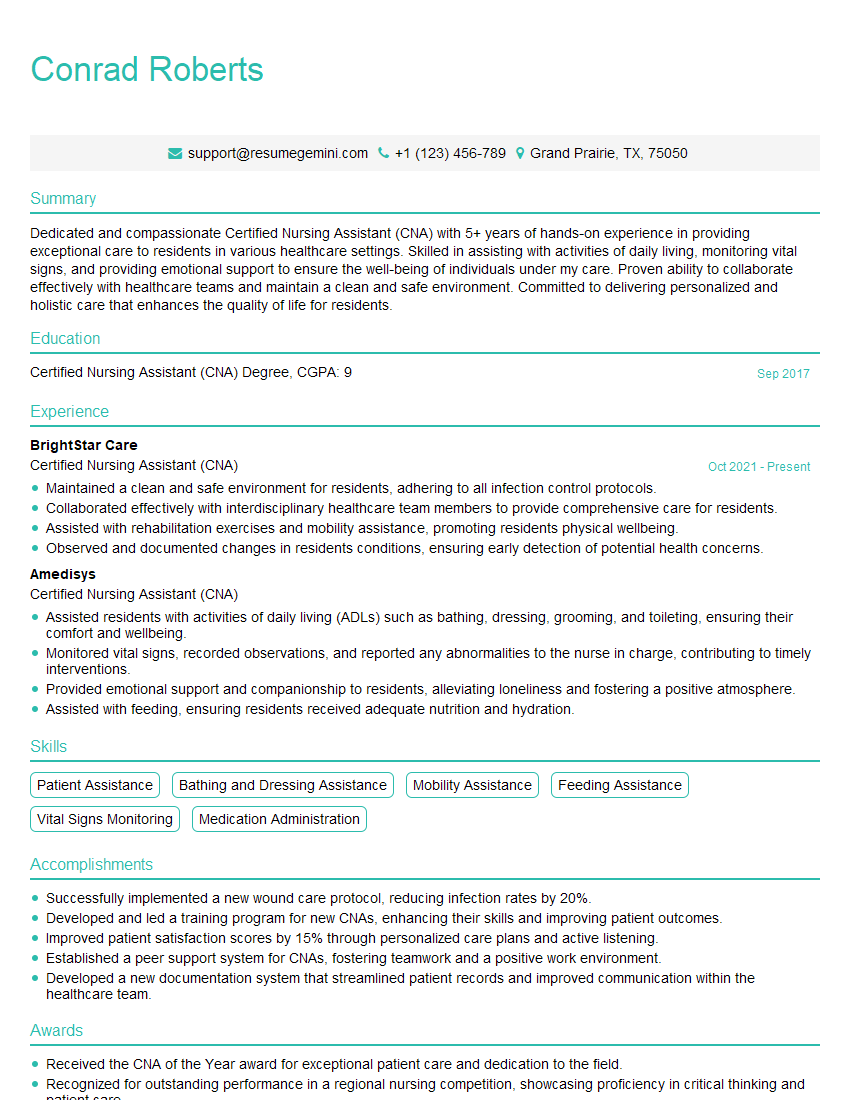
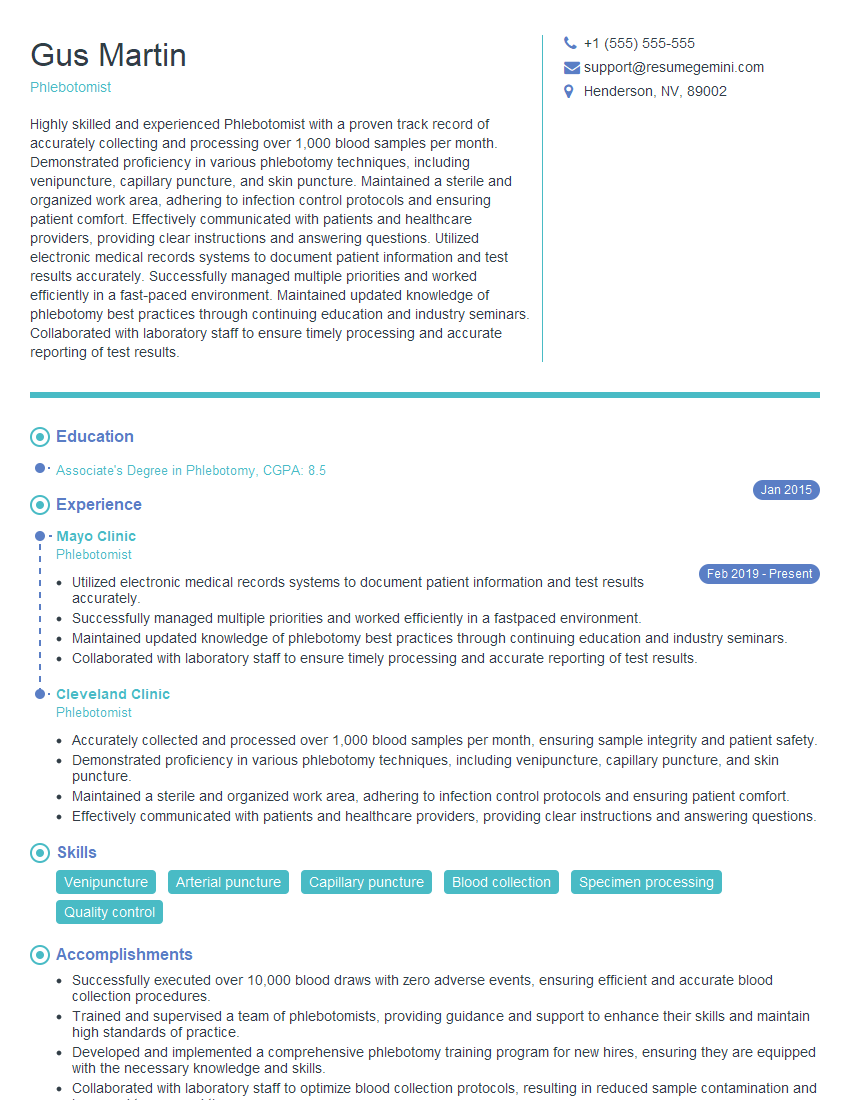
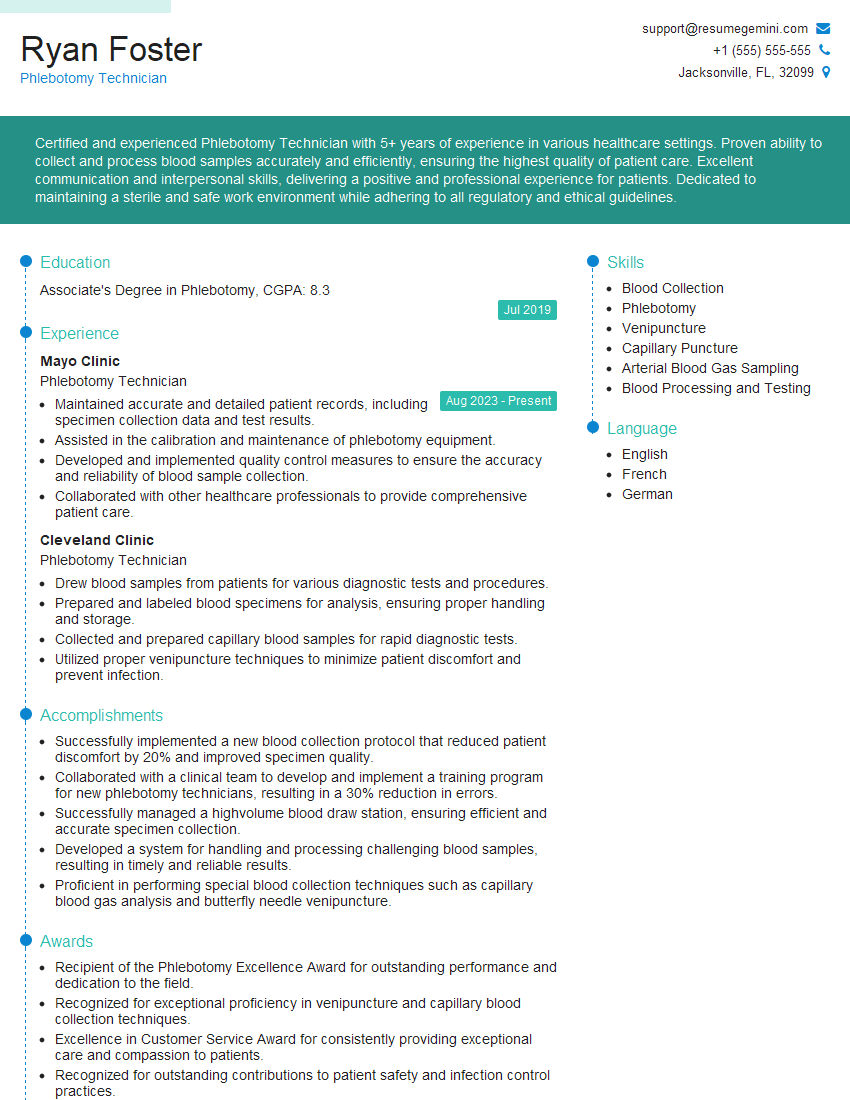
Mastering venipuncture and IV insertion techniques is highly valuable for career advancement in healthcare, opening doors to specialized roles and increased earning potential. To maximize your job prospects, create an ATS-friendly resume that showcases your skills and experience effectively. ResumeGemini is a trusted resource to help you build a professional and impactful resume. We provide examples of resumes tailored to Venipuncture and IV Insertion professionals to help guide you.
Explore more articles
Users Rating of Our Blogs
Share Your Experience
We value your feedback! Please rate our content and share your thoughts (optional).
What Readers Say About Our Blog
Live Rent Free!
https://bit.ly/LiveRentFREE
Interesting Article, I liked the depth of knowledge you’ve shared.
Helpful, thanks for sharing.
Hi, I represent a social media marketing agency and liked your blog
Hi, I represent an SEO company that specialises in getting you AI citations and higher rankings on Google. I’d like to offer you a 100% free SEO audit for your website. Would you be interested?
