Feeling uncertain about what to expect in your upcoming interview? We’ve got you covered! This blog highlights the most important Book Design and Production interview questions and provides actionable advice to help you stand out as the ideal candidate. Let’s pave the way for your success.
Questions Asked in Book Design and Production Interview
Q 1. What software are you proficient in for book design and layout (e.g., InDesign, QuarkXPress)?
My core proficiency lies in Adobe InDesign, which is the industry-standard software for book design and layout. I’m also experienced with QuarkXPress, though InDesign’s superior features and broader industry adoption make it my primary tool. InDesign allows for precise control over typography, image placement, and overall page design, crucial for creating a visually appealing and well-structured book. I’m comfortable using its advanced features like master pages, styles, and paragraph styles to maintain consistency throughout complex projects. For instance, I recently used InDesign’s scripting capabilities to automate the creation of chapter headings, significantly streamlining the workflow on a 500-page academic textbook.
Q 2. Explain your experience with image resolution and its impact on print quality.
Image resolution is paramount for print quality. Resolution is measured in pixels per inch (ppi) or dots per inch (dpi). Low-resolution images (e.g., under 300 ppi) will appear blurry and pixelated when printed, especially at larger sizes. High-resolution images (300 ppi or higher) are essential for crisp, clear print reproduction. Imagine trying to enlarge a small, grainy photograph – it’ll lose its sharpness. Similarly, low-resolution images in a book will detract from the overall quality. I always ensure that all images used in my book projects meet or exceed 300 ppi to guarantee the highest print quality. I often work with authors and photographers to ensure images are supplied at the correct resolution from the outset. If a low-resolution image is provided, I’ll work with the author to source a higher resolution alternative or explain the limitations that will result from using a low-resolution image.
Q 3. Describe your process for creating a book cover design, from concept to final artwork.
My book cover design process is iterative and involves several key stages:
- Concept Development: This involves understanding the book’s genre, target audience, and the author’s vision. I brainstorm ideas, sketch rough layouts, and explore different design styles. I might create mood boards to visualize the overall aesthetic.
- Typography Selection: Choosing the right font is crucial – it sets the tone and should align with the book’s content and genre. I consider readability and visual appeal.
- Image Selection or Creation: Depending on the project, I might source high-resolution stock images, work with an illustrator, or create the cover art myself. The image should be impactful and communicate the book’s essence.
- Layout and Composition: I arrange the title, subtitle, author’s name, and any other design elements in a visually balanced and engaging composition. I carefully consider white space and hierarchy.
- Color Palette: Selecting a suitable color scheme is important. The colors should be consistent with the genre and mood of the book.
- Revisions and Feedback: I present the initial design to the author and publisher for feedback, and iterate based on their input.
- Final Artwork: Once the design is finalized, I prepare the files in the correct format (typically high-resolution PDFs) for printing.
Q 4. How do you manage multiple book projects with varying deadlines simultaneously?
Managing multiple book projects requires a structured approach. I utilize project management software to track deadlines, tasks, and client communication. This helps me prioritize tasks based on urgency and deadlines. I break down large projects into smaller, manageable tasks, assigning realistic timelines to each. Regular progress reviews and client communication are crucial. Time blocking and prioritizing critical tasks are essential strategies to maintain focus and prevent burnout. A recent example involved managing three projects simultaneously: a children’s book, a scholarly monograph, and a cookbook. Effective time management and clear communication with all stakeholders were crucial to delivering all three projects on time and to the client’s satisfaction.
Q 5. What are your preferred methods for collaborating with authors and editors on design choices?
Collaboration is key. I prefer regular communication through video calls, email, and shared online proofing platforms. I provide authors and editors with clear design mockups and seek their feedback at key stages of the process. I find that iterative feedback loops, where designs are presented, critiqued, and refined, ensure that the final product reflects everyone’s vision. For instance, I recently used a collaborative online proofing tool where the author and editor could directly annotate the design mockups, significantly speeding up the revision process.
Q 6. Explain your understanding of color management and color profiles (CMYK, RGB).
Color management is vital for ensuring consistent color reproduction across different devices and printing methods. RGB (Red, Green, Blue) is an additive color model used for screens, while CMYK (Cyan, Magenta, Yellow, Key [black]) is a subtractive model used for printing. Understanding the differences is crucial. An image that looks vibrant on screen (RGB) might appear dull when printed (CMYK) if color management isn’t properly addressed. I work with specific color profiles (e.g., sRGB, Adobe RGB for screens; ISO Coated v2 for print) to ensure accurate color conversion. I always create print-ready files in CMYK to avoid color mismatches during the printing process. For example, I ensure that the CMYK color profile used is compatible with the printing press’s capabilities to avoid any unexpected color shifts.
Q 7. How do you ensure consistency in typography and style throughout a book?
Consistency in typography and style is achieved through careful planning and the use of InDesign’s style features. I create paragraph and character styles to define font families, sizes, leading, kerning, and other typographic elements. These styles are applied consistently throughout the book, ensuring uniformity. I also create master pages to maintain consistent page numbers, headers, and footers. This prevents manual adjustments and reduces the risk of errors. For instance, if I need to change the font size for chapter headings, I only need to modify it in one place (the paragraph style) and the change is instantly applied throughout the entire book, saving time and effort and ensuring uniformity.
Q 8. Describe your experience with pre-flighting and quality assurance checks before printing.
Preflighting and quality assurance (QA) are crucial steps in book production, ensuring a smooth printing process and a high-quality final product. Think of it as a final health check before surgery – you wouldn’t want to start printing thousands of books only to discover a major error at the last minute!
My preflighting process typically involves several key checks using dedicated software like Acrobat Pro. These include:
- Checking for missing fonts or images: This is a common problem, easily caught by a preflight profile that scans for linked assets.
- Verifying color profiles: Ensuring the correct color space (e.g., CMYK for print) is used to prevent color shifts during printing.
- Inspecting for overset text: Text that extends beyond the defined margins is a common mistake, easily detectable through preflight and often leading to layout issues.
- Evaluating image resolution: Images need sufficient resolution (at least 300 dpi for print) to avoid pixilation. My preflight includes a check for this.
- Examining bleed and trim marks: Bleed is the extra area extending beyond the trim line, ensuring no white edges appear after trimming. The preflight verifies these marks are correctly placed.
- Checking for color consistency: Comparing the color palette across all pages ensures consistency throughout the book.
Beyond software, I also conduct a manual visual inspection to catch anything the software might miss – a subtle font issue or an unexpected whitespace anomaly.
Q 9. What are your preferred methods for preparing files for different print processes?
Preparing files for different print processes requires understanding the specific needs of each method. Offset printing, for example, requires high-resolution CMYK files, while digital printing might accept RGB files. My approach is highly process-specific:
- Offset Printing: I prepare high-resolution (300 dpi) CMYK files, ensuring all fonts are embedded and images are correctly sized and positioned. I meticulously check for bleed and trim marks to guarantee clean edges.
- Digital Printing: Depending on the printer’s specifications, files might be prepared in either CMYK or RGB. Resolution requirements are often less stringent than offset. I always confirm the exact requirements with the printer.
- Large Format Printing (e.g., posters): For larger prints, I use high-resolution files (often 150-300 dpi) and pay close attention to image scaling to avoid loss of quality.
For each process, I meticulously create a detailed print specification document outlining all technical details like page size, bleed, trim, color space, and file formats. This ensures clarity and avoids any misunderstandings with the print vendor.
Q 10. How do you handle design revisions and feedback efficiently?
Handling design revisions efficiently involves clear communication and a structured approach. I use a version control system (like Adobe InDesign’s version history or cloud-based collaborative platforms) to track all changes.
My process involves:
- Clearly documenting revisions: Each revision is clearly marked with a revision number and a detailed description of the changes. This allows for easy tracking and prevents confusion.
- Using track changes effectively: Tools like InDesign’s track changes allow me to clearly highlight all modifications, making it easy for the client to review and approve.
- Providing annotated PDFs: Annotating PDFs with comments and explanations helps clarify the rationale behind design decisions, simplifying the feedback process.
- Scheduled review sessions: I schedule regular meetings or calls to discuss revisions, ensuring prompt feedback and addressing any concerns. This prevents endless email chains.
For instance, on a recent children’s book project, the client requested subtle changes to several illustrations. Using track changes, I highlighted the adjustments, and a quick call helped us finalize the design quickly. The client was happy with the transparent process, and the revisions were implemented efficiently.
Q 11. Explain your experience with different binding methods (e.g., perfect binding, saddle stitch).
Binding methods significantly impact a book’s final look and feel. My experience encompasses various binding types, each suited to different book types and page counts:
- Perfect Binding: Ideal for paperback books, magazines, or journals. The pages are glued together along the spine, creating a smooth, flat spine. It’s cost-effective for larger print runs.
- Saddle Stitch Binding: A simple and economical method using wire staples to hold pages together. Suitable for booklets, brochures, or magazines with a low page count (typically under 64 pages). It creates a simple, easily foldable book.
- Case Binding: A more robust method often used for hardcover books. The pages are sewn together (or sometimes glued) to form a text block, which is then adhered to a cover. It’s more durable and provides a professional look.
- Spiral Binding (Coil Binding): Commonly used for notebooks, reports, and documents. Pages are punched with holes and bound with a plastic or metal coil. It allows the book to lay flat.
Choosing the right binding method depends on the book’s content, page count, budget, and desired aesthetic. I always discuss these options with the client to find the best fit.
Q 12. How familiar are you with different paper stocks and their suitability for various book types?
Paper selection is critical; it impacts the book’s feel, look, and even its longevity. My knowledge spans various paper stocks, and I carefully consider their properties when making recommendations:
- Uncoated Paper: Offers a natural, slightly textured feel. Suitable for novels, textbooks, or books where a matte finish is desired. It’s often more absorbent, meaning ink can sometimes bleed.
- Coated Paper: Offers a smooth, glossy surface, ideal for high-quality photography or illustrations. However, it can be less absorbent, and the glossy finish may reduce readability for large blocks of text.
- Recycled Paper: Environmentally friendly, but can have a slightly different texture and color compared to virgin paper. The quality can vary greatly depending on the manufacturing process.
- Specialty Papers: Options like linen or textured papers offer unique tactile experiences, enriching the reading experience. However, these specialty papers may impact print costs.
For instance, a coffee table book with high-quality photographs would benefit from a coated paper stock to showcase the images, while a novel might use uncoated paper for a more classic reading experience.
Q 13. What is your understanding of bleed and margins in book design?
Bleed and margins are essential design elements that ensure a professional-looking book and prevent unexpected problems during printing and trimming.
- Bleed: This is the extra area that extends beyond the final trim size of the page. It’s essential to prevent white edges after trimming, particularly in full-bleed images. Typically, a 0.125-inch (3mm) bleed is standard.
- Margins: The space between the text or image and the edge of the page. Margins ensure readability and prevent text from being too close to the edge. Standard margins typically vary but often include an inner margin (for binding), outer margin, top margin, and bottom margin. The inner margin is usually wider to avoid text being lost in the gutter (the space between pages).
Without proper bleed and margins, images might be trimmed incompletely, and text might be too close to the edge, leading to an unprofessional final result. I always carefully set up bleed and margins in my design software to guarantee a clean and professional final product. Any deviation would need careful explanation and approval from the client.
Q 14. Describe your experience with digital publishing workflows (e.g., creating ePub, Kindle formats).
My experience with digital publishing workflows is extensive. I’m proficient in creating ePub and Kindle formats using dedicated software and following best practices for optimal readability across different devices.
The process involves:
- Content preparation: The text and images need to be formatted correctly for digital reading, often requiring different layout considerations compared to print. I often use styles and tags to ensure a consistent look across all devices.
- ePub creation: I use software like Adobe InDesign or dedicated ePub editors to create properly structured ePub files. This ensures responsiveness and optimal display across various e-readers.
- Kindle format conversion: I use conversion tools or software to create a Kindle-specific file, ensuring the text reflows appropriately, images display correctly, and the overall reading experience is optimized for the Kindle platform.
- Metadata creation: Accurate and comprehensive metadata, including title, author, ISBN, keywords, and a description, is critical for discoverability in online bookstores. I carefully craft this information.
- Proofreading and testing: Thorough proofreading and testing on different devices are crucial to ensure the final e-book renders correctly and provides a positive user experience.
For instance, I worked on an ebook adaptation of a children’s picture book. We paid particular attention to the layout and image placement for different screen sizes, ensuring the experience was engaging on both tablets and smartphones. This involved careful use of CSS and HTML to ensure responsiveness across different display sizes.
Q 15. How do you ensure accessibility in your book designs (e.g., for visually impaired readers)?
Ensuring accessibility in book design is paramount, particularly for visually impaired readers. It’s not just about adhering to guidelines; it’s about empathetically crafting a reading experience that’s inclusive. My approach involves several key strategies:
Large, Clear Fonts: I utilize fonts with high readability, such as Arial or Verdana, and ensure the point size is appropriately large (at least 12pt, often larger for body text). I also pay close attention to font weight and spacing to enhance legibility.
High Contrast: Sufficient contrast between text and background is crucial. I use a color contrast checker to verify that the contrast ratio meets accessibility standards (WCAG guidelines recommend a minimum ratio of 4.5:1 for normal text).
Structured Text: Logical heading structures (H1, H2, H3, etc.) are implemented to allow screen readers to navigate the content effectively. I also use clear, descriptive heading text that accurately reflects the content of each section.
Alternative Text for Images: Every image includes detailed alternative text (alt text) that accurately describes the image’s content and context. This allows screen readers to convey the image’s information to the reader.
Table Formatting: Tables are meticulously structured using proper HTML table tags, with clear captions and headers. This ensures screen readers can interpret the data accurately.
Electronic Formats: I ensure that the book is available in accessible electronic formats such as EPUB, which supports features like reflowable text, customizable font sizes, and screen reader compatibility.
For example, in a recent children’s book project, we used a dyslexia-friendly font and increased the leading (space between lines) for improved readability. We also included detailed alt text for every illustration, describing not only the objects depicted but also their emotional context.
Career Expert Tips:
- Ace those interviews! Prepare effectively by reviewing the Top 50 Most Common Interview Questions on ResumeGemini.
- Navigate your job search with confidence! Explore a wide range of Career Tips on ResumeGemini. Learn about common challenges and recommendations to overcome them.
- Craft the perfect resume! Master the Art of Resume Writing with ResumeGemini’s guide. Showcase your unique qualifications and achievements effectively.
- Don’t miss out on holiday savings! Build your dream resume with ResumeGemini’s ATS optimized templates.
Q 16. Explain your experience with creating and managing style guides for book design.
Style guides are the backbone of consistent and professional book design. My experience encompasses creating and managing them from scratch, adapting existing ones, and collaborating with authors and editors to ensure everyone is on the same page. This process involves:
Defining Brand Identity: The style guide starts by clearly outlining the book’s brand identity—its tone, target audience, and overall aesthetic. This informs font choices, color palettes, and image styles.
Typography Specifications: Detailed specifications are provided for all fonts used (e.g., body text, headings, captions). This includes font families, sizes, weights, leading, and tracking (letter spacing).
Image Style Guidelines: The guide specifies preferred image styles, resolutions, and file formats. It might also include guidelines for image captions and credits.
Layout and Pagination: Guidelines for page layouts, margins, headers, footers, and chapter openings are clearly documented, maintaining consistent visual flow.
Example Layouts: Including sample layouts in the guide helps visualise the desired design and simplifies communication with the production team.
For example, for a historical fiction novel, I created a style guide that specified a classic serif font for body text, a complementary sans-serif font for headings, and a vintage-inspired color palette. The guide included detailed examples of chapter openings and image placements to ensure consistency across the entire book.
Q 17. What is your process for creating page layouts with complex elements (e.g., tables, illustrations)?
Creating page layouts with complex elements requires a structured and iterative approach. My process involves:
Planning and Structuring: I begin by carefully planning the placement and hierarchy of all elements, considering readability and visual balance. I create a detailed sketch or wireframe to visualise the layout before starting the digital design.
Master Pages and Templates: I leverage master pages and templates in InDesign (or a similar software) to create consistent headers, footers, and page numbering. This streamlines the design process and ensures consistency.
Modular Design: I break down complex elements like tables and illustrations into smaller, manageable modules. This allows for easy adjustment and modification without affecting other components of the layout.
Text Flow and Wrapping: I carefully manage text flow around images and other elements, ensuring that the text is legible and doesn’t overlap with other components. I utilize InDesign’s text wrap features extensively.
Testing and Refinement: I meticulously test the layout on different screen sizes and devices to ensure the layout adapts well and remains readable. Iteration and refinement are key to producing a well-designed and functional layout.
For instance, when designing a textbook with numerous tables and diagrams, I created separate templates for different types of chapters, each with pre-defined layouts for tables and figures. This made it easier to maintain consistency while accommodating the varying complexity of each chapter.
Q 18. How do you handle unexpected technical issues during the production process?
Unexpected technical issues are inevitable in book production. My approach to handling them focuses on proactive planning and swift, effective problem-solving:
Regular Backups: I maintain frequent backups of all files, ensuring that even if data is lost, recovery is quick and straightforward.
Version Control: I use version control systems to track changes and revert to previous versions if necessary. This helps minimize the impact of errors and allows for easy collaboration.
Problem Diagnosis: When an issue arises, I methodically diagnose the root cause. This might involve checking file formats, fonts, software settings, or printer compatibility.
Collaboration and Communication: I immediately communicate with relevant stakeholders (editors, printers, authors) to ensure everyone is aware of the issue and its potential impact on the timeline.
Contingency Planning: I develop contingency plans to mitigate potential delays or disruptions. This includes having alternative solutions or backup files ready.
For example, once, a font issue arose just before print. By promptly contacting the printer and identifying a suitable alternative, we avoided significant delays.
Q 19. Describe your experience with working with printers and managing print production.
Working with printers and managing print production is a crucial aspect of book design. My experience encompasses all stages, from pre-press preparation to final print delivery:
Pre-press Preparation: I ensure that all files are correctly formatted and prepared for print, adhering to the printer’s specifications. This includes checking color profiles, resolutions, bleed areas, and other crucial details.
Proofing and Approval: I participate actively in the proofing process, reviewing proofs carefully for any errors or inconsistencies. I work closely with the printer to resolve any issues before the final print run.
Communication and Collaboration: I maintain open and consistent communication with the printer throughout the process. This includes providing timely updates, addressing queries, and promptly resolving any arising problems.
Print Specifications: I have a thorough understanding of various printing techniques (offset, digital, etc.) and paper stocks, enabling me to make informed decisions regarding print specifications.
Quality Control: Upon receiving the final print, I conduct a thorough quality check, ensuring that the print quality meets expectations. This often includes checking for color accuracy, image sharpness, and text legibility.
I’ve worked with both large-scale commercial printers and smaller boutique printers, adapting my communication and workflow to their specific requirements. This experience has equipped me to manage even complex print projects efficiently and effectively.
Q 20. What is your understanding of ISBNs and other book metadata?
ISBNs (International Standard Book Numbers) are unique identifiers assigned to books, crucial for tracking sales, inventory, and bibliographic data. They are essential for book distribution and sales. My understanding extends beyond ISBNs to encompass other key book metadata:
ISBNs: I understand the structure of ISBNs, their significance for global book identification, and the procedures for obtaining them from designated ISBN agencies.
BIC (Bowker Identifier): I am familiar with the Bowker Identifier (BIC), a unique identifier assigned to publishers, simplifying the ISBN application and management process.
Other Metadata: I’m proficient in creating and managing other crucial metadata, including titles, subtitles, authors, publishers, publication dates, keywords, subjects, and descriptions. This data is essential for cataloging and online book discovery.
Metadata Standards: I understand various metadata standards (e.g., ONIX) used for exchanging book information between publishers, distributors, and retailers. This ensures seamless data flow in the publishing industry.
Accurate and comprehensive metadata is fundamental for book discoverability and efficient supply chain management. Incorrect or incomplete metadata can lead to significant issues, so precision is paramount.
Q 21. How do you stay current with the latest trends and technologies in book design and production?
Staying current in book design and production necessitates continuous learning and adaptation. My strategy involves a multi-pronged approach:
Industry Publications and Websites: I regularly read industry publications (both print and online), keeping up with the latest trends, technologies, and best practices.
Conferences and Workshops: I actively attend industry conferences and workshops, engaging with peers and learning from leading experts in the field.
Online Courses and Tutorials: I utilize online resources like Skillshare, Udemy, and LinkedIn Learning to expand my skills and knowledge in new technologies and design techniques.
Software Updates and Training: I regularly update my design software and participate in training programs to keep pace with advancements in software features and functionalities.
Networking and Collaboration: I actively network with fellow designers, printers, and other industry professionals. This collaborative environment fosters knowledge exchange and learning.
For instance, I recently completed a course on designing for e-readers, which enhanced my understanding of EPUB standards and best practices for optimizing digital book layouts. Continuous learning keeps my skills sharp and ensures I deliver cutting-edge book designs.
Q 22. How do you prioritize tasks and manage your time effectively in a fast-paced environment?
In the fast-paced world of book design and production, effective time management is paramount. I utilize a combination of project management methodologies, prioritizing tasks based on urgency and importance. I start by breaking down large projects into smaller, manageable tasks using tools like Trello or Asana. This allows me to visualize the workflow and identify potential bottlenecks early on. I then apply the Eisenhower Matrix (urgent/important), prioritizing tasks accordingly. For instance, finalizing cover art before the printing deadline would be a high-priority, urgent task, while researching new font options for a future project might be important but less urgent. I also allocate specific time blocks for each task, minimizing distractions during those periods. Regularly reviewing my progress and adjusting the schedule as needed keeps the project on track and minimizes stress.
- Prioritization Technique: Eisenhower Matrix (Urgent/Important)
- Project Management Tools: Trello, Asana, Monday.com
- Time Management Technique: Time Blocking
Q 23. Describe your experience with working within a budget and managing project costs.
Budget management is crucial in book publishing. My experience involves meticulously tracking all expenses, from design software licenses and stock photography to printing costs and author royalties. I begin by creating a detailed budget breakdown, collaborating with the client or publisher to establish realistic cost projections. This includes identifying potential cost-saving measures without compromising quality, such as exploring different printing options or sourcing affordable yet high-quality imagery. Throughout the project, I maintain a spreadsheet meticulously recording all expenditures and comparing them against the allocated budget. Regular budget reviews help identify potential overruns and allow for proactive adjustments. For example, if we discover that the initial estimate for cover printing was slightly off, we’d explore alternative options to stay within budget. Transparency with the client or publisher is key throughout this process.
Q 24. How do you address design conflicts or differing opinions among stakeholders?
Design conflicts are inevitable in collaborative projects. My approach involves fostering open communication and active listening. I encourage stakeholders to express their opinions and concerns openly, creating a safe space for constructive criticism. I facilitate discussions by presenting different design options and explaining the rationale behind each choice. I actively seek to understand the underlying reasons for disagreements, focusing on the goals and objectives of the project. Often, a compromise can be reached by incorporating elements from different suggestions. If a consensus cannot be reached, I present a well-reasoned argument supported by design principles and industry best practices, justifying my recommendation. Ultimately, I strive to ensure that the final design reflects the collective vision while upholding professional standards.
Q 25. Explain your experience with proofreading and copyediting within the design process.
Proofreading and copyediting are integral parts of the design process, ensuring the final product is error-free and polished. I have extensive experience in both, leveraging tools like Grammarly and ProWritingAid to identify grammatical errors and inconsistencies. My approach involves multiple rounds of review, starting with a thorough copyedit to check for clarity, consistency, and style. I pay close attention to details such as typos, punctuation, and formatting. Following copyediting, I perform meticulous proofreading to catch any remaining errors that might have slipped through. I often collaborate with professional copyeditors to ensure the highest level of accuracy, especially for complex or lengthy manuscripts. This collaborative approach ensures a high-quality final product that is both visually appealing and error-free.
Q 26. How do you measure the success of a book design project?
Measuring the success of a book design project involves both qualitative and quantitative metrics. Quantitatively, we might assess sales figures, online reviews, and reader engagement with the book. Qualitatively, we look at reader feedback, reviews from critics, and the book’s overall impact on its intended audience. Did the design effectively convey the book’s message? Did it resonate with the target readership? Did it achieve the sales goals set by the publisher? A successful project often exhibits a positive feedback loop, with strong reader engagement translating into positive reviews and sales. Ultimately, a combination of these quantitative and qualitative data points provides a holistic view of the project’s success.
Q 27. What are your strategies for troubleshooting design and production problems?
Troubleshooting in book design and production requires a systematic approach. When encountering problems, I start by clearly identifying the issue. Is it a design flaw? A production error? A technical glitch? Once the problem is defined, I investigate potential causes, drawing on my experience and knowledge of industry best practices. I consult relevant documentation, such as printing specifications or software manuals. If the problem persists, I leverage my network of contacts—printers, editors, designers—to seek expert advice or solutions. Thorough testing and iterative problem-solving, coupled with open communication, are key to resolving issues effectively and efficiently. For instance, if a color mismatch arises during printing, I’d collaborate with the printer to adjust the color profiles and ensure consistency across all copies.
Q 28. What are your salary expectations?
My salary expectations are commensurate with my experience and expertise in book design and production, and are within the competitive range for similar roles in the industry. I am open to discussing a specific salary range once I have a better understanding of the role’s responsibilities and the company’s compensation structure.
Key Topics to Learn for Book Design and Production Interview
- Design Principles & Typography: Understanding principles like hierarchy, contrast, and readability; applying various typefaces and styles to enhance the text’s visual appeal and readability. Practical application: Analyzing existing book designs and identifying effective typographic choices.
- Layout & Composition: Mastering page layouts, including text flow, image placement, and margin design; creating visually balanced and engaging spreads. Practical application: Designing mockups of different book sections (e.g., chapter openings, index) considering reader experience.
- Pre-press & Print Production: Knowledge of file preparation, color management (CMYK, RGB), print finishing options (binding, cover materials), and common file formats (PDF, InDesign). Practical application: Troubleshooting potential issues in print files and recommending solutions to optimize print quality and cost-effectiveness.
- Software Proficiency: Demonstrating expertise in industry-standard software like Adobe InDesign, Illustrator, and Photoshop. Practical application: Explaining your workflow in these programs and how you leverage their features for specific design tasks.
- Project Management & Collaboration: Understanding project timelines, client communication, and working effectively within a team. Practical application: Describing your experience managing multiple projects simultaneously and adapting to changing deadlines or client feedback.
- Digital Book Production (eBooks): Familiarity with eBook formats (EPUB, MOBI), metadata requirements, and digital publishing workflows. Practical application: Discussing the differences between print and digital design considerations and challenges.
- Image Editing & Retouching: Skills in preparing and editing images for print and digital use, including color correction, resizing, and optimizing image files for web and print. Practical application: Explaining your approach to image selection and preparation based on the context of the book project.
Next Steps
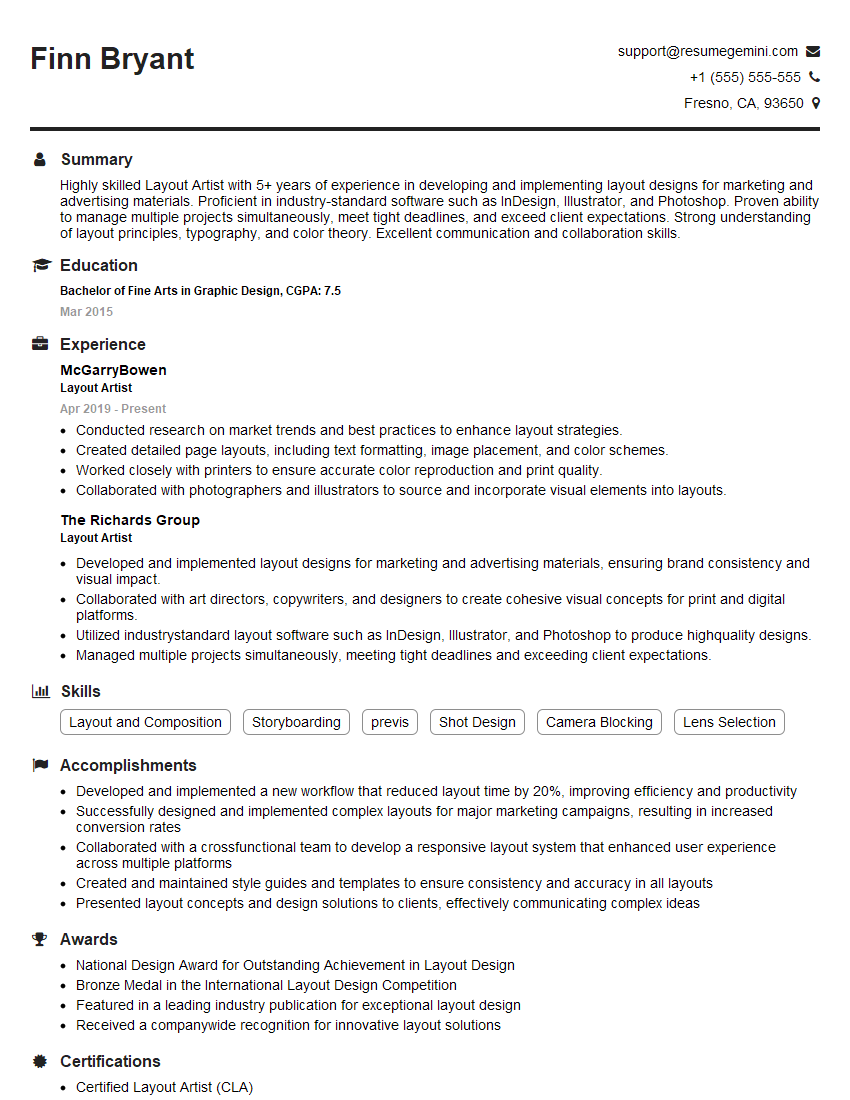
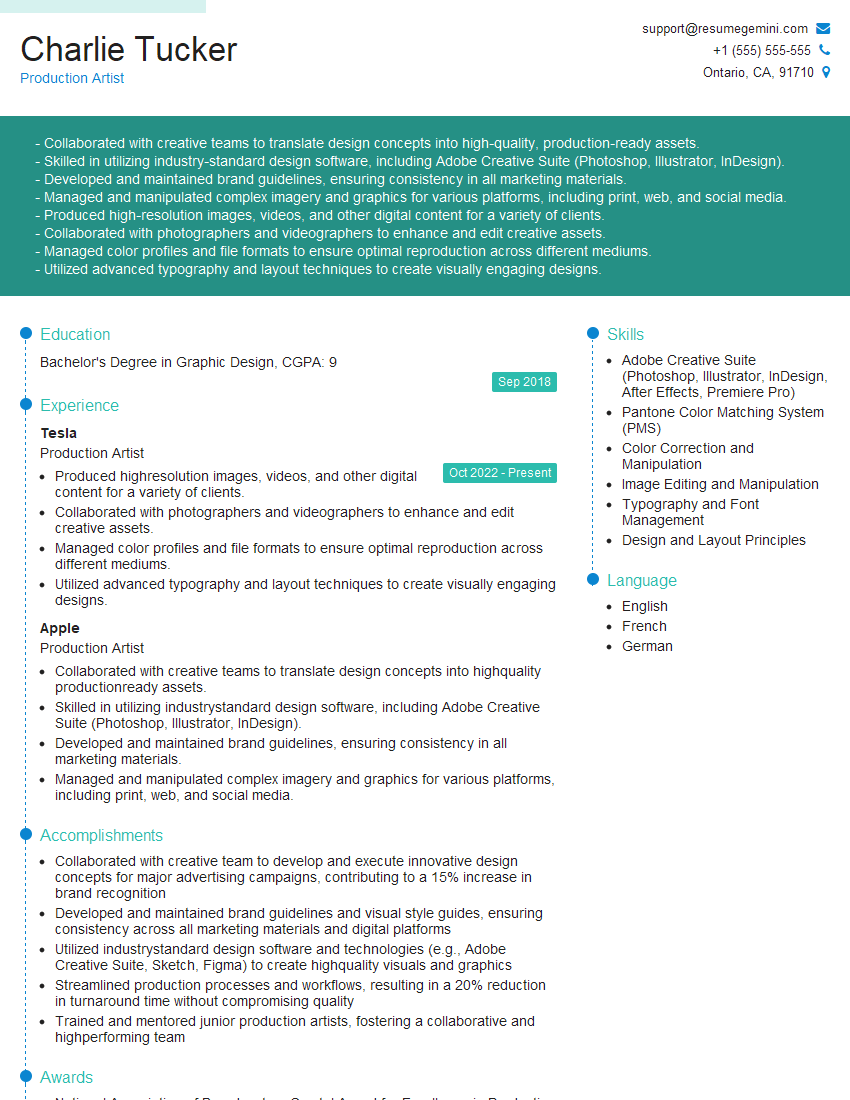
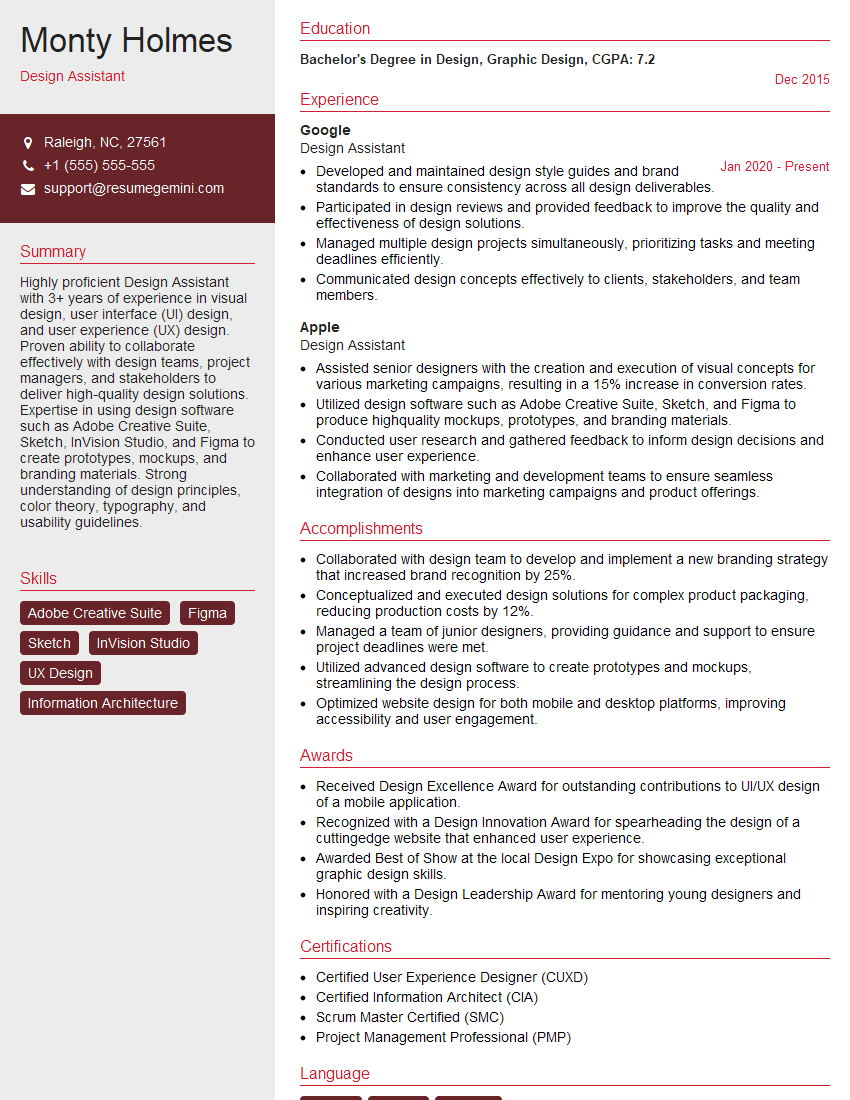
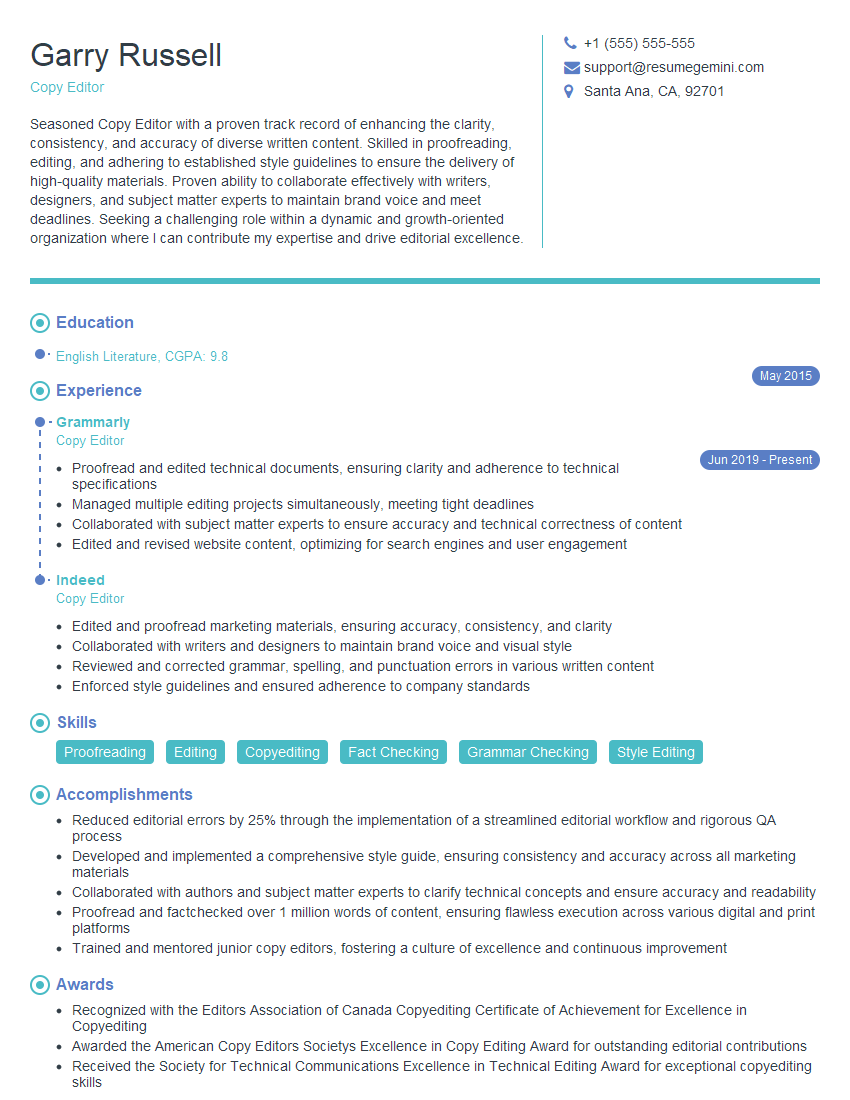
Mastering Book Design and Production opens doors to exciting careers in publishing, media, and design. A strong understanding of these principles is crucial for success. To significantly improve your job prospects, creating an ATS-friendly resume is essential. ResumeGemini is a trusted resource that can help you build a professional and impactful resume. We provide examples of resumes tailored to Book Design and Production to guide you in showcasing your skills and experience effectively. Take advantage of these resources and craft a resume that truly reflects your capabilities.
Explore more articles
Users Rating of Our Blogs
Share Your Experience
We value your feedback! Please rate our content and share your thoughts (optional).
What Readers Say About Our Blog
Interesting Article, I liked the depth of knowledge you’ve shared.
Helpful, thanks for sharing.
Hi, I represent a social media marketing agency and liked your blog
Hi, I represent an SEO company that specialises in getting you AI citations and higher rankings on Google. I’d like to offer you a 100% free SEO audit for your website. Would you be interested?


