Cracking a skill-specific interview, like one for CAD/CAM Software Proficiency (SolidWorks, Mastercam, NX), requires understanding the nuances of the role. In this blog, we present the questions you’re most likely to encounter, along with insights into how to answer them effectively. Let’s ensure you’re ready to make a strong impression.
Questions Asked in CAD/CAM Software Proficiency (SolidWorks, Mastercam, NX) Interview
Q 1. Explain the difference between wireframe, surface, and solid modeling.
The three modeling techniques – wireframe, surface, and solid – represent different levels of geometric complexity in CAD software. Think of building a house: wireframe is like the architect’s initial sketch showing only lines and points; surface modeling is like adding the walls and roof, defining the outer shapes; and solid modeling adds the internal structure, making it a complete, three-dimensional object.
- Wireframe Modeling: This is the most basic type, representing an object using only lines and points. It’s useful for initial design concepts and simple geometries but lacks information about the object’s volume or surface properties. Imagine a simple drawing of a cube with only its edges shown – that’s a wireframe representation.
- Surface Modeling: Builds upon wireframe by defining surfaces that enclose a volume. It’s excellent for complex shapes like car bodies or aircraft fuselages where the surface finish is critical. However, it doesn’t inherently define the object’s solid volume; it only defines the outer shell. Think of a clay model – you’ve created the form but haven’t defined what’s inside.
- Solid Modeling: This is the most comprehensive approach. It defines a complete 3D object with volume, mass, and material properties. This allows for detailed analysis and simulations like stress analysis or fluid flow. It’s like having a fully constructed house – you know its dimensions, materials, and internal layout.
In practice, I’ve used wireframe modeling primarily for quick sketches and conceptual design. Surface modeling is often preferred for parts with complex curvature, while solid modeling is essential for most engineering applications requiring detailed analysis and manufacturing information.
Q 2. Describe your experience with SolidWorks feature-based modeling.
My experience with SolidWorks’ feature-based modeling is extensive. I’ve used it to design a wide range of parts and assemblies, from simple brackets to complex mechanisms. Feature-based modeling is a powerful approach because it allows you to build a part by adding features sequentially, each building upon the previous one. This creates a history tree which is incredibly useful for design modifications and downstream manufacturing processes.
For example, I recently designed a custom injection mold using SolidWorks. I started with a base extrude feature, then added bosses for mounting points, cutouts for clearance, and finally used shell features to create the mold cavity. The feature tree allowed me to easily modify individual features without affecting the rest of the design. If I needed to adjust the size of a mounting hole, I simply modify that particular feature in the tree – the rest of the model updates automatically. This significantly reduces design time and error.
Beyond basic features, I’m proficient in using advanced features like sweeps, lofts, and revolves to create intricate shapes. I also frequently use patterns and mirrors to create symmetrical designs efficiently.
Q 3. How do you manage large assemblies in SolidWorks?
Managing large assemblies in SolidWorks requires a strategic approach. Simply opening a huge assembly can cripple your system. Here’s my strategy:
- Component Simplification: Before assembling, I simplify individual components. This means representing components as simplified geometry if their detailed features aren’t crucial for the overall assembly. Think about using placeholders or simplified representations for smaller parts within a larger assembly.
- Lightweight Components: SolidWorks allows for the creation of lightweight components. This reduces the file size without sacrificing the integrity of the overall assembly. It essentially creates a representation of the component without the detailed geometric data.
- Sub-assemblies: I break down large assemblies into smaller, manageable sub-assemblies. This significantly improves performance and organization. This approach mimics a real-world assembly process where major components are assembled first, then these sub-assemblies are integrated into the larger assembly.
- Component Configuration: Using design tables allows managing variations of a component within the assembly, greatly simplifying design updates and analysis. Think about different versions of a screw, each with different lengths or thread sizes.
- Large Assembly Tools: SolidWorks provides tools like component suppression and the ‘Performance Evaluation’ feature to identify components impacting performance, allowing focused optimization.
By combining these techniques, I’ve successfully managed assemblies containing thousands of components, ensuring efficient design and analysis.
Q 4. What are the different types of constraints used in SolidWorks?
SolidWorks offers a rich set of constraints for defining relationships between parts within an assembly. These constraints ensure proper mating and movement. Think of them as the ‘glue’ holding your virtual parts together, mimicking real-world connections.
- Mates: These define geometric relationships. Examples include:
Mate:Fixes the position or orientation of parts (e.g., fixing a bracket to a wall).Concentric:Aligns the axes of cylindrical features (e.g., aligning a shaft and bearing).Flush:Aligns two planar faces (e.g., aligning two plates).Tangent:Aligns two curved surfaces (e.g., aligning two pipes).- Dimensions: These define the distances between parts, much like actual measurements.
- Equations: Allow more complex relationships to be defined between parameters. This is particularly useful for driven dimensions, ensuring consistency throughout a complex assembly.
The choice of constraint depends on the specific application. For instance, a ‘mate constraint’ is used for a fixed connection, while a ‘distance constraint’ might be better for a sliding mechanism. Proper constraint selection prevents over-constraining (making the assembly rigid and unsolvable) or under-constraining (leaving the assembly loose and unstable).
Q 5. Explain your experience with Mastercam toolpath generation.
My Mastercam experience encompasses the entire toolpath generation process, from importing CAD models to generating optimized NC code. I’m proficient in creating toolpaths for a wide variety of machining operations.
I routinely use Mastercam to generate toolpaths for milling, turning, and wire EDM. For milling, I’m experienced in generating 2D and 3D toolpaths, including pocketing, contouring, surface machining (such as parallel, scallop, and flowline), and high-speed machining strategies. For turning operations, I use Mastercam’s turning features to create toolpaths for facing, turning, grooving, and threading. Wire EDM is another area I’m versed in, creating optimal paths for intricate cuts. I’ve worked on projects ranging from simple parts to highly complex molds and dies.
For example, in a recent project involving a complex impeller, I utilized Mastercam’s 3D surface machining capabilities to generate toolpaths that ensured a smooth, high-quality surface finish, while minimizing machining time. I carefully selected appropriate cutting parameters and strategies to optimize the process.
Q 6. How do you optimize toolpaths for different machining operations in Mastercam?
Optimizing toolpaths is crucial for efficient and effective machining. My approach involves considering several factors:
- Tool Selection: Choosing the right tool for the job is fundamental. Different tools are suited for different materials and operations. A roughing tool will be different from a finishing tool.
- Cutting Parameters: Optimizing parameters like feed rate, spindle speed, and depth of cut directly impacts machining time and surface finish. These need to be balanced against tool life and machine capabilities. Too aggressive and you risk tool breakage; too conservative and machining time increases excessively.
- Toolpath Strategies: Mastercam offers a variety of toolpath strategies. For roughing, I often utilize ‘area clearing’ strategies that remove material quickly and efficiently, while for finishing, I employ techniques like ‘high-speed machining’ to create a smooth surface. Using strategies like ‘constant step-over’ ensures consistent machining.
- Stock Model: An accurate stock model is essential for efficient toolpath generation, preventing gouges and ensuring full material removal.
- Simulation: Mastercam’s simulation feature is invaluable for verifying toolpaths and identifying potential problems *before* machining, saving valuable time and materials.
I constantly refine my toolpath strategies through iterative testing and analysis, ensuring optimal performance and reduced machining time.
Q 7. Describe your experience with Mastercam simulation and verification.
Mastercam’s simulation and verification capabilities are essential for preventing costly errors and ensuring safe machining operations. I routinely use the simulation feature to preview toolpaths before running them on the CNC machine. This allows for the identification of potential collisions, gouges, or other issues that might damage the part or the machine.
The simulation allows me to review the toolpath in detail, visualizing the movement of the tool and ensuring it follows the intended path. It also allows me to check for clearances and to optimize the toolpath for efficient material removal. I often use the ‘virtual machining’ capabilities to create a final machined part in the simulation to visually verify the outcome before machining the actual part.
The verification process often involves reviewing the toolpath for potential issues, verifying that the cutting parameters are appropriate for the material being machined, and ensuring the safety of the machining process. This helps prevent unexpected issues during the actual machining operation, increasing the overall efficiency and quality of the final product.
Q 8. What are the common post-processors used with Mastercam?
Mastercam’s power lies in its post-processors, which translate the toolpaths generated into machine-specific code. These aren’t generic; they’re tailored to the exact controller on your CNC machine. Think of it like translating English into French – the meaning is the same (the toolpath), but the language (the code) needs to be understood by the machine. Common post-processors you’ll encounter include those for Fanuc, Haas, Siemens, and Hurco controllers. The specific post-processor depends entirely on the CNC machine’s make and model. For example, a Fanuc Oi-MF controller will require a different post-processor than a Haas VF-2 controller, even if both are milling machines. Choosing the wrong post-processor leads to incorrect tool movements and potentially damaged parts or machinery. Mastercam provides a wide library of pre-built post-processors, and often allows customization for even more precise control. In my experience, accurately configuring the post-processor is crucial for smooth production, and I often spend time verifying the generated code before sending it to the machine.
Q 9. Explain your experience with NX’s CAD modeling capabilities.
My experience with NX’s CAD modeling capabilities spans several years and numerous projects. I’ve extensively used its features for creating complex assemblies, surface modeling, and solid modeling. I find NX particularly powerful for its ability to handle intricate designs, offering tools for everything from basic extrudes and revolves to advanced freeform surface creation using curves and splines. For instance, I once modeled a highly intricate automotive component involving complex curves and undercuts; NX’s synchronous technology significantly streamlined the process. This technology allows for direct manipulation of geometry, speeding up design changes and reducing the need for complex parametric setups. I’m comfortable with feature-based modeling as well as direct modeling techniques within NX. The ability to easily integrate design changes and manage large assemblies is a significant advantage of NX’s CAD system.
Q 10. How do you create and manage part families in NX?
NX excels at managing part families through its Teamcenter integration and its powerful template-based approach. The key is creating a well-structured template part that includes common features and parameters. These parameters are then used to drive variations within the family. For example, imagine designing a family of brackets with different lengths and mounting holes. I’d create a template bracket defining the basic shape. Then, I’d establish parameters for length, hole positions, and other relevant dimensions. By changing the values of these parameters, NX automatically generates different bracket variations belonging to the same family, ensuring consistency while minimizing design rework. NX’s use of design tables further enhances this, allowing for managing large numbers of variations efficiently and exporting to spreadsheets for easy analysis and documentation.
Q 11. Describe your experience with NX’s CAM functionalities.
My experience with NX CAM is extensive, encompassing a wide range of machining strategies and techniques. I’ve programmed both 2-axis and 5-axis machining operations, utilizing various cutting tools and strategies. I am proficient in creating and optimizing toolpaths for milling, turning, and drilling. NX CAM’s strength lies in its intuitive interface and powerful simulation capabilities. Before cutting any material, I always simulate the toolpaths in NX to detect potential collisions or other issues. One project involved machining a complex impeller; NX’s advanced roughing and finishing strategies, including its high-speed machining capabilities, were crucial to achieving the required surface finish and minimizing cycle time. The ability to seamlessly integrate CAM and CAD within the same software environment is a huge time saver.
Q 12. How do you handle complex geometry in NX CAM?
Handling complex geometry in NX CAM requires a strategic approach. First, I thoroughly analyze the geometry, identifying key features and potential challenges. Often, this involves breaking down the part into smaller, manageable areas. For instance, I might define separate machining regions for different areas, like the roughing of a complex pocket and the finishing of a delicate surface. NX’s feature recognition capabilities are highly beneficial here, allowing for automatic identification of features and the automatic generation of toolpaths. For extremely complex areas, I might utilize features such as adaptive clearing or model-based machining. These strategies can optimize the toolpath generation and reduce the amount of manual intervention, leading to faster and more efficient machining operations. Constant verification through simulations is key throughout the process.
Q 13. What are the different types of machining strategies available in NX CAM?
NX CAM offers a diverse array of machining strategies, catering to various part geometries and material types. These include:
- Roughing: Strategies like adaptive clearing, contouring, and pocket milling are used to remove large amounts of material quickly and efficiently. Adaptive clearing is particularly powerful for complex geometries as it optimizes toolpaths based on the part’s shape.
- Finishing: Techniques like surface milling, contour milling, and flowline machining are employed for creating smooth surfaces with precise tolerances. Flowline machining minimizes tool marks for superior surface finish.
- Drilling: Includes various drilling cycles for creating holes of different sizes and types, from simple through-holes to complex drilled pockets.
- Turning: For rotating parts, NX CAM offers strategies for facing, grooving, turning, and threading.
- 5-axis Machining: For complex shapes requiring simultaneous movement of multiple axes, NX provides advanced strategies for optimizing toolpath efficiency and surface quality.
Q 14. Explain the concept of work offsets in CNC machining.
Work offsets are crucial in CNC machining. They represent the difference between the machine’s coordinate system (the machine’s zero point) and the part’s coordinate system (the part’s zero point). Imagine trying to drill a hole exactly 1 inch from the edge of a workpiece. You wouldn’t measure from the machine’s corner; you’d measure from a point on the workpiece itself. Work offsets define this ‘part zero’. They’re particularly important because parts may not be perfectly positioned on the machine table. Work offsets compensate for these variations, ensuring that the tool reaches the correct location on the part, regardless of its precise position on the machine. Incorrect work offsets lead to inaccurate machining, potentially damaging the part or the machine. In my experience, precise setting of work offsets is critical for successful CNC machining and requires careful planning and measurement. Many modern CNC machines allow for automatic work offset calculations to ease the process but still require rigorous verification.
Q 15. How do you troubleshoot toolpath errors in Mastercam or NX?
Troubleshooting toolpath errors in Mastercam or NX involves a systematic approach. Think of it like detective work – you need to gather clues and systematically eliminate possibilities. First, I always visually inspect the toolpath in the simulation mode. This often reveals obvious issues like collisions with the fixture, excessive tool engagement, or incorrect tool selection. Mastercam and NX both offer excellent simulation capabilities allowing you to see the tool’s movements before sending the code to the machine.
If the simulation looks good, the problem might lie in the post-processor or the machine itself. For example, a faulty post-processor might generate incorrect G-code, leading to unexpected machine behavior. In such cases, I’d meticulously check the post-processor settings and the generated G-code for syntax errors or inconsistencies. I might even compare it to the G-code from a previously successful operation on a similar part.
Another common source of errors is incorrect machine parameters. These parameters, such as feed rates, spindle speeds, and tool offsets, need to be precisely defined and verified. If there’s still a problem, I would examine the machine’s setup, ensuring all components, such as clamps and coolant system, are properly configured. Finally, I’d consult the machine’s error logs for specific diagnostic information.
- Example: I once encountered a toolpath error where the simulation looked correct, but the machine was crashing. It turned out to be an incorrect machine coordinate system set up in the post-processor settings. After correcting it, the problem was resolved.
Career Expert Tips:
- Ace those interviews! Prepare effectively by reviewing the Top 50 Most Common Interview Questions on ResumeGemini.
- Navigate your job search with confidence! Explore a wide range of Career Tips on ResumeGemini. Learn about common challenges and recommendations to overcome them.
- Craft the perfect resume! Master the Art of Resume Writing with ResumeGemini’s guide. Showcase your unique qualifications and achievements effectively.
- Don’t miss out on holiday savings! Build your dream resume with ResumeGemini’s ATS optimized templates.
Q 16. Describe your experience with G-code programming.
My experience with G-code programming spans several years and various applications. I’m proficient in both interpreting and writing G-code, essential for ensuring smooth communication between the CAM software and the CNC machine. I understand the various G-code commands, including motion commands (G00, G01, G02, G03), spindle control (M03, M05), and coolant control (M08, M09).
I’ve worked with G-code generated by both Mastercam and NX, and I’m familiar with various post-processors tailored to different CNC machine types. Beyond simply understanding the code, I’m adept at optimizing G-code for improved machining efficiency and surface finish. This often involves adjusting feed rates, spindle speeds, and toolpath strategies based on the material being machined and the desired outcome. For example, I might use optimized G02/G03 movements for better surface finishes in high-precision applications, or employ rapid traverse movements (G00) to reduce cycle time.
I regularly use G-code editors and simulators to verify and debug my programs. Debugging is crucial to prevent costly mistakes during actual machining and machine damage. Example: G01 X10.0 Y20.0 F100; (Linear interpolation move) This line commands the machine to move linearly to coordinates X10, Y20 with a feed rate of 100 units/minute.
Q 17. How do you ensure the accuracy of your CAD models?
Ensuring the accuracy of CAD models is paramount in a CAD/CAM environment. It’s not just about aesthetics; it directly impacts the manufacturability and performance of the final product. My approach is multi-faceted, starting with a strong understanding of design principles and best practices. I consistently employ various techniques to maintain accuracy:
1. Constraint-Based Modeling: I heavily rely on constraints to define relationships between model features. This creates a robust model that automatically updates when one part is modified. This helps prevent geometry errors caused by manual adjustments.
2. Design Reviews: Before moving to the CAM stage, I always conduct thorough design reviews, either alone or with colleagues, to identify potential geometry or design flaws early on. A fresh pair of eyes can catch errors easily missed by the original designer.
3. Tolerance Analysis: I utilize tolerance analysis tools to define acceptable variations in dimensions and ensure the model meets the specified requirements. This is particularly crucial for parts with tight tolerances where accuracy is critical.
4. Model Verification: I employ various model verification techniques, such as section analysis, measurements, and interference checks, to ensure the integrity of the geometry. SolidWorks, for instance, provides powerful tools for this purpose.
5. Use of Standard Parts: When possible, I incorporate standard parts from libraries which are already verified, reducing the possibility of errors in those components.
Q 18. What are the different file formats commonly used in CAD/CAM?
The CAD/CAM world uses a variety of file formats, each with its strengths and weaknesses. Choosing the right format is crucial for efficient data exchange and interoperability. Some common formats include:
- STEP (ISO 10303): A neutral, widely accepted format for exchanging 3D CAD data between different software systems. It’s a robust choice for archival and collaboration.
- IGES (Initial Graphics Exchange Specification): Another neutral format, although somewhat older and less versatile than STEP. It’s still commonly used, but STEP is often preferred.
- STL (Stereolithography): A widely used format for representing 3D models as triangular meshes. It’s commonly used for 3D printing and rapid prototyping, not ideal for detailed design work.
- Parasolid: A highly detailed and robust 3D modeling kernel used by many CAD software packages, including SolidWorks. Excellent for preserving the integrity of the model.
- Native Formats: Each CAD software (SolidWorks, NX, etc.) has its own native file format. This format maintains the most data integrity but is not compatible with other software without conversion.
The choice of format depends on the specific application. For instance, STEP is a good choice for sharing designs with external collaborators, while STL is ideal for 3D printing processes. Native formats are generally best kept for in-house workflows where maximum data integrity is needed.
Q 19. Explain your experience with CAD data management systems.
My experience with CAD data management systems includes working with both centralized and decentralized systems. I’ve used systems like Teamcenter (Siemens PLM) and other enterprise-level PDM solutions. These systems are crucial for managing large projects, ensuring version control, and facilitating collaborative design efforts.
Using a PDM system allows for effective organization and retrieval of CAD models. It also supports concurrent engineering, meaning multiple designers can work on different parts of the same project simultaneously, without risking conflicts or overwriting each other’s work. Version control is a huge benefit; it allows for easy tracking of changes and the ability to revert to previous versions if needed. This helps prevent design errors and lost work.
Furthermore, I’m familiar with implementing and enforcing proper data management procedures, including setting up workflows, managing revisions, and using metadata to effectively categorize and search for specific designs. In summary, my experience ensures I can maximize efficiency and prevent costly mistakes in a collaborative design environment.
Q 20. How do you handle design changes in a CAD/CAM environment?
Handling design changes in a CAD/CAM environment requires a well-defined process to minimize disruption and ensure accuracy. My approach involves these key steps:
- Impact Assessment: First, I assess the impact of the change on the existing CAD model and subsequent toolpaths. This often involves identifying which components are affected and whether changes ripple through other parts of the design.
- Version Control: I utilize the version control system (like a PDM system) to manage different iterations of the design. This allows tracking changes and reverting if necessary.
- Update CAD Model: I carefully update the CAD model, ensuring all affected components are modified correctly, while paying close attention to constraints and relationships to maintain design integrity.
- Regenerate Toolpaths: Often, design changes necessitate regenerating the toolpaths. This process requires attention to detail to ensure the new toolpaths are collision-free and optimize machining efficiency. This might involve re-analyzing cutting parameters.
- Verification: Following the updates, I conduct rigorous verification, through simulations and potentially physical prototyping, to ensure the changes have been implemented correctly and meet the required specifications.
This process helps prevent costly errors and ensures that design changes are integrated smoothly and effectively.
Q 21. What is your experience with tolerance analysis in CAD modeling?
Tolerance analysis plays a critical role in CAD modeling, especially when dealing with parts requiring high precision. It ensures the manufactured part falls within acceptable limits, preventing functional issues or assembly problems. My experience with tolerance analysis includes using both statistical methods and geometric dimensioning and tolerancing (GD&T) principles.
Statistical Tolerance Analysis: This method uses statistical distributions to predict the overall variation in a component’s dimensions based on the tolerances of individual features. Software tools can perform these calculations to determine if the cumulative variation is within acceptable limits. For example, SolidWorks offers tools to conduct such analysis.
GD&T (Geometric Dimensioning and Tolerancing): This method uses symbols and notations to precisely define tolerances on a drawing, specifying allowable variations in form, orientation, location, and runout. This is more precise and helps prevent misinterpretations compared to purely numerical tolerances. Correct application of GD&T is critical to communicate engineering intent accurately.
Practical Application: I regularly use these techniques to ensure the designed parts will meet their functional requirements, especially in assembly-intensive projects. By performing tolerance analysis early in the design process, potential problems are identified and resolved before manufacturing, saving time and cost.
Q 22. Describe your experience with FEA (Finite Element Analysis).
Finite Element Analysis (FEA) is a powerful computational method used to predict how a product reacts to real-world forces, vibration, heat, fluid flow, and other physical effects. My experience with FEA involves using SolidWorks Simulation and ANSYS to model and analyze various components and assemblies. For example, I used SolidWorks Simulation to analyze the stress distribution in a complex injection molded part, identifying potential weak points and optimizing the design for improved strength and durability. This involved creating a detailed finite element mesh, defining material properties, applying boundary conditions (like forces and constraints), and interpreting the resulting stress, strain, and displacement data. In another project, using ANSYS, I performed a modal analysis on a robotic arm to determine its natural frequencies and prevent resonance issues during operation. This is crucial for ensuring the longevity and safety of the design. Understanding FEA results helps in making informed design decisions, avoiding costly prototyping iterations and ensuring product reliability.
Q 23. How do you ensure dimensional accuracy in CNC machining?
Dimensional accuracy in CNC machining is paramount. It hinges on a multi-step process starting with precise CAD modeling. In SolidWorks, for instance, I meticulously define all dimensions and tolerances, leveraging the software’s powerful constraint management features to ensure geometric consistency. Then, in Mastercam or NX CAM, I carefully program the toolpaths, considering factors like tool diameter compensation, stepover, and feed rates to minimize errors. Regular tool maintenance is crucial; dull or chipped tools compromise precision. Using a probe for workholding setup ensures the workpiece is positioned correctly relative to the machine’s coordinate system. Finally, regular machine calibration and verification using precision measuring instruments (like CMMs – Coordinate Measuring Machines) confirm the accuracy of the machined parts. Ignoring any of these steps can lead to scrap parts and wasted time and material. For instance, a poorly programmed toolpath can lead to undercuts or dimensional deviations exceeding tolerances, while a dull tool will inevitably produce inaccurate profiles.
Q 24. What is your experience with different types of CNC machines?
My experience encompasses a variety of CNC machines, including 3-axis milling machines (vertical and horizontal), 5-axis milling machines, and lathes. I’m proficient in programming and operating machines from different manufacturers, understanding their unique capabilities and limitations. For example, I’ve worked extensively with 3-axis mills for simpler parts, leveraging their speed and efficiency. However, for complex geometries requiring intricate surface finishes, I utilize 5-axis machines to achieve the required precision and minimize machining time. My lathe experience includes both turning and facing operations, familiar with both live tooling and bar-feeding systems. Understanding the capabilities of each machine type is essential for selecting the most efficient and cost-effective solution for any given project. This requires careful consideration of factors such as part complexity, material properties, and production volume.
Q 25. Explain your experience with different types of cutting tools.
My experience extends to a wide range of cutting tools, including end mills (various types such as ball nose, flat end, and corner radius), drills, reamers, and turning tools (such as inserts and holders). I understand the importance of tool selection based on material properties, required surface finish, and machining operations. For example, using a high-speed steel (HSS) drill for softer materials and carbide drills for harder materials. Choosing the correct end mill geometry (e.g., ball nose for complex curves, flat end for flat surfaces) significantly impacts the accuracy and efficiency of the machining process. Similarly, different types of inserts are used for roughing and finishing operations on lathes to optimize material removal and surface quality. Selecting the right tool is not just about achieving the desired results but also about maximizing tool life and minimizing costs. Incorrect tool selection can lead to premature tool wear, poor surface finish, or even tool breakage.
Q 26. Describe your experience using design for manufacturing (DFM) principles.
Design for Manufacturing (DFM) is a crucial part of my design process. I actively consider manufacturability during the design phase, minimizing production costs and maximizing efficiency. For example, I avoid features that require complex machining operations by opting for simpler geometries whenever possible. I always ensure that parts are designed to minimize the number of setups required during machining, and I utilize standard components and materials where appropriate to reduce procurement lead times and costs. I also incorporate tolerance analysis, ensuring that all dimensions and tolerances are realistic and achievable, preventing issues during manufacturing. This is particularly crucial when designing for mass production; slight design changes in the early stages can result in significant cost savings later on. For instance, the addition of a simple draft angle can dramatically improve the ease of mold release in injection molding. By taking DFM principles into account, I have successfully minimized design iterations and lead to faster time-to-market for various projects.
Q 27. How do you stay updated on the latest CAD/CAM technologies?
Staying updated on the latest CAD/CAM technologies is critical in this rapidly evolving field. I actively participate in online courses and webinars offered by software vendors like SolidWorks and Autodesk. I also attend industry conferences and trade shows to learn about new software features and industry best practices. Additionally, I regularly read industry publications and journals, and I actively engage with online communities and forums dedicated to CAD/CAM to learn from peers and experts. This continuous learning approach ensures that I remain at the forefront of the latest advancements in CAD/CAM and am always equipped with the skills and knowledge to tackle the most challenging projects. Staying current allows me to implement these advancements for greater efficiency and precision in my workflow.
Q 28. What are your salary expectations for this role?
My salary expectations for this role are in the range of $[Insert Salary Range] annually. This is based on my experience, skills, and the responsibilities of the position. I am open to discussing this further and am confident that my contributions will far outweigh the investment.
Key Topics to Learn for CAD/CAM Software Proficiency (SolidWorks, Mastercam, NX) Interview
- SolidWorks: Part modeling techniques (extrusion, revolution, sweep), assembly creation and management, drawing creation and annotation, simulation and analysis basics.
- SolidWorks Application: Designing a complex part from scratch, creating detailed assembly drawings, conducting a simple FEA (Finite Element Analysis) to assess stress and strain.
- Mastercam: Toolpath generation strategies (roughing, finishing, drilling), CAM programming techniques, post-processing and machine simulation.
- Mastercam Application: Programming a CNC milling operation for a complex part, optimizing toolpaths for efficiency and surface finish, troubleshooting common CAM programming issues.
- NX: Part modeling using various techniques, assembly design and management, knowledge fusion and data management, simulation and analysis.
- NX Application: Creating a complex assembly with multiple components, managing design revisions effectively, using NX’s simulation capabilities for design verification.
- Common CAD/CAM Concepts: Understanding GD&T (Geometric Dimensioning and Tolerancing), tolerance analysis, manufacturing processes (machining, casting, etc.), design for manufacturing (DFM) principles.
- Problem-Solving: Troubleshooting common CAD/CAM errors, optimizing designs for manufacturability, effectively communicating design intent.
- Software Specific Knowledge: Understanding the unique features and capabilities of each software (SolidWorks, Mastercam, NX), knowing when to use each software for specific tasks.
Next Steps
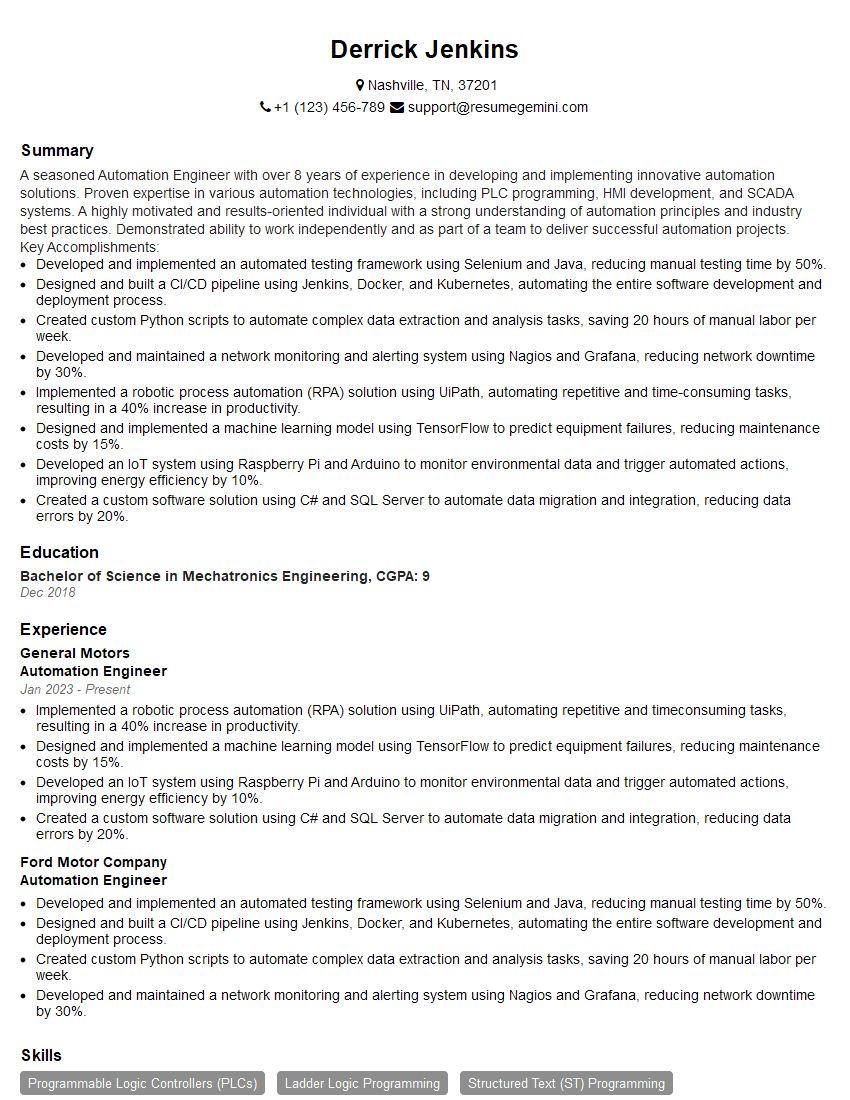
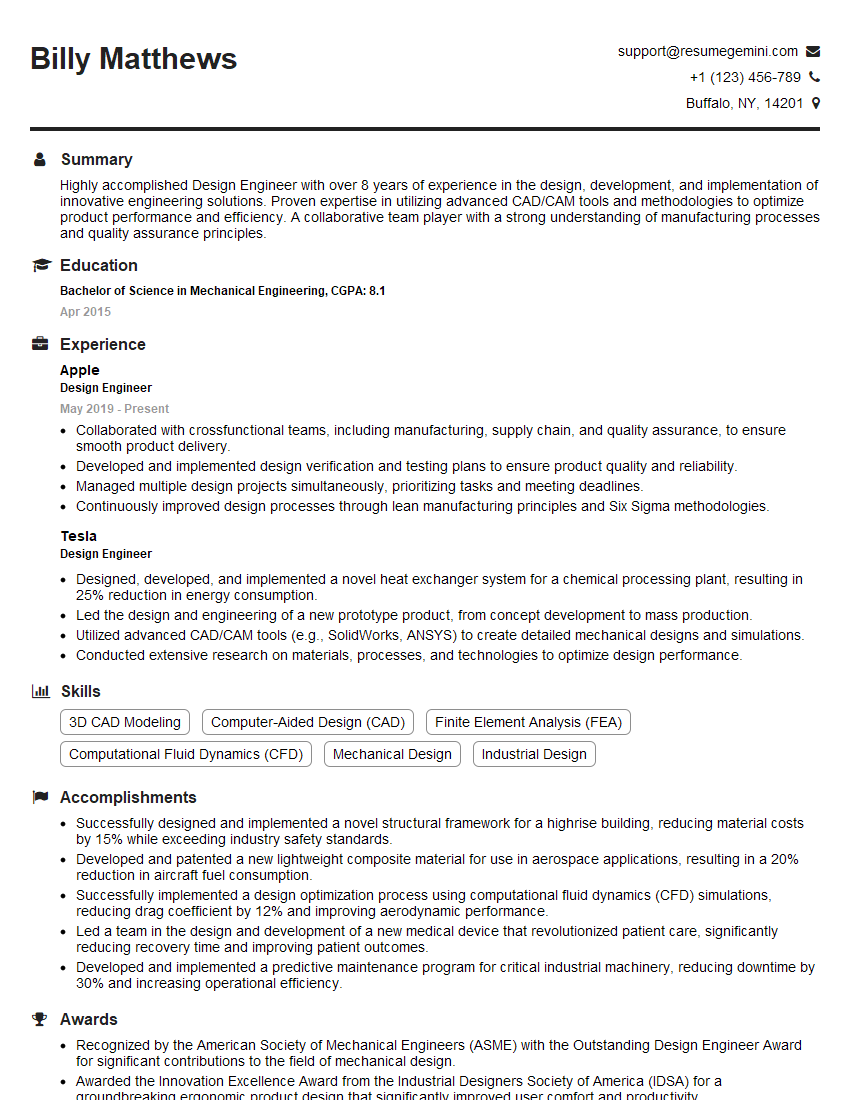
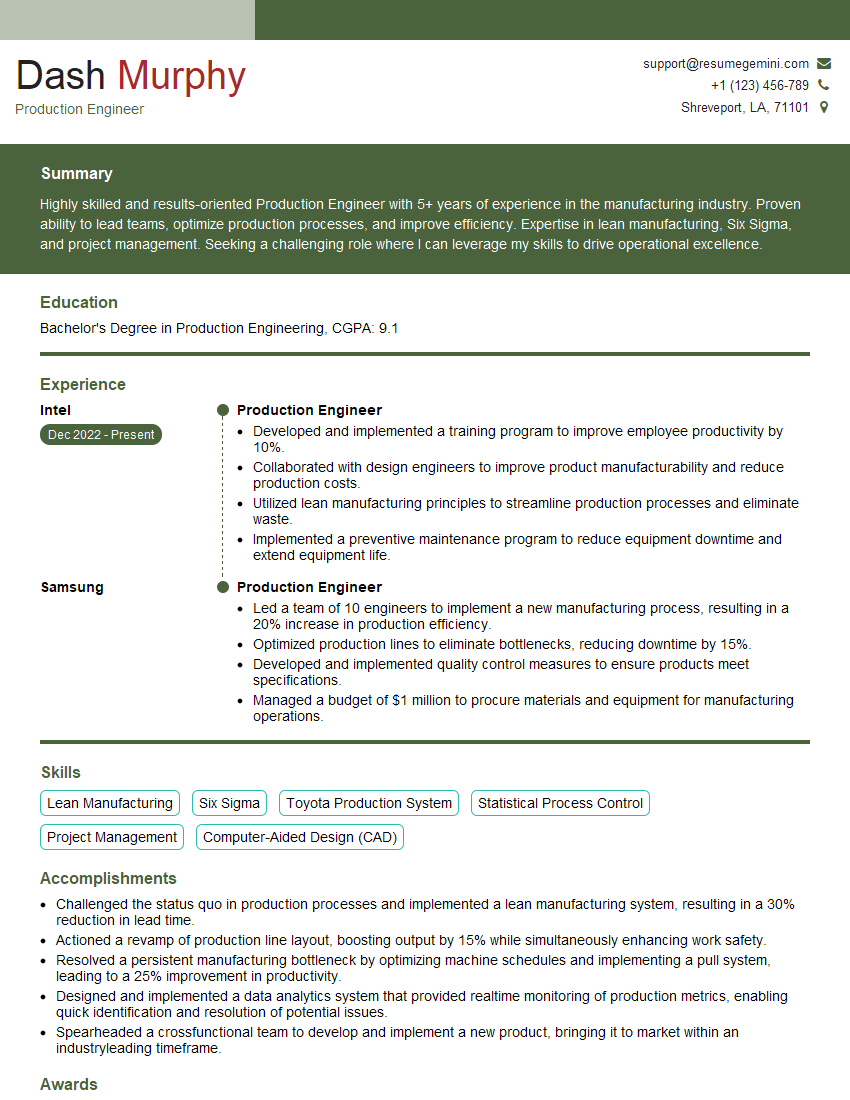
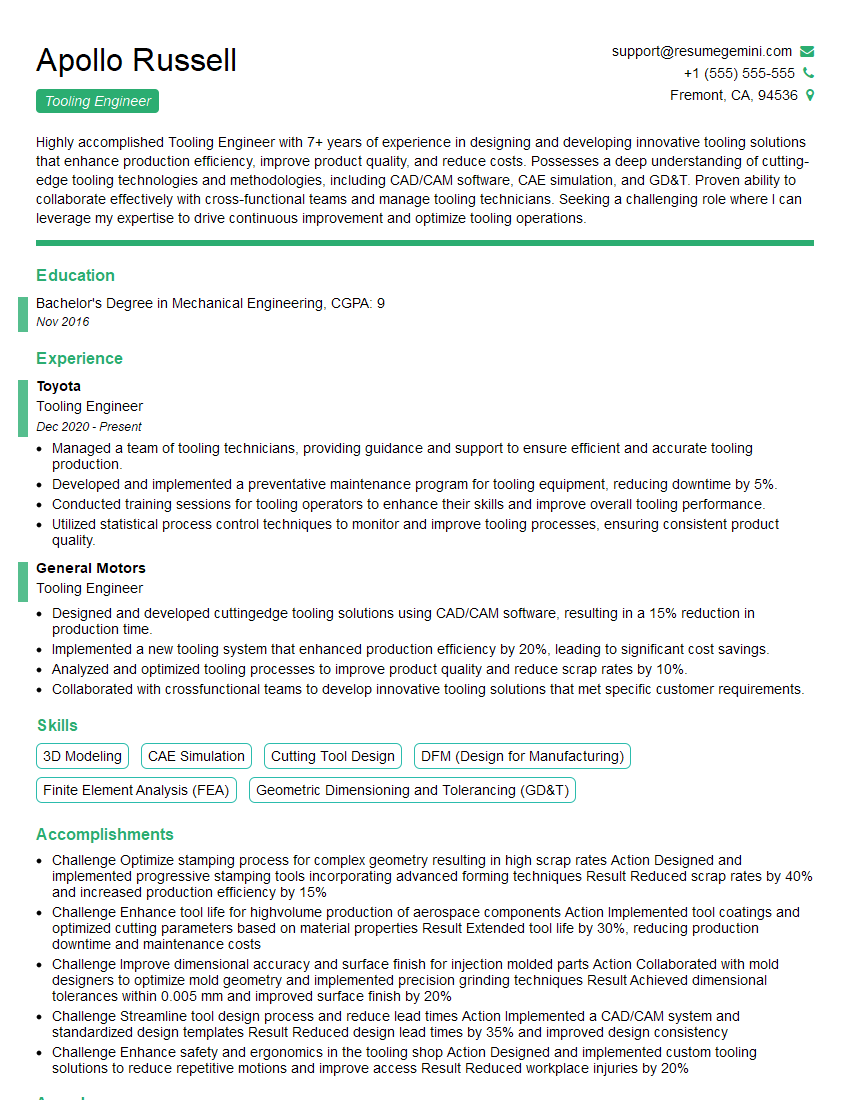
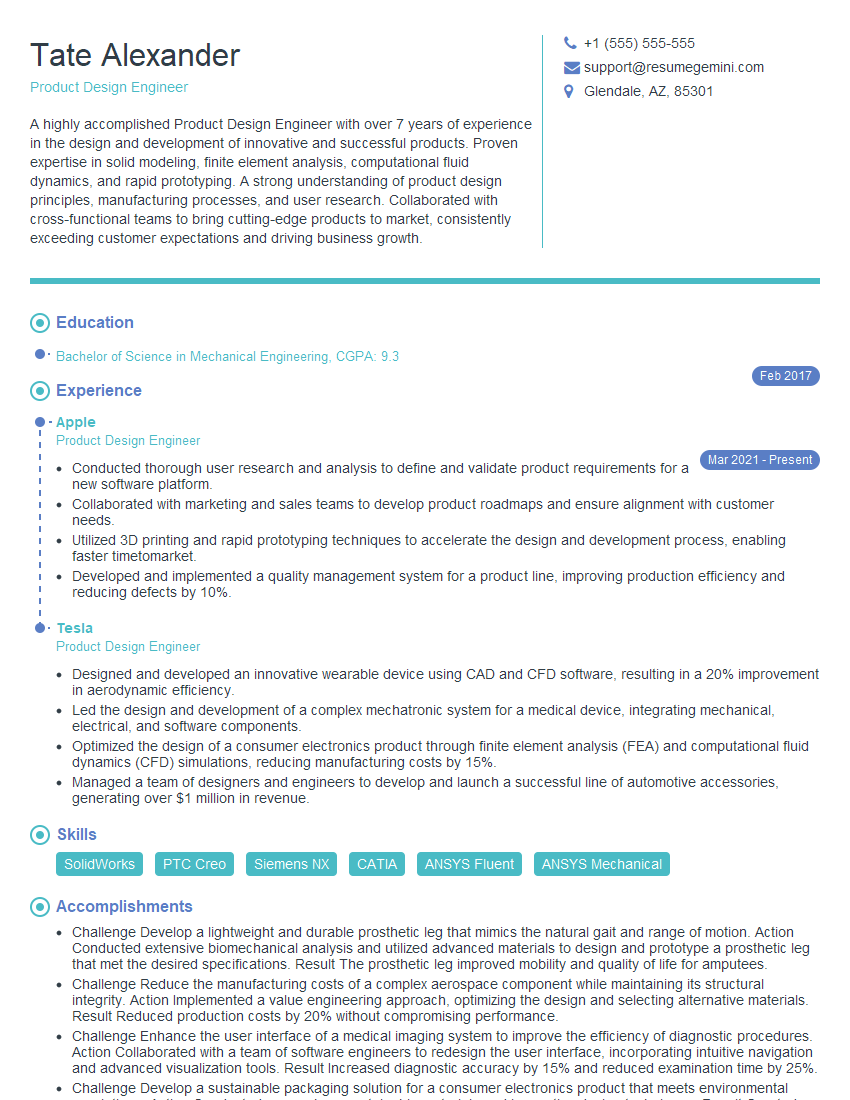
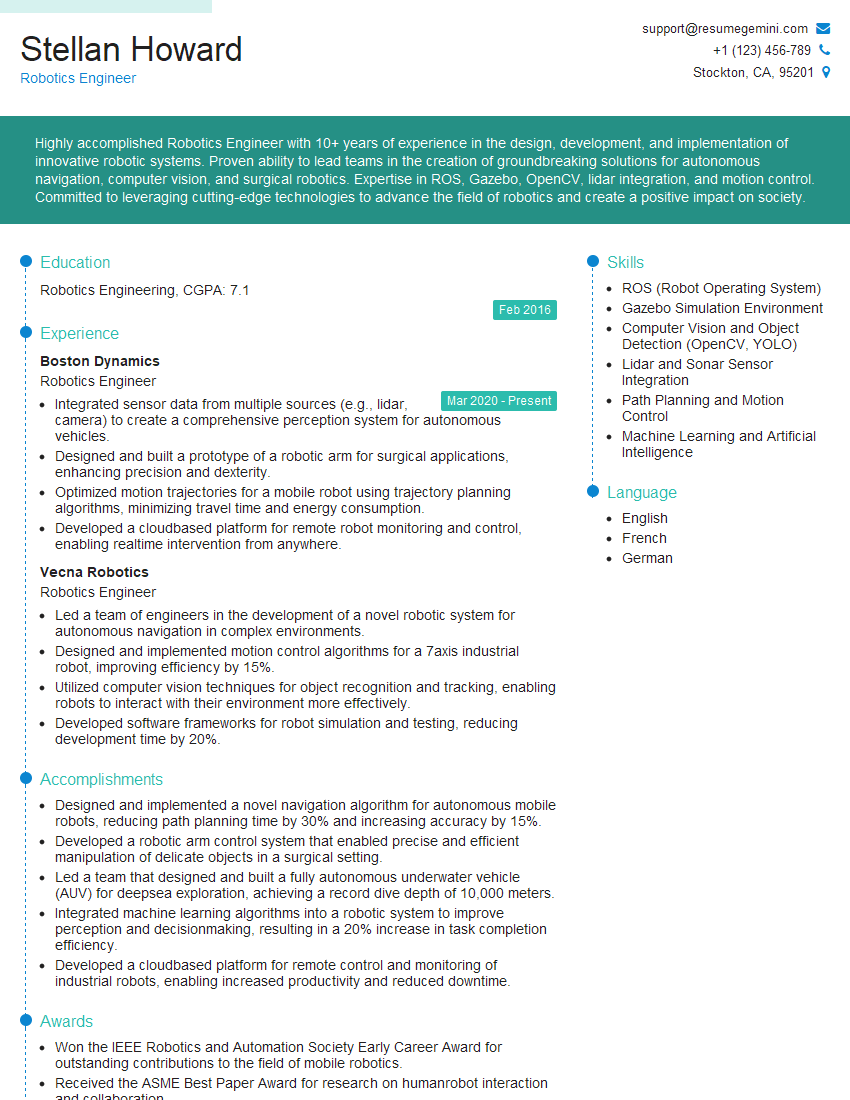
Mastering CAD/CAM software proficiency in SolidWorks, Mastercam, and NX is crucial for career advancement in engineering and manufacturing. It demonstrates a strong technical skillset highly valued by employers. To maximize your job prospects, create an ATS-friendly resume that effectively showcases your abilities. ResumeGemini is a trusted resource to help you build a professional and impactful resume that gets noticed. We provide examples of resumes tailored to CAD/CAM Software Proficiency (SolidWorks, Mastercam, NX) to guide you.
Explore more articles
Users Rating of Our Blogs
Share Your Experience
We value your feedback! Please rate our content and share your thoughts (optional).
What Readers Say About Our Blog
Interesting Article, I liked the depth of knowledge you’ve shared.
Helpful, thanks for sharing.
Hi, I represent a social media marketing agency and liked your blog
Hi, I represent an SEO company that specialises in getting you AI citations and higher rankings on Google. I’d like to offer you a 100% free SEO audit for your website. Would you be interested?
