Are you ready to stand out in your next interview? Understanding and preparing for Casework Installation interview questions is a game-changer. In this blog, we’ve compiled key questions and expert advice to help you showcase your skills with confidence and precision. Let’s get started on your journey to acing the interview.
Questions Asked in Casework Installation Interview
Q 1. Describe your experience with different casework materials (e.g., wood, laminate, melamine).
My experience encompasses a wide range of casework materials, each with its own unique properties and installation techniques. I’m proficient with wood, laminate, and melamine, understanding their strengths and weaknesses for various applications.
Wood: Offers a classic, high-end aesthetic and can be customized extensively. However, it’s more expensive and requires careful handling to prevent damage. I’ve worked with various wood types, from solid hardwoods like cherry and maple to engineered wood products like plywood and MDF, selecting the appropriate material based on the project’s budget and design requirements.
Laminate: A cost-effective and durable option, ideal for high-traffic areas. It’s resistant to scratches and moisture, making it suitable for kitchens and bathrooms. I have extensive experience in working with both high-pressure laminate (HPL) and low-pressure laminate, knowing the difference in their application and longevity.
Melamine: A very affordable and easy-to-clean option, perfect for budget-conscious projects. While less durable than laminate, it’s suitable for applications where aesthetics and cost are primary concerns. I’ve successfully installed melamine casework in various settings, understanding the importance of careful edge banding to prevent chipping.
Choosing the right material is crucial for project success. For example, I wouldn’t recommend melamine for a high-use commercial kitchen; its susceptibility to damage makes laminate or even solid wood a better choice.
Q 2. Explain your process for reading and interpreting casework installation drawings.
Reading and interpreting casework installation drawings is a fundamental skill. My process involves a methodical approach to ensure accuracy and avoid errors.
Review the overall plan: I start by examining the entire set of drawings, understanding the scope of the project, the layout of the casework, and the relationship between different components.
Detailed component review: I then meticulously review each individual component drawing, noting dimensions, materials, hardware specifications, and any special instructions.
Identify key details: I pay close attention to details like panel thicknesses, edge profiles, door and drawer configurations, and the location of any cutouts or features.
Check for consistency: I cross-reference dimensions and specifications between different drawings to ensure consistency and catch any potential discrepancies early on. This step is critical in avoiding costly mistakes later in the process.
Note any complexities: I pay special attention to any complex detailing or custom features, ensuring I fully understand the intended design and fabrication techniques.
Think of it like reading a complex recipe – you wouldn’t just jump into cooking without fully understanding the ingredients and instructions. The same approach applies to casework drawings.
Q 3. How do you ensure accurate measurements and cut lists for casework installations?
Accurate measurements and cut lists are essential for a successful casework installation. My approach combines careful on-site measurement with precise calculations.
On-site verification: I always verify all dimensions on-site, double-checking for any unexpected conditions like uneven walls or floors. Using a laser measure ensures precision and consistency.
Detailed measurements: I meticulously record all measurements, including height, width, depth, and any offsets or adjustments required to accommodate existing features.
Allowance for tolerances: I incorporate standard industry tolerances for cutting and assembly into my calculations to account for potential minor variations.
Cut list generation: Using specialized software or spreadsheets, I generate detailed cut lists, specifying the exact dimensions of each component and the required materials. This list is crucial for the fabrication process.
Double-checking: Before proceeding with any cutting, I always double-check the cut list against the drawings and my on-site measurements to prevent errors.
An inaccurate cut list can lead to significant rework, delays, and increased costs. My rigorous approach minimizes these risks.
Q 4. What are your preferred methods for assembling casework components?
My preferred assembly methods depend on the specific casework design and materials. However, I prioritize techniques that ensure strength, stability, and a clean finish.
Pocket hole joinery: This is a versatile and strong method for joining wood components, minimizing visible fasteners. I use a high-quality pocket hole jig to ensure accurate and consistent results.
Dowel joinery: Dowels provide strong, alignment, and a clean look, especially for fine casework. Precise drilling and alignment are critical for success.
Dado and rabbet joints: These traditional joinery methods offer excellent strength and stability and are ideal for larger components or heavy-duty applications.
Clamping and fastening: I use appropriate clamps to ensure proper alignment and secure the components during assembly. Fasteners are chosen to match the material and application.
Regardless of the method, I always emphasize precise alignment, proper clamping, and the use of high-quality fasteners to ensure a robust and durable assembly.
Q 5. Describe your experience with various types of casework hardware (e.g., hinges, drawer slides).
Experience with casework hardware is essential for functionality and aesthetics. I have extensive experience with various types, selecting the appropriate hardware based on the project’s requirements and the client’s preferences.
Hinges: I’ve worked with different types of hinges, including full overlay, half overlay, and inset hinges, selecting the appropriate type based on door style and desired aesthetics. I’m also familiar with soft-close hinges, which provide a smooth and quiet closing action.
Drawer slides: I’ve installed various drawer slide systems, from simple side-mount slides to more advanced undermount and full-extension slides, ensuring smooth and reliable drawer operation. I understand the importance of selecting slides with the appropriate weight capacity.
Other hardware: My experience also includes installing other types of casework hardware such as pulls, knobs, shelf supports, and cam locks, ensuring that they are properly installed and function correctly.
Properly installed hardware is crucial for the long-term performance and user experience of the casework.
Q 6. How do you handle unexpected issues or discrepancies during installation?
Unexpected issues are part of the job. My approach to handling discrepancies involves careful assessment, informed decision-making, and effective communication.
Identify the issue: I carefully document the discrepancy, noting its location, nature, and potential impact on the project.
Assess solutions: I brainstorm possible solutions, considering factors such as cost, time, and the impact on the overall design.
Consult with stakeholders: I communicate the issue and my proposed solutions to the client or project manager, ensuring that the chosen solution aligns with their expectations and budget.
Implement the solution: Once the solution is approved, I proceed with the necessary repairs or modifications, ensuring that they meet the required standards of quality.
Document changes: I update the project documentation to reflect the changes made, ensuring that future maintenance or modifications can be easily understood.
Problem-solving is a critical aspect of casework installation. My experience allows me to handle unexpected challenges effectively and efficiently.
Q 7. What safety precautions do you take during casework installation?
Safety is paramount in casework installation. I strictly adhere to all relevant safety regulations and best practices.
Personal protective equipment (PPE): I always wear appropriate PPE, including safety glasses, gloves, hearing protection, and dust masks, to protect myself from potential hazards.
Tool safety: I ensure that all my tools are in good working order and used correctly. I follow the manufacturer’s instructions and never use tools that are damaged or malfunctioning.
Lifting techniques: I employ proper lifting techniques to avoid back injuries and ensure that heavy components are handled safely.
Fall protection: When working at heights, I use appropriate fall protection equipment, such as harnesses and safety lines, to prevent falls.
Work area safety: I maintain a clean and organized work area to minimize the risk of accidents. I also ensure that the work area is adequately lit and free of obstructions.
Safety is not just a matter of compliance; it’s a crucial element of professionalism and responsibility.
Q 8. What tools and equipment are essential for efficient casework installation?
Efficient casework installation relies on the right tools. Think of it like building with LEGOs, but on a much larger and more precise scale. You need the right pieces to fit together perfectly.
- Measuring Tools: Tape measures (multiple lengths), speed squares, levels (both short and long), plumb bobs for ensuring vertical accuracy.
- Cutting Tools: Circular saw (with various blades for different materials), jigsaw, hand saws (for fine cuts), router (for intricate details and edge profiling).
- Fasteners and Joining Tools: Screwdrivers (various sizes and types), drill with various drill bits, countersink bits, pocket hole jig, clamps (various sizes and types), biscuit joiner (for strong, hidden joints).
- Safety Gear: Safety glasses, hearing protection, dust mask, work gloves.
- Other Essential Tools: Putty knife, chisels, hammers, caulking gun, safety glasses, and a pencil.
- Power Tools (optional but highly recommended for efficiency): A pneumatic nail gun (for faster and more consistent fastening), a planer.
The specific tools will vary based on the project’s complexity and materials, but this list covers the core essentials for most installations.
Q 9. Describe your experience with installing different types of countertops.
I’ve worked with a wide variety of countertops, each requiring a unique approach. Think of it like choosing the right paint for a wall – the technique changes depending on the material.
- Laminate: Relatively straightforward to install. Requires precise cutting and careful handling to avoid chipping. I typically use a circular saw with a fine-tooth blade for accurate cuts and ensure proper sealing of edges.
- Solid Surface (Corian, Avonite): These materials require more precision due to their cost. I utilize templates and a jigsaw for intricate cuts, paying close attention to seamless joints and proper adhesive application. I always take my time to minimize visible seams.
- Granite and Quartz: These are heavy and require specialized equipment like a bridge saw or specialized cutting tools to achieve clean, accurate cuts. Installation involves precise measurements and heavy-duty support systems. Safety is paramount due to the weight and potential for breakage.
- Butcher Block: This needs careful finishing, including oiling and sealing to protect against moisture damage. Proper acclimatization of the wood before installation is crucial to prevent cracking.
My experience allows me to adapt my techniques and tools to various materials, ensuring a flawless and durable finished product.
Q 10. Explain your process for finishing and protecting installed casework.
Finishing and protecting casework is crucial for longevity and aesthetics. It’s like giving your project a protective suit.
My process typically involves:
- Cleaning: Thoroughly cleaning the surfaces to remove any dust, debris, or adhesive residue.
- Filling: Filling any nail holes or gaps with wood filler, ensuring a smooth surface.
- Sanding: Sanding the surfaces to achieve a smooth, consistent finish. I progressively use finer grits of sandpaper for a flawless result.
- Priming (if necessary): Applying a primer to improve paint adhesion, especially on porous materials.
- Painting or Staining: Applying high-quality paint or stain according to the project specifications. I typically use multiple coats for optimal protection and durability.
- Sealing (if applicable): Applying a sealant to protect against moisture damage. This is essential for materials like wood and certain countertop materials.
For high-end finishes, I may utilize specialized techniques like lacquer or UV-cured coatings for enhanced durability and shine.
Q 11. How do you ensure the alignment and levelness of installed casework units?
Alignment and levelness are paramount. Think of it like building a house – a crooked foundation will lead to problems later on. I use a multi-faceted approach:
- Precise Measurement and Marking: I meticulously measure and mark locations for each casework unit, using a laser level to establish a precise baseline.
- Shimming: Using shims (thin pieces of wood or metal) to adjust the level and alignment of individual units, ensuring a perfect fit and flush surfaces.
- Leveling Tools: Employing levels and plumb bobs throughout the installation process to verify vertical and horizontal accuracy.
- Wall Preparation: I carefully check the wall for any inconsistencies, and use appropriate techniques like adding furring strips to create a level surface for installation.
- Continuous Checking: I regularly check alignment and levelness throughout the installation, making adjustments as needed to ensure a flawless final result.
By combining precise measurements with continuous monitoring, I guarantee the installed units are both visually appealing and structurally sound.
Q 12. How do you manage time and resources effectively on a casework installation project?
Efficient time and resource management is crucial. It’s like running a well-oiled machine.
- Detailed Planning: Thorough review of blueprints and specifications upfront to identify potential challenges and create a realistic timeline.
- Material Ordering: Procuring all necessary materials in advance to avoid delays.
- Teamwork and Communication: Effective collaboration with other tradespeople to coordinate work schedules and minimize conflicts. Open communication with the client to manage expectations and address any concerns.
- Prioritization: Focusing on the critical path activities to ensure timely completion.
- Waste Management: Employing efficient techniques to minimize material waste and ensure proper disposal of scraps.
By implementing these strategies, I can effectively manage time and resources, delivering projects on time and within budget.
Q 13. Describe your experience with working from both shop drawings and field measurements.
Working from both shop drawings and field measurements is a common practice. It’s like having a blueprint and then having to adapt to the reality on the ground.
Shop drawings provide the overall design and specifications. Field measurements, however, allow me to account for any discrepancies between the design and the actual space. I always verify shop drawings against actual field conditions.
Discrepancies are addressed by carefully analyzing the differences. Minor adjustments can be made in the field, but for significant changes, I liaise with the designers or architects to ensure the changes align with design intent and building codes. This approach ensures the final installation matches both design and site conditions perfectly.
Q 14. What is your experience with different joinery techniques used in casework construction?
I’m proficient in a variety of joinery techniques, each suited to different applications and materials. Think of it as having a toolbox of different joining methods.
- Dado Joints: Used for strong, easily assembled connections, often used in shelving.
- Rabbet Joints: Creates a lip and groove connection for strength and alignment; common in drawer construction.
- Mortise and Tenon Joints: A classic, incredibly strong joint, ideal for heavier casework elements.
- Dowel Joints: A simpler, but still strong joint, often used for faster assembly.
- Pocket Hole Joinery: Uses a jig to create angled holes for screws, providing strong hidden joints. It’s a very practical and time-efficient technique.
- Biscuit Joinery: Uses oval-shaped wood biscuits to create strong and concealed joints.
My choice of joinery technique depends on the specific requirements of the project, considering factors such as material type, strength requirements, and aesthetic considerations.
Q 15. How do you address inconsistencies between shop drawings and the actual site conditions?
Addressing discrepancies between shop drawings and site conditions is crucial for successful casework installation. My approach begins with a thorough site survey before installation commences. This involves meticulously comparing the shop drawings to the actual dimensions, wall conditions, existing utilities, and any unforeseen obstructions. Any inconsistencies are documented with photos and detailed notes.
For example, if the shop drawings indicate a perfectly straight wall, but the actual wall has a significant bow, I immediately flag this discrepancy. I then collaborate with the project manager and architect to determine the best course of action – this might involve modifying the casework design slightly, using shims for adjustment, or even suggesting minor structural corrections. We aim for a solution that maintains both functionality and aesthetic appeal while adhering to safety standards. Clear communication is key to ensuring everyone is on the same page, and avoiding costly rework later.
I use a standardized reporting system – usually a digital log with photographic evidence – to track these discrepancies and the agreed-upon solutions. This log is then shared with all relevant parties to ensure transparency and avoid misunderstandings. This proactive approach significantly reduces potential delays and conflicts during the installation process.
Career Expert Tips:
- Ace those interviews! Prepare effectively by reviewing the Top 50 Most Common Interview Questions on ResumeGemini.
- Navigate your job search with confidence! Explore a wide range of Career Tips on ResumeGemini. Learn about common challenges and recommendations to overcome them.
- Craft the perfect resume! Master the Art of Resume Writing with ResumeGemini’s guide. Showcase your unique qualifications and achievements effectively.
- Don’t miss out on holiday savings! Build your dream resume with ResumeGemini’s ATS optimized templates.
Q 16. Explain your experience with various types of casework finishes (e.g., paint, veneer, stain).
My experience encompasses a wide range of casework finishes, including paint, veneer, and stain. I understand the unique characteristics of each and the best installation practices for optimal results. With paint finishes, preparation is paramount – ensuring smooth surfaces free from imperfections before application is essential to achieve a professional, even coat. I’m proficient in various painting techniques, including spraying and brushing, and am familiar with different types of paints suitable for various environments (e.g., high-gloss for commercial spaces, matte for residential settings).
Veneer work requires precision and attention to detail. I understand the importance of proper alignment, seam matching, and the use of appropriate adhesives. I’ve worked with various types of veneer – wood, laminate – and understand how to handle them according to manufacturer specifications. This includes proper acclimation to the environment to minimize warping or cracking.
Finally, staining involves understanding the wood grain and applying the stain evenly for a consistent color. I am skilled in achieving different stain depths and applying protective topcoats to ensure longevity and durability. My understanding extends to addressing potential issues like blotching and uneven color absorption. I’ve successfully completed projects requiring all these finishes, demonstrating my adaptability and versatility.
Q 17. How do you troubleshoot common casework installation problems (e.g., misalignment, damaged parts)?
Troubleshooting casework installation problems requires a systematic approach. For misalignment, I first identify the source – this could be due to inaccurate measurements, incorrect installation of anchor points, or warping of the casework itself. I carefully check the levelness and plumbness of the units and use shims or adjustable fasteners for correction. If the misalignment is significant, I’ll retrace my steps to pinpoint the root cause. Sometimes, re-measuring and re-cutting components might be necessary.
Damaged parts require a different approach. I assess the extent of the damage and whether it can be repaired or if replacement is necessary. Minor scratches or dents might be addressed with touch-up paint or veneer repair techniques. For more significant damage, I coordinate with the supplier to obtain replacement parts. I maintain detailed records of damaged parts, including photographs and descriptions, for efficient claim processing. This minimizes delays and ensures that the final product is free of defects.
In both instances, I prioritize a solution that meets both aesthetic and functional requirements without compromising safety standards. My methodical and detail-oriented approach ensures that any issues are addressed quickly and effectively.
Q 18. What is your experience with installing casework in different environments (e.g., commercial, residential)?
I have extensive experience installing casework in diverse environments, including commercial and residential settings. Commercial projects, such as office spaces and laboratories, often require more robust construction and specialized finishes that can withstand heavy use. For instance, I’ve worked on projects needing fire-rated casework in sensitive areas, complying with strict building codes. These projects demand precise measurements, careful planning, and adherence to rigorous safety regulations.
Residential projects, while less demanding in terms of specialized materials, frequently require more intricate designs and custom finishes to match the homeowner’s preferences. I’ve been involved in creating custom cabinetry for kitchens, bathrooms, and home offices, ensuring perfect integration with the existing home design. Regardless of the environment, my approach always focuses on delivering high-quality workmanship, paying close attention to detail and ensuring a seamless integration of the casework into its surroundings.
Q 19. How do you maintain a clean and organized workspace during casework installation?
Maintaining a clean and organized workspace is crucial for efficiency and safety. Before starting any work, I plan the layout of materials and tools, ensuring easy access and minimizing unnecessary movement. I use designated areas for storing materials, tools, and waste. Tools are cleaned and put away after use, minimizing clutter and preventing accidents. I utilize protective coverings on the floors and surfaces to prevent damage or staining.
Regularly, throughout the day, I take short breaks to tidy up, removing debris and organizing materials. This prevents build-up and ensures a safe working environment. At the end of each work day, the site is left clean and organized, ready for the next day’s work. This consistent attention to cleanliness not only enhances the overall work quality but also prevents accidents and allows for a more efficient workflow.
Q 20. Describe your experience with coordinating with other trades during casework installation.
Coordinating with other trades is essential for smooth project execution. I proactively communicate with electricians, plumbers, and drywallers to ensure that their work is completed before my team begins installation. This prevents conflicts and delays. For example, I’ll coordinate with electricians to ensure that electrical outlets and wiring are installed in the correct locations before the casework is installed, preventing the need for costly rework. Similarly, I work with plumbers to plan the location of pipes and ensure that there’s enough clearance for plumbing fixtures.
I regularly attend pre-construction meetings to review the project schedule, identify potential conflicts, and develop a coordinated approach. I maintain open communication channels with other trade workers, addressing any concerns or issues promptly. This collaboration reduces conflicts and promotes a smooth and efficient workflow, ensuring the project is completed on time and within budget.
Q 21. What is your experience with the use of power tools related to casework installations?
I have extensive experience using various power tools relevant to casework installation, including: circular saws, miter saws, routers, drills, and planers. I am proficient in operating these tools safely and effectively, adhering to all relevant safety regulations. Safety is my top priority; I always wear appropriate personal protective equipment (PPE), such as safety glasses, hearing protection, and dust masks. I regularly inspect my tools for proper functioning and maintenance, ensuring they’re in optimal condition for use.
I understand the importance of choosing the right tool for the job, considering factors such as material type, required precision, and overall efficiency. For example, I would use a miter saw for precise cuts on trim pieces, while a circular saw might be more suitable for rough cuts on larger components. My expertise in power tool operation enables me to complete the installation process accurately, efficiently, and safely, ensuring high-quality results.
Q 22. How familiar are you with building codes and regulations related to casework installation?
Building codes and regulations are paramount in casework installation. My familiarity extends to various local, state, and national codes, including those concerning ADA compliance, fire safety, and material specifications. I’m adept at interpreting blueprints and specifications to ensure compliance throughout the entire installation process. For instance, I understand the importance of using appropriate fasteners for different materials and load-bearing requirements, ensuring structural integrity and safety. I regularly consult resources like the International Building Code (IBC) and relevant local ordinances to stay updated on the latest requirements and best practices. I also meticulously document all aspects of compliance during installation, leaving a clear audit trail.
Q 23. Describe a challenging casework installation project and how you overcame the difficulties.
One particularly challenging project involved installing custom casework in a historic building with uneven walls and floors. The original architectural details presented significant obstacles, requiring meticulous measurements and adjustments to the pre-fabricated casework. The solution involved a phased approach. First, I created detailed as-built drawings to accurately reflect the existing conditions. Then, I utilized shims and custom-fabricated fillers to compensate for the irregularities, ensuring a perfectly aligned and plumb installation. We also had to work around existing electrical conduits and plumbing, coordinating with other trades carefully. The project demanded patience, adaptability, and strong problem-solving skills. The end result was a stunning, perfectly fitted casework installation that complemented the building’s historical charm. It demonstrated the importance of adaptability and planning in complex situations.
Q 24. What are your preferred methods for ensuring the quality of your casework installations?
Quality assurance is at the core of my approach. I employ a multi-faceted strategy: Firstly, I conduct a thorough pre-installation site survey, verifying dimensions, identifying potential challenges, and confirming that all materials are on site and correct. Secondly, meticulous attention to detail during the installation process is crucial. This includes checking for plumbness, levelness, and squareness at every stage. Thirdly, I use precision tools and techniques to ensure accuracy. Finally, a comprehensive post-installation inspection involves a thorough check for defects and functionality, along with a final walkthrough with the client to address any immediate concerns.
- Pre-Installation: Site survey, material verification.
- During Installation: Precise measurements, plumb bob, level, square.
- Post-Installation: Functionality checks, client walkthrough.
Q 25. How do you handle customer feedback or concerns regarding a casework installation?
Addressing customer feedback is a vital part of providing exceptional service. I listen attentively to their concerns, asking clarifying questions to understand the issue thoroughly. Then, I approach the situation professionally and empathetically, offering solutions and resolving the problem as swiftly and efficiently as possible. If the problem requires further investigation or repair, I document the issue clearly, communicate a timeline for resolution, and follow up regularly to keep the client informed. My aim is not only to fix the immediate problem, but also to maintain a positive working relationship based on trust and open communication. For instance, if there’s a minor finishing issue, I’ll immediately schedule a return visit to rectify it. More significant issues will require a more detailed plan of action, clearly communicated to the client.
Q 26. What are your salary expectations for this casework installation position?
My salary expectations are commensurate with my experience and skills in casework installation. I am confident my expertise and proven track record justify a competitive salary within the industry’s range for experienced professionals. I’m open to discussing specifics further based on the full compensation package and benefits offered.
Q 27. What are your long-term career goals within the casework installation field?
My long-term career goals involve continued growth and advancement within the casework installation field. I aspire to eventually lead a team, leveraging my expertise to mentor and train others. I also envision myself taking on more complex and challenging projects, further developing my skills in project management and design integration. Ultimately, I hope to contribute significantly to the success of a reputable company known for its quality workmanship and customer satisfaction.
Q 28. What are your strengths and weaknesses as a casework installer?
My strengths lie in my meticulous attention to detail, my problem-solving abilities, and my effective communication skills. I am adept at reading and interpreting blueprints, and I pride myself on delivering high-quality work that meets or exceeds expectations. While I’m a highly proficient installer, I would consider my weakness to be delegating tasks when working on larger projects. I’m working on improving my ability to efficiently delegate responsibility to others to optimize productivity and efficiency.
Key Topics to Learn for Casework Installation Interview
- Understanding Casework Types: Familiarize yourself with different casework materials (wood, laminate, metal), their properties, and suitability for various applications. Consider the differences in installation techniques for each.
- Measuring and Planning: Master accurate measuring techniques for precise casework installation. Practice creating detailed installation plans from blueprints and specifications, accounting for potential obstacles and adjustments.
- Installation Techniques: Develop a strong understanding of various installation methods, including wall mounting, floor anchoring, and countertop integration. Practice safe and efficient techniques for each.
- Tool Knowledge and Usage: Demonstrate proficiency with essential tools used in casework installation, including power tools, hand tools, and measuring instruments. Highlight your understanding of safety protocols for each.
- Troubleshooting and Problem Solving: Prepare examples showcasing your ability to identify and resolve common installation challenges, such as misaligned components, damaged materials, or unexpected site conditions. Practice explaining your problem-solving approach.
- Code Compliance and Safety Regulations: Understand relevant building codes and safety regulations related to casework installation. Be ready to discuss how you ensure adherence to these standards in your work.
- Quality Control and Finishing: Showcase your understanding of quality control measures throughout the installation process. Explain how you ensure a professional finish and address minor imperfections.
Next Steps
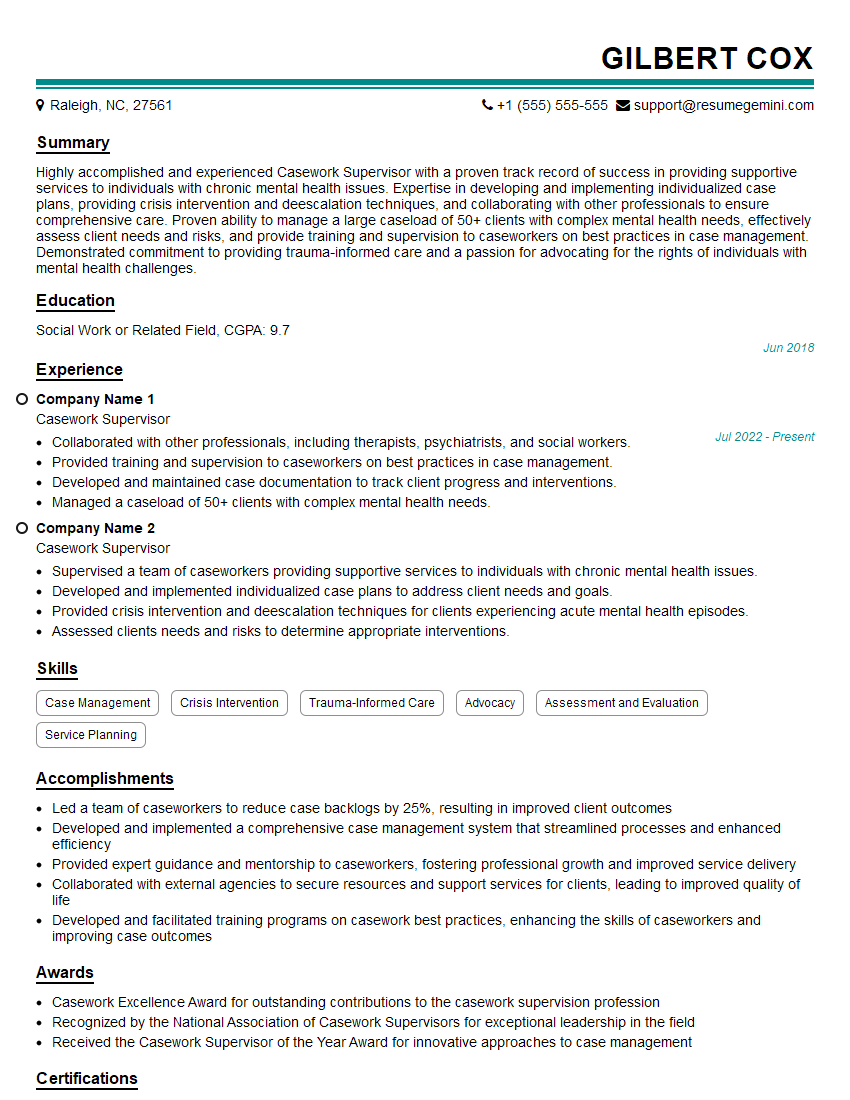
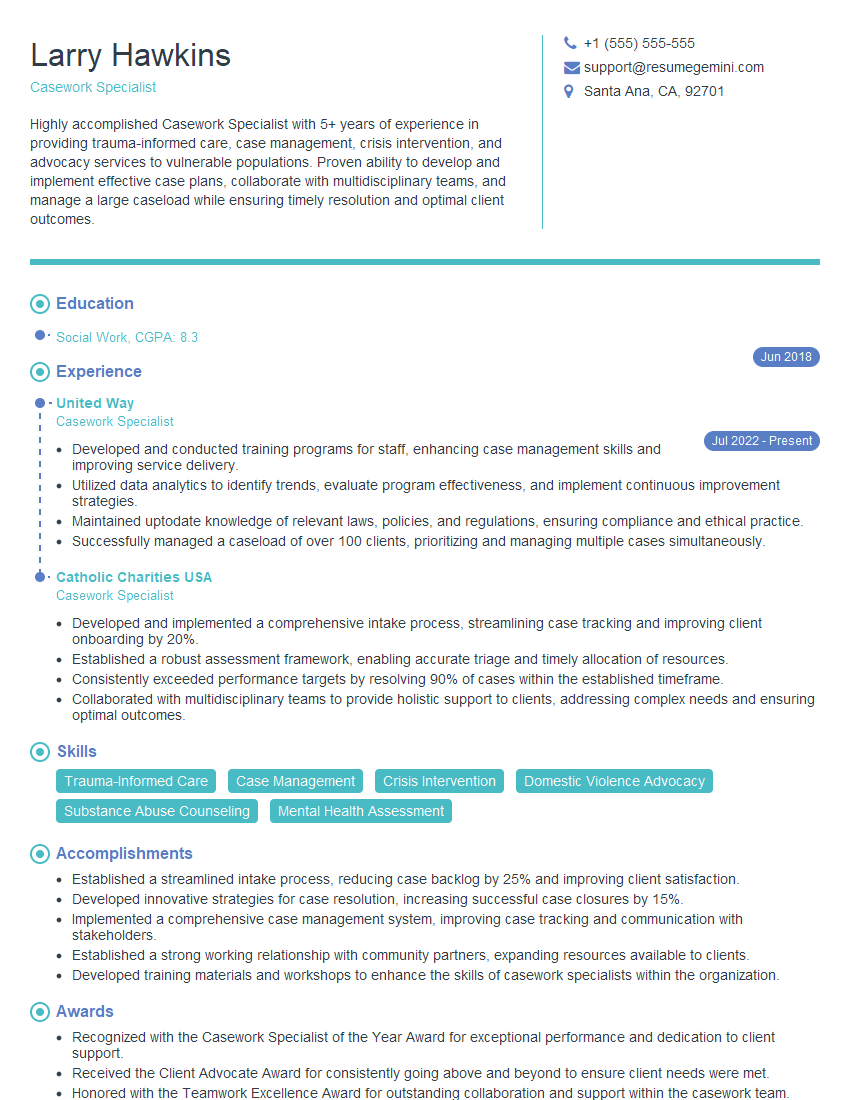
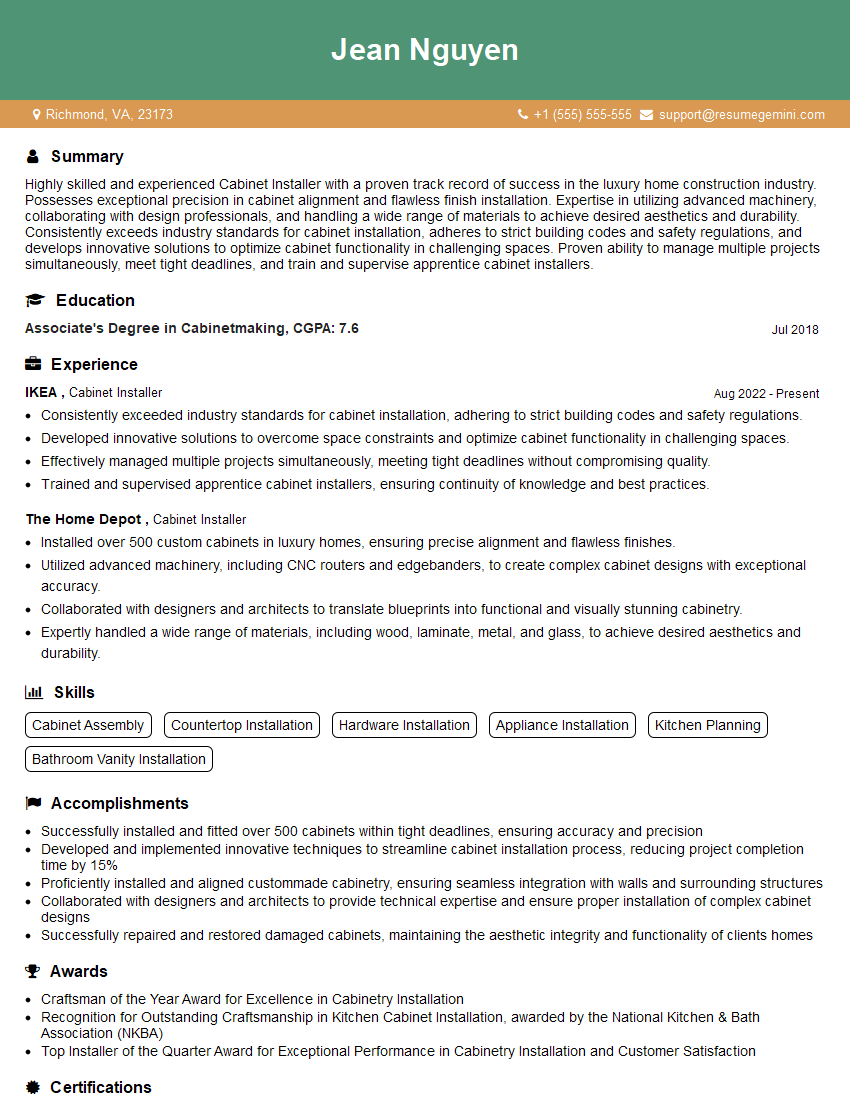
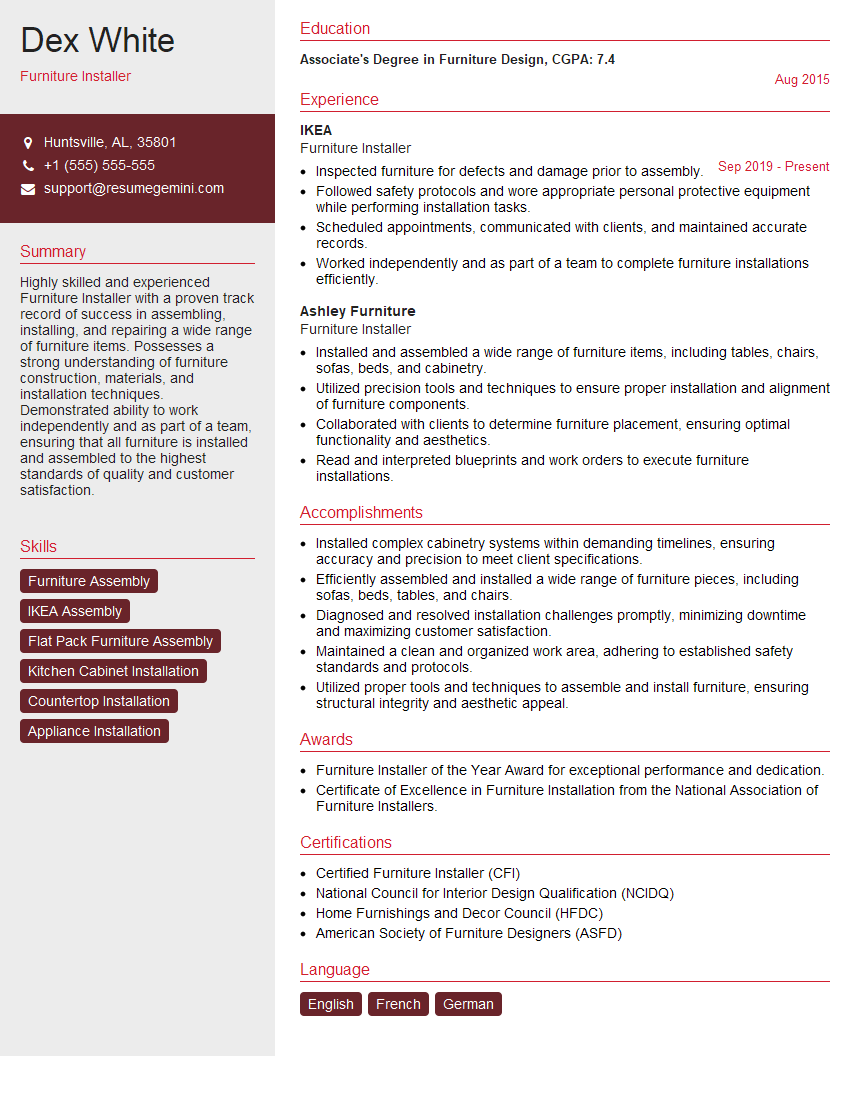
Mastering Casework Installation opens doors to rewarding career opportunities in construction, cabinetry, and interior design. A strong understanding of these skills demonstrates your technical expertise and attention to detail, making you a highly valuable asset to any team. To maximize your job prospects, create an ATS-friendly resume that clearly highlights your qualifications. ResumeGemini is a trusted resource that can help you build a professional and effective resume, ensuring your skills and experience shine through. Examples of resumes tailored specifically to Casework Installation are available to guide you.
Explore more articles
Users Rating of Our Blogs
Share Your Experience
We value your feedback! Please rate our content and share your thoughts (optional).
What Readers Say About Our Blog
Interesting Article, I liked the depth of knowledge you’ve shared.
Helpful, thanks for sharing.
Hi, I represent a social media marketing agency and liked your blog
Hi, I represent an SEO company that specialises in getting you AI citations and higher rankings on Google. I’d like to offer you a 100% free SEO audit for your website. Would you be interested?
