Cracking a skill-specific interview, like one for Familiar with various types of scenic materials and tools, requires understanding the nuances of the role. In this blog, we present the questions you’re most likely to encounter, along with insights into how to answer them effectively. Let’s ensure you’re ready to make a strong impression.
Questions Asked in Familiar with various types of scenic materials and tools Interview
Q 1. What are the different types of wood commonly used in scenic construction?
Many wood types find their way into scenic construction, each with its own set of strengths and weaknesses. The choice often depends on budget, desired aesthetic, and the structural demands of the piece.
- Pine: A common and relatively inexpensive softwood, pine is lightweight and easy to work with, making it ideal for less structurally demanding elements or quick mockups. However, it’s softer and more prone to dents and scratches.
- Fir: Similar to pine in workability, fir offers slightly better strength and stability. It’s often used for framing and support structures.
- Birch: A hardwood, birch is stronger and more durable than pine or fir, with a smoother finish. It’s more expensive but ideal for high-quality finishes or pieces that need to withstand significant wear and tear.
- Hardwoods (Oak, Maple, etc.): These are the strongest and most durable options, suitable for intricate carvings or pieces requiring high strength, but also the most expensive and can be challenging to work with.
For example, I recently used pine for a quick set design needing lightweight elements, while birch was perfect for creating detailed trim work on a more permanent proscenium arch.
Q 2. Explain the properties of MDF and plywood. When would you choose one over the other?
MDF (Medium-Density Fiberboard) and plywood are both engineered wood products, but their properties differ significantly. MDF is made from wood fibers compressed with resin, resulting in a very smooth, dense surface ideal for painting. Plywood is composed of thin layers of wood veneer glued together, offering greater strength and stability, particularly for larger pieces.
- MDF: Advantages include its smooth surface, consistent density, and affordability. Disadvantages include its lack of strength, susceptibility to moisture damage, and the difficulty of screwing into it (pre-drilling is almost always necessary).
- Plywood: Advantages include high strength-to-weight ratio, stability, and the ability to be easily screwed into. Disadvantages include its less smooth surface (requiring more sanding before painting) and potential for warping if exposed to moisture.
I choose MDF when a smooth paintable surface is paramount and strength isn’t a major concern – for instance, flat scenic pieces or backdrops. Plywood is my go-to for framing, platforms, or anything needing significant structural integrity. Think sturdy platforms versus a smooth, painted wall.
Q 3. What are the advantages and disadvantages of using foam core in scenic design?
Foam core, a lightweight material consisting of a foam core sandwiched between layers of paper or cardboard, offers several advantages in scenic design but also has some drawbacks.
- Advantages: Lightweight, easy to cut and shape, inexpensive, and readily accepts paint. Perfect for creating lightweight three-dimensional elements or quick mockups.
- Disadvantages: Relatively fragile, easily damaged, not suitable for heavy use or structural applications, and prone to dents and tears. It also isn’t very strong and will require reinforcement for anything other than small pieces.
For instance, I use foam core for creating lightweight architectural models or quick prototyping, but wouldn’t use it for a supporting structure or a highly trafficked set piece. It’s great for making quick set elements but unsuitable for long-term use.
Q 4. Describe your experience working with various fabrics for drapes and soft goods.
My experience with fabrics used in scenic design encompasses a wide range, each with distinct characteristics impacting drape, light reflectivity, and durability.
- Muslin: A standard choice, muslin is a natural cotton fabric, affordable, easily dyed or painted, and offers good drape. It’s perfect for backdrops and simple drapes.
- Velvet: Heavier and luxurious, velvet absorbs light, creating a rich, dramatic effect. However, it’s more expensive and requires careful handling.
- Silk: A beautiful, delicate fabric offering excellent drape and subtle sheen. However, it is expensive, delicate, and requires specialized care.
- Cotton Duck: Stronger and more durable than muslin, cotton duck is good for heavy-duty applications and where durability is a priority.
In a recent production, I used muslin for the backdrop and velvet for the curtains, creating a nice contrast in texture and light absorption. The choice of fabric always depends on the specific effect we want to achieve, and the budget, of course!
Q 5. How do you choose the appropriate paint for different scenic materials?
Selecting the right paint for scenic materials is crucial for achieving desired aesthetics and ensuring longevity. The choice depends heavily on the material’s surface and the intended environment.
- Water-based paints (latex or acrylic): These are versatile and environmentally friendly options suitable for most scenic materials, including wood, MDF, and foam core. They are easy to clean up, but can be less durable than other options.
- Oil-based paints: These are more durable and offer a richer, deeper color but require solvents for cleanup and have stronger odors. They are suitable for surfaces requiring high durability.
- Specialty paints (like metallic or fabric paints): Depending on the specific effect required, there are numerous specialty paints that work well on various scenic materials. For example, fabric paint is essential when working with textiles.
I always consider the material’s porosity, its intended use (temporary or permanent), and the desired finish (matte, gloss, etc.) before selecting the paint. For example, I’d use a water-based acrylic on MDF, but a more durable oil-based paint on outdoor scenery.
Q 6. What safety precautions do you take when working with power tools in a scenic shop?
Safety is paramount in a scenic shop, especially when dealing with power tools. My routine includes:
- Proper Personal Protective Equipment (PPE): This includes safety glasses, hearing protection, dust masks (especially when sanding), and work gloves. Safety boots are also recommended.
- Tool Maintenance: Regularly inspect and maintain all power tools, ensuring blades are sharp and guards are securely in place. Dull blades increase the risk of kickback.
- Clear Workspace: Maintaining a clean, organized workspace minimizes tripping hazards and allows for safer movement around equipment.
- Correct Tool Use: Always operate power tools according to the manufacturer’s instructions, and never use tools beyond their intended capacity.
- Emergency Procedures: Familiarize oneself with the shop’s emergency procedures, including locations of fire extinguishers and first aid kits.
I’ve seen firsthand the consequences of neglecting safety precautions, and therefore prioritize it above all else.
Q 7. How familiar are you with various types of glues and adhesives used in scenic work?
My familiarity with adhesives used in scenic work extends to various types, each suited to specific materials and applications.
- Wood Glue (e.g., Titebond): Excellent for bonding wood to wood, offering strong and durable joints. Water-resistant varieties exist for outdoor applications.
- Contact Cement: Ideal for bonding fabrics, laminates, or veneers, providing strong bonds that set quickly. Requires careful application and accurate alignment before pressing surfaces together.
- Hot Glue: Useful for quick repairs or temporary bonds, but not suitable for weight-bearing applications. Excellent for attaching lightweight elements.
- Spray Adhesives: Useful for applying fabric or paper to large surfaces; ensures even coverage, but proper ventilation is critical. Some are repositionable for fine adjustments.
The choice of glue depends on the materials being joined and the strength and type of bond required. I always test a small area first to ensure compatibility and adhesion.
Q 8. Describe your experience with different types of fasteners (nails, screws, bolts).
My experience with fasteners encompasses a wide range, crucial for the stability and longevity of scenic elements. I’m proficient with various nail types – from finish nails for subtle applications to framing nails for structural support. I understand the importance of nail size and placement depending on the wood type and the load it needs to bear. Similarly, I’m skilled in using screws, selecting the appropriate type (e.g., wood screws, sheet metal screws) based on the material being joined. This includes pre-drilling pilot holes to prevent splitting, especially in hardwoods. Bolts, on the other hand, provide the strongest connection, often used for heavier structures or situations demanding high tensile strength. I frequently utilize carriage bolts for exposed applications where a clean, finished look is necessary and lag bolts for heavy-duty connections. Understanding the different head styles and thread types is essential for selecting the right fastener for the job, ensuring both functionality and aesthetic appeal.
- Example: When building a large archway, I’d use lag bolts to connect the structural supports for maximum stability. For attaching smaller decorative elements, I’d opt for finish nails to minimize visual disruption.
Q 9. What is your experience with creating and applying scenic finishes (e.g., distressing, aging)?
Creating and applying scenic finishes is a significant part of my work. Distressing techniques, such as using sandpaper, wire brushes, and chisels, allow me to create the illusion of age and wear on new pieces, adding realism to a set. Aging techniques, on the other hand, focus on replicating the effects of time and the elements. This involves the application of washes, glazes, and various painting techniques to achieve a weathered, antique look. I frequently use dry brushing to highlight textures and create a sense of depth. I’m also adept at applying faux finishes, like marble or stone effects, to create convincing and cost-effective alternatives to expensive materials.
- Example: To create a convincingly old wooden door, I’d first apply a base coat, then use sandpaper to create wear and tear, followed by a dark wash to accentuate the cracks and grooves. A final coat of varnish would protect the finish.
Q 10. How do you calculate the amount of materials needed for a specific scenic element?
Calculating material quantities is paramount for efficient project management. It begins with careful blueprint review, identifying all scenic elements and their dimensions. I then break down each element into its constituent parts (e.g., lumber, plywood, paint). For lumber, I account for waste (typically 10-15%) due to cuts and imperfections. I meticulously measure the required area for paint or other surface finishes. For example, if we are building a 10 ft x 12 ft wall, the total square footage would be 120 sqft and then I add an extra 10-15% to account for potential mistakes or paint overlap. Software like spreadsheets greatly facilitates these calculations. Accurate material estimation reduces waste, saving time and costs.
- Example: If building a 4ft x 8ft backdrop requiring 1/2 inch plywood, I’d calculate the area (32 sq ft) and multiply by the plywood thickness to get the cubic footage. Considering waste, I would order slightly more to ensure sufficient material.
Q 11. Explain your experience with drafting and reading blueprints for scenic projects.
I have extensive experience drafting and reading blueprints, essential for successful scenic construction. Understanding architectural drawings, including elevations, sections, and details is crucial to translate design concepts into reality. I can interpret symbols, scales, and annotations to accurately build set pieces. I’m proficient in creating my own working drawings from design sketches, ensuring that all necessary dimensions, material specifications, and construction details are clearly communicated. I can also adapt or modify existing blueprints to meet specific needs or accommodate changes. Accurate blueprint interpretation is crucial to avoid costly mistakes and delays. Experience ensures understanding of potential conflicts and problem areas early on, allowing for proactive solutions.
- Example: If a blueprint shows a 1:10 scale, I understand that 1 inch on the paper equals 10 inches in real-life dimensions.
Q 12. Describe your experience with hand tools (saws, chisels, hammers, etc.).
My proficiency extends to a wide array of hand tools, essential for precise and detailed scenic work. I’m highly skilled in using various saws (hand saws, circular saws, jigsaws) for accurate cutting of different materials. Chisels are used for precise shaping and carving, essential for fine details or distressed finishes. I can use hammers safely and effectively for driving nails, shaping metal, or demolition. Other hand tools in my repertoire include planes for smoothing surfaces, clamps for secure assembly, and measuring tools (tape measures, levels, squares) for accuracy. Understanding tool maintenance and safety procedures is crucial; keeping tools sharp and in good working order significantly increases efficiency and precision.
- Example: When creating intricate moldings, I’d use a chisel and mallet to carve the details, ensuring accuracy and a refined finish.
Q 13. How familiar are you with CAD software for scenic design?
My familiarity with CAD software for scenic design is strong. I’m proficient in using industry-standard programs like Vectorworks and AutoCAD. I can create detailed 2D and 3D models of scenic elements, ensuring accurate dimensions and visualizing the final product. This allows for precise material estimation, efficient construction planning, and early detection of potential design conflicts. The ability to share digital models with clients and collaborators simplifies communication and ensures everyone is on the same page. CAD software significantly streamlines the entire scenic construction process.
- Example: I utilize CAD software to create detailed 3D models of complex set pieces, ensuring that all components fit together perfectly before any physical construction begins.
Q 14. What are some common issues encountered during scenic construction, and how do you address them?
Scenic construction presents various challenges. One common issue is material incompatibility, such as using incompatible wood types or adhesives. I address this by careful material selection, following manufacturer guidelines, and conducting test assemblies. Another frequent problem is inaccurate measurements leading to ill-fitting pieces. Precise measuring and double-checking are vital, and the use of CAD models minimizes these errors. Time constraints often pose challenges. I tackle this with meticulous planning, efficient workflow, and clear communication with the team. Safety issues, such as proper tool handling or working at heights, are constantly addressed through training, safety protocols, and the use of appropriate safety equipment. Addressing these issues proactively ensures smooth construction and a high-quality product.
- Example: If a joint proves weak during construction, I would analyze the problem, identify the cause (perhaps incorrect adhesive or insufficient support), and implement a solution (using a stronger adhesive or adding reinforcements) before moving to the next step.
Q 15. Describe your experience with various types of theatrical paint (e.g., acrylic, latex, casein).
My experience with theatrical paints spans several types, each with unique properties. Acrylics are my go-to for their versatility – they dry quickly, are water-based for easy cleanup, and offer excellent adhesion to various surfaces. I’ve used them extensively for detailed scenic painting, creating realistic textures, and applying vibrant colors. Latex paints, while also water-based, provide a smoother finish and are often preferred for larger areas or when durability is paramount. For instance, I used latex paint on a recent production to create a convincing stone wall backdrop. Finally, casein paints, a more traditional option, offer a beautiful matte finish and are prized for their archival qualities. I’ve used these for more delicate work where a subtle, almost chalky texture is desired, like on period furniture pieces. The choice depends heavily on the specific application and desired aesthetic.
Career Expert Tips:
- Ace those interviews! Prepare effectively by reviewing the Top 50 Most Common Interview Questions on ResumeGemini.
- Navigate your job search with confidence! Explore a wide range of Career Tips on ResumeGemini. Learn about common challenges and recommendations to overcome them.
- Craft the perfect resume! Master the Art of Resume Writing with ResumeGemini’s guide. Showcase your unique qualifications and achievements effectively.
- Don’t miss out on holiday savings! Build your dream resume with ResumeGemini’s ATS optimized templates.
Q 16. How do you prepare surfaces for painting (e.g., priming, sanding)?
Surface preparation is critical for achieving a professional and long-lasting finish. Priming is the first step; it creates a uniform surface for the paint to adhere to, preventing uneven absorption and ensuring color consistency. I typically use a high-quality primer, chosen based on the substrate – for instance, a wood primer for plywood and a metal primer for steel. After priming, I allow adequate drying time before sanding. Sanding, usually with fine-grit sandpaper (150-220 grit), smoothes any imperfections and provides a better surface for painting. The level of sanding depends on the surface; a smooth, primed surface might require minimal sanding, while rougher surfaces may need more attention to detail. This careful prep work translates to a superior, more professional-looking painted surface that holds up over time.
Q 17. How familiar are you with different types of lighting gels and their properties?
My familiarity with lighting gels extends to a wide range of colors and functionalities. I understand the impact of different color temperatures (e.g., warm amber vs. cool blue) on mood and atmosphere. I’ve used gels to create specific color effects, such as simulating moonlight or sunset, and to enhance the overall aesthetic of a scene. For instance, I used CTO (Color Temperature Orange) gels to warm up the lighting on a stage set representing a summer evening. Furthermore, I’m well-versed in the use of diffusion gels to soften harsh lighting, and color correction gels to balance color inconsistencies between different lighting sources. This knowledge allows me to contribute to the overall lighting design, adding depth and nuance to the production.
Q 18. What is your experience with creating and installing rigging systems?
My experience with rigging systems is extensive, encompassing both design and installation. I’m comfortable working with various rigging hardware, including pulleys, ropes, cables, and motors. I understand the importance of safety and adhere strictly to all relevant regulations. I’ve designed and installed rigging systems for various scenic elements, including drops, backdrops, and flown pieces. A recent project involved designing a counterweight system to safely raise and lower a heavy scenic element. My approach emphasizes secure construction, thorough safety checks, and the ability to adapt to unique stage configurations. Safety is paramount; I always prioritize secure rigging practices to avoid accidents.
Q 19. Describe your experience with working with metal materials in scenic construction.
Working with metal in scenic construction is a significant part of my skill set. I am proficient in cutting, shaping, and welding various metals, such as steel, aluminum, and other metals appropriate for the application. I have experience building metal frames for sets, creating custom brackets and support structures, and integrating metal elements into larger scenic pieces. For example, I fabricated a custom metal staircase for a recent production, ensuring its strength, stability, and aesthetic integration with the overall design. I understand the importance of using proper safety equipment and techniques when handling these materials.
Q 20. How do you ensure the structural integrity of scenic elements?
Ensuring structural integrity is non-negotiable. My approach involves a multi-faceted strategy, starting with careful planning and design. I utilize appropriate materials and construction techniques for the size, weight, and intended use of each scenic element. For example, when building a large platform, I ensure adequate support structures are in place to prevent sagging or collapse under the expected load. Furthermore, I employ robust joining methods—such as strong adhesives, screws, bolts, and welding—to create secure connections. Throughout the process, I regularly conduct structural assessments, looking for weaknesses or potential points of failure. Finally, thorough testing before installation is vital to confirm the element’s stability and safety.
Q 21. How familiar are you with different types of scenic hardware (hinges, latches, etc.)?
I’m very familiar with a wide array of scenic hardware. This includes various types of hinges (such as piano hinges, continuous hinges, and butt hinges), latches (including magnetic latches, cam latches, and paddle bolts), and other fasteners essential for creating functional and durable scenic pieces. The selection of hardware depends heavily on factors like the type of material being joined, the weight of the elements, and the level of security required. For example, I’d use heavy-duty hinges for a frequently used door, whereas smaller, less robust hinges would suffice for a decorative element. My expertise lies in choosing the most appropriate hardware to meet the demands of the project, resulting in well-functioning and long-lasting scenic elements.
Q 22. Explain your experience with creating and installing scenic drops and backdrops.
Creating and installing scenic drops and backdrops involves a multi-step process, from initial design and fabrication to final installation. My experience encompasses working with various materials, including muslin, canvas, and vinyl, each with its unique properties and application techniques. For example, I’ve worked on large-scale muslin drops, requiring careful sizing and painting to achieve specific color gradations and scenic effects. This often involves working with large teams to ensure even paint application and prevent wrinkles.
The installation process itself varies depending on the venue and the drop’s size and weight. Smaller drops can be easily hung using standard theatrical hardware, while larger drops may require specialized rigging and multiple technicians. Precise measurements and careful planning are crucial to avoid accidents and ensure a smooth installation. I’ve personally overseen the installation of numerous large-scale drops for theatrical productions, always prioritizing safety and efficiency.
I’m also experienced in applying various finishes to drops, including aging techniques, texturing, and the use of specialized paints for specific effects. For instance, I’ve used stencils and sponge techniques to create realistic stone or brickwork on a painted backdrop for a historical drama. This skill requires a keen eye for detail and a familiarity with different painting techniques.
Q 23. Describe your experience working with plaster and other molding materials.
My experience with plaster and molding materials is extensive, encompassing various techniques and applications in scenic construction. I’m proficient in creating intricate moldings using a variety of materials, including hydrocal, which is lightweight yet strong and durable. I’ve used this material to craft ornate cornices, pilasters, and other architectural details for stage sets. I’ve also worked extensively with lightweight plaster alternatives, allowing for the creation of more elaborate and less cumbersome designs.
The process involves creating molds—often using flexible materials like silicone rubber—to cast the desired shapes. Careful attention to detail is required during the molding process to ensure clean lines and accurate reproduction of the design. The subsequent finishing process—which may include sanding, priming, and painting—is equally important in achieving a high-quality, realistic finish. For instance, I once created a series of intricately detailed plaster busts for a historical play, ensuring historical accuracy in the sculpting and painting process. This involved extensive research into the subject matter and meticulous attention to detail.
Q 24. How do you manage waste and dispose of materials responsibly in a scenic shop?
Responsible waste management is crucial in a scenic shop. Our shop strictly adheres to local regulations and best practices for recycling and disposal of materials. We segregate waste into different categories: recyclable materials (cardboard, metal, plastic), compostable materials (wood scraps if untreated), and hazardous waste (paints, solvents, adhesives). Each category is handled according to the appropriate procedures. We use proper containers for hazardous waste and ensure their timely disposal by licensed contractors.
We actively strive to minimize waste generation. This involves careful planning of material usage, precise cutting techniques to reduce offcuts, and the repurposing of materials whenever possible. For instance, leftover scraps of wood or fabric are often saved for smaller projects or used as packing materials. We also encourage the use of sustainable and eco-friendly materials whenever feasible, such as recycled paints and sustainably sourced wood. The goal is to not only comply with regulations but also to minimize our environmental impact.
Q 25. How do you collaborate effectively with other scenic artists and technicians?
Effective collaboration is essential in scenic work. It relies on clear communication, mutual respect, and a shared understanding of goals and deadlines. My approach involves open communication channels – regular meetings, shared documents, and the use of collaborative software – to keep everyone informed about project progress, potential challenges, and individual responsibilities. I find active listening crucial, as it helps to identify and address potential conflicts or misunderstandings early on.
I value the strengths and expertise of each team member, fostering an environment where everyone feels comfortable contributing their ideas. For instance, when working on a complex set design, I’ll involve other scenic artists in brainstorming sessions, drawing on their individual skillsets to arrive at the most effective and creative solutions. This collaborative approach not only ensures a high-quality final product but also strengthens team cohesion and boosts overall morale.
Q 26. Describe a time you had to troubleshoot a problem with scenic materials or tools.
During a recent production, we encountered a problem with a large backdrop made of a newly sourced fabric. The fabric, while visually appealing, proved unexpectedly fragile and prone to tearing under tension. This became apparent during the initial hanging process. Initially, we were worried about having to replace the entire backdrop, a costly and time-consuming solution.
To troubleshoot this, I worked with the team to carefully inspect the tears and assess the overall structural integrity of the backdrop. We explored various solutions, including reinforcing the weak points using a lightweight, yet strong, mesh fabric that blended seamlessly with the original material. We applied this reinforcement strategically along the stress points, preventing further tears and providing sufficient structural stability. Through careful planning and creative problem-solving, we saved the backdrop and met the production deadlines successfully. This incident underscored the importance of thoroughly testing new materials before using them in large-scale projects.
Q 27. How do you stay up-to-date on new materials and techniques in scenic design?
Staying current in scenic design requires continuous learning and engagement with the industry’s advancements. I actively pursue this through various avenues. I subscribe to industry magazines and online publications focusing on scenic design and theatrical technology, regularly attending workshops and conferences to learn about new materials, techniques, and software. This enables me to explore novel approaches and adopt efficient workflows.
I also actively engage with online communities and forums where scenic artists share their experiences, troubleshoot problems, and discuss emerging trends. Further, I frequently research new products and materials from manufacturers and suppliers. This holistic approach ensures that I stay abreast of innovations, incorporate the most effective techniques, and remain a valuable asset in the scenic design field.
Key Topics to Learn for Scenic Materials and Tools Interviews
- Woodworking Fundamentals: Understanding different types of wood (hardwoods, softwoods, plywood, MDF), their properties, and appropriate joinery techniques for scenic construction. Practical application: Designing and building a sturdy platform using appropriate wood types and fasteners.
- Metalworking Basics: Familiarity with various metals (steel, aluminum, etc.), their properties, and safe handling practices. Practical application: Constructing a metal framework for a backdrop or support structure.
- Painting and Finishing Techniques: Knowledge of different paint types (latex, acrylic, etc.), primers, sealants, and finishing techniques for various scenic materials. Practical application: Preparing and painting a backdrop to achieve a specific texture and finish.
- Fabric and Drapery: Understanding different fabrics (muslin, canvas, velvet, etc.), their properties, and techniques for draping and hanging. Practical application: Creating realistic curtains or draperies for a set.
- Foam Fabrication: Working with various types of foam (polyurethane, foamcore, etc.) for creating props, set pieces, and sculpting. Practical application: Constructing a realistic-looking rock formation using foam carving and painting techniques.
- Safety Procedures and Regulations: Understanding and adhering to safety regulations for handling tools and materials in a scenic shop environment. Practical application: Properly using power tools, wearing appropriate safety gear, and maintaining a clean and organized workspace.
- Tool Knowledge and Maintenance: Familiarity with hand tools (saws, hammers, chisels) and power tools (drills, saws, routers) used in scenic construction, including their proper use and maintenance. Practical application: Selecting the appropriate tool for a specific task and performing basic tool maintenance.
- Problem-Solving and Adaptability: Demonstrating the ability to troubleshoot issues during the construction process and adapt to changing design requirements. Practical application: Finding creative solutions to material shortages or unexpected challenges on a project.
Next Steps
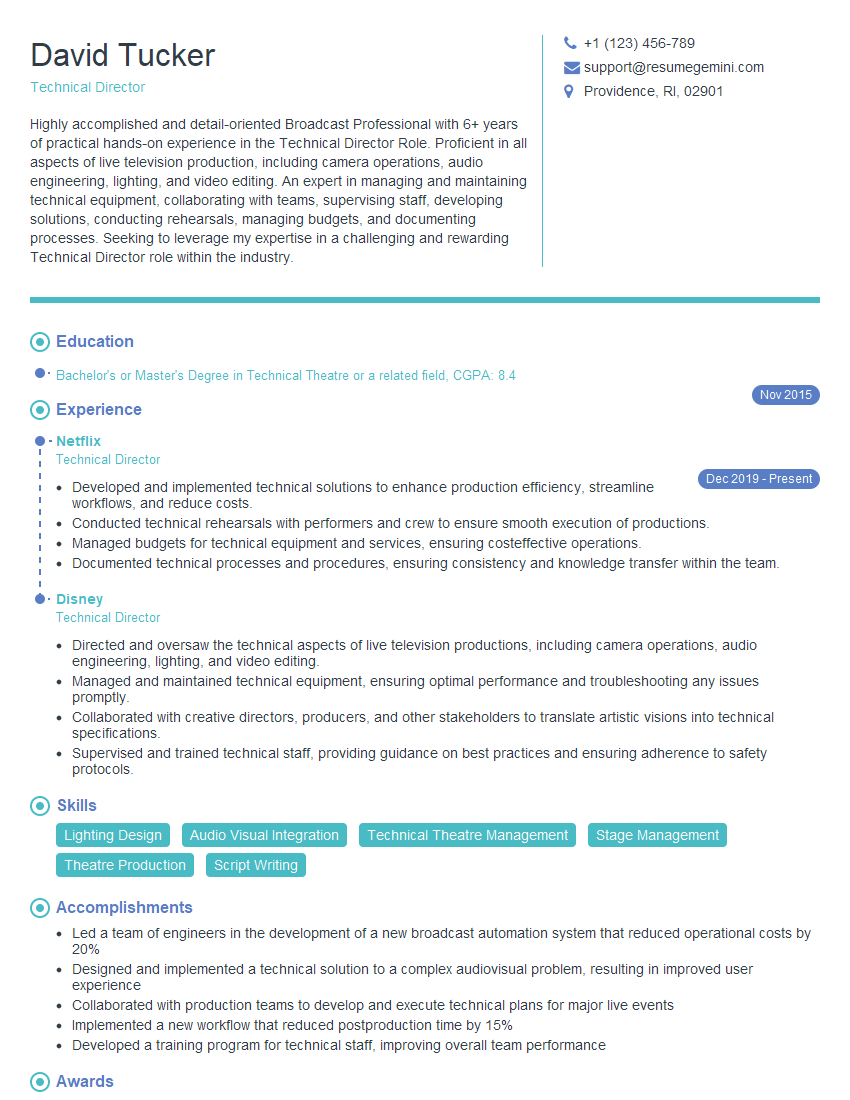
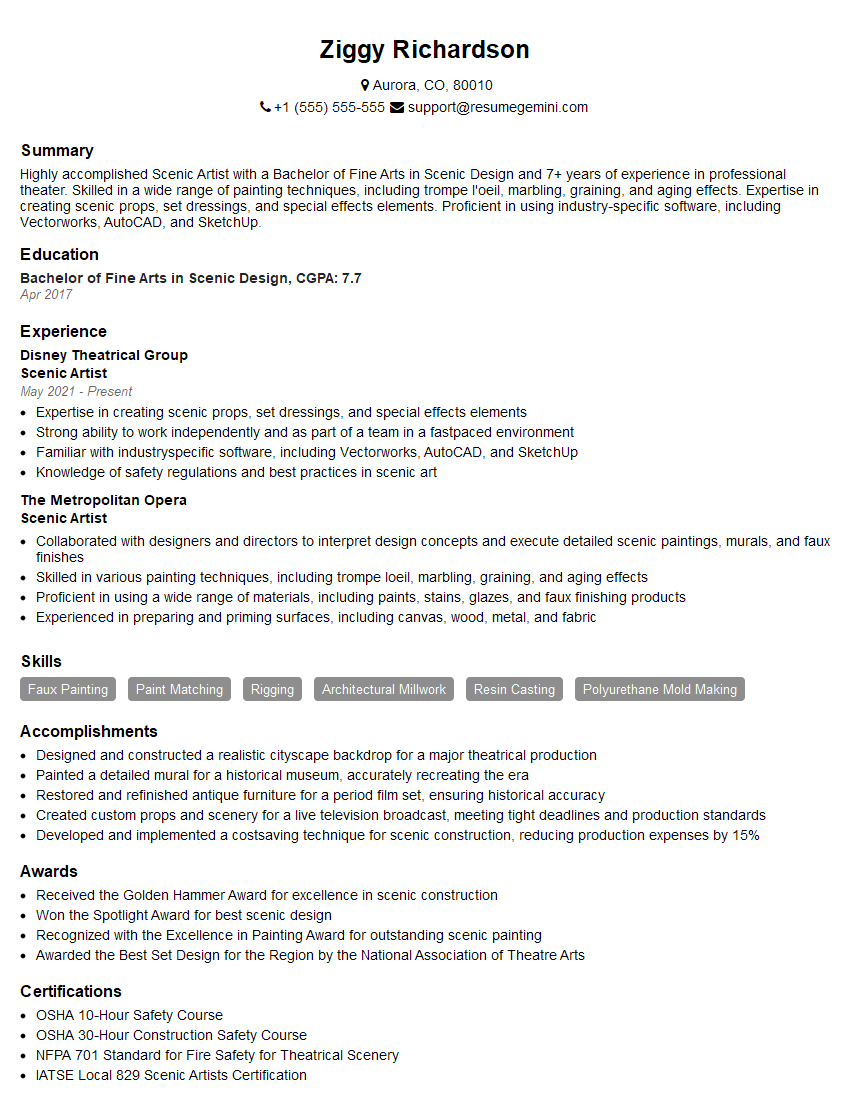
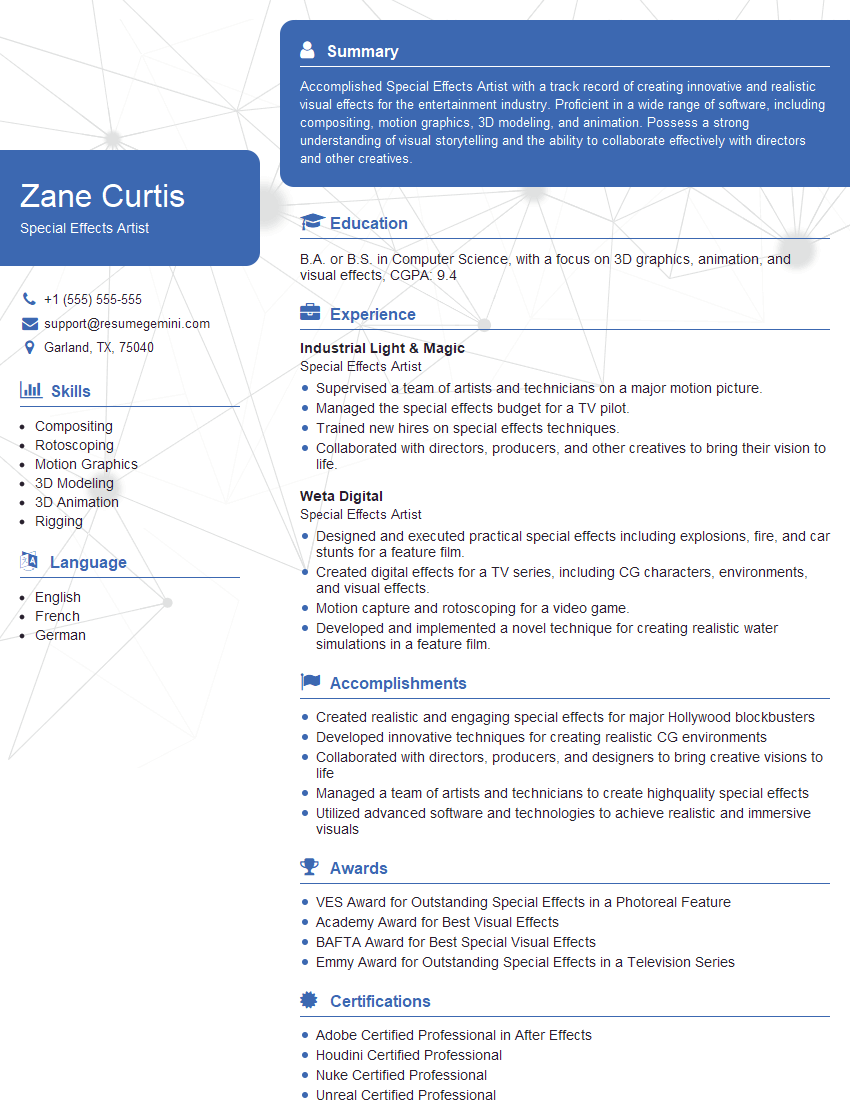
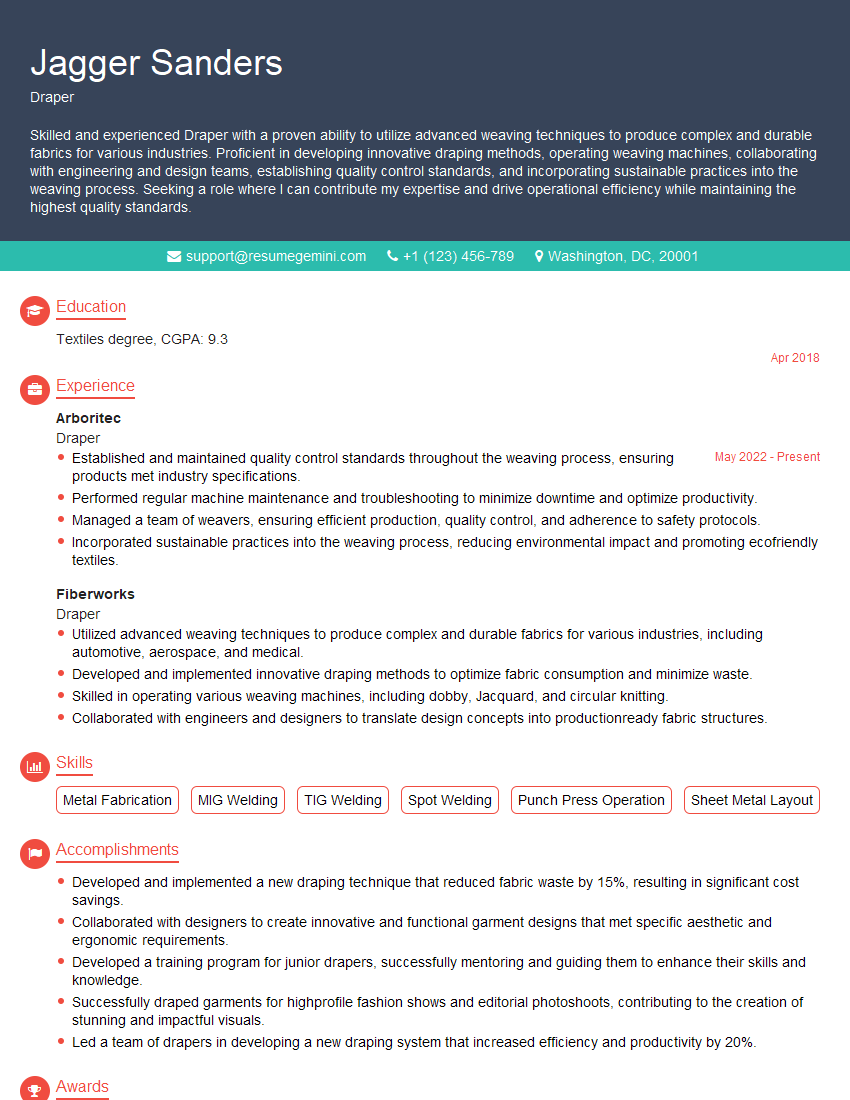
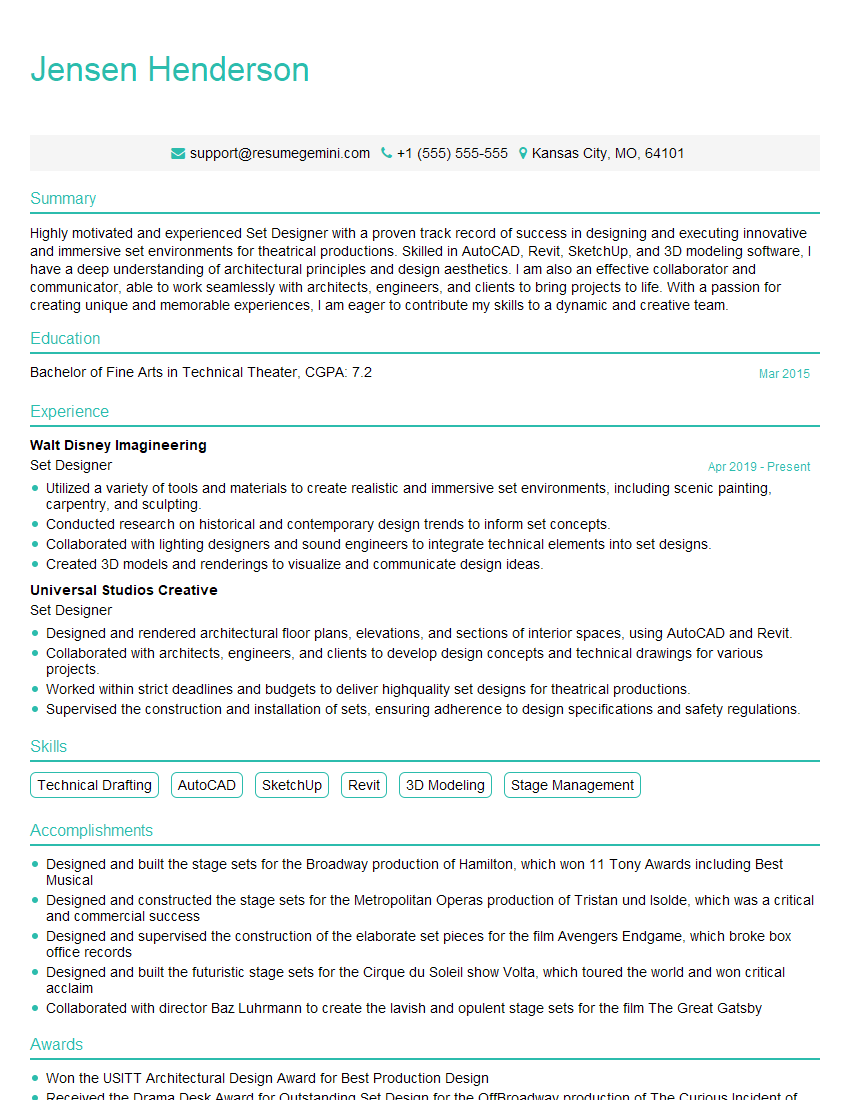
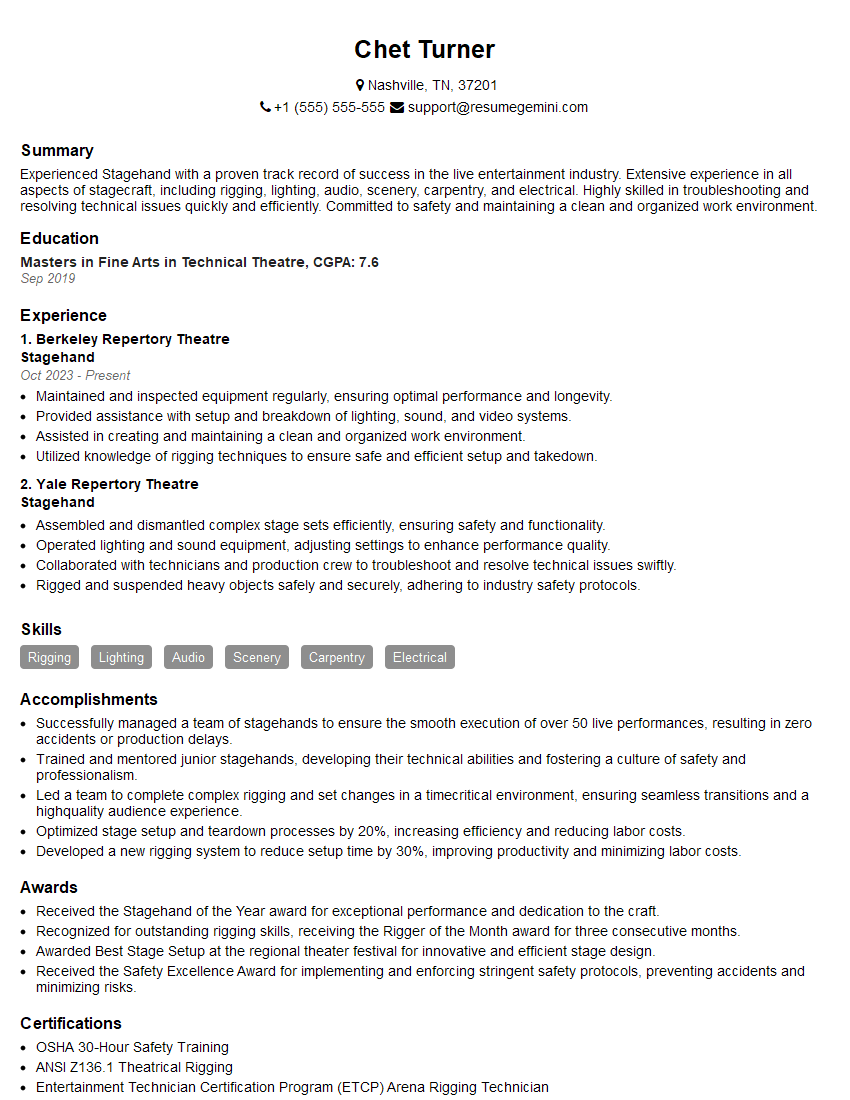
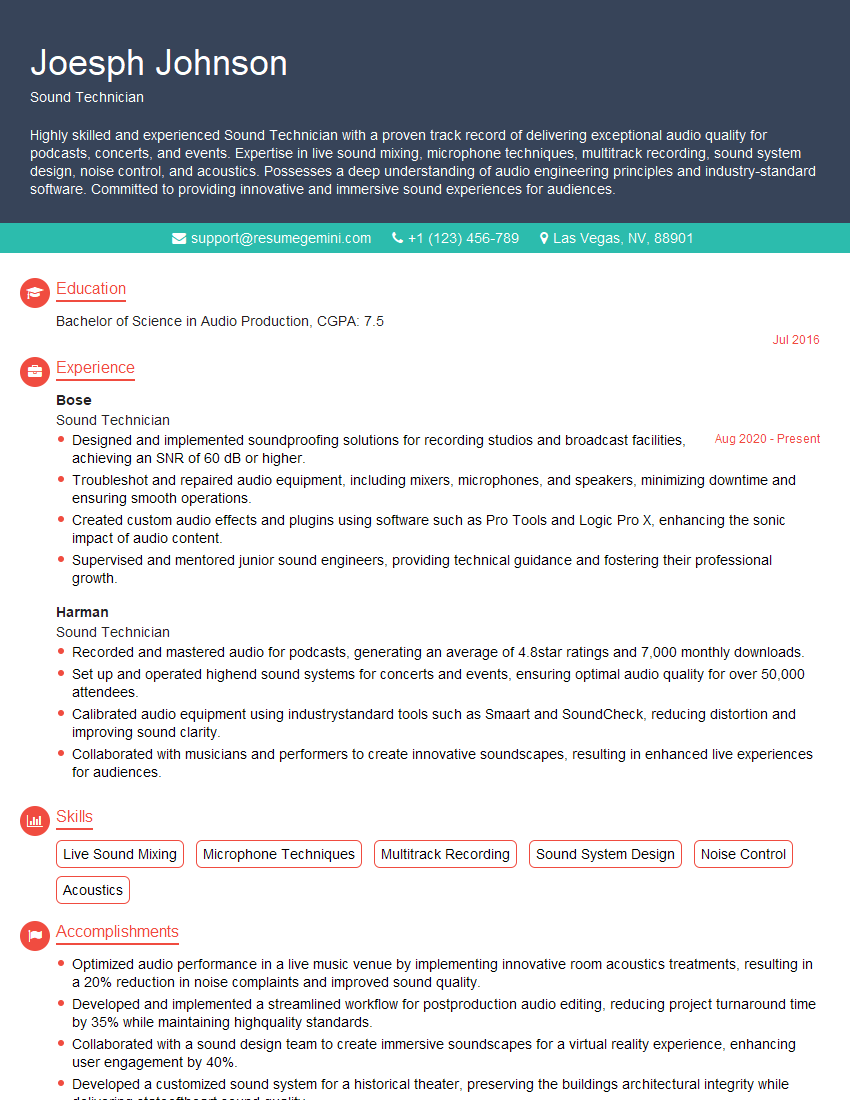
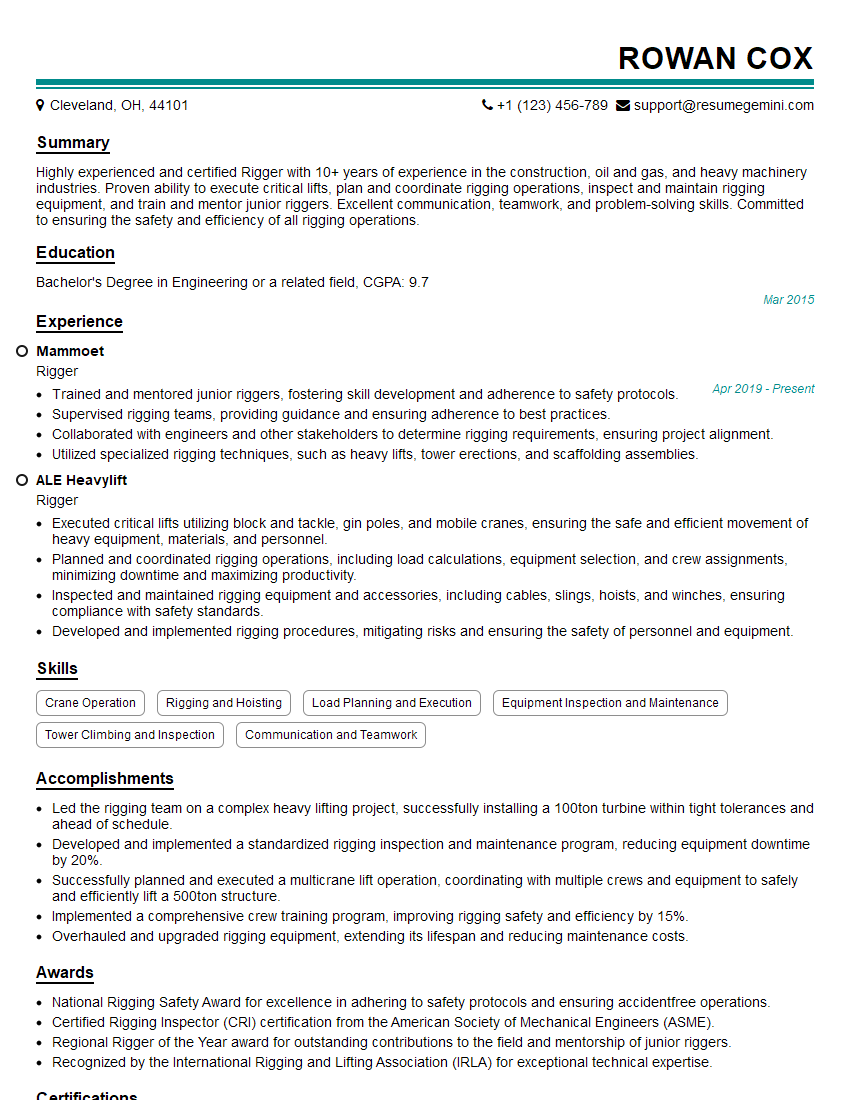
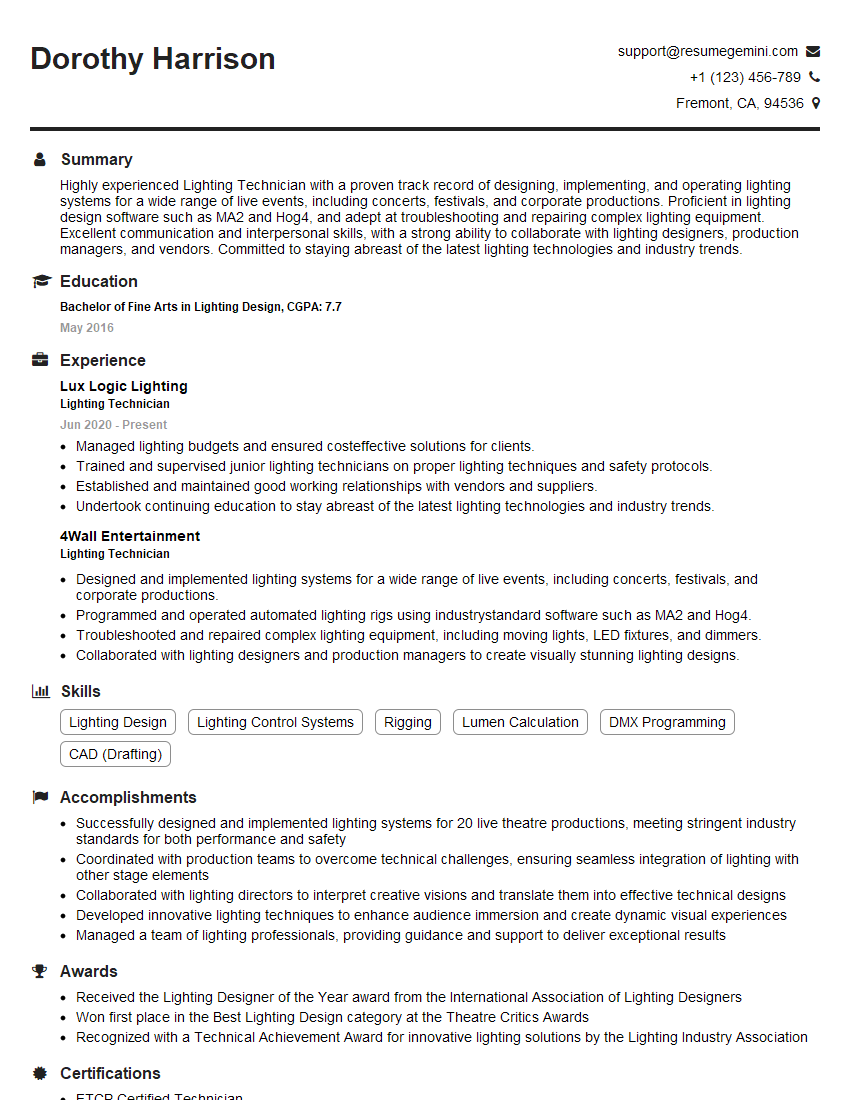
Mastering scenic materials and tools is crucial for career advancement in theatrical production, film, and event design. A strong understanding of these skills demonstrates practical expertise and problem-solving abilities, highly valued by employers. To maximize your job prospects, create an ATS-friendly resume that highlights your skills and experience. ResumeGemini is a trusted resource that can help you build a professional and effective resume. Examples of resumes tailored to showcasing expertise in scenic materials and tools are available through ResumeGemini to guide your preparation.
Explore more articles
Users Rating of Our Blogs
Share Your Experience
We value your feedback! Please rate our content and share your thoughts (optional).
What Readers Say About Our Blog
Dear Sir/Madam,
Do you want to become a vendor/supplier/service provider of Delta Air Lines, Inc.? We are looking for a reliable, innovative and fair partner for 2025/2026 series tender projects, tasks and contracts. Kindly indicate your interest by requesting a pre-qualification questionnaire. With this information, we will analyze whether you meet the minimum requirements to collaborate with us.
Best regards,
Carey Richardson
V.P. – Corporate Audit and Enterprise Risk Management
Delta Air Lines Inc
Group Procurement & Contracts Center
1030 Delta Boulevard,
Atlanta, GA 30354-1989
United States
+1(470) 982-2456
