Interviews are opportunities to demonstrate your expertise, and this guide is here to help you shine. Explore the essential FrameMaker interview questions that employers frequently ask, paired with strategies for crafting responses that set you apart from the competition.
Questions Asked in FrameMaker Interview
Q 1. Explain the difference between FrameMaker’s single-source publishing and traditional publishing.
Traditional publishing involves creating separate files for each output format (e.g., print, online help, PDF). Single-source publishing (SSP) in FrameMaker, however, lets you create a single source document that can be published to multiple formats with minimal effort. Think of it like baking a cake – traditional publishing is like baking each slice separately, while SSP is like baking the whole cake and then slicing it.
The key difference lies in efficiency and consistency. With SSP, updates only need to be made in one place, ensuring consistency across all output formats. Changes to a single source automatically reflect in all published versions. In traditional publishing, any change requires updating multiple files, increasing the risk of errors and inconsistencies.
Example: Let’s say you’re creating a technical manual. In traditional publishing, you’d have a separate Word file for the print version, an HTML file for the online help, and a separate InDesign file for the PDF. In FrameMaker’s SSP, you’d build your content once, and then use FrameMaker’s publishing options to generate print-ready PDFs, online help files, or even ePub formats.
Q 2. Describe your experience with FrameMaker’s XML support and DITA.
I have extensive experience leveraging FrameMaker’s XML support and working with DITA (Darwin Information Typing Architecture). FrameMaker’s XML capabilities are crucial for managing large, complex projects and enabling structured content authoring. I’ve utilized XML to create reusable content modules, which significantly improve efficiency and consistency in projects.
My DITA experience includes creating and managing DITA maps, topics, and specializations. I’m comfortable working with different DITA specializations, such as task, concept, and reference topics, and mapping the content to produce various outputs efficiently. I find that using DITA with FrameMaker allows for more effective content reuse and management across different projects and platforms.
Example: In a recent project, I used FrameMaker’s DITA support to create a modular technical documentation set. We created individual DITA topics focusing on specific functionalities. This modularity allowed us to easily reuse content in different manuals and quickly update specific sections without affecting the entire document.
Q 3. How do you handle complex cross-references and indexing in FrameMaker?
Handling complex cross-references and indexing is streamlined in FrameMaker through its robust features. For cross-references, I prefer using FrameMaker’s built-in cross-reference functionality to avoid manual updates. FrameMaker automatically updates cross-references when the target changes. For indexing, I utilize FrameMaker’s indexing feature, carefully defining index entries with appropriate cross-references and subentries. This ensures accurate and user-friendly navigation.
Strategies for complex scenarios:
- Clear Naming Conventions: Establish a clear and consistent naming convention for all elements to be cross-referenced (e.g., figures, tables, sections) to ensure accurate linking.
- Regular Checks: Regularly review and verify cross-references and index entries during the editing process. FrameMaker provides tools to check for broken cross-references, which are essential for catching errors early.
- Master Index: For extremely large projects, building a master index can significantly improve the consistency and accuracy of the final index.
Example: Imagine a large manual with hundreds of cross-references. If the heading ‘Troubleshooting’ is renamed, FrameMaker’s cross-reference feature automatically updates all the references to this heading, eliminating the time-consuming and error-prone manual updates.
Q 4. What are your preferred methods for ensuring consistency in document formatting using FrameMaker?
Maintaining consistency in document formatting is crucial for professional-looking output. In FrameMaker, I employ several methods to achieve this:
- Styles and Templates: I rely heavily on FrameMaker’s style sheets and templates. Styles define the formatting of specific elements (e.g., headings, paragraphs, lists), and templates provide a pre-formatted document structure. Consistent use of styles and templates ensures a uniform look and feel across the entire document.
- Master Pages: Master pages allow for consistent page numbering, headers, footers, and other page elements across the whole document or sections of a document. Changes made to a master page are automatically reflected in all pages using that master.
- Style Check: Using FrameMaker’s built-in Style Check feature is a crucial step for finding any stylistic inconsistencies throughout the document. This includes automatically checking for misused styles, font inconsistency and any other style-related irregularities.
- Regular Reviews: Finally, frequent review of the document, checking for inconsistencies in formatting is essential to catch any errors.
Example: A corporate style guide dictates specific font sizes and styles for different heading levels. By defining those in FrameMaker styles, and applying them consistently, you maintain the required style across all documents, greatly reducing the risk of deviation.
Q 5. How familiar are you with FrameMaker’s template functionality?
I’m very familiar with FrameMaker’s template functionality. I consider it a cornerstone of efficient and consistent document creation. Templates provide a pre-defined structure, including styles, master pages, and even initial content, saving significant time and ensuring consistency across multiple projects or documents within a single project.
Practical Application: I routinely use templates to create consistent documentation for different product releases. A single template is set up with the company’s branding, specific style guidelines, and a pre-defined structure for each chapter. Creating new documents then becomes a simple matter of copying the template and populating it with the content for the new release, maintaining a consistent format without needing to repeatedly configure styles and other parameters. This saves substantial time and effort on formatting.
Q 6. Describe your experience with FrameMaker’s automation features (e.g., scripts, macros).
I have considerable experience using FrameMaker’s automation features, including scripts and macros. I’ve found these tools indispensable for streamlining repetitive tasks and enhancing productivity. I’m proficient in using both built-in FrameMaker functions and extending its capabilities with external scripting languages (e.g., VBScript, JavaScript).
Examples of automation:
- Automated Table of Contents generation: Using a script, I can automatically generate a table of contents, including nested levels and cross-references, upon the click of a button.
- Batch processing of multiple documents: I have created scripts to perform tasks such as converting many files to specific formats (PDF, HTML) at once.
- Customizing the user interface: Macros can be used to enhance the user interface by adding custom toolbars or shortcuts. This increases efficiency by providing rapid access to frequently used functions.
Example: In one project, I created a macro to automatically insert chapter numbers and titles, format them according to our style guide and add a corresponding table of contents entry. This eliminated the need for manual input for each chapter, saving significant time and reducing errors.
Q 7. How do you manage large and complex FrameMaker projects?
Managing large and complex FrameMaker projects requires a structured approach. My strategies include:
- Modular Content: Breaking down the project into smaller, manageable modules allows for easier collaboration and version control. This also promotes reuse of content and simplifies updating.
- Version Control: Utilizing a version control system (e.g., Git) is essential to track changes, manage revisions, and facilitate collaboration among team members. It is important to integrate it into the publishing workflow.
- Structured Authoring: Implementing structured authoring techniques (e.g., using XML and DITA) improves content organization and maintainability.
- Team Collaboration: Establishing clear communication channels and workflows to facilitate teamwork and ensure consistency across the project.
- Regular Backups: Implementing a routine backup system to prevent data loss is absolutely vital, and ensuring that backup strategy includes a recovery plan.
Example: In a large technical documentation project, we divided the documentation into functional modules. Each module was assigned to a team member, enabling parallel work. A version control system tracked changes, preventing conflicts and ensuring we always had access to previous versions. The final product was assembled from the individual modules, providing a streamlined process.
Q 8. Explain your approach to troubleshooting FrameMaker issues.
My approach to troubleshooting FrameMaker issues is systematic and methodical. I start by identifying the specific problem – is it a formatting issue, a crashing problem, a missing element, or something else? Then, I employ a multi-pronged approach:
- Reproduce the error: I try to replicate the issue consistently. This helps pinpoint the exact steps causing the problem.
- Check the obvious: Simple things like incorrect file paths, missing fonts, or low memory can often be the culprit. I address these first.
- Consult FrameMaker’s help documentation and online resources: Adobe’s help system and community forums are invaluable resources for finding solutions to known problems.
- Examine the document structure: I carefully review the document’s structure, looking for inconsistencies, corrupted elements, or problematic styles.
- Test incremental changes: If I suspect a specific element or operation is causing problems, I test making incremental changes to isolate the root cause.
- Use FrameMaker’s debugging tools: FrameMaker has built-in tools that can help identify issues like memory leaks or corrupted elements.
- Create a minimal reproducible example: If the issue persists, I’ll create a small, simplified document that reproduces the error. This greatly aids in diagnosing the issue and sharing the problem with others if necessary.
For example, if a table is unexpectedly misaligned, I would first check the table’s properties, then look for conflicting styles, and finally consider if any underlying XML structures are affecting layout. By following these steps, I can usually effectively resolve FrameMaker issues quickly and efficiently.
Q 9. What is your experience with version control systems used alongside FrameMaker?
My experience with version control systems alongside FrameMaker centers primarily on Git, integrated via a system like Git LFS (Large File Storage). FrameMaker files, particularly those with numerous images and complex structures, can be quite large. Git LFS handles these large files efficiently, allowing for smooth version control without bloating the repository.
In practice, I use Git to track changes to FrameMaker documents, allowing for easy collaboration with others. Branching allows for parallel work on different versions or features. Commit messages clearly describe the changes made, ensuring a detailed history of revisions. This allows us to revert to previous versions if needed, and to trace back the cause of any issues. It’s a critical element for managing complex projects and ensuring document integrity across multiple contributors and revisions.
Q 10. How do you incorporate images and graphics effectively within FrameMaker documents?
Incorporating images and graphics effectively in FrameMaker involves careful consideration of several factors: resolution, file format, placement, and linking.
- Resolution: Using high-resolution images ensures that the images remain sharp and clear, regardless of the final output format.
- File format: I generally prefer using formats like TIFF or EPS for high-quality images, and JPEG for photographs. Selecting the appropriate format ensures optimal quality and file size.
- Placement: Using FrameMaker’s tools for image placement allows precise control over positioning, wrapping text around images, and image scaling.
- Linking versus embedding: I usually link to images, particularly large ones, to avoid significantly increasing the file size of the FrameMaker document itself. Embedding is only employed for small images that need to be included directly.
- Compression: For images used online or for web output, I utilize appropriate compression techniques to reduce file size while maintaining visual quality.
For example, when creating a technical manual with numerous diagrams, I would link the high-resolution diagrams using TIFF format, ensuring ease of updating and optimal quality. For smaller, decorative images, I might embed a compressed JPEG.
Q 11. Describe your experience with FrameMaker’s table creation and formatting capabilities.
FrameMaker’s table creation and formatting capabilities are extensive and very powerful. I’m proficient in creating various table structures, from simple data tables to complex layouts with nested tables and spanning cells.
- Structure: I effectively create and manipulate tables using FrameMaker’s intuitive table creation tool, paying careful attention to column widths, cell alignment, and row heights.
- Formatting: I leverage FrameMaker’s rich formatting options to apply styles and formatting consistently, ensuring visual appeal and readability. This includes options for borders, shading, cell padding, and more.
- Advanced features: I utilize FrameMaker’s advanced features, such as conditional text in tables, to create dynamic tables. This is especially useful for creating tables that adapt to different data sets or output requirements.
- Import/Export: I can seamlessly import and export tables to and from other formats such as CSV or Excel, streamlining workflow and enhancing efficiency.
For example, I’ve created complex tables for regulatory documents that require specific formatting and consistent cell alignment across numerous pages, utilizing nested tables and styles to maintain accuracy and consistency.
Q 12. How familiar are you with FrameMaker’s conditional text features?
I’m very familiar with FrameMaker’s conditional text features. This is a powerful tool for creating documents that adapt to various conditions or audiences. Conditional text allows you to show or hide text based on specified conditions, such as user-defined variables or conditions set in the publishing process.
<condition>...</condition> tags are used to define conditional text. These tags can be nested and combined using logical operators (AND, OR, NOT) allowing for complex scenarios. For example, you might create a document that has different sections based on the user’s selected language or options chosen during publishing.
I use conditional text extensively for creating personalized documents, producing multiple versions of the same document with minor variations, or dynamically adapting content based on variables defined during the publishing process. This reduces manual effort and ensures accuracy.
Q 13. Explain how you use styles and style sheets in FrameMaker to maintain consistency.
Styles and style sheets are fundamental to maintaining consistency in FrameMaker documents. They define the formatting for various elements, such as headings, paragraphs, tables, and images. By applying styles consistently, you ensure uniformity across the entire document, saving time and ensuring a professional appearance.
- Creating styles: I create styles to define the formatting of various elements, specifying font, size, color, spacing, and other attributes.
- Applying styles: I apply styles consistently throughout the document, rather than manually formatting each element.
- Style sheets: I use style sheets to manage and organize styles, making it easier to update formatting globally.
- Style inheritance: I take advantage of style inheritance, allowing styles to inherit properties from parent styles, streamlining the creation and maintenance of styles.
This approach ensures that even if the document is updated or revised multiple times, consistency in formatting is maintained across the project. Imagine a large technical manual: consistent styling ensures readability and professional presentation.
Q 14. What is your experience with FrameMaker’s built-in spell check and grammar tools?
FrameMaker’s built-in spell check and grammar tools are essential for ensuring document accuracy. While not perfect, they significantly improve the quality and professionalism of the final product. I use these tools as part of my standard quality control process.
- Spell check: I use the spell check to identify spelling errors and typos, correcting them efficiently.
- Grammar check: The grammar check helps identify grammatical errors, improving sentence structure and clarity.
- Custom dictionaries: I know how to add custom dictionaries for technical terms or specialized vocabulary that may not be included in the standard dictionary.
- Contextual awareness: I am aware of the limitations of automated grammar checks and manually review flagged items, exercising my own judgment to ensure accuracy and appropriateness in the context of the document.
While these tools are helpful, they aren’t a replacement for a thorough human review. They serve as a first line of defense against common errors, accelerating the editing process and freeing up time for higher-level review.
Q 15. How do you ensure accessibility in your FrameMaker documents?
Ensuring accessibility in FrameMaker documents is crucial for inclusivity. It involves making the content usable by people with disabilities, such as visual or motor impairments. This is achieved through careful structuring, tagging, and the use of appropriate alternative text.
- Structured Content: FrameMaker’s XML capabilities are key. By using appropriate tags and structuring the document logically (e.g., using paragraph styles consistently for headings, body text, etc.), screen readers can interpret the information accurately. Think of it like giving clear directions to a navigation system – the more organized, the easier it is to follow.
- Alternative Text for Images: Every image needs descriptive alternative text (alt text) that conveys the image’s meaning to users who can’t see it. This is done via the image properties in FrameMaker.
- Logical Heading Structure: Using FrameMaker’s heading styles consistently (H1, H2, H3, etc.) creates a semantic hierarchy. This enables screen readers to navigate the document efficiently, allowing users to skip to specific sections.
- Table Structure and Captions: Tables should be clearly structured, with header cells defining the columns. Appropriate captions are crucial for context.
- Color Contrast: Ensure sufficient contrast between text and background colors for readability. FrameMaker doesn’t have a built-in contrast checker, but tools outside the application can be used to verify sufficient contrast.
For example, instead of an image of a graph just labeled ‘Sales Data,’ I would use alt text like: ‘Bar graph showing monthly sales figures from January to December, with peak sales in July and a dip in February.’
Career Expert Tips:
- Ace those interviews! Prepare effectively by reviewing the Top 50 Most Common Interview Questions on ResumeGemini.
- Navigate your job search with confidence! Explore a wide range of Career Tips on ResumeGemini. Learn about common challenges and recommendations to overcome them.
- Craft the perfect resume! Master the Art of Resume Writing with ResumeGemini’s guide. Showcase your unique qualifications and achievements effectively.
- Don’t miss out on holiday savings! Build your dream resume with ResumeGemini’s ATS optimized templates.
Q 16. Describe your experience with importing and exporting content in FrameMaker.
My experience with importing and exporting content in FrameMaker is extensive. I’ve worked with various formats, adapting workflows to suit different projects and client needs. It’s important to understand the nuances of each format to avoid data loss or formatting inconsistencies.
- Import: I’ve successfully imported content from Word, InDesign, and even plain text files. FrameMaker handles these conversions relatively well, but manual cleanup is often necessary to ensure consistent formatting and style application.
- Export: I routinely export to PDF (the most common output), but I have also used other formats like RTF, XML, and even HTML. Knowing which export options to select (e.g., high-resolution PDF for print, tagged PDF for accessibility) is crucial. The XML export is especially useful for content reuse and structured authoring.
- Challenges: Complex formatting from other applications may not translate perfectly. For instance, nested tables or unusual styles might require manual intervention after import. When exporting, selecting the appropriate output options (e.g., image resolution, font embedding) is critical to maintaining document quality.
In one project, we imported content from multiple Word documents. To streamline this, I created a FrameMaker template with pre-defined styles, ensuring consistency across the final document. This saved significant time and effort in post-import cleanup.
Q 17. How do you manage the review and approval process for documents created in FrameMaker?
Managing the review and approval process for FrameMaker documents involves using a combination of FrameMaker’s built-in features and external tools. For small projects, internal review cycles are often sufficient. Larger projects frequently benefit from using a dedicated document management system.
- FrameMaker’s Track Changes: This feature allows multiple reviewers to add comments and suggested edits directly within the document. This provides a clear record of changes and discussions.
- PDF Proofs: Generating PDF proofs for review ensures consistency and simplifies the process of identifying errors in layout and formatting, independent of the actual FrameMaker software.
- External Review Tools: Integrating with tools like Acrobat Pro’s comment features can supplement FrameMaker’s review features, offering centralized comment management and version control.
- Version Control: Using a version control system (e.g., Git) can track all modifications, allowing for easy rollback and comparison of different document versions. Though not directly integrated into FrameMaker, it’s a valuable practice for larger, complex projects.
For example, I once managed a project with five reviewers. We used FrameMaker’s Track Changes, generating PDFs regularly for each review cycle. This facilitated clear feedback, improved efficiency, and ensured all changes were tracked meticulously.
Q 18. What are your preferred methods for creating and managing books and chapters in FrameMaker?
Creating and managing books and chapters in FrameMaker is a key part of my workflow. FrameMaker’s book functionality is powerful, providing features for efficient organization and management of large documents.
- Book Files: FrameMaker’s book files allow you to combine multiple individual chapters (or even entire sections) into a single publication. This centralizes control and simplifies updates.
- Chapter Files: Each chapter is managed as a separate file, which facilitates parallel work among multiple authors or editors. This modular approach improves collaboration and project management.
- Cross-referencing: FrameMaker allows cross-referencing within and across chapter files, ensuring consistency and enabling easy navigation through the entire book.
- Automatic Numbering: Automatic chapter and section numbering streamlines updates and reduces the chance of manual errors.
Think of it like building with Lego blocks – each chapter is a separate, manageable block that can easily be assembled into a larger, cohesive structure.
Q 19. Describe your experience with FrameMaker’s output options (e.g., PDF, print).
FrameMaker offers various output options, enabling tailored results depending on the intended purpose (print, online, accessibility). Understanding these options is key to producing high-quality documents.
- PDF: This is the most common output for both print and digital distribution. FrameMaker allows for highly customizable PDF settings (e.g., compression, page size, embedded fonts).
- Print: Direct printing from FrameMaker allows for immediate hard copies. However, for high-quality results and precise control over print settings, creating a PDF for print is generally recommended.
- Other Formats: FrameMaker supports export to RTF, HTML, XML, and other formats. The choice depends on the specific needs of the project, for example, XML for structured content reuse or HTML for web publishing.
- Tagged PDF: For accessibility, generating a tagged PDF is essential. This ensures screen readers can accurately interpret the content, making the document accessible to users with disabilities.
For instance, I once generated both a print-ready PDF (high resolution, embedded fonts) and an online PDF (optimized for smaller file size) from the same FrameMaker file, maximizing efficiency and catering to different distribution methods.
Q 20. How do you handle inconsistencies in formatting during a collaborative FrameMaker project?
Handling formatting inconsistencies in collaborative FrameMaker projects requires a proactive approach. Prevention is far better than cure.
- Style Sheets: Enforce the consistent use of pre-defined styles. This ensures that all elements (headings, paragraphs, lists, etc.) are formatted uniformly. Creating a style guide helps team members adhere to a standardized format.
- Templates: Start every document with a well-structured template that defines the base formatting. This minimizes the chance of variations introduced from scratch.
- Regular Reviews: Conduct periodic reviews of the document to identify and correct any inconsistencies that might have slipped through. FrameMaker’s ‘Find and Replace’ functionality can be very helpful in this regard, ensuring style consistency.
- Training: Training team members on proper FrameMaker usage and style application is crucial. Clear guidelines and a consistent approach are essential to avoid conflicts.
In one project, I created a detailed style guide and provided hands-on training for the team. This minimized inconsistencies and drastically reduced the time spent resolving formatting issues later in the project.
Q 21. Explain your experience with using FrameMaker’s features for creating indexes and tables of contents.
FrameMaker’s features for creating indexes and tables of contents are efficient and essential for professional documentation. They save significant time and effort compared to manual methods.
- Index Creation: FrameMaker allows you to create indexes automatically by tagging index entries in your document. The application can then generate the index based on these tags, making the process straightforward and accurate.
- Table of Contents: Similar to the index, FrameMaker automatically generates tables of contents based on the document’s heading structure. This ensures accuracy and keeps the TOC up-to-date as the document evolves.
- Customization: Both indexes and tables of contents are highly customizable. You can adjust their formatting, including font styles, spacing, and numbering schemes. This allows for fine-tuned control over the final look.
- Cross-referencing within Indexes and TOC: FrameMaker enables cross-referencing from the index or TOC to the appropriate page numbers or sections, enhancing document navigation.
For example, I’ve utilized FrameMaker’s automated index generation features for several large technical manuals. This saved countless hours of manual work and significantly improved accuracy compared to manual index creation.
Q 22. How do you ensure that your FrameMaker documents are consistent with a brand’s style guide?
Maintaining brand consistency in FrameMaker is paramount for professional documents. I achieve this through a multi-pronged approach. First, I meticulously import the brand’s style guide into FrameMaker, leveraging its powerful style sheet capabilities. This involves creating or modifying paragraph, character, and table styles to match fonts, colors, spacing, and other stylistic elements specified in the guide. For example, if the style guide dictates a specific heading format (e.g., 16pt Arial Bold, with a specific color), I’ll create a corresponding style in FrameMaker and rigorously apply it to all headings throughout the document.
Second, I utilize FrameMaker’s master pages to enforce consistent page layouts, including headers, footers, and page numbers. Master pages provide a template for each page type, ensuring uniformity. Finally, I create templates based on these master pages and styles to streamline document creation, preventing inconsistencies from the outset. This template approach ensures new documents automatically adhere to the brand guidelines.
Regular audits are crucial. I perform periodic checks to ensure all styles and master pages remain aligned with the updated style guide, particularly important in projects with extended timelines or multiple contributors.
Q 23. Describe a situation where you had to solve a challenging FrameMaker-related problem.
I once faced a complex issue involving the automated generation of a large technical manual with numerous cross-references and tables of contents. The client required a final PDF file that was optimized for accessibility (tagged PDF). Unfortunately, the existing FrameMaker document contained inconsistencies and errors in the cross-references and table of contents, generating numerous PDF accessibility errors upon export. To solve this, I first used FrameMaker’s powerful find and replace features to systematically clean up the inconsistencies within the cross-references. I verified the accuracy of each cross-reference manually to ensure integrity. For the tables of contents, I thoroughly reviewed the document structure, ensuring all chapter and section headings were properly formatted with appropriate styles.
Next, to address the accessibility issues, I meticulously checked the document’s structure using the FrameMaker’s built-in accessibility checker and resolved the issues. I then focused on ensuring appropriate tagging was applied during the PDF export. This involved configuring the appropriate export settings in FrameMaker to generate a tagged PDF that met accessibility guidelines. Finally, I used a third-party accessibility validator to perform additional verification of the PDF. Through this combination of meticulous cleanup, structural refinement, and careful export configuration, I successfully produced the required accessible PDF.
Q 24. What are some limitations of FrameMaker, and how do you work around them?
While FrameMaker is powerful, some limitations exist. One is its steep learning curve, particularly for users unfamiliar with DTP software. Complex layouts might require significant effort to achieve, especially for users lacking sufficient experience with advanced features. Another limitation is its relatively high cost and its less robust support for collaborative editing compared to newer cloud-based solutions.
To overcome the learning curve, I utilize extensive online tutorials, FrameMaker’s help documentation, and structured training to help users understand the software’s functionalities. For collaboration limitations, I compensate by using version control systems like Git to track changes and centralize the document for collaboration. I also frequently leverage the comment features built into FrameMaker, though this does not provide the same real-time collaborative capabilities as some newer platforms.
Q 25. What are your preferred methods for keeping up to date with FrameMaker’s new features and updates?
Staying current with FrameMaker is essential. I primarily utilize Adobe’s official website, which provides detailed release notes, tutorials, and documentation for new features and updates. I also regularly subscribe to relevant industry blogs and forums focusing on technical communication and DTP software. Participating in these online communities allows me to learn from others’ experiences and discover new tips and tricks. Additionally, I often attend webinars and training sessions offered by Adobe or third-party training providers to acquire hands-on experience with the latest releases.
Q 26. Explain your experience with using FrameMaker’s collaboration features.
My experience with FrameMaker’s collaboration features is mixed. While FrameMaker doesn’t have built-in real-time co-authoring comparable to Google Docs, it offers features that facilitate collaborative workflows. I’ve successfully used its commenting tools extensively for review and feedback processes. Each reviewer can leave comments directly on the document, streamlining the revision process. Additionally, leveraging version control, like Git, alongside FrameMaker, allows multiple users to work on different parts of the document and merge their contributions effectively. This requires careful planning and coordination to minimize conflicts.
However, for truly simultaneous editing, I often explore using cloud-based solutions which can handle these aspects more efficiently. These external collaborative editing tools may not be the most integrated solution but they enable real-time collaboration for the parts that demand it.
Q 27. How do you optimize FrameMaker documents for different output targets (e.g., web, print)?
Optimizing FrameMaker documents for different output targets (print and web) requires a strategic approach. For print, the focus is on high-resolution images, accurate color representation, and proper layout for optimal readability. I would ensure all images are at the appropriate resolution (300 DPI or higher) and utilize CMYK color profiles for consistent color reproduction. Precise typographic control and attention to detail for print-specific elements are also critical here.
For web output, the priority is on smaller file sizes, responsive design, and accessibility. I would optimize images using appropriate compression techniques and reduce file sizes for faster loading times. Using web-safe fonts or embedding fonts carefully is essential for consistent rendering across different devices. For accessibility, I pay close attention to semantic HTML tagging during export. Furthermore, I’d employ FrameMaker’s export options to ensure the web output is accessible, uses appropriate CSS for layout, and is generally web friendly. Often, converting to a suitable format like HTML using FrameMaker’s export function is crucial for optimizing for web.
Key Topics to Learn for FrameMaker Interview
- Document Structure and Layout: Mastering FrameMaker’s tools for creating structured documents, including using master pages, paragraph styles, and character styles for consistent formatting and efficient content management.
- Content Management: Understanding how to effectively manage large and complex documents, including using FrameMaker’s features for version control, collaboration, and content reuse. Practical application: Describe a scenario where you managed a complex document and the strategies you employed.
- Tables and Graphics: Demonstrate proficiency in creating and manipulating tables, importing and editing graphics, and ensuring visual consistency within your documents.
- XML and Structured Content: Understanding how FrameMaker handles XML and structured content, and its role in creating adaptable and reusable documents. Practical application: Explain how you’ve used structured content to create more efficient workflows.
- Advanced Features: Explore FrameMaker’s advanced features such as conditional text, indexes, tables of contents, and cross-referencing. Be prepared to discuss your experience with these features and their benefits.
- Troubleshooting and Problem-Solving: Be prepared to discuss how you approach troubleshooting document issues, and how you resolve common formatting or structural problems in FrameMaker.
Next Steps
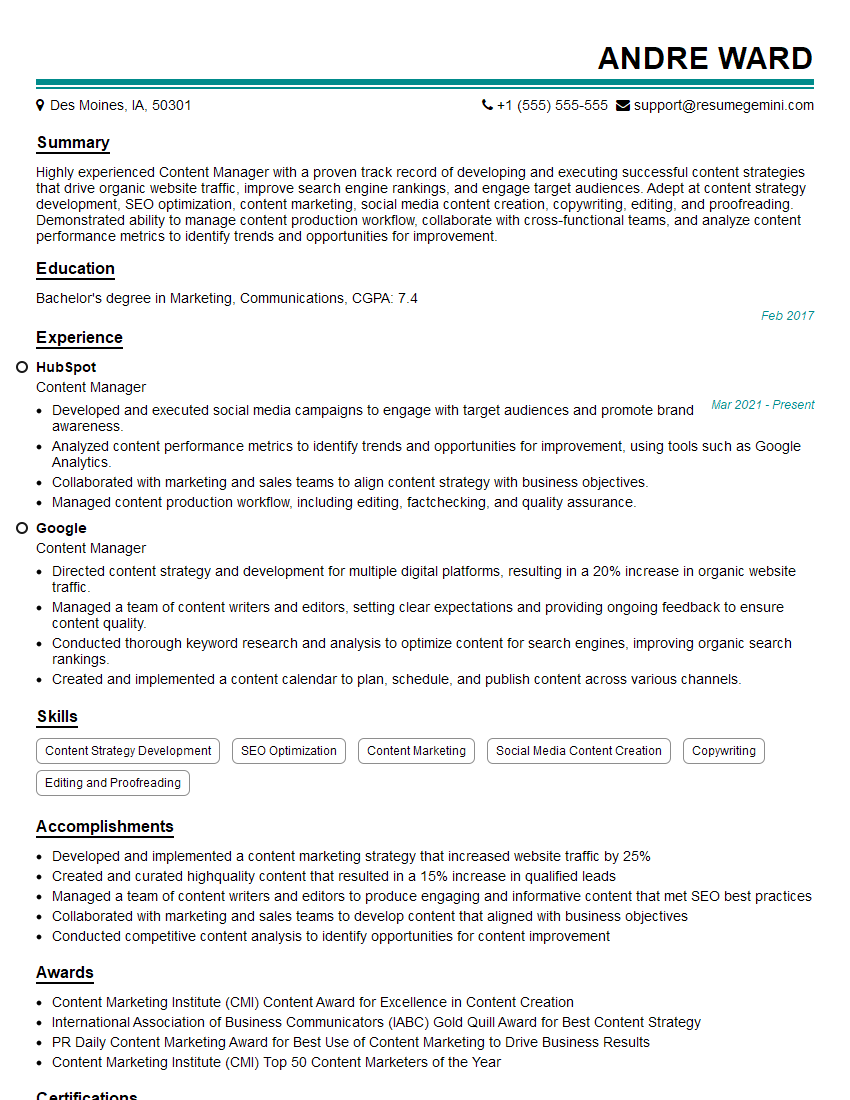
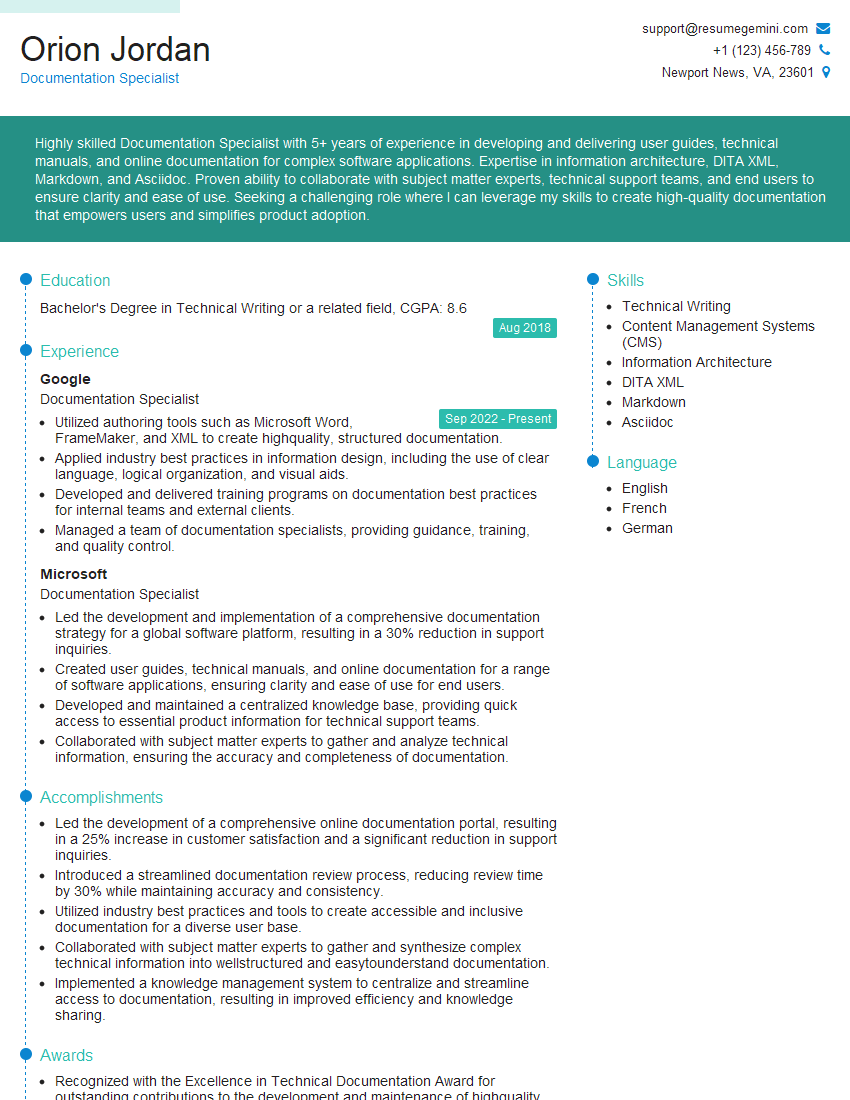
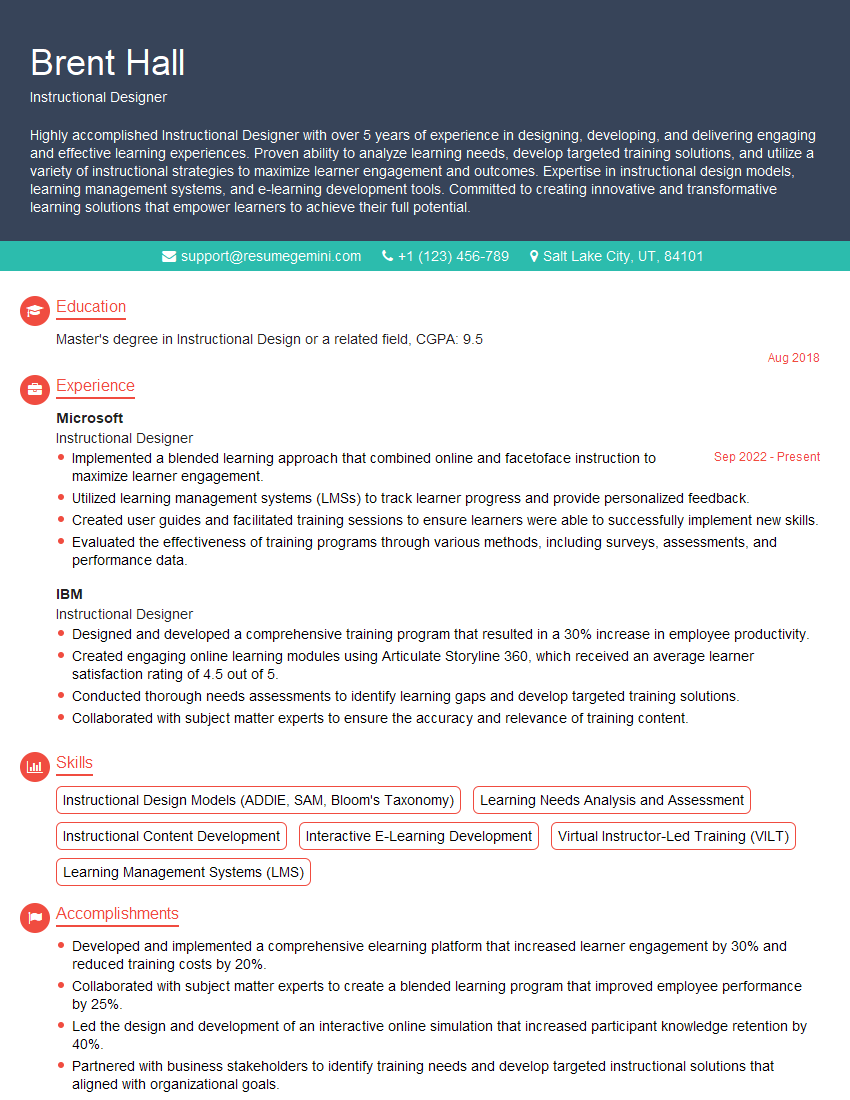
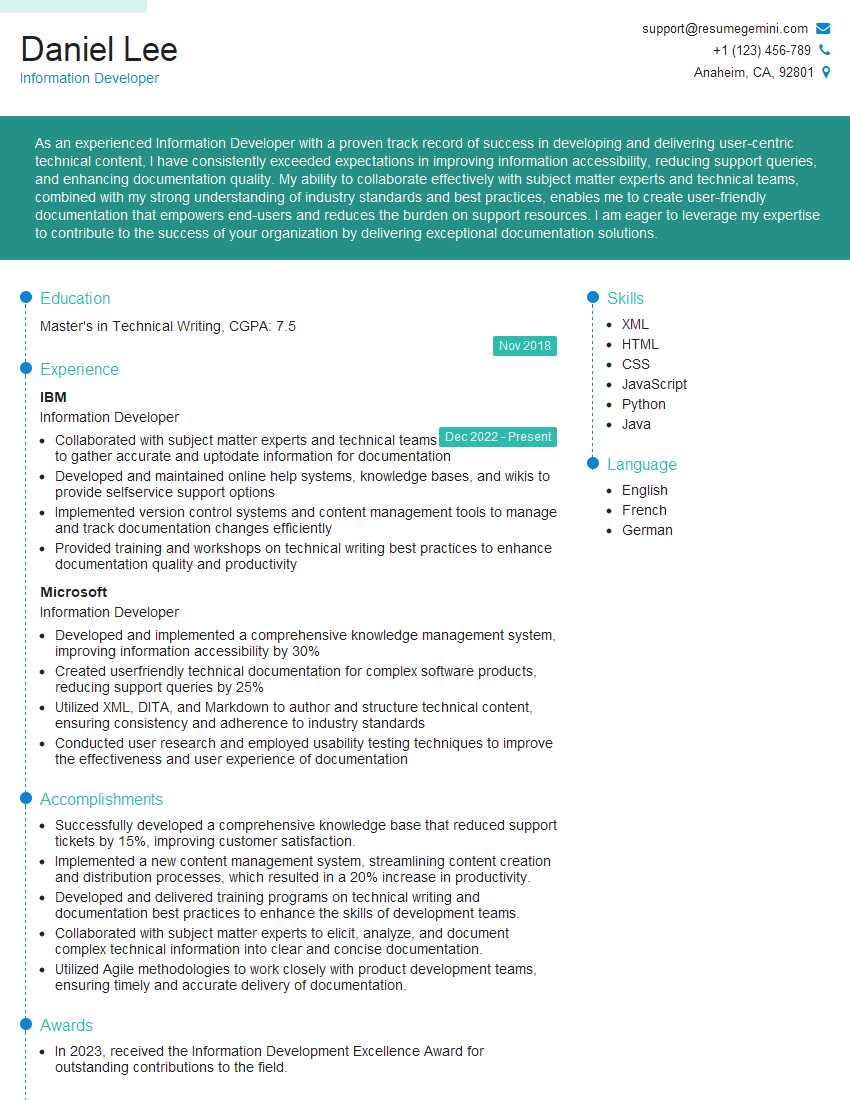
Mastering FrameMaker opens doors to exciting opportunities in technical writing, publishing, and documentation roles. In today’s competitive job market, a well-crafted resume is crucial. An ATS-friendly resume increases your chances of getting your application noticed. To build a compelling and effective resume that showcases your FrameMaker skills, we strongly encourage you to use ResumeGemini. ResumeGemini provides a user-friendly platform and valuable tools for crafting professional resumes. Examples of resumes tailored to FrameMaker professionals are available to guide you.
Explore more articles
Users Rating of Our Blogs
Share Your Experience
We value your feedback! Please rate our content and share your thoughts (optional).
What Readers Say About Our Blog
Take a look at this stunning 2-bedroom apartment perfectly situated NYC’s coveted Hudson Yards!
https://bit.ly/Lovely2BedsApartmentHudsonYards
Live Rent Free!
https://bit.ly/LiveRentFREE
Interesting Article, I liked the depth of knowledge you’ve shared.
Helpful, thanks for sharing.
Hi, I represent a social media marketing agency and liked your blog
Hi, I represent an SEO company that specialises in getting you AI citations and higher rankings on Google. I’d like to offer you a 100% free SEO audit for your website. Would you be interested?
