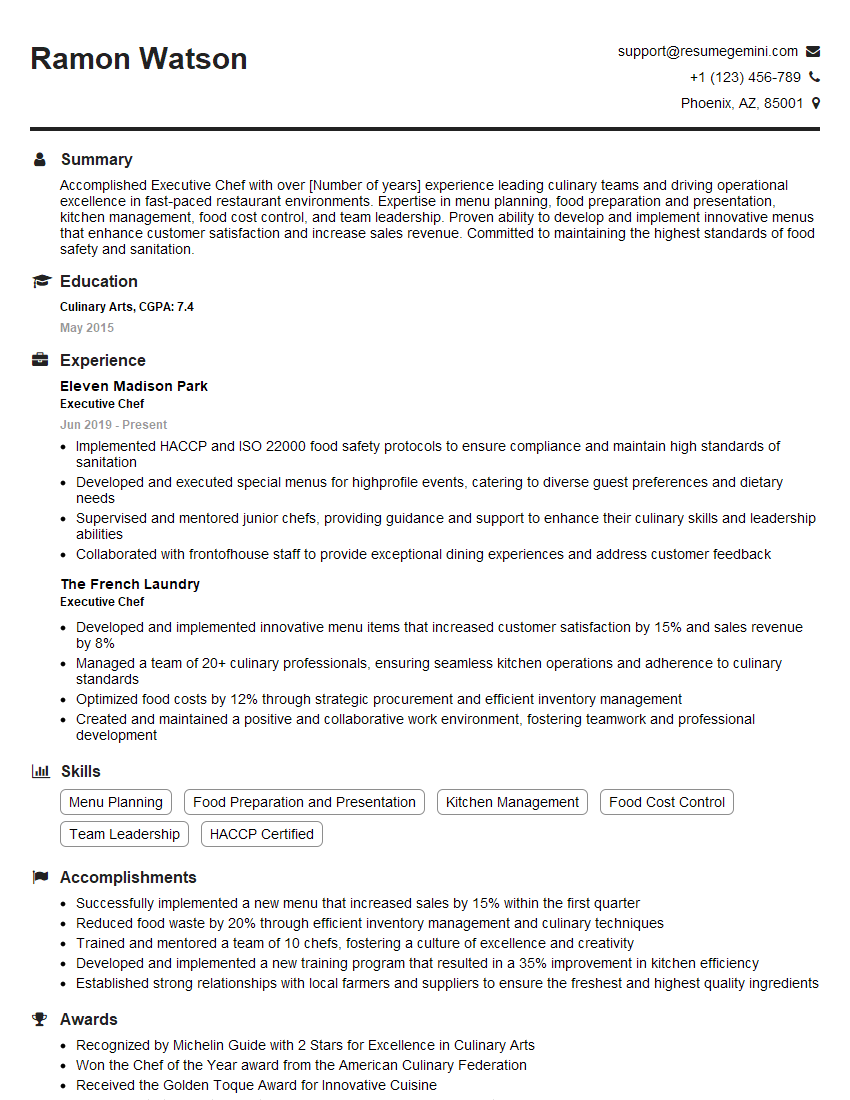
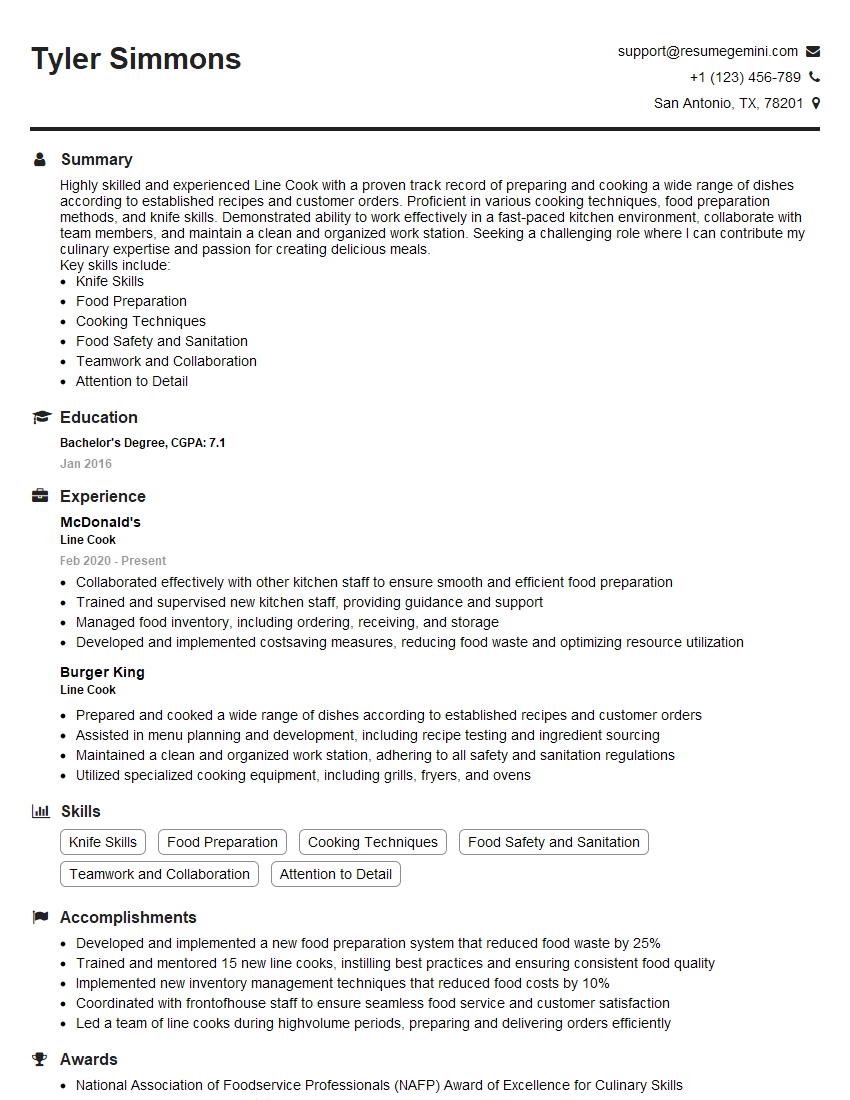
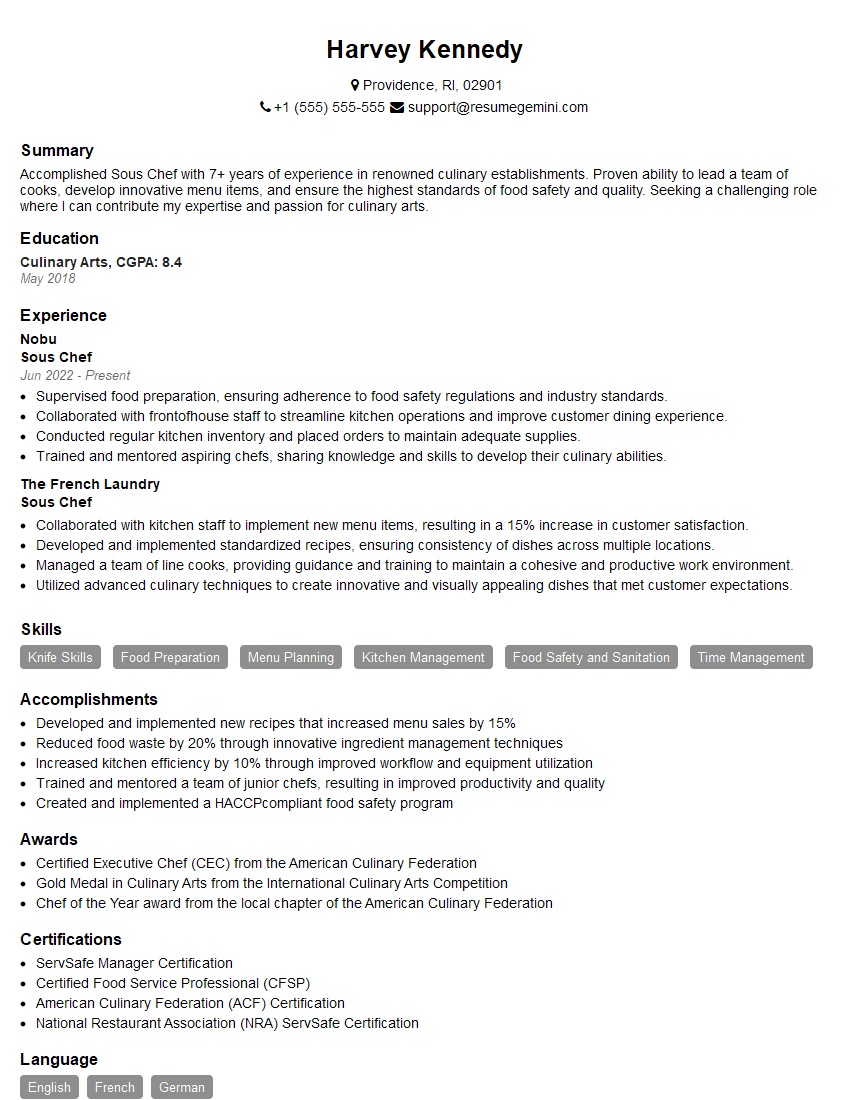
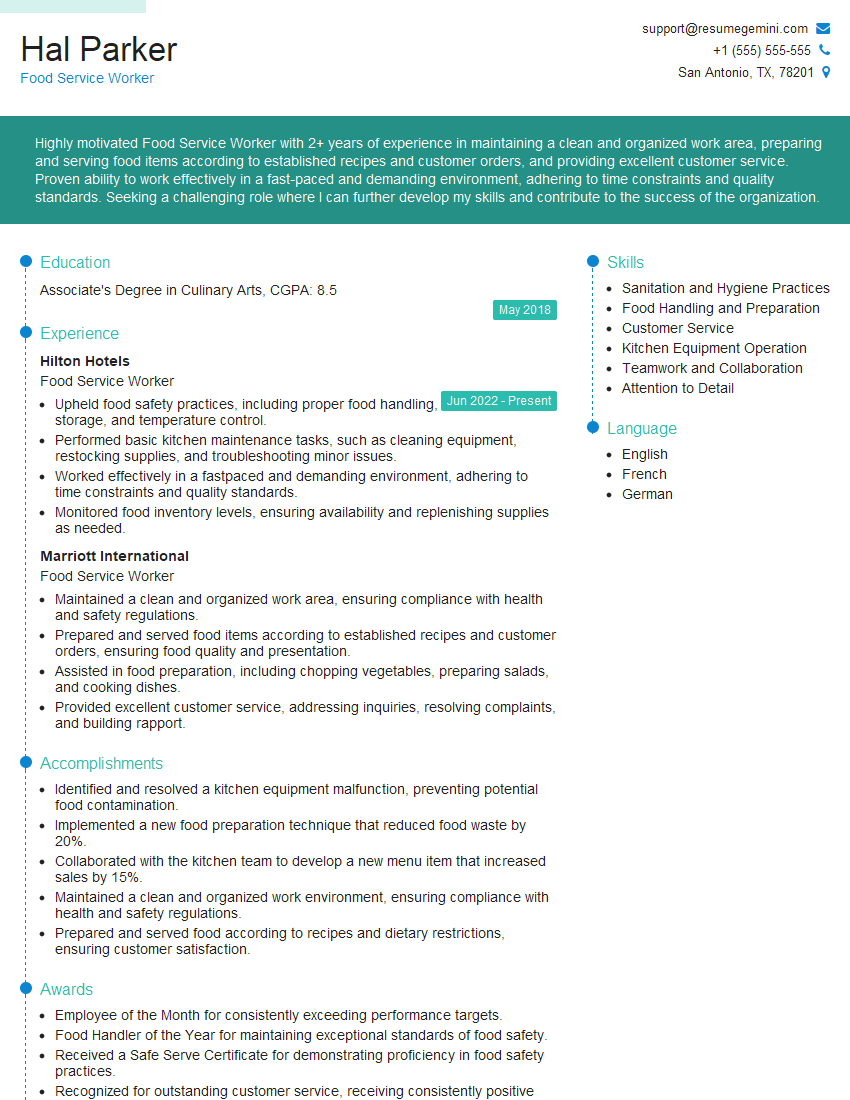
Cracking a skill-specific interview, like one for Knife Cutting, requires understanding the nuances of the role. In this blog, we present the questions you’re most likely to encounter, along with insights into how to answer them effectively. Let’s ensure you’re ready to make a strong impression.
Questions Asked in Knife Cutting Interview
Q 1. Describe the different grips used in knife cutting.
Knife grips are fundamental to safe and efficient cutting. The wrong grip can lead to accidents or inefficient work. Three main grips are commonly used: the pinch grip, the handle grip, and the claw grip.
- Pinch Grip: This grip involves holding the knife blade between your thumb and index finger, close to the bolster (the metal section where the blade meets the handle). Your other fingers gently curl around the handle for support. It’s ideal for precise cuts like mincing or detailed work. Think of it like holding a delicate pencil.
- Handle Grip: This grip is more relaxed and suitable for larger cuts and more robust vegetables. Your hand completely encloses the handle with your fingers and thumb, offering maximum control and stability. This is your go-to grip for chopping and slicing.
- Claw Grip: The claw grip is crucial for safety, especially when working with large vegetables or items that might move. Your non-dominant hand curls its fingers inwards, keeping them tucked away from the knife’s path while using your thumb and index finger to guide the food. This prevents accidental cuts. Imagine gently tucking your fingertips under as if you’re protecting them.
Mastering these grips is key to becoming proficient with a knife.
Q 2. Explain the proper technique for a chiffonade cut.
A chiffonade cut is used to create thin ribbons of leafy greens like basil, spinach, or lettuce. It’s a delicate technique that requires a sharp knife.
- Stack the leaves: Neatly stack your leaves on top of one another.
- Roll tightly: Roll the leaves tightly into a cigar-like shape.
- Slice thinly: Using a sharp knife, make thin, even slices across the roll. This creates consistent ribbons.
- Unfurl and check: Gently unfurl the ribbons and check for uniform thickness and consistency. Adjust your cutting technique if needed.
The key is to maintain a firm but not overly aggressive grip. A sharp knife is crucial to prevent tearing of the delicate leaves.
Q 3. How do you safely handle a chef’s knife?
Safe chef’s knife handling is paramount. It begins with understanding its weight and balance.
- Sharpness: A sharp knife is safer than a dull one. A dull knife requires more force, increasing the risk of slips and accidents.
- Grip: Always use a firm, controlled grip, adapting between the pinch, handle, and claw grips as needed, depending on the task.
- Placement: Place the knife down safely when not in use. Never leave it lying around where someone could accidentally grab it.
- Cutting board: Use a stable, non-slip cutting board. This prevents the knife from slipping and the food from shifting during the cutting process.
- Awareness: Maintain constant awareness of your surroundings and your knife’s position. Don’t rush; focus on the task.
Think of it as driving a car; a sharp knife is like a well-maintained vehicle, offering superior control and predictable handling.
Q 4. What are the common cuts used in professional kitchens?
Professional kitchens utilize a wide array of cuts, each serving a specific purpose. Some of the most common include:
- Dice (small, medium, large): Cubes of various sizes used for even cooking and presentation.
- Mince: Very finely chopped ingredients, often used for aromatics or as a component in sauces.
- Julienne: Thin, matchstick-shaped cuts used for garnishes or stir-fries.
- Brunoise: Extremely fine dice, creating tiny, uniform cubes.
- Chiffonade: Ribbon-like cuts of leafy greens, as described previously.
- Chop: Roughly chopped pieces, usually of irregular size and shape.
- Slice: Thin or thick cuts, often used for vegetables or proteins.
The choice of cut depends on the recipe and desired texture of the final dish. A perfectly julienned carrot looks vastly different from a roughly chopped one, and this difference greatly impacts the taste and texture.
Q 5. Explain the difference between a brunoise and a dice.
Both brunoise and dice cuts are used to create cubes, but they differ significantly in size.
- Dice: Creates cubes of various sizes, typically 1/4 inch, 1/2 inch, or 3/4 inch. The size is determined by the recipe’s requirements.
- Brunoise: This is the smallest dice cut, resulting in tiny cubes, approximately 1/8 inch or smaller. It demands precision and a very sharp knife. Imagine the size of a grain of rice.
The choice between these cuts depends heavily on the desired texture and visual appeal of the final dish. Brunoise, for instance, is often used for creating a uniform texture in complex sauces or garnishes.
Q 6. How do you maintain the sharpness of your knives?
Maintaining knife sharpness is essential for safety and efficiency. There are several methods:
- Honing: Daily honing with a honing steel realigns the blade’s edge, keeping it straight and sharp. It’s not sharpening, but rather maintaining the existing edge.
- Sharpening: Sharpening, done less frequently, uses a whetstone or sharpening steel to actually remove small amounts of metal from the blade, restoring the edge. This should be done with care and proper technique to avoid damaging the knife.
- Professional Sharpening: For high-quality knives, professional sharpening services may be necessary periodically to maintain optimal sharpness and ensure the blade’s longevity.
- Storage: Proper storage, such as magnetic strips or knife blocks, helps prevent damage to the knife’s edge.
Regular honing and occasional sharpening will extend the life of your knives and improve the safety and efficiency of your work.
Q 7. What are the safety precautions to take while using knives?
Knife safety should always be the top priority. Key precautions include:
- Sharp knives: Use only sharp knives; they require less force and are much safer than dull ones. A dull knife is more likely to slip.
- Proper grip: Always use a firm, controlled grip, as detailed above.
- Cutting board: Use a stable cutting board to prevent slippage.
- Cutting technique: Keep your fingers tucked in using the claw grip technique when necessary.
- Awareness: Never rush; stay focused on the task at hand.
- Cleaning: Clean knives immediately after use to prevent rust and damage.
- Storage: Store knives safely and securely to prevent accidents.
Remember, respecting your tools and employing safe practices isn’t just about following rules; it’s about protecting yourself and those around you.
Q 8. How do you properly clean and store knives?
Proper knife cleaning and storage are crucial for maintaining hygiene and extending the life of your knives. Think of it like this: your knives are precision instruments; treating them well ensures they perform at their best.
- Cleaning: Immediately after use, rinse your knives under warm, running water. Avoid soaking, as this can damage the handles. Gently scrub with a soft sponge or brush, paying close attention to the blade’s crevices. For stubborn food residue, a non-abrasive cleaner is suitable. Always wash the knives separately from other dishes to avoid accidental damage.
- Drying: Thoroughly dry your knives with a clean, soft towel. Leaving moisture on the blade can lead to rust and corrosion. Pat them dry gently; avoid harsh rubbing.
- Storing: Store your knives in a safe, designated location. Magnetic strips or knife blocks are excellent options, as they protect the blades and prevent accidental cuts. Avoid storing knives loosely in drawers, where they can become dull or damaged from contact with other utensils.
Remember, a well-maintained knife is a safe knife. Regular cleaning and proper storage prevent accidents and maintain the sharpness and longevity of your blades.
Q 9. Describe your experience with various knife types (e.g., paring, boning).
My experience spans a wide variety of knife types, each suited for specific tasks. It’s like having a specialized tool for every job in a workshop.
- Paring Knives: These small, nimble knives excel at detailed work like peeling fruits and vegetables, creating garnishes, or removing blemishes. Their precision is key for intricate tasks.
- Boning Knives: With their thin, flexible blades, boning knives are perfect for separating meat from bone. The flexibility allows them to navigate the contours of the bone, maximizing yield and minimizing meat waste. I’ve used them extensively in butchering whole poultry and larger cuts of meat.
- Chef’s Knives: The workhorse of the kitchen! The chef’s knife’s versatility allows for chopping, dicing, mincing, and slicing. Their larger blade size makes them efficient for larger quantities of ingredients.
- Serrated Knives: Essential for cutting through tough crusts or delicate foods like tomatoes without crushing them. Their serrated edge provides a saw-like action.
Each type of knife requires a different technique and understanding of its capabilities, which I’ve honed through years of practice and experience.
Q 10. How do you ensure consistent sizing and shape when cutting?
Consistency in cutting is paramount, especially in professional settings. It affects presentation, cooking time, and even the overall taste of the dish. Achieving this relies on a combination of technique and proper tools.
- Sharp Knife: A sharp knife is the foundation for consistent cuts. A dull knife requires more force, leading to uneven slicing and potentially dangerous slips.
- Proper Grip: A firm but relaxed grip is essential. Control the knife with your dominant hand, using your other hand to guide the food.
- Guide Hand Technique: Use the knuckles of your guide hand to control the height of your cuts. This technique keeps your fingers out of the path of the blade.
- Rock the Knife: For even slices, gently rock the knife back and forth, maintaining consistent pressure and a steady rhythm. Don’t saw back and forth.
- Practice: Consistent sizing and shape come with practice. Start with simple cuts and gradually move to more challenging ones.
Think of it as learning calligraphy – the more you practice, the better your control and consistency become.
Q 11. What are the different types of cuts for vegetables?
Vegetable cutting encompasses a diverse range of techniques, each designed to enhance texture, presentation, and cooking time.
- Dicing: Cutting into small, roughly equal cubes.
- Mincing: Finely chopping into very small pieces.
- Julienne: Cutting into long, thin matchsticks.
- Brunoise: A very fine dice, creating tiny cubes.
- Chiffonade: Stacking leafy greens and rolling them up before slicing into thin ribbons.
- Rondelle: Cutting into thin, round slices (e.g., carrots, zucchini).
Choosing the right cut depends on the recipe and the desired outcome. For example, a quick sauté might use larger diced vegetables, while a delicate soup requires finer cuts.
Q 12. How do you handle different textures of food while cutting?
Different food textures require adjusting your cutting technique to prevent damage or uneven results. It’s about adapting your approach to the material.
- Soft Foods (e.g., tomatoes): Use a sharp serrated knife or a very sharp chef’s knife with gentle, rocking motions to prevent crushing.
- Hard Foods (e.g., carrots, potatoes): Use a sharp knife and apply firm but controlled pressure to maintain consistent cuts. A rocking motion might be helpful to avoid unnecessary force.
- Firm Foods (e.g., apples, onions): A sharp knife is essential; use a combination of slicing and chopping depending on the desired outcome. For onions, a sharp knife minimizes tear production.
Experience helps you develop a feel for the right pressure and technique for a variety of textures. It’s like playing a musical instrument – you adapt your touch depending on the desired sound.
Q 13. How do you deal with a dull knife during a busy service?
A dull knife is a hazard and an impediment to efficiency during a busy service. Addressing this promptly is crucial.
- Honing Steel: If the knife is just slightly dull, using a honing steel can quickly restore the edge. This realigns the blade’s edge, making it sharper. It’s like tuning a guitar – maintaining the alignment helps keep it playing at its best.
- Sharpening: For significantly dull knives, sharpening is necessary. This involves using a sharpening steel, whetstone, or electric sharpener to remove microscopic imperfections from the blade. Sharpening should be done carefully and regularly to avoid damage to the knife.
- Replace Dull Knives: Very worn knives beyond simple honing or sharpening might need to be replaced. Continued use will compromise both efficiency and safety.
- Knife Rotation: Some kitchens use a rotation system, having a backup set of sharp knives. This prevents downtime due to dull knives.
Having a plan for handling dull knives – whether through honing, sharpening, or rotation – is essential for maintaining efficiency and safety in a fast-paced environment.
Q 14. Explain the process of breaking down a whole chicken.
Breaking down a whole chicken involves precise cuts to separate the different parts efficiently. Safety and hygiene are paramount.
- Remove the neck and giblets: These are typically found inside the chicken cavity.
- Remove the wings: Locate the joint where the wing meets the body and cut through it cleanly.
- Separate the legs and thighs: Find the joint where the leg meets the body; cut through the joint to separate the legs and thighs.
- Remove the breasts: This can be done by cutting along the keel bone, separating the breasts from the backbone. This can be done with the chicken laying flat or spatchcocked.
- Remove the backbone (optional): The backbone can be removed by running a knife along both sides of the backbone to create two halves. This is commonly done for spatchcocking, which allows for faster and more even cooking.
Each step needs precise cuts to prevent tearing the meat. A sharp boning knife is crucial for navigating the joints and separating the pieces cleanly. A well-broken-down chicken is not only easier to cook but also results in better yield and less waste.
Q 15. How do you fillet a fish?
Filleting a fish requires precision and a sharp knife. The goal is to remove the fillets – the edible side muscle – from the bone in one continuous piece. Think of it like carefully peeling away the meat from a framework.
- Prepare the fish: Rinse the fish and place it on a cutting board, belly side up.
- Initial cut: Starting at the head, carefully slice your knife along the fish’s belly, cutting through the skin and into the cavity to expose the backbone.
- Follow the backbone: Keeping the knife blade close to the bone, run the knife along the backbone toward the tail. You should feel the blade slip between the fillet and the rib cage.
- Separate the fillet: Continue the cut down to the tail, maintaining a thin slice, separating the fillet from the backbone.
- Repeat on the other side: Turn the fish over and repeat steps 3 and 4 to remove the second fillet.
- Clean up: Remove any remaining bones or pin bones from the fillets.
For different types of fish, you might need to adjust your technique slightly. For instance, a thicker fish like a salmon may require a slightly different approach than a delicate sole.
Career Expert Tips:
- Ace those interviews! Prepare effectively by reviewing the Top 50 Most Common Interview Questions on ResumeGemini.
- Navigate your job search with confidence! Explore a wide range of Career Tips on ResumeGemini. Learn about common challenges and recommendations to overcome them.
- Craft the perfect resume! Master the Art of Resume Writing with ResumeGemini’s guide. Showcase your unique qualifications and achievements effectively.
- Don’t miss out on holiday savings! Build your dream resume with ResumeGemini’s ATS optimized templates.
Q 16. Describe your experience with various meat cutting techniques.
My experience spans a wide range of meat cutting techniques, from basic butchering to more specialized cuts. I’m proficient in breaking down whole carcasses – beef, pork, lamb – into primal and sub-primal cuts. I’m familiar with various fabrication techniques, including dry-aging, wet-aging, and the differences in handling different muscle groups for optimal tenderness and flavor. I’ve worked extensively with poultry, knowing the nuances of boning, skinning, and portioning different cuts like breasts, legs, and thighs. With seafood, I’m comfortable with filleting, scaling, and skinning various species, adapting my techniques to different sizes and shapes.
I’ve also received advanced training in charcuterie and cured meats, where precision cutting is essential for creating uniform slices and maintaining product integrity. This experience extends beyond the basics, encompassing an understanding of muscle structure, connective tissue, and how different cuts react to various cooking methods. I also have experience with specialized equipment for more consistent results.
Q 17. What are the best practices for minimizing food waste while cutting?
Minimizing food waste is a priority. It’s not just about cost-effectiveness; it’s about sustainability. My strategies involve:
- Careful planning: Accurate estimation of portion sizes and utilizing all parts of the ingredients prevent unnecessary waste.
- Efficient cutting techniques: Knowing where and how to cut minimizes the loss of usable meat or vegetable.
- Creative repurposing: Trimmings and scraps are used where possible; for instance, vegetable scraps for stock, and meat trimmings for sausages or ground meat.
- Sharp knives: A sharp knife makes cleaner cuts, reducing food damage and waste. A dull knife requires more force, often leading to crushed or uneven cuts.
- Proper storage: Proper storage techniques (refrigeration or freezing) help maintain freshness and extend shelf life.
For example, when butchering a chicken, I utilize the carcass for stock and the wings and legs for other recipes instead of discarding them. This systematic approach has resulted in significant reductions in waste in my previous roles.
Q 18. How do you ensure food safety throughout the cutting process?
Food safety is paramount. My practices adhere strictly to HACCP (Hazard Analysis and Critical Control Points) principles:
- Cleanliness: Maintaining a spotless workspace, regularly sanitizing cutting boards and knives, and washing hands frequently are crucial.
- Temperature control: Following proper temperature guidelines for storing and handling raw and cooked foods is essential to prevent bacterial growth.
- Cross-contamination prevention: Using separate cutting boards and knives for raw and cooked foods prevents cross-contamination.
- Proper disposal: Disposing of waste promptly and correctly helps avoid attracting pests and preventing contamination.
- Personal hygiene: Maintaining personal hygiene, including wearing gloves when necessary, prevents transfer of bacteria from hands to food.
Following these protocols reduces the risk of foodborne illnesses dramatically. One incident is too many, so thoroughness and attention to detail are critical.
Q 19. What are the different types of cutting boards and their uses?
Different cutting boards serve different purposes:
- Wooden cutting boards: Durable and less likely to dull knives. However, require more care to prevent bacterial growth; they should be properly cleaned and oiled.
- Plastic cutting boards: Lightweight and easy to clean, but can be prone to scratches and may dull knives over time. Choose thicker boards for durability.
- Bamboo cutting boards: A good compromise between wood and plastic, offering durability and relative ease of cleaning. However, they can be more expensive.
- Glass cutting boards: Sanitize easily but risk chipping and can be hard on knives.
I often use multiple boards, one for raw meat, another for vegetables, and a separate one for prepared foods. This helps prevent cross-contamination.
Q 20. How do you handle a knife accident?
In the event of a knife accident, immediate action is key:
- Stop the bleeding: Apply direct pressure to the wound using a clean cloth to control bleeding.
- Clean the wound: Clean the wound with clean water and antiseptic.
- Seek medical attention: For deep cuts, significant bleeding, or any signs of infection, seek immediate medical attention.
- Report the incident: Report the incident to your supervisor, documenting the details for future safety improvements.
Prevention is the best method. I always ensure knives are stored properly, use appropriate cutting techniques and always cut away from myself.
Q 21. Explain your experience with different cutting tools (mandoline, etc.).
My experience with specialized cutting tools extends beyond basic knives. I’m proficient in using a mandoline slicer for consistent vegetable slices, essential for applications like salads and garnishes. The mandoline’s efficiency saves time and ensures uniform thickness; however, utmost care is essential to avoid injury. I also have experience with other tools like meat slicers, which are vital for creating thin, uniform slices of cured meats and roasts. These tools require proper training and maintenance for safe and efficient use.
The choice of tool depends on the task. While a chef’s knife remains versatile for most applications, specialized equipment increases productivity and ensures precision, leading to better results and a more consistent product.
Q 22. How do you adapt your knife skills to different recipes?
Adapting knife skills to different recipes is all about understanding the desired outcome. A delicate brunoise for a fine mirepoix requires a completely different approach than roughly chopping vegetables for a hearty stew. The key is to choose the right knife and cutting technique for the task.
- Fine Cuts (e.g., brunoise, julienne): These require a sharp chef’s knife or paring knife and precise, controlled movements. Think small, consistent cuts for even cooking and visual appeal. I often use a rocking motion for brunoise, ensuring each cut is perpendicular to the last.
- Medium Cuts (e.g., diced, chopped): A chef’s knife is my go-to here. I focus on efficient chopping, aiming for consistency in size, but speed is a factor. The ‘claw grip’ protects my fingers while maximizing efficiency.
- Large Cuts (e.g., rough chop, batons): Here, speed and efficiency are paramount. I might use a larger knife, like a cleaver, to quickly break down larger ingredients before refining the cuts. Safety is always first, so I maintain a firm grip and awareness of blade position.
For example, when preparing a delicate salmon fillet for searing, I use a very sharp fillet knife to create thin, even slices. However, when prepping vegetables for a robust chili, I might opt for a cleaver for a quicker, less precise chop.
Q 23. What methods do you use for portion control while cutting?
Portion control while cutting relies on a combination of techniques and planning. Pre-measuring ingredients before cutting is crucial for accuracy, especially in professional settings. Using guides, like measuring cups or standardized cutting boards with markings, also helps greatly.
- Visual Estimation: With experience, I can accurately estimate portions by visualizing the size and quantity of ingredients needed. This is particularly useful when working quickly.
- Uniform Cuts: Creating consistently sized cuts ensures even cooking and helps with portion control. A precise dice, for instance, guarantees even distribution across servings.
- Scaling Recipes: Understanding recipe scaling allows for adjusting portion sizes. If a recipe calls for 1 cup of diced carrots, I can easily calculate the amount needed for a larger or smaller batch by adjusting the carrot’s size and quantity.
- Using Tools: Tools like kitchen scales, measuring cups, and portioning scoops significantly enhance accuracy.
For instance, when preparing individual servings of a dish, I might use a scale to weigh out the precise amount of ingredients for each portion, or I’ll use a standardized cutting guide to portion out consistent diced vegetables into ramekins.
Q 24. How do you maintain speed and efficiency while maintaining precision?
Maintaining speed and efficiency without sacrificing precision is a skill honed over time. It’s about optimizing technique and minimizing wasted movements.
- Sharp Knives: A dull knife requires more force and increases the risk of slips and accidents. Sharpening your knives regularly is fundamental to both speed and precision.
- Efficient Grip: Using a proper grip (like the pinch grip or claw grip) allows for greater control and reduces fatigue.
- Organized Workspace: A well-organized cutting board with ingredients prepped and readily accessible minimizes wasted time searching for items.
- Strategic Cutting Methods: Knowing the most effective way to cut an ingredient (e.g., using a rocking motion for brunoise instead of repeatedly chopping) streamlines the process.
- Practice: Consistent practice builds muscle memory, making cutting techniques more intuitive and faster over time.
For example, I can dice onions much faster and more uniformly now than I could when I first started due to years of consistent practice. The muscle memory allows for rapid, efficient cuts without compromising precision.
Q 25. Describe your understanding of knife hygiene and sanitation.
Knife hygiene and sanitation are paramount to preventing foodborne illnesses. My approach is rigorous and multi-faceted.
- Immediate Cleaning: I always wash my knives immediately after use with hot, soapy water. This prevents food residue from drying and becoming harder to remove.
- Disinfection: After washing, I often sanitize my knives with a food-safe sanitizer or by briefly submerging them in boiling water.
- Proper Storage: I store my knives in a protective sheath or block to prevent accidental cuts and maintain sharpness. The storage location should be clean and dry to prevent rust and bacterial growth.
- Regular Inspection: I regularly inspect my knives for any signs of damage or rust. Damaged knives should be repaired or replaced, while rusted knives should be discarded.
Imagine preparing a delicate seafood dish: thorough knife sanitation is essential to prevent cross-contamination and ensure food safety. A simple oversight can have serious consequences.
Q 26. How do you sharpen a knife using a honing steel?
A honing steel doesn’t actually sharpen a knife; it realigns the blade’s edge. Think of it as straightening a slightly bent ruler rather than sharpening a dull pencil.
- Hold the Steel: Hold the honing steel firmly in your non-dominant hand, at a slight angle (around 20 degrees).
- Angle the Knife: Place the knife against the steel at approximately the same angle you’d use when sharpening on a stone.
- Long, Smooth Strokes: Draw the knife down the steel, using long, smooth strokes from the heel to the tip. Repeat this on both sides of the blade, keeping the angle consistent.
- Repeat: Repeat steps 2 and 3 several times, alternating sides until you feel the blade is aligned.
It’s a quick process, typically only taking a minute or two. Regular honing keeps your knife sharper for longer, thus prolonging its performance.
Q 27. How do you sharpen a knife using a sharpening stone?
Sharpening a knife with a sharpening stone requires more skill and patience than using a honing steel. It removes material to create a new, sharp edge.
- Prepare the Stone: Wet or oil your sharpening stone as instructed by the manufacturer.
- Angle the Knife: Place the knife blade against the stone at a consistent angle (typically between 15-20 degrees). Maintaining a constant angle is crucial.
- Sharpening Strokes: Using a smooth, even pressure, draw the knife across the stone. Focus on keeping the angle steady and consistent during each stroke. Start with a coarser stone, then transition to a finer stone for polishing.
- Alternate Sides: Repeat steps 2 and 3 on the other side of the blade, maintaining the same angle and pressure. Keep alternating sides until the blade is sharp.
- Test Sharpness: Test the sharpness by gently trying to cut a piece of paper. If the knife easily slices through it, it’s sharp enough.
Sharpening takes time and practice to master, but the result is a significantly sharper blade capable of cleaner cuts and improved safety.
Q 28. How do you handle different types of knives for various tasks?
Different knives are designed for specific tasks, and choosing the right one drastically impacts efficiency and safety. My approach involves matching the knife to the task.
- Chef’s Knife: An all-purpose workhorse for chopping, slicing, dicing, and mincing a wide variety of ingredients.
- Paring Knife: Perfect for detailed work like peeling fruits and vegetables, making small cuts, or removing blemishes.
- Serrated Knife: Ideal for slicing through bread, tomatoes, or other items with delicate skins without crushing them.
- Fillet Knife: Used for filleting fish and other delicate proteins, requiring a flexible blade for navigating around bones.
- Cleaver: A heavy-duty knife best suited for chopping through bones and very hard vegetables.
For instance, I wouldn’t attempt to fillet a salmon with a cleaver, nor would I try to chop through a chicken bone with a paring knife. Choosing the correct tool for the job ensures both safety and optimal results.
Key Topics to Learn for Knife Cutting Interview
- Knife Handling Techniques: Understanding proper grip, posture, and movement for various cutting styles (e.g., slicing, dicing, mincing).
- Blade Types and Uses: Knowing the characteristics and applications of different knife types (e.g., chef’s knife, paring knife, serrated knife) and selecting the appropriate tool for the task.
- Safety Procedures: Mastering safe knife handling practices, including proper storage, cleaning, and sharpening techniques to prevent accidents.
- Cutting Techniques and Precision: Developing proficiency in various cutting methods to achieve consistent size, shape, and texture in your cuts.
- Food Preparation and Application: Understanding how knife skills contribute to efficient food preparation across diverse culinary contexts (e.g., vegetable prep, butchering, garnishing).
- Maintaining Knife Sharpness: Knowing how to properly sharpen and hone knives to maintain optimal cutting performance and longevity.
- Understanding Different Cuts: Mastering various cutting techniques like brunoise, julienne, and chiffonade, demonstrating precision and consistency.
- Problem-Solving and Adaptability: Demonstrating the ability to adapt knife techniques to different ingredients and challenges, showcasing resourcefulness and efficiency.
Next Steps
Mastering knife cutting skills is crucial for advancement in many culinary and food-related careers. Proficiency in this area demonstrates precision, efficiency, and a commitment to quality, all highly valued attributes in the industry. To significantly boost your job prospects, create an ATS-friendly resume that highlights your skills and experience effectively. ResumeGemini is a trusted resource to help you build a professional resume that stands out. We provide examples of resumes tailored to the Knife Cutting field to guide you. Invest the time to craft a compelling resume – it’s your first impression with potential employers.
Explore more articles
Users Rating of Our Blogs
Share Your Experience
We value your feedback! Please rate our content and share your thoughts (optional).
What Readers Say About Our Blog
These apartments are so amazing, posting them online would break the algorithm.
https://bit.ly/Lovely2BedsApartmentHudsonYards
Reach out at [email protected] and let’s get started!
Take a look at this stunning 2-bedroom apartment perfectly situated NYC’s coveted Hudson Yards!
https://bit.ly/Lovely2BedsApartmentHudsonYards
Live Rent Free!
https://bit.ly/LiveRentFREE
Interesting Article, I liked the depth of knowledge you’ve shared.
Helpful, thanks for sharing.
Hi, I represent a social media marketing agency and liked your blog
Hi, I represent an SEO company that specialises in getting you AI citations and higher rankings on Google. I’d like to offer you a 100% free SEO audit for your website. Would you be interested?
