Cracking a skill-specific interview, like one for Knowledge of Sewing Techniques and Materials, requires understanding the nuances of the role. In this blog, we present the questions you’re most likely to encounter, along with insights into how to answer them effectively. Let’s ensure you’re ready to make a strong impression.
Questions Asked in Knowledge of Sewing Techniques and Materials Interview
Q 1. Explain the difference between a straight stitch and a zigzag stitch.
The straight stitch and the zigzag stitch are fundamental stitches in sewing, differing significantly in their appearance and applications. A straight stitch, as its name suggests, creates a straight line of stitches, ideal for seams, top stitching, and joining fabric pieces together. It’s strong and relatively simple to execute. Think of it as the workhorse of sewing stitches. A zigzag stitch, on the other hand, creates a series of diagonal stitches that interlock, forming a zig-zag pattern. This stitch is primarily used for finishing raw edges to prevent fraying, securing seams, and creating decorative effects. It’s far more versatile than the straight stitch.
Imagine sewing a simple skirt: you’d use a straight stitch to join the fabric pieces together, creating the side seams. Then, you’d use a zigzag stitch to finish the raw edges of the fabric along the hem and seams to prevent unraveling, creating a professional and durable garment.
Q 2. Describe the various types of sewing machine needles and their uses.
Sewing machine needles come in a variety of types, each designed for specific fabric types and sewing applications. The most common classifications are based on the needle’s point, shaft, and size. Choosing the right needle is crucial for preventing broken needles, skipped stitches, and damage to the fabric.
- Universal Needles: These are all-purpose needles suitable for most woven fabrics like cotton, linen, and some lightweight synthetics. They are a good starting point for beginners.
- Ballpoint Needles: These needles have a rounded point designed to slip between the fibers of knit fabrics, preventing snags and holes. Essential for jersey, stretch fabrics, and other knits.
- Sharp Needles: These needles have a sharp point that pierces the fabric cleanly, ideal for woven fabrics such as denim, canvas, and other heavy-weight materials.
- Jeans Needles: A type of heavy-duty needle with a strong shaft and reinforced point designed for the very thick and strong threads used in denim.
- Stretch Needles: These needles are similar to ballpoint needles but have an even more rounded point, designed for very stretchy or delicate knits.
- Embroidery Needles: These needles have a larger eye for accommodating thicker embroidery threads.
Needle size is also important; it’s denoted with a number, and higher numbers represent larger needles. Thicker fabrics require larger needles, while thinner fabrics require smaller needles.
Q 3. What are the different types of seams and when would you use each?
Seams are fundamental to garment construction, providing strength and structure. Different seam types are chosen based on the fabric’s weight, drape, and the desired aesthetic.
- French Seam: Encloses all raw edges, creating a very clean and professional finish. Ideal for sheer or delicate fabrics where no raw edges should show.
- Plain Seam: A simple seam, formed by stitching two fabric edges together and pressing open. Efficient and suitable for many fabrics.
- Seam Finish: Prevents fraying and keeps the seam edges neat. Methods include zigzag stitching, serging, or pinking the edges with pinking shears.
- Hong Kong Seam Finish: A very clean finish that uses bias binding to enclose the seam allowance. Commonly used in high-end garments.
- Flat-felled Seam: Extremely durable seam, often used in denim and other heavy-duty fabrics. Provides a strong and professional finish.
For example, a delicate silk blouse would benefit from a French seam to hide raw edges, while jeans might use a flat-felled seam for durability. The choice of seam also influences the overall look and feel of the garment.
Q 4. How do you choose the correct needle and thread for different fabrics?
Matching the needle and thread to the fabric is vital for achieving a high-quality stitch and preventing damage to the fabric. The rule of thumb is: the finer the fabric, the finer the needle and thread; the thicker the fabric, the thicker the needle and thread.
For example, delicate fabrics like silk or chiffon require a very fine needle (size 60/8) and a fine thread (like 50 wt). A heavier fabric like denim would require a thicker needle (size 16/100) and a stronger thread (like a heavier weight all-purpose thread). Always consult your sewing machine manual for the recommended needle sizes.
Thread choice also affects the final appearance. The thread should be color-coordinated with the fabric for a seamless effect. In some cases, thread with subtle contrasting color can be used for decorative purposes.
Q 5. Explain the process of creating a professional-looking hem.
Creating a professional-looking hem involves several steps to ensure a clean, even, and durable finish. The method varies slightly based on the fabric type and hem style.
- Prepare the hem: Press the fabric to remove wrinkles. Determine the hem allowance (typically 1-2 inches). Turn under the raw edge by the desired amount, press, and then fold again to create a clean hem.
- Stitch the hem: Use a straight stitch or a blind hem stitch. For a machine-stitched hem, use a stitch length appropriate for the fabric. A blind hem stitch, done either by machine or hand, is almost invisible.
- Finish the hem: Press the finished hem to crisp it. Hand-stitching can add an extra touch of elegance. Small slip-stitches almost disappear, creating a truly invisible hem.
A professional hem is neat, even, and lies flat against the garment. It’s a key element in achieving a high-quality finish.
Q 6. How do you handle different types of fabric, such as silk, cotton, and denim?
Different fabrics require different handling techniques during sewing to achieve the best results and avoid damage. Here’s a brief overview:
- Silk: A delicate fabric that requires a sharp needle and slow stitch speed to avoid pulling or tearing the fibers. Use fine thread and a very light touch.
- Cotton: A fairly easy-to-work-with fabric that requires a standard needle and thread. Use a pressing cloth to avoid scorching the fabric.
- Denim: A heavy-duty fabric that needs a heavy-duty needle and strong thread. Consider using a walking foot to feed the fabric evenly.
Understanding the properties of each fabric is key. For instance, using a ballpoint needle on silk would be disastrous; it would tear and damage the fabric. Always test your sewing settings on a scrap piece of the same fabric before working on the garment itself.
Q 7. What are common fabric flaws and how can they be avoided?
Fabric flaws can significantly impact the final product. Identifying and avoiding these issues is crucial for a successful project.
- Uneven Weave: An uneven weave can lead to puckering or distortions during sewing. Pre-washing the fabric often helps to relax it and reduce unevenness. Using a walking foot on your machine can also mitigate these issues.
- Stretching: Stretching during cutting or sewing can result in a garment that’s out of proportion. Using pattern weights to hold your pattern pieces in place can help. Additionally, use pins strategically and handle the fabric gently.
- Snags and Holes: Can be caused by rough handling. Always inspect the fabric before cutting and handle it gently.
- Color Bleeding: Color bleeding can stain the fabric during washing. Always pre-wash fabrics before sewing, especially dark or brightly colored materials.
Careful pre-fabric preparation is crucial. Pre-washing, pressing, and careful handling will greatly reduce the chances of fabric-related issues during the sewing process.
Q 8. Describe your experience with various sewing machine functions (e.g., buttonholes, button sewing, etc.)
My experience with sewing machine functions is extensive, encompassing both basic and advanced techniques. I’m proficient in utilizing various stitch types, including straight stitch, zigzag stitch, satin stitch, and blind stitch, all crucial for different fabric types and construction needs. For example, a straight stitch is ideal for seams in sturdy fabrics like denim, while a zigzag stitch is perfect for preventing fraying on delicate materials like chiffon.
Beyond basic stitches, I have mastered specialized functions like buttonhole sewing, which requires precise control and adjustment of stitch length and width to create consistent and well-fitting buttonholes. I can confidently operate different buttonhole styles, such as keyhole or straight buttonholes, adapting my approach to the garment and button type. Similarly, I’m skilled in automatic button sewing, employing the appropriate presser foot and stitch settings to securely attach buttons without damaging the fabric. This requires understanding the various button types and choosing the correct foot and needle for the job.
My expertise also extends to using specialized feet, such as zippers and cording feet, ensuring clean and accurate results. I routinely troubleshoot machine malfunctions, addressing issues like tension adjustments and needle breakage to maintain efficiency and produce high-quality results.
Q 9. How do you interpret sewing patterns?
Interpreting sewing patterns involves a methodical approach to understanding the instructions and diagrams. First, I carefully read the pattern instructions, noting the required fabric amount, notions (buttons, zippers, etc.), and finishing techniques. I then analyze the pattern pieces, identifying each component (e.g., bodice, sleeves, skirt) and its corresponding size markings. Understanding the grainlines is crucial for ensuring the garment hangs and fits correctly; these markings indicate how the fabric needs to be cut in relation to the weave.
I use a pattern layout guide to efficiently arrange the pattern pieces onto the fabric, minimizing waste and ensuring enough space for seam allowances. The markings on the pattern pieces, such as notches, are essential for aligning different components accurately during assembly. I often use tools like tailor’s chalk or fabric markers to transfer these markings onto the fabric for precise cutting and sewing.
After cutting, I meticulously follow the step-by-step instructions, paying close attention to seam allowances and stitch types. I regularly check my work against the pattern diagrams and instructions to ensure accuracy and consistency. For example, if the pattern calls for a specific type of seam finish, like French seams, I will ensure I follow those instructions precisely to achieve a professional result. Experience allows me to anticipate potential fitting issues and make adjustments as necessary throughout the construction process.
Q 10. Explain the importance of pre-washing fabrics before sewing.
Pre-washing fabrics before sewing is paramount for preventing shrinkage and color bleeding in the finished garment. Fabric manufacturers often treat materials with sizing agents or dyes that can cause significant changes in dimensions or color after the first wash. Sewing with unwashed fabric can lead to a garment that shrinks considerably after laundering, rendering it unusable. Color bleeding is another significant concern; dyes can run and stain other areas of the fabric during the washing process. This can be particularly problematic when working with dark or vibrant colors.
The pre-washing process varies depending on the fabric type. Delicate fabrics like silk or lace might require hand washing in cool water, while more robust materials such as cotton or linen can be machine washed according to the care instructions. It’s crucial to follow the manufacturer’s care instructions to avoid damage and maintain the integrity of the fabric. After washing, the fabric should be dried according to its care instructions (air drying or machine drying) before cutting and sewing to account for any shrinkage.
For example, I once sewed a dress using unwashed fabric, only to discover that the finished garment shrank significantly after the first wash. It was a costly mistake, emphasizing the importance of this seemingly simple step in the sewing process.
Q 11. What are your preferred methods for pressing and finishing seams?
Pressing and finishing seams are critical for achieving a professional finish and ensuring the garment’s durability and structure. My preferred methods involve using a tailor’s ham and point presser to create sharp, crisp seams and eliminate puckering. The tailor’s ham provides a curved surface for pressing curved seams, such as those on sleeves or collars, while the point presser helps to create defined points and edges.
I always press seams open unless the pattern instructions specify otherwise. Pressing open allows for a flatter, more comfortable garment and prevents bulkiness. For delicate fabrics, I use a press cloth to prevent scorching. The type of iron and heat setting also depends on the fabric—higher temperatures are appropriate for robust fabrics like cotton, while delicate fabrics require lower temperatures. I often use steam to help relax the fibers and create a smoother finish. Specific seam finishes are selected based on the fabric and desired aesthetic; techniques like serging, pinking, or zig-zagging prevent fraying and add durability.
For example, when constructing a tailored jacket, precise pressing is essential to achieve the desired shape and drape. The correct application of pressing techniques helps to create clean lines and maintain a professional appearance. Overlooking this crucial step can result in a sloppy and unprofessional look.
Q 12. Describe your experience with different types of sewing machines (industrial vs. domestic).
My experience encompasses both domestic and industrial sewing machines. Domestic machines are versatile and suitable for a wide range of projects, from simple repairs to more complex garments. They are generally lighter, more compact, and easier to maneuver, making them ideal for home use. However, their capabilities are often limited by their speed and power compared to industrial machines.
Industrial sewing machines, on the other hand, are designed for high-volume production and heavy-duty tasks. They are significantly more powerful and faster than domestic machines, capable of handling thicker fabrics and producing more consistent stitches at a faster rate. They also usually have more specialized functions and attachments, allowing for greater efficiency in mass production. For example, industrial machines often feature features such as automated feed systems, enhanced stitch regulation, and heavier-duty needles that are unavailable on domestic machines.
I find both types of machines valuable depending on the project’s scale and complexity. For small-scale projects or bespoke creations, a domestic machine offers sufficient functionality. However, when it comes to larger production runs or high-volume work, industrial machines are invaluable for their speed, power, and durability.
Q 13. What are the various types of interfacing and when would you use each?
Interfacing is a supporting fabric used to add structure, stability, and body to garments. Different types of interfacing serve various purposes and are selected based on the fabric and intended application.
- Fusible Interfacing: This is the most common type, activated by heat to bond to the fashion fabric. It’s convenient and easy to use, ideal for collars, cuffs, and other areas needing crisp edges.
- Non-fusible Interfacing: This type requires hand stitching or machine stitching to the fashion fabric. It offers more flexibility and is useful for curved areas or fabrics that might be damaged by heat.
- Woven Interfacing: Provides more structure and body, appropriate for heavier fabrics or applications where significant stability is needed, such as coats or jackets.
- Knit Interfacing: This is stretchy and ideal for use with knit fabrics to maintain the fabric’s drape without adding stiffness.
- Shape-Retention Interfacing: This helps maintain the shape of a garment, often used in areas like pockets or waistbands to prevent sagging.
The choice of interfacing depends on several factors. For example, a lightweight fusible interfacing would be suitable for a delicate blouse, while a heavier woven interfacing would be more appropriate for a structured jacket. Understanding the properties of each type is crucial for achieving the desired outcome. Incorrect interfacing selection can ruin the garment’s intended look and feel.
Q 14. How do you ensure accuracy and consistency in your sewing work?
Ensuring accuracy and consistency in sewing involves a multi-pronged approach focusing on preparation, execution, and quality control. I begin by meticulously measuring and cutting the fabric, ensuring precise adherence to the pattern markings. I use sharp scissors for clean cuts and avoid stretching the fabric while cutting, which can lead to distortions in the final product. I carefully mark all relevant points and seams using tailor’s chalk or other appropriate marking tools.
During the sewing process, I pay attention to detail, maintaining consistent stitch length, tension, and seam allowances. I regularly check the alignment of seams and use techniques like pinning and clipping curves to ensure smooth, even stitching. I use a variety of tools, including rulers, seam rippers, and measuring tapes to maintain accuracy and consistency throughout each project. I regularly inspect my work for any errors and correct them immediately, instead of allowing them to accumulate.
Finally, proper pressing is a crucial step in maintaining consistency. Applying consistent heat and pressure ensures the garment maintains its shape and achieves a professional finish. This rigorous approach guarantees accuracy and minimizes the need for alterations and corrections. This dedication to detail results in consistent, high-quality garments that meet professional standards.
Q 15. Describe your experience with different types of zippers and their installation.
My experience with zippers encompasses a wide range of types, from the ubiquitous coil zippers to more specialized options like invisible, separating, and metal zippers. Installation techniques vary depending on the zipper type and the garment. For example, installing a coil zipper in a skirt involves precisely aligning the zipper tape with the seam allowance, using zipper feet for consistent stitching, and carefully finishing the edges to prevent fraying. Invisible zippers, on the other hand, require a more delicate approach, employing a special foot and meticulous hand-stitching to ensure the zipper is completely concealed. Metal zippers, while durable, require careful handling to prevent scratching or damaging the teeth during installation. I’ve worked with zippers on everything from delicate lingerie to heavy-duty outerwear, adapting my techniques to suit the fabric and garment construction.
For instance, when working with a delicate silk fabric, I would use a finer needle and thread, and take extra care to avoid stretching or damaging the fabric. Conversely, with a thicker denim, a heavier-duty needle and stitch length would be necessary to ensure the zipper is securely attached. I always pre-stitch a test seam on a scrap of fabric before installing the zipper on the actual garment. This allows me to adjust the stitch length and tension, ensuring a perfect fit and finish.
Career Expert Tips:
- Ace those interviews! Prepare effectively by reviewing the Top 50 Most Common Interview Questions on ResumeGemini.
- Navigate your job search with confidence! Explore a wide range of Career Tips on ResumeGemini. Learn about common challenges and recommendations to overcome them.
- Craft the perfect resume! Master the Art of Resume Writing with ResumeGemini’s guide. Showcase your unique qualifications and achievements effectively.
- Don’t miss out on holiday savings! Build your dream resume with ResumeGemini’s ATS optimized templates.
Q 16. What are your experience with pattern making and grading?
Pattern making and grading are fundamental skills in garment construction. Pattern making involves creating a two-dimensional template that, when sewn, accurately represents a three-dimensional garment. This involves taking accurate body measurements, drafting basic blocks, and manipulating those blocks to create different styles. I’m proficient in both draping and flat pattern making techniques, allowing me to create patterns from scratch for a wide range of body types and styles. Grading, on the other hand, involves adjusting the pattern to different sizes. This requires a thorough understanding of how different body measurements affect the pattern pieces and ensuring proper proportions across all sizes.
For example, I recently created a pattern for a tailored blazer. I started with a basic bodice block, then drafted the pattern for the sleeves and collar. I utilized slopers (basic blocks) to create the pattern for a perfect fit. After creating the base pattern for one size, I graded it up to produce additional sizes. This involved carefully adjusting seam allowances and key measurements across the different sizes, ensuring consistency in fit across the size range. Using CAD software for grading is a timesaver and ensures accuracy.
Q 17. How do you troubleshoot common sewing machine problems?
Troubleshooting sewing machine problems requires a systematic approach. My experience allows me to quickly diagnose and resolve common issues. For instance, if the machine is not feeding the fabric correctly, I’ll check the tension, the feed dogs, and the condition of the needle. Skipped stitches often indicate a dull or bent needle, improper tension, or incorrect threading. A jammed machine might require a thorough cleaning of lint and debris.
I always start by checking the obvious—is the machine plugged in? Is the thread properly threaded? Are the bobbin and needle correctly inserted? If the problem persists, I’ll carefully examine the components, starting with the needle and thread, then checking the tension settings and bobbin case. If it involves complex mechanical issues, I’ll consult the machine’s manual or reach out to a qualified repair technician.
Q 18. How do you handle a challenging or complex sewing project?
Tackling a complex sewing project involves breaking down the task into manageable steps. I start by carefully reading the instructions or pattern, making sure I understand the techniques involved before I begin. I always create a detailed plan including a timeline. Then I gather all the necessary materials and tools, paying close attention to fabric choice and suitability.
For example, when constructing a complex garment such as a wedding dress, I would start by creating a muslin mock-up to test the fit and make any necessary adjustments before working with the final fabric. I will check my progress at each stage, and document all my measurements and any modifications made. This meticulous approach minimizes errors and ensures a successful outcome. I also don’t hesitate to seek help from fellow sewing enthusiasts or professionals when needed.
Q 19. Explain your knowledge of different fabric weaves and their properties.
Understanding fabric weaves is crucial for choosing the right fabric for a project and achieving a successful outcome. Different weaves affect drape, durability, and appearance. Plain weave, the simplest, has one warp thread over and under one weft thread, creating a simple, even texture like calico or poplin. Twill weave has a diagonal rib, offering more strength and durability as in denim or gabardine. Satin weave has long floats of warp or weft threads, resulting in a smooth, lustrous surface like charmeuse or satin. Knit fabrics, on the other hand, are formed by interlooping yarns rather than weaving them together.
Knowing the properties of each weave helps determine appropriate sewing techniques. For instance, a loosely woven fabric may require careful handling to prevent fraying, whereas a tightly woven fabric can withstand more aggressive stitching. I always consider the drape and texture when selecting fabric for a particular project, ensuring that the fabric complements the garment’s design and intended use.
Q 20. Describe your experience working with different types of closures (buttons, hooks, snaps, etc.).
My experience with closures includes a variety of types and techniques. Buttons, from simple shank buttons to decorative ones, require appropriate sizing and placement for a secure, aesthetically pleasing finish. I utilize different methods for attaching buttons, such as hand-sewing or using a button-sewing foot on my sewing machine. Hooks and eyes require precise placement to ensure a secure closure, particularly in garments that need to fit snugly. Snaps are best suited for quick-release closures, and I am adept at installing them using a snap setter. Zippers (as mentioned previously), are also a versatile type of closure.
The choice of closure depends on the garment and its intended use. A delicate blouse might use small, elegant buttons, while a heavy-duty jacket might require stronger hooks and eyes or a sturdy zipper. I always select closures that are both functional and aesthetically pleasing, complementing the overall design of the garment.
Q 21. How do you maintain your sewing equipment?
Maintaining sewing equipment is crucial for ensuring its longevity and performance. I regularly clean my sewing machine, removing lint and debris from the bobbin case, feed dogs, and other components. I oil the moving parts according to the manufacturer’s instructions. I clean my sewing machine needles after each use and replace them regularly. Sharp needles are essential for neat seams and prevent skipped stitches. My overlocker (serger) is also carefully cleaned and oiled. I also store my sewing machine and other equipment properly to prevent damage or corrosion.
Preventative maintenance is key to prolonging the lifespan of sewing equipment. Regular cleaning and lubrication not only improve performance but also prevent costly repairs. A well-maintained machine means I can focus on the creative aspects of sewing, rather than dealing with mechanical issues.
Q 22. What safety precautions do you take while sewing?
Safety is paramount in sewing. My approach is multifaceted, starting with proper machine maintenance. Before each project, I inspect my sewing machine for loose parts, ensuring the needle is securely fastened and the bobbin is correctly wound. This prevents mishaps like needle breakage or bobbin jams. Further, I always use a sharp needle appropriate for the fabric type; a dull needle increases the risk of the fabric snagging and potentially injuring my hand. I also work in a well-lit area to avoid eye strain and maintain good posture to prevent backaches. When working with sharp tools like scissors or seam rippers, I keep them pointed away from me and use them with care. Finally, I always unplug the sewing machine before making any adjustments or cleaning. Think of it like this: a well-maintained machine and careful handling are like wearing a safety helmet – they’re essential precautions, not optional extras.
- Regular machine maintenance
- Using sharp, appropriate needles
- Good lighting and posture
- Careful handling of sharp tools
- Unplugging the machine before adjustments
Q 23. Describe your experience working in a team environment on a sewing project.
Teamwork is crucial in larger sewing projects. In one instance, we were creating costumes for a theatre production. Our team comprised a pattern maker, several seamstresses with different specializations (e.g., embroidery, embellishment), and a project manager. We held regular meetings to coordinate tasks, establish deadlines, and address any challenges. The pattern maker created the initial patterns, while the seamstresses tackled different aspects of the garment construction. Clear communication was key; we used a shared online document to track progress, assign tasks, and note any material needs. We also implemented a system of quality control, with each seamstress reviewing another’s work before finalizing the garments. This collaborative approach ensured efficiency and high-quality results, and it showcased how diverse skills contribute to a successful outcome – like a perfectly crafted quilt made of individual squares.
Q 24. How do you manage your time effectively during a sewing project?
Effective time management in sewing relies on careful planning. Before starting any project, I meticulously break it down into manageable tasks. For example, if I’m making a dress, I’d list tasks like cutting the fabric, assembling the bodice, attaching the sleeves, hemming, etc. I then allocate realistic timeframes to each step, considering factors like fabric type and complexity of the design. I use a project management system – either a physical planner or a digital calendar – to schedule these tasks, aiming for consistency and avoiding procrastination. I also build in buffer time for unexpected delays or issues, acknowledging that even the best-laid plans can be disrupted by things like a broken needle or a difficult seam. Regular breaks throughout the project also enhance focus and prevent burnout. It’s about balancing thorough preparation with realistic expectations and flexibility.
Q 25. What are your experience with hand sewing techniques?
I possess a wide range of hand-sewing techniques, honed over many years of practice. These include basic stitches like running stitch, backstitch, and slip stitch, which are fundamental for garment construction and repairs. I am also proficient in more specialized techniques such as French seams, which create a clean, professional finish, and decorative stitches like blanket stitch, used for embellishment. I can hand-sew buttons, sew on patches, and even create intricate embroidery. My experience with hand sewing extends to working with a variety of materials, from delicate silks to sturdy canvas. Hand-sewing allows for precision and control, especially when working on delicate fabrics or intricate details that a machine might struggle with. Think of it as the artistry of sewing – the ability to create something beautiful and durable with just a needle and thread.
Q 26. How do you stay current on new sewing techniques and technologies?
Keeping up with the latest trends and technologies in sewing is essential. I achieve this through a combination of methods. I subscribe to relevant sewing magazines and online publications, which provide insights into new techniques, tools, and fabrics. I actively participate in online sewing communities and forums, where I can interact with other sewers, share knowledge, and learn from experts. I also attend sewing workshops and classes, both online and in person, to learn from experienced instructors and expand my skillset. Finally, I explore new sewing technologies, such as computerized sewing machines and 3D printing techniques used in fabric design, understanding how to adapt and integrate them into my practice. Continuous learning ensures I remain a versatile and relevant sewer.
Q 27. What are your strengths and weaknesses as a sewer?
My greatest strength lies in my meticulous attention to detail and precision. I take pride in creating high-quality, well-finished garments. I have a keen eye for detail and am able to identify and correct even the slightest imperfections. This allows me to create pieces that are not only beautiful but also durable and well-constructed. However, my relative weakness is in speed; while I strive for excellence, I sometimes sacrifice speed for precision. I am actively working to improve my efficiency without compromising quality by streamlining my processes and utilizing time management techniques effectively. It’s a constant balance between speed and accuracy, like a fine-tuned machine – striving for both optimal pace and perfect results.
Key Topics to Learn for Knowledge of Sewing Techniques and Materials Interview
- Basic Sewing Techniques: Understanding hand stitches (running stitch, backstitch, slip stitch etc.), machine stitches (straight stitch, zig-zag, overlock), seam finishes (serging, pinking, French seams), and their appropriate applications for different fabrics and projects.
- Fabric Knowledge: Identifying various fabric types (cotton, silk, wool, linen, synthetics), understanding their properties (drape, weight, texture, durability), and selecting appropriate fabrics for specific projects and garment types. This includes understanding fiber content and its impact on garment performance.
- Pattern Making and Alterations: Familiarity with basic pattern drafting techniques, understanding pattern markings, making adjustments to patterns for fit and style, and interpreting commercial patterns.
- Sewing Machine Operation and Maintenance: Proficiency in operating various types of sewing machines, understanding basic maintenance procedures, troubleshooting common machine problems, and selecting appropriate needles and thread for different fabrics.
- Construction Techniques: Knowledge of various garment construction methods, including setting in sleeves, attaching collars, constructing zippers, and finishing techniques for professional results. Understanding the importance of precision and accuracy in each step.
- Material Selection and Sourcing: Identifying appropriate interfacings, linings, buttons, zippers, and other notions for different garment types. Understanding the cost implications of different materials and sourcing options.
- Problem-solving and Troubleshooting: Ability to identify and resolve common sewing issues, such as skipped stitches, broken needles, fabric puckering, and fitting problems. Demonstrate a methodical approach to troubleshooting.
Next Steps
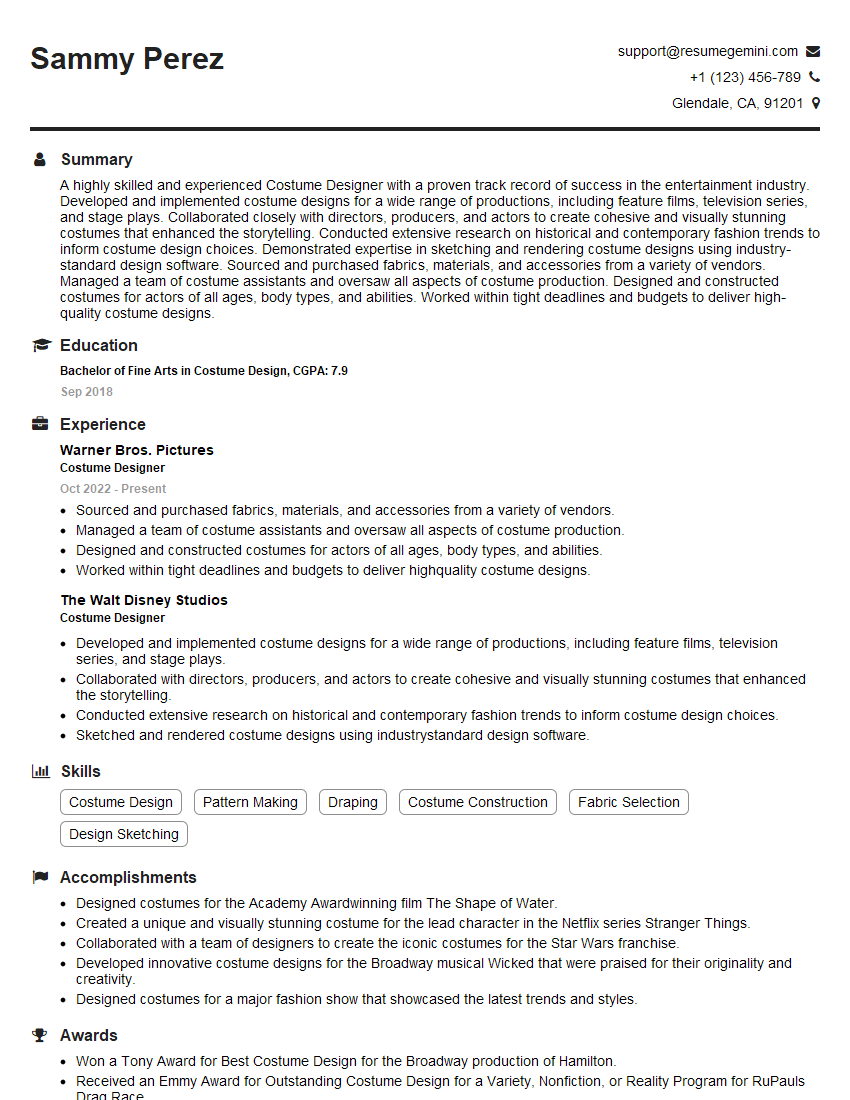
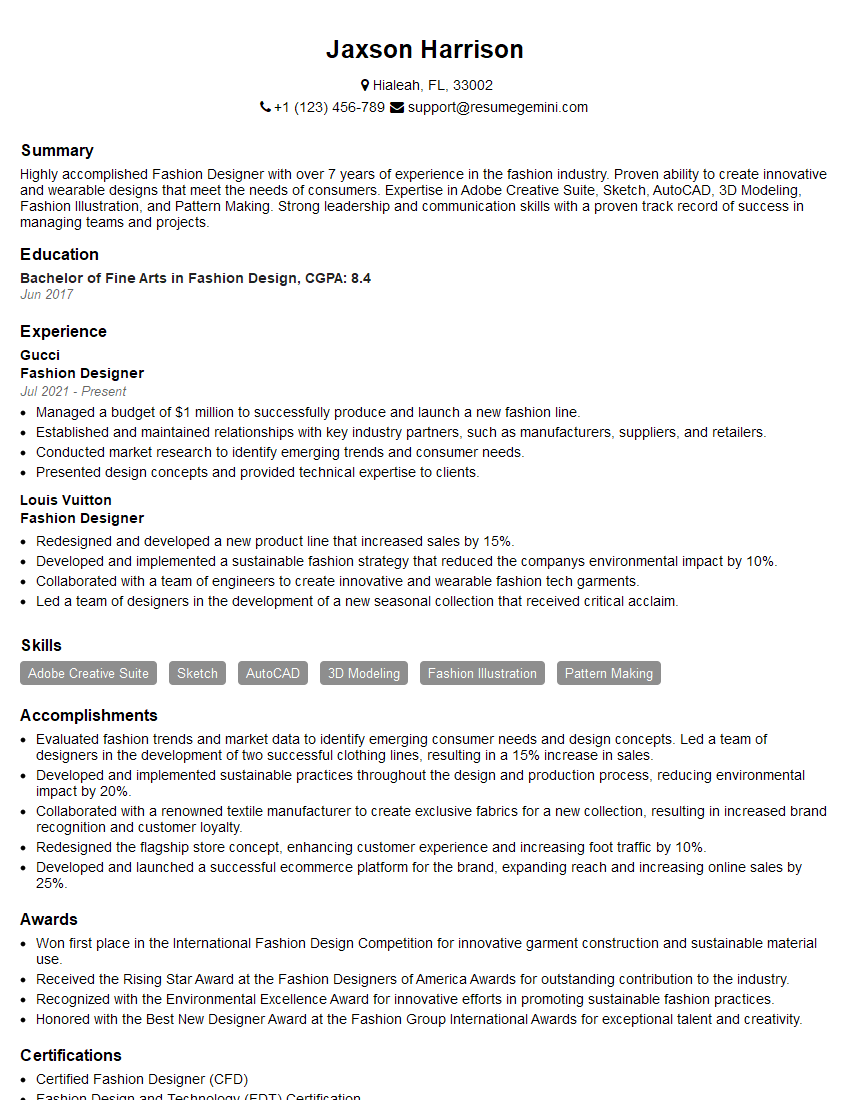
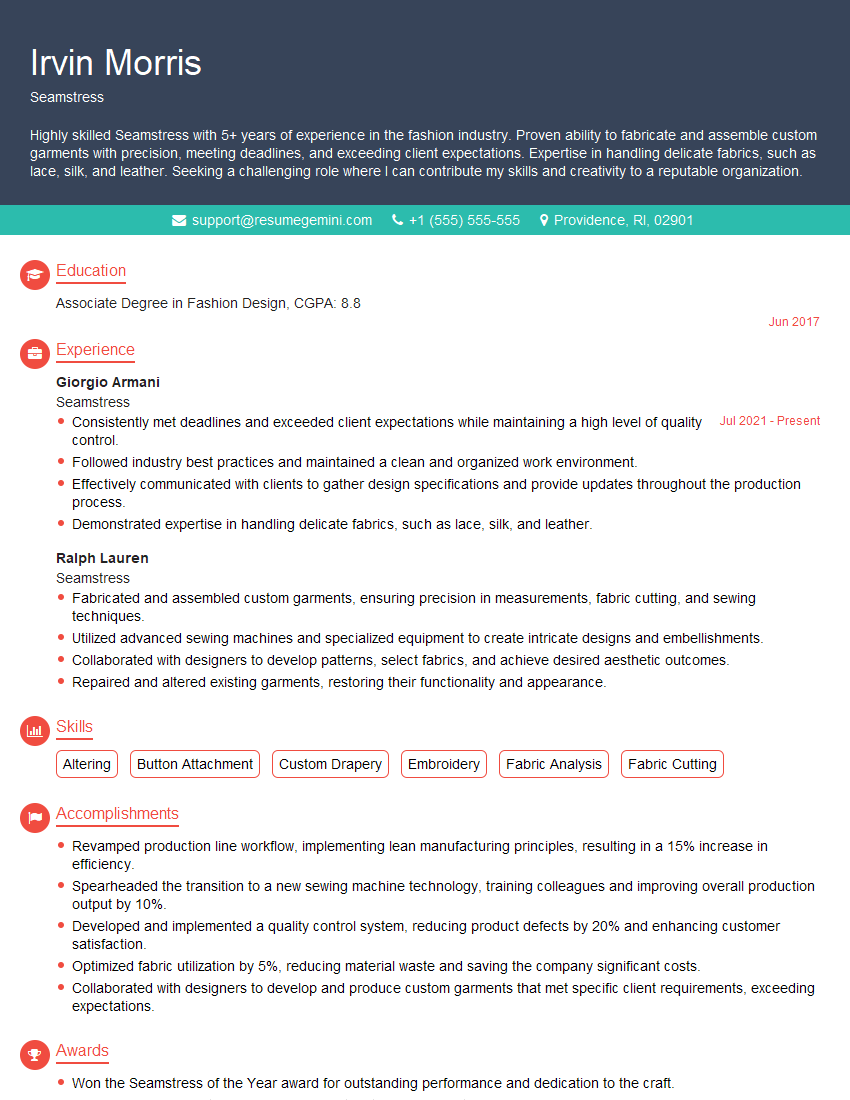
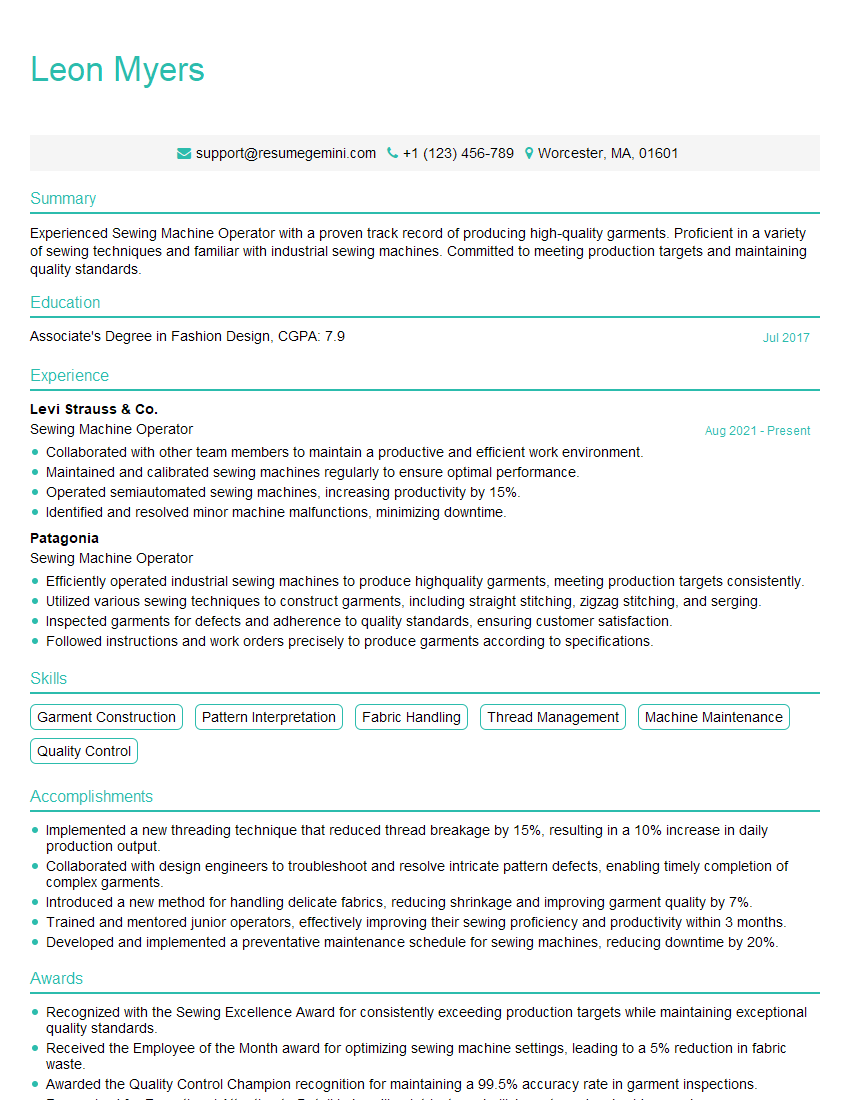
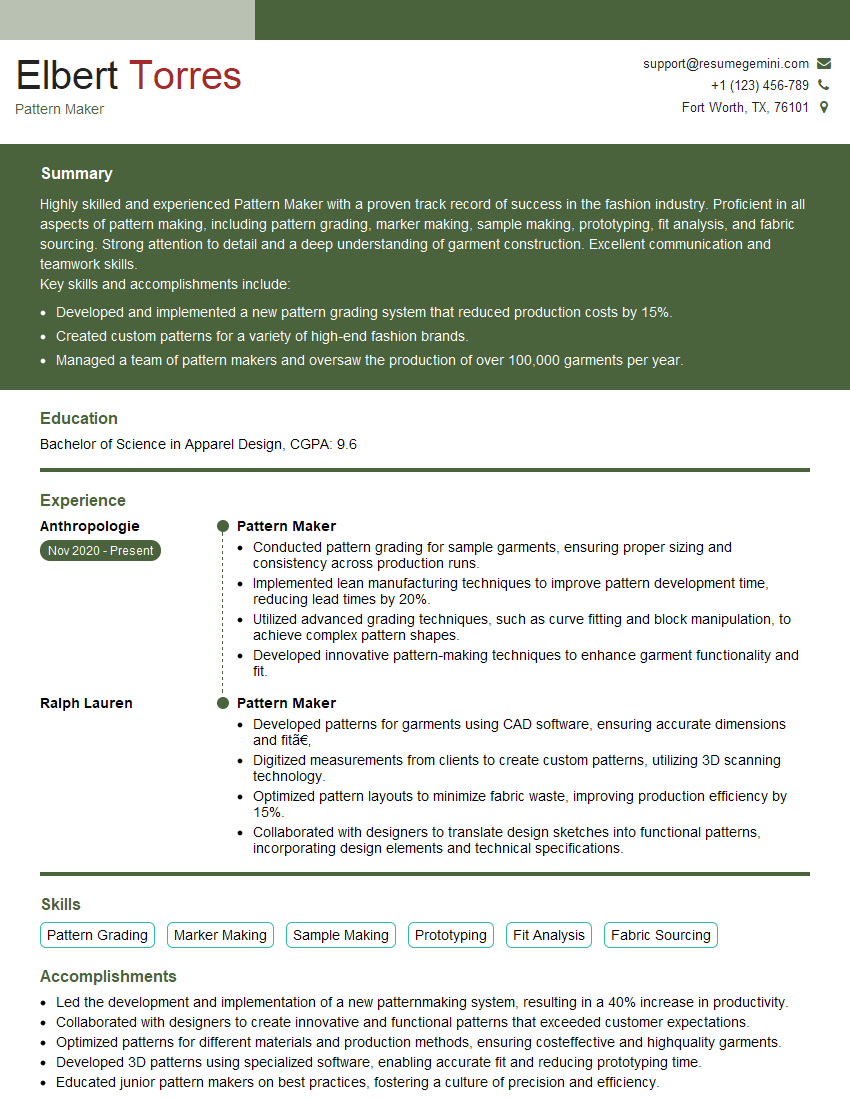
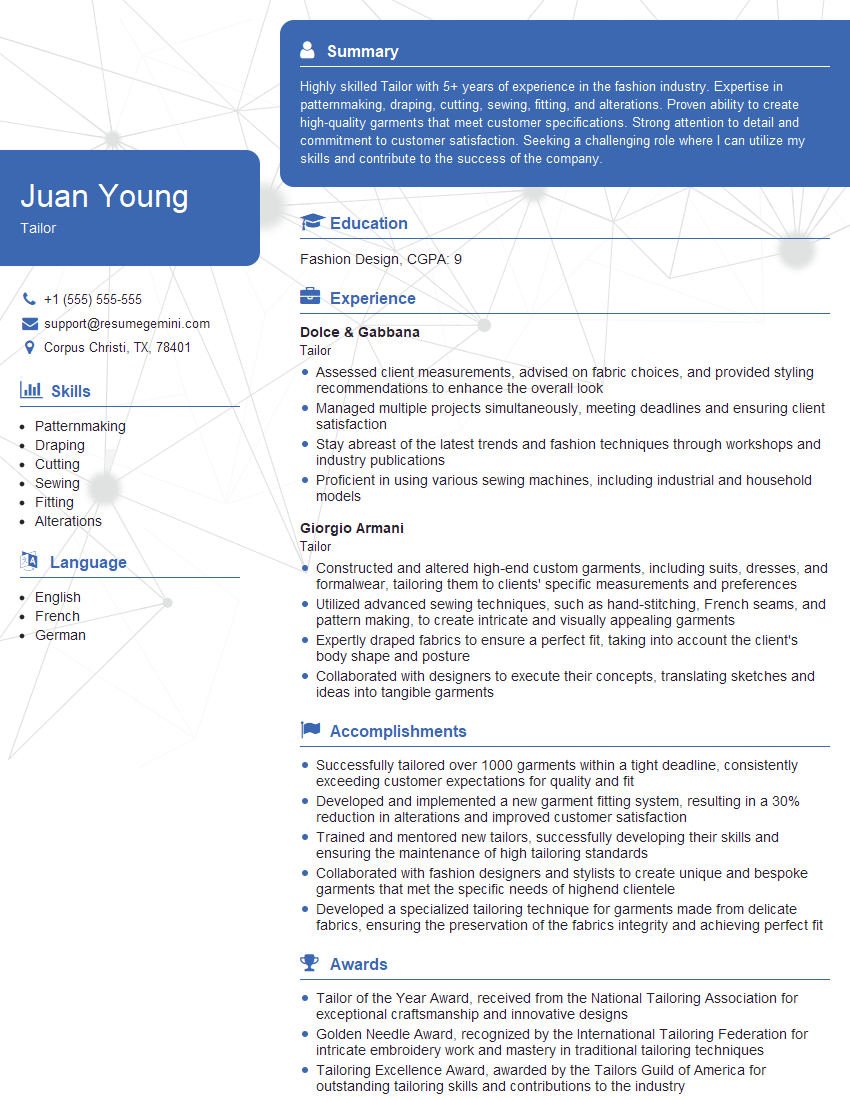
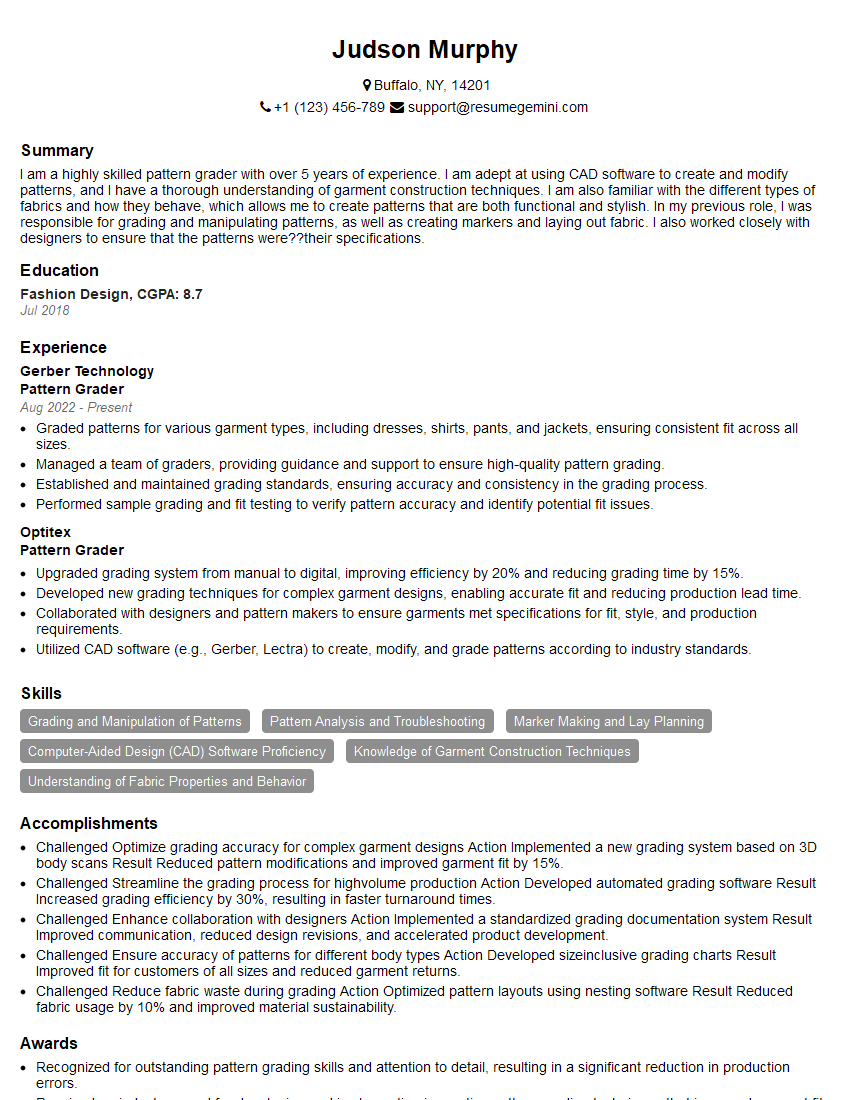
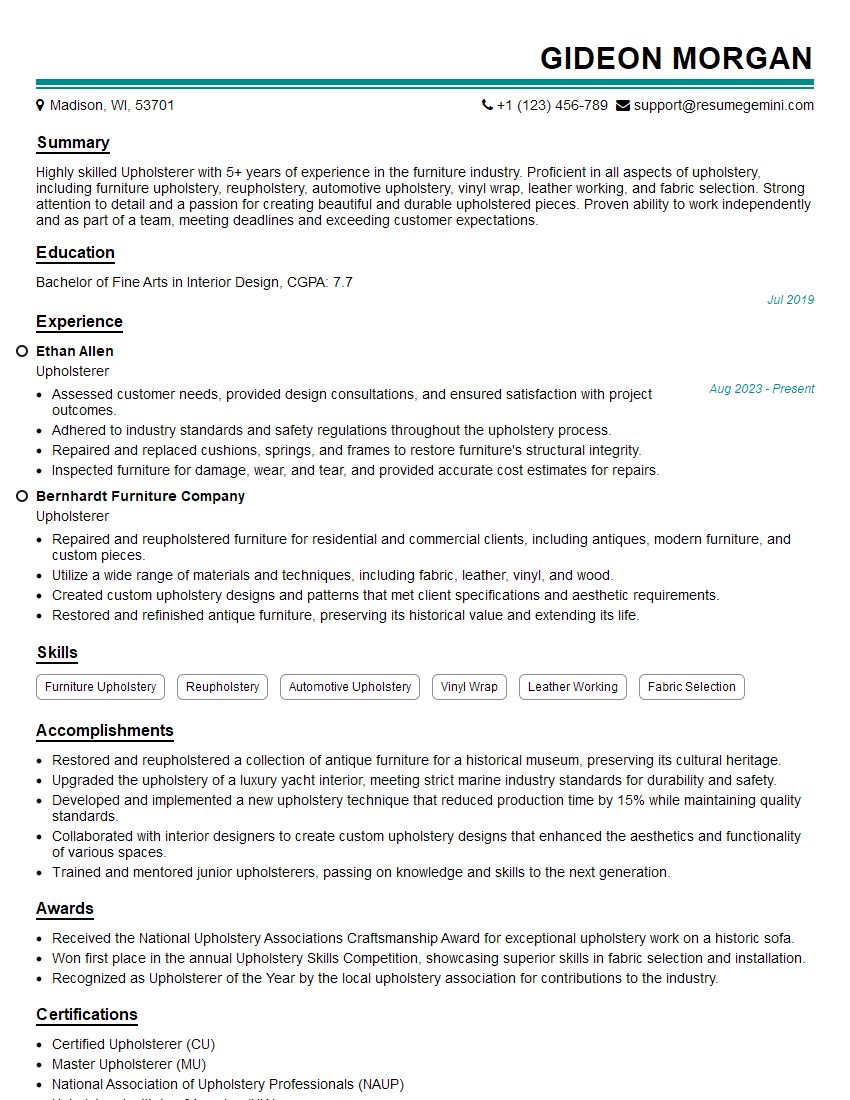
Mastering sewing techniques and materials is crucial for career advancement in the fashion and textile industries, opening doors to diverse roles with increasing responsibility and earning potential. A strong resume is your key to unlocking these opportunities. Creating an ATS-friendly resume, optimized for applicant tracking systems, is vital for getting your application noticed. ResumeGemini is a trusted resource to help you build a professional and impactful resume. We provide examples of resumes tailored to highlight expertise in Knowledge of Sewing Techniques and Materials, ensuring your skills and experience shine through.
Explore more articles
Users Rating of Our Blogs
Share Your Experience
We value your feedback! Please rate our content and share your thoughts (optional).
What Readers Say About Our Blog
Dear Sir/Madam,
Do you want to become a vendor/supplier/service provider of Delta Air Lines, Inc.? We are looking for a reliable, innovative and fair partner for 2025/2026 series tender projects, tasks and contracts. Kindly indicate your interest by requesting a pre-qualification questionnaire. With this information, we will analyze whether you meet the minimum requirements to collaborate with us.
Best regards,
Carey Richardson
V.P. – Corporate Audit and Enterprise Risk Management
Delta Air Lines Inc
Group Procurement & Contracts Center
1030 Delta Boulevard,
Atlanta, GA 30354-1989
United States
+1(470) 982-2456
