Feeling uncertain about what to expect in your upcoming interview? We’ve got you covered! This blog highlights the most important Microsoft Word/Office Suite interview questions and provides actionable advice to help you stand out as the ideal candidate. Let’s pave the way for your success.
Questions Asked in Microsoft Word/Office Suite Interview
Q 1. Explain the difference between ‘Track Changes’ and ‘Compare’ in Microsoft Word.
Both ‘Track Changes’ and ‘Compare’ in Microsoft Word are used for collaborating on documents and highlighting differences, but they serve distinct purposes. Think of ‘Track Changes’ as a live, collaborative editing tool, while ‘Compare’ is more like a post-edit analysis tool.
Track Changes: This feature allows multiple users to edit the same document simultaneously. Every insertion, deletion, or formatting change is marked, allowing you to see who made what changes and accept or reject them individually. It’s ideal for team projects where multiple authors need to contribute to a single document. Imagine writing a report with colleagues; each person can edit their assigned sections with Track Changes activated, and the final version is created by carefully reviewing and accepting/rejecting changes.
Compare: This function is used to find the differences between two versions of a document. You might use it to compare a draft to a final version, or to compare different versions from different collaborators. It highlights the changes made between the two documents without directly integrating the changes into one version, providing a clear side-by-side visual comparison. For instance, after a client revises a proposal, comparing the two versions with this tool highlights the exact revisions for you to review and implement or reject.
In short: Use ‘Track Changes’ for collaborative editing and ‘Compare’ for reviewing and analyzing differences between existing versions.
Q 2. How do you create and manage styles in Word to maintain document consistency?
Styles in Word are pre-defined formatting sets that you can apply to text, paragraphs, tables, etc., to ensure consistency throughout your document. They are far more efficient than manually formatting each element individually. Think of them as templates for your formatting.
Creating Styles: You can create new styles by selecting the text you want to format, then clicking ‘Styles’ in the Home tab. Click ‘New Style’ and give your style a name (e.g., ‘Heading 1’, ‘Body Text’). You can customize the font, size, spacing, indentation, and more. Word automatically saves your custom styles with the document.
Managing Styles: The ‘Styles’ pane displays all your styles, allowing you to easily apply, modify, or delete them. You can also change the style hierarchy and modify the style definitions as needed to keep the overall look consistent. For example, if you decide your ‘Heading 1’ font should be a bit larger after creating several headings, you only need to change the style definition in one place, and all the ‘Heading 1’ text will automatically update.
Real-world Application: Imagine creating a long report. Using styles ensures that all your headings are consistent in font, size, and spacing, and your body text maintains uniform formatting throughout. This creates a professional and clean-looking document. Without styles, maintaining consistency across hundreds of pages would be incredibly time-consuming.
Q 3. Describe your experience with mail merge functionality in Word.
Mail merge is a powerful Word feature that lets you automate the creation of personalized documents, such as letters, emails, or labels, by combining a main document with data from a data source (like an Excel spreadsheet or a database). This is invaluable for sending out mass communications with personalized information.
My experience includes generating personalized marketing letters for clients, creating personalized invitations for events, and even producing customized certificates using different data fields, such as recipient names, addresses, and unique identification numbers. I’m proficient in connecting to various data sources, properly formatting the data fields in the main document, previewing the merged documents, and ultimately generating the final output as a single document or separate files for each recipient.
Example: To send personalized thank-you notes to all attendees of a conference, I would create a main document with the greeting and body text, including placeholders (merge fields) for names and addresses. The data source would be an Excel sheet containing the attendee list with these details. The mail merge function would then automatically populate these fields in each thank-you note.
Q 4. How would you troubleshoot a corrupted Word document?
Encountering a corrupted Word document can be frustrating, but there are several troubleshooting steps to try. The best approach is to be systematic.
Step 1: Try opening in Safe Mode: Launch Word in Safe Mode (usually by holding down Ctrl while opening the application). This prevents add-ins from interfering, which can sometimes cause corruption.
Step 2: Attempt Recovery: Word often attempts automatic recovery upon opening, searching for a temporary file. Check for an autosave version or a recovery file.
Step 3: Open in Compatibility Mode: If the document was created in an older version of Word, try opening it in compatibility mode.
Step 4: Use the Open and Repair Function: When opening the document, click the arrow next to the ‘Open’ button, and select ‘Open and Repair’.
Step 5: Extract Text: If all else fails, try extracting the text from the document. While you’ll lose formatting, at least you’ll salvage the content. There are also third-party file repair tools that can sometimes recover more content and formatting.
Prevention: Regularly saving your work (and using autosave) is crucial to prevent data loss and helps reduce the impact of corruption.
Q 5. Explain the use of different page orientations (portrait and landscape) and margins.
Page orientation and margins significantly impact a document’s visual appeal and readability. They are essential design elements.
Page Orientation:
- Portrait: The page is taller than it is wide, the standard orientation for most documents like letters and reports.
- Landscape: The page is wider than it is tall, ideal for spreadsheets, wide tables, or images that need more horizontal space.
Margins: Margins are the blank space around the edges of your page. They provide visual breathing room and improve readability. Word allows you to customize top, bottom, left, and right margins. You’d generally use narrower margins for documents with lots of text to fit more content per page, while wider margins might suit more design-heavy documents, providing better aesthetic balance.
Practical Application: A report with lots of text might benefit from portrait orientation and standard margins (e.g., 1 inch), while a presentation handout with large images and minimal text might be better in landscape orientation with wider margins.
Q 6. How do you insert and format tables in Word, including using formulas?
Tables are a fundamental way to organize data in Word. Inserting and formatting tables, including using formulas, is a key skill.
Inserting Tables: You can insert a table by selecting the ‘Insert’ tab, then ‘Table’. You can either choose a pre-defined grid size or draw a table by dragging your mouse across the desired number of rows and columns.
Formatting Tables: You can adjust column widths, row heights, borders, shading, and cell alignment. You can merge cells, split cells, and add or delete rows and columns as needed.
Formulas: Word supports simple formulas within tables using the ‘=SUM()’, ‘=AVERAGE()’, ‘=MAX()’, ‘=MIN()’, etc. functions. For example, to add the numbers in a column, you would type =SUM(ABOVE) in the cell where you want the sum to appear. This automatically calculates the sum of the numbers above the cell containing the formula.
Example: Creating a budget spreadsheet involves inserting a table with rows for expenses and columns for different budget categories. You can use formulas to calculate totals for each category and the overall budget total. This makes your budget dynamic and easy to update.
Q 7. Describe your experience with creating and managing headers and footers.
Headers and footers are areas at the top (header) and bottom (footer) of each page of your document, often used to add consistent information such as page numbers, dates, company logos, or document titles.
Creating Headers and Footers: You can access the header and footer sections by double-clicking the top or bottom margin of the page. Word provides tools for adding page numbers, dates, times, file paths, and other useful elements. You can also insert images or text boxes. You can create different headers and footers for odd and even pages (useful for two-sided printing or books).
Managing Headers and Footers: You can easily edit, delete, or format the contents of headers and footers by simply clicking within the header or footer area. You can link headers and footers to ensure consistency across all pages or unlink them to create variations.
Practical Application: Headers might contain the document title and page numbers, while footers could display the company logo and date. This is standard practice in formal reports, academic papers, and business documents.
Q 8. How do you use the Find and Replace feature for efficient editing?
The Find and Replace feature in Word is a powerful tool for efficient editing. It allows you to quickly locate and modify specific text, formatting, or even special characters throughout your document. Think of it as a sophisticated ‘search and replace’ function on steroids.
To access it, you can press Ctrl + H (or Cmd + H on a Mac). This opens the Find and Replace dialog box, which has two main sections: ‘Find what’ and ‘Replace with’.
- ‘Find what’: Here, you enter the text or formatting you want to find. You can use wildcards (like * for any number of characters or ? for a single character) for more advanced searches. For example, searching for
*ingwould find words ending in ‘ing’ like ‘singing’, ‘running’, etc. - ‘Replace with’: This is where you specify the replacement text or formatting. Leave this blank if you only want to find occurrences, not replace them.
Example: Let’s say you misspelled ‘colour’ as ‘color’ throughout a document. In ‘Find what’, you’d type color and in ‘Replace with’, you’d type colour. Then click ‘Replace All’ to correct all instances instantly. But be cautious with ‘Replace All’ – always preview the changes first, especially with wildcard searches, to avoid unintended replacements.
Beyond simple text replacement, you can use Find and Replace to change formatting. For example, you could find all instances of Arial font and replace them with Times New Roman.
Q 9. Explain how to insert and edit images and shapes in Word.
Inserting and editing images and shapes in Word is straightforward. Images enhance visual appeal and comprehension, while shapes offer a range of design options, from simple boxes to complex diagrams. To insert an image, go to the ‘Insert’ tab and click the ‘Pictures’ button. Navigate to the image file and select it. Word automatically inserts it.
Editing an image involves adjusting its size, position, and appearance. Once the image is inserted, you’ll see handles around it which allow you to resize it. You can also drag it to reposition it. Right-clicking the image opens a contextual menu with options to format it. This includes compressing the image to reduce file size, adjusting brightness and contrast, applying artistic effects, and wrapping text around the image.
Shapes are inserted similarly, from the ‘Insert’ tab, selecting ‘Shapes’. A gallery of shapes appears, offering many choices. After insertion, you can resize, reposition, and format shapes, including adding fill colors, outlines, and even text inside them. You can group multiple shapes to treat them as a single unit, enhancing organization in complex diagrams.
Example: Imagine you’re creating a presentation. You can insert a chart image to visualize data and then use different shapes like arrows and callouts to highlight key aspects of the chart.
Q 10. How do you create and work with different types of lists (bulleted, numbered, multi-level)?
Word offers several list types to organize information clearly and efficiently. Bulleted lists, numbered lists, and multi-level lists are commonly used to structure content logically. They create visual hierarchy making the document much easier to read and follow.
- Bulleted Lists: These use symbols (like bullets) to denote individual items; ideal for items without a specific order of importance. To create one, select the ‘Home’ tab, and click the bullet icon.
- Numbered Lists: These use numbers to list items sequentially; useful when order matters. You create these using the numbered list icon on the ‘Home’ tab.
- Multi-level Lists: These combine bulleted and numbered lists to create nested structures, ideal for outlining, hierarchical data, or complex procedures. These are created using the ‘Multilevel List’ button (often found within a drop-down menu associated with bullet or numbered lists).
Example: Imagine a recipe. You can use a numbered list for the steps, and within each step, use a bulleted list to list ingredients needed for that step. A multilevel list effectively organizes complex information.
Q 11. Describe your experience with using templates in Word.
Templates in Word are pre-designed documents that provide a starting point for various projects. They save time by offering ready-made layouts, styles, and formatting. They’re incredibly useful for consistency in projects. Think of them as pre-built houses—you move in, customize and furnish them, instead of building from scratch.
My experience with templates ranges from using basic resume templates to creating complex report templates with specific formatting requirements. I often customize existing templates to match the specific requirements of a project, modifying fonts, colors, and adding or removing sections as needed. I also sometimes create my own templates for recurring tasks, ensuring consistency in formatting across various documents.
Example: When I need to write a formal report, I might use a template with predefined sections for an abstract, introduction, methodology, results, discussion, and conclusion. This ensures consistency and saves time on formatting.
Q 12. How do you use footnotes and endnotes effectively?
Footnotes and endnotes are used to provide additional information or citations without disrupting the main text flow. Footnotes appear at the bottom of the page where they are referenced, while endnotes appear at the end of the document. They are essential for academic writing and other formal documents.
To insert a footnote, place your cursor where you want the reference, and go to the ‘References’ tab and click the ‘Insert Footnote’ button. Type your footnote text. Endnotes are similarly inserted, using the ‘Insert Endnote’ button. Word automatically numbers them sequentially.
Effective use: I avoid excessive use of footnotes and endnotes. I use them sparingly to present additional information that is relevant but not crucial to the main narrative. I also ensure they are concise and well-written, adding value to the reader’s understanding.
Example: In a research paper, I might use footnotes to cite specific sources or to elaborate on particular points briefly without interrupting the main argument.
Q 13. How do you create cross-references and hyperlinks in Word?
Cross-references and hyperlinks are powerful tools for navigating and linking information within and between documents. Cross-references link to specific elements within the same document, while hyperlinks link to elements within the same document or to external resources.
To insert a cross-reference, go to the ‘References’ tab and click ‘Cross-reference’. You choose the type of element you want to link (heading, figure, table, etc.), and Word provides a list to select from. Once you select the target, Word inserts the cross-reference, automatically updating it if the target’s location changes.
Hyperlinks are created by selecting the text you want to link and clicking the ‘Insert Hyperlink’ button (also on the ‘Insert’ tab). You then provide the URL or file path of the destination.
Example: In a long report, I might use cross-references to link from a table of contents to specific chapters or sections. I might also use hyperlinks to provide access to external websites or supporting documents.
Q 14. Explain your experience with using Word’s built-in citation and bibliography tools.
Word’s built-in citation and bibliography tools, accessible through the ‘References’ tab, significantly streamline the process of creating academic papers and other formal documents requiring citations. These tools manage citations and create bibliographies in various styles (MLA, APA, Chicago, etc.).
My experience involves using these features extensively to manage sources effectively. I’ve worked with different citation styles, ensuring accuracy and consistency in citing sources throughout a document. The tools automate much of the tedious work involved in creating bibliographies, reducing errors and saving significant time. They allow you to easily manage a bibliography, add or remove sources, and even update citations if you move or rename source files.
Example: In a research paper, I add a citation using the ‘Manage Sources’ dialog box. I input the source details (author, title, publication date, etc.), and Word automatically inserts the correct citation in the text and updates the bibliography accordingly. This ensures accuracy and consistency in my citations.
Q 15. How do you ensure accessibility in your Word documents (e.g., for visually impaired users)?
Ensuring accessibility in Word documents is crucial for inclusivity. It’s about making your document usable by everyone, including those with visual impairments. This primarily involves using features that screen readers can interpret effectively.
- Using Heading Styles: Instead of just making text bigger, use Word’s built-in heading styles (Heading 1, Heading 2, etc.). Screen readers use these styles to navigate the document’s structure, allowing users to jump between sections easily. Imagine it like creating a table of contents that a screen reader can understand.
- Alternative Text for Images: Every image needs descriptive alternative text (alt text). This text describes the image’s content and context. When a screen reader encounters an image, it reads the alt text aloud, providing crucial context for the visually impaired user. For example, instead of just inserting an image of a graph, you’d add alt text like:
alt="Sales figures for Q3 showing a 15% increase." - Table Captions and Summaries: For tables, always add a caption describing the table’s contents. For complex tables, provide a summary to give context. This helps screen readers understand the data presented.
- High Contrast: While not directly a Word feature, consider using high contrast color schemes in your document for better readability for users with low vision.
- Check Accessibility Checker: Word has a built-in Accessibility Checker (found under the Review tab). This tool will identify potential accessibility issues and suggest improvements. It’s like having a helpful assistant reviewing your work for inclusivity.
By consistently applying these practices, you ensure that your Word documents are accessible and usable by a wider audience. Think of it as writing for everyone, regardless of their abilities.
Career Expert Tips:
- Ace those interviews! Prepare effectively by reviewing the Top 50 Most Common Interview Questions on ResumeGemini.
- Navigate your job search with confidence! Explore a wide range of Career Tips on ResumeGemini. Learn about common challenges and recommendations to overcome them.
- Craft the perfect resume! Master the Art of Resume Writing with ResumeGemini’s guide. Showcase your unique qualifications and achievements effectively.
- Don’t miss out on holiday savings! Build your dream resume with ResumeGemini’s ATS optimized templates.
Q 16. How familiar are you with using macros in Microsoft Word?
I’m highly proficient in using macros in Microsoft Word. Macros are essentially automated sequences of actions that you record and then replay. They can significantly improve efficiency and automate repetitive tasks.
For example, I’ve used macros to automate things like:
- Formatting consistency: Applying specific font styles, sizes, and spacing to ensure a uniform look across a document or series of documents.
- Generating reports: Pulling data from a spreadsheet and automatically inserting it into a Word document with the appropriate formatting.
- Creating custom templates: Automating the creation of standard documents with predefined headers, footers, and styles.
- Sending emails with document attachments: Automating the process of emailing documents to multiple recipients.
I’m familiar with both recording macros (using the Macro Recorder) and writing VBA (Visual Basic for Applications) code to create more sophisticated and customized macros. VBA allows for dynamic control and interaction with the Word application. For instance, you can use VBA to create a macro that prompts the user for input, dynamically generates content based on that input, and then formats the document accordingly. This provides a high level of customizability and automation.
Q 17. How do you protect a Word document from unauthorized editing or viewing?
Protecting a Word document involves using a combination of techniques depending on the level of security required.
- Password Protecting: The simplest method is to password-protect the document. This prevents unauthorized users from opening the document without the password. This can be done under the ‘Info’ tab, using the ‘Protect Document’ option. You can choose to restrict editing or just viewing.
- Restrict Editing: This allows you to control who can edit specific parts of the document or the entire document. You can restrict editing to specific sections, preventing accidental or malicious changes. This is also accessible under the ‘Protect Document’ option on the ‘Info’ tab.
- Digital Signatures: For added authenticity, you can use digital signatures to verify the document’s origin and integrity. This ensures that the document hasn’t been tampered with since it was signed.
- Information Rights Management (IRM): For higher-level security, IRM allows you to control access to the document more granularly. This can include restricting printing, copying, and forwarding.
- Storing in a Secure Location: Beyond Word’s features, storing the document in a secure location, such as a password-protected folder or cloud storage with strong access controls, provides an additional layer of protection.
The choice of method depends on the sensitivity of the document and the level of security needed. For instance, a simple password may suffice for a less sensitive document, whereas IRM might be necessary for highly confidential information.
Q 18. Describe your experience using the ‘Review’ tab features (e.g., comments, proofing).
The ‘Review’ tab is essential for collaborative work and ensuring document quality. I extensively use its features for both proofing and reviewing.
- Proofing Tools: I routinely utilize spell check, grammar check, and thesaurus functions. These tools help maintain consistency and accuracy in the writing. I also pay close attention to the suggestions provided, often manually reviewing them to avoid automated corrections that might misinterpret the context.
- Comments: I frequently use comments to provide feedback on documents, either for collaborative editing or for self-review and revisions. The ability to reply to comments facilitates detailed discussion and helps maintain a clear track of changes and suggestions. I find this invaluable for both collaborative projects and for my own writing process.
- Track Changes: This is crucial for collaborative projects. I use this feature to see clearly who made what changes, making revision and finalization much simpler and less prone to errors. I can easily accept, reject, or modify individual changes.
- Comparing Documents: The compare function enables me to identify differences between two versions of a document, simplifying the process of identifying updates and changes from previous drafts.
In a professional setting, the Review tab features are invaluable for improving the quality and clarity of documents, facilitating smooth collaboration, and maintaining a clear record of changes.
Q 19. How do you collaborate on a Word document using co-authoring features?
Co-authoring in Word allows multiple users to work on the same document simultaneously. It’s a game-changer for collaborative writing. I’ve extensively used this feature for projects involving multiple team members.
Here’s how it works:
- Shared Access: The document needs to be stored on a shared location, such as OneDrive or SharePoint. This allows multiple users to access and edit the document concurrently.
- Real-time Collaboration: As each user makes changes, those changes are reflected in real-time for all other co-authors. You can see other users’ cursors and know who’s working on which part of the document.
- Conflict Resolution: If multiple users edit the same section concurrently, Word handles conflict resolution seamlessly, usually by presenting the different versions and allowing you to choose the one you want to keep.
- Version History: While co-authoring, Word keeps track of the changes, enabling the team to revert to older versions if necessary. This is a safeguard against accidental data loss or unwanted alterations.
Co-authoring significantly streamlines the collaborative writing process, reducing the need for cumbersome version control and email exchanges. It promotes efficiency and real-time feedback, vital in today’s fast-paced work environments. It’s like having a shared whiteboard, but for written documents.
Q 20. Explain your experience with creating and formatting different types of charts and graphs in Word.
I have extensive experience creating and formatting various charts and graphs in Word. It’s crucial for effectively visualizing data.
Word offers a range of chart types, including:
- Column charts: Ideal for comparing values across different categories.
- Line charts: Best for showing trends and changes over time.
- Pie charts: Suitable for displaying proportions or percentages of a whole.
- Bar charts: Similar to column charts but with horizontal bars instead of vertical columns.
- Scatter charts: Useful for showing relationships between two sets of data.
Beyond the basic chart types, Word allows for detailed customization. I can modify:
- Chart Titles and Labels: Clear and descriptive titles and labels are essential for data understanding.
- Axis Labels: Precise and informative axis labels ensure accurate data interpretation.
- Data Series: I can adjust colors, patterns, and legends to make the chart visually appealing and easily understandable.
- Chart Styles: Word offers a variety of pre-designed chart styles that quickly enhance the chart’s visual appeal.
My experience includes creating charts from both internal and external data sources, such as spreadsheets, databases, and manually entered data. I ensure that all charts are well-labeled, visually appealing, and accurately reflect the underlying data. The goal is to present data in a clear, concise, and engaging way, removing the need for extensive explanation.
Q 21. How do you convert a Word document to PDF format?
Converting a Word document to PDF is a common task, and there are several ways to accomplish it.
- Save As: The simplest method is to use the ‘Save As’ function. When saving, choose ‘PDF’ as the file type. This is quick, easy and directly accessible within Word.
- Print to PDF: You can also ‘Print’ the document, but select a ‘PDF printer’ as your destination. Most operating systems include a built-in PDF printer; alternatively, you can use a third-party PDF printer application.
- Third-party Software: Various third-party applications specialize in PDF creation and offer additional features, such as encryption or compression, beyond Word’s capabilities.
The ‘Save As’ method is generally the most efficient for simple conversions. Using a ‘Print to PDF’ method is useful if you need more control over things like the page size or margins during the conversion. The choice of method often depends on your preferences and the specific requirements of the situation.
Q 22. How do you efficiently manage large Word documents?
Managing large Word documents efficiently requires a multi-pronged approach focusing on organization, structure, and leveraging Word’s built-in features. Think of it like building a skyscraper – you wouldn’t just start laying bricks; you’d need blueprints and a solid foundation.
- Styles and Templates: Consistently applying styles (headings, paragraphs, lists) ensures consistent formatting and makes navigation easier. Creating a template for recurring documents saves time and maintains uniformity. Imagine having a pre-designed template for client reports – you just fill in the blanks.
- Outlining: The outlining feature (discussed in more detail later) is crucial for organizing the document’s structure before diving into detailed writing. It’s like creating a detailed table of contents before writing a book.
- Headings and Navigation Pane: Using meaningful headings (Heading 1, Heading 2, etc.) allows for easy navigation within the document using the Navigation pane. This pane allows you to jump between sections quickly, just like using bookmarks in a lengthy web page.
- Cross-referencing: This feature links to specific sections, figures, or tables, allowing for seamless navigation and updating if the linked content changes. Think of this as hyperlinks within your document.
- Regular Saving and Backup: This should be a given for any large document, but it bears repeating! Save frequently, and consider using cloud storage or external backups for added safety.
Q 23. What are some advanced features of Microsoft Word that you’ve utilized?
Beyond the basics, I’ve extensively utilized several advanced features in Microsoft Word. Here are a few examples:
- Track Changes and Comments: Essential for collaborative writing, these features allow for real-time feedback and version control, preventing accidental overwrites and ensuring everyone is on the same page. I use this daily in team projects.
- Macros: For repetitive tasks, I leverage macros to automate processes. For instance, I created a macro to automatically format client invoices, saving significant time.
- Mail Merge (Beyond Basics): I’ve used mail merge to create personalized letters, labels, and even customized certificates with dynamically generated data from external sources, going beyond simple name and address insertions. (More on this later).
- Footnotes and Endnotes: Perfect for academic or professional papers requiring citations and references, properly formatting and managing these helps maintain a professional look and adheres to academic standards.
- Document Properties and Metadata: This often overlooked feature is crucial for organizing and retrieving documents later. I ensure all documents have accurate metadata, such as keywords and author information, for efficient searching and retrieval.
Q 24. How do you use the ‘Outlining’ feature in Word to organize complex documents?
The Outlining feature is a powerful tool for organizing complex documents. It allows you to create a hierarchical structure, making it easy to see the big picture and rearrange sections as needed. Think of it as a visual roadmap for your document.
Here’s how I use it:
- Create Headings: First, I use the built-in Heading styles (Heading 1, Heading 2, etc.) to structure the main sections and subsections of my document. The styles are key to the outlining feature’s effectiveness.
- Open the Outline View: I navigate to the ‘View’ tab and select ‘Outline’. This displays the document’s structure in a hierarchical outline.
- Promote and Demote Headings: I use the ‘Promote’ and ‘Demote’ buttons to adjust the hierarchy of my headings, moving sections up or down in the outline to reflect their importance and relationship to other sections. This is like rearranging chapters in a book.
- Collapse and Expand Sections: This feature allows me to focus on specific sections while hiding others, simplifying the editing process for lengthy documents. It’s akin to collapsing folders on your computer to manage file clutter.
- Drag and Drop: Easily rearrange sections by dragging and dropping them within the outline view, instantly changing the document’s order without tedious manual cuts and pastes.
Q 25. How do you insert page breaks and section breaks in Word?
Page breaks and section breaks are crucial for controlling the layout and formatting of a Word document. They serve different purposes:
- Page Breaks: A page break forces a new page at the cursor’s location. It’s like pressing ‘Enter’ but on a page level. Use
Ctrl + Enterto insert a page break. - Section Breaks: Section breaks divide the document into independent sections, allowing for different formatting (headers, footers, margins, page orientation) within each section. This is essential when you need varied formatting, such as different page orientations for landscape images.
There are different types of section breaks (Next Page, Continuous, Even Page, Odd Page), each offering specific layout control. Choosing the right type depends on your desired effect. For example, to start a new chapter on a new page, I would usually use a ‘Next Page’ section break.
Q 26. Explain your experience with using the ‘Mailings’ tab features beyond simple mail merge.
My experience with the Mailings tab extends far beyond simple mail merge. I’ve utilized its advanced features to create highly personalized and dynamic documents.
- Using Data from Multiple Sources: I’ve combined data from spreadsheets and databases to create complex mail merge documents, personalizing content based on recipient-specific criteria. This is especially useful for targeted marketing campaigns.
- Conditional Logic in Merge Fields: I’ve incorporated conditional statements within merge fields to tailor the content based on data values. For example, I can include a different paragraph based on whether a recipient is a new or existing customer.
- Using Rules and Filters: I leverage rules and filters to refine the recipient list and selectively generate documents only for specific subsets of data. This is great for sending targeted messages based on customer segmentation.
- Advanced Formatting within Mail Merge: I can format the merged content dynamically based on the data, creating visually appealing and customized outputs beyond simple text replacements.
Q 27. How do you use the ‘Insert’ tab features beyond basic text and images?
The ‘Insert’ tab offers a wealth of features beyond basic text and images. My experience includes:
- Tables: Creating complex tables with formulas and formatting for data organization and analysis, often used for reporting and presentations.
- Shapes and SmartArt: Enhancing document visuals with diagrams, flowcharts, and other graphical elements to aid comprehension and engagement.
- Headers and Footers: Implementing page numbers, document titles, and other information to ensure consistent professional formatting.
- Symbols and Special Characters: Inserting specialized symbols or characters, particularly useful for academic papers or technical documentation.
- Objects: Embedding external objects like spreadsheets, charts, or multimedia files from other applications to create comprehensive documents. I regularly use this to integrate data visualizations within reports.
- Quick Parts: Creating reusable building blocks of text, images, or formatting for faster and more consistent document creation. This is invaluable for repetitive content sections.
Key Topics to Learn for Microsoft Word/Office Suite Interview
- Document Creation & Formatting: Mastering essential formatting tools like styles, headers/footers, page numbering, sections, and columns. Practical application: Creating professional reports and presentations.
- Advanced Formatting & Styles: Understanding and applying advanced formatting techniques like tables, lists (bulleted, numbered), and using styles for consistent document formatting. Practical application: Developing visually appealing and easily navigable documents.
- Mail Merge: Creating personalized letters and documents efficiently using mail merge functionality. Practical application: Sending mass communications to clients or colleagues.
- Templates & Themes: Utilizing pre-designed templates and themes to streamline document creation and maintain a consistent brand identity. Practical application: Quickly generating professional-looking documents.
- Collaboration Features (Word Online/SharePoint): Understanding and utilizing features for collaborative document editing and version control. Practical application: Efficient teamwork on large projects.
- Excel Integration: Importing and embedding Excel data into Word documents for data visualization and analysis. Practical application: Presenting data within reports clearly and concisely.
- Data Tables & Charts (Word/Excel): Creating and formatting tables and charts to effectively represent data. Practical application: Creating visually impactful reports and presentations.
- PowerPoint Integration: Importing and linking PowerPoint presentations within Word documents. Practical application: Creating comprehensive and engaging reports.
- Accessibility Features: Understanding and implementing accessibility features for visually impaired users. Practical application: Creating inclusive and accessible documents.
- Problem-Solving Scenarios: Preparing for potential problem-solving questions related to document formatting challenges, data manipulation, and troubleshooting common issues.
Next Steps
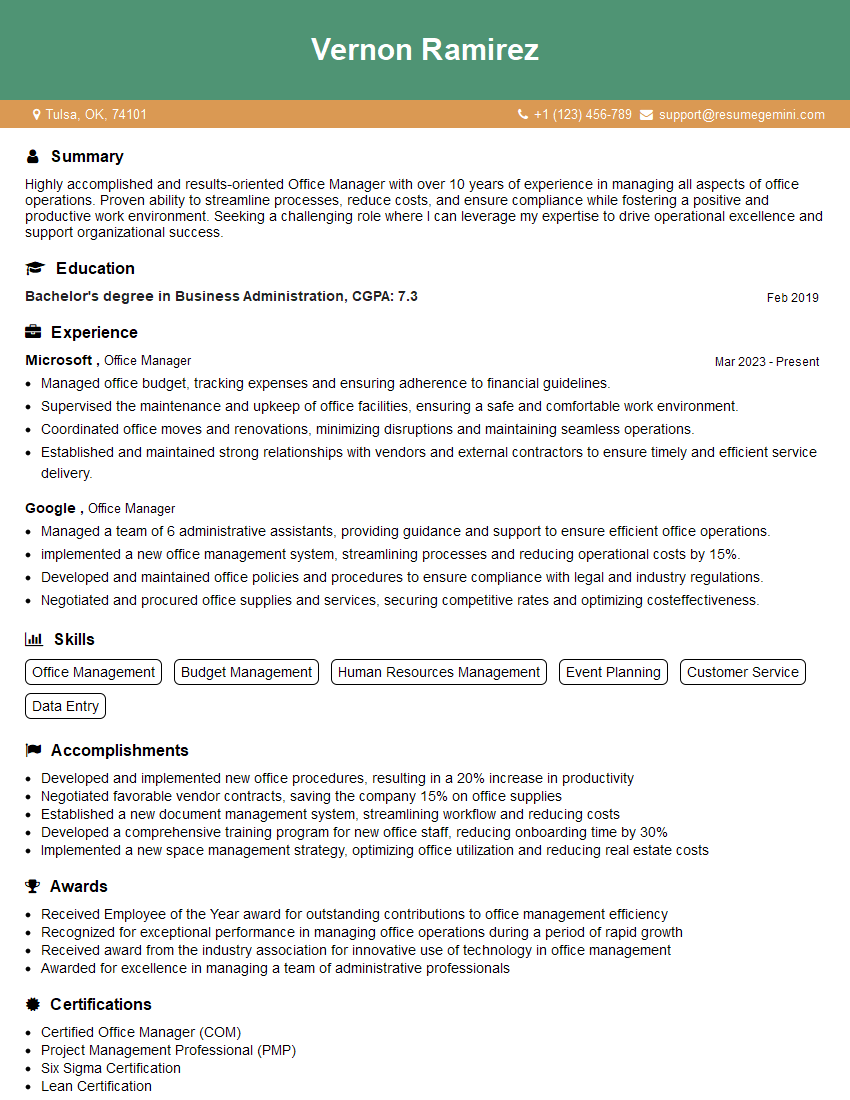
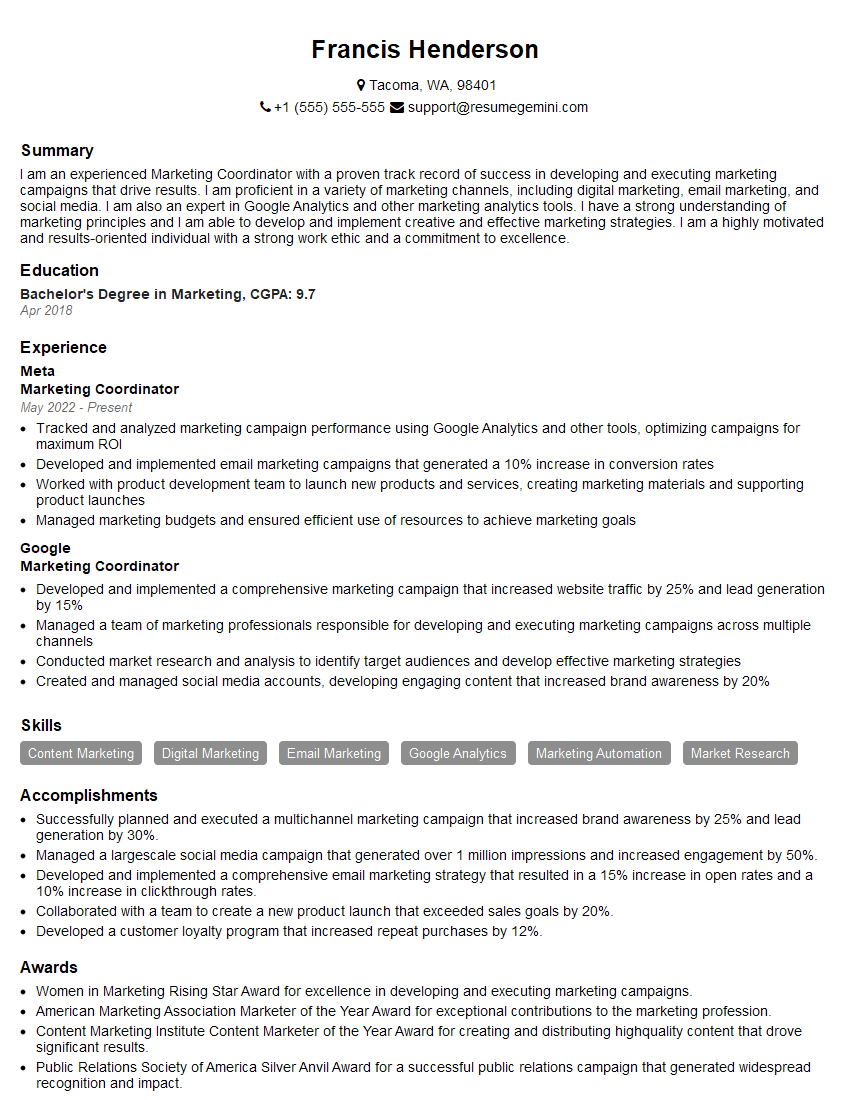
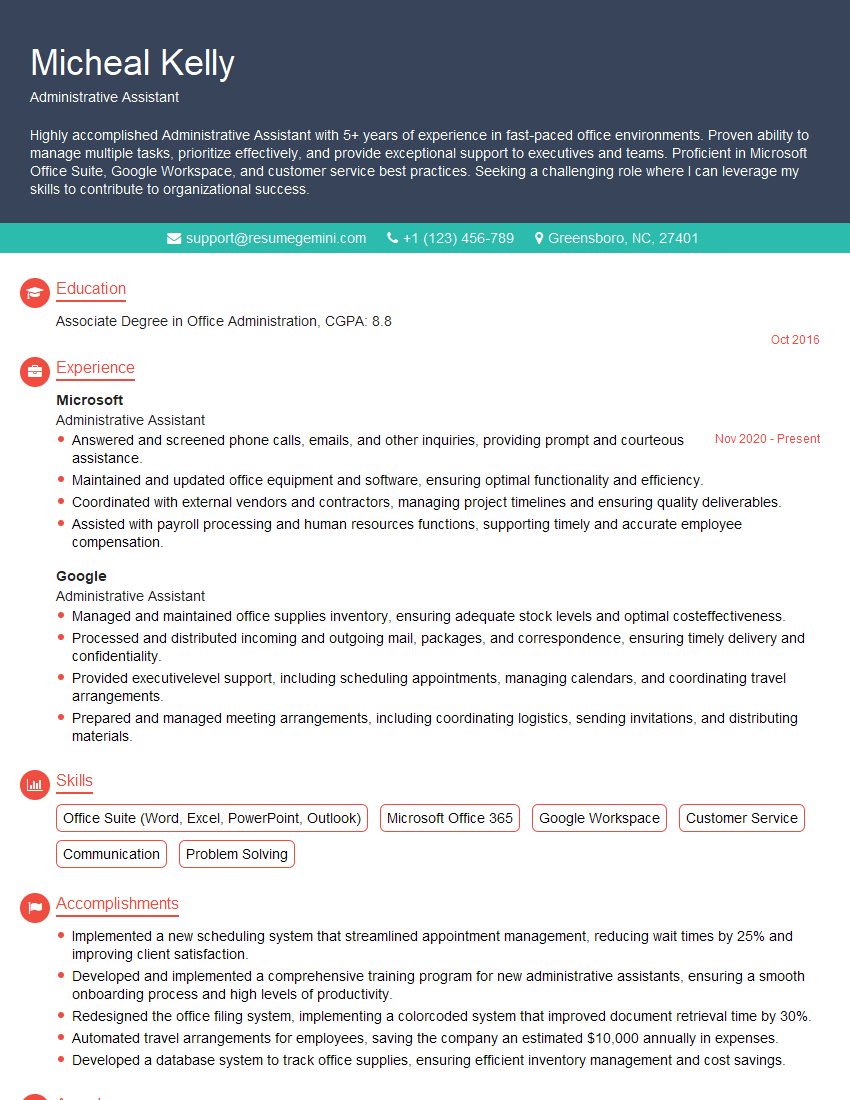
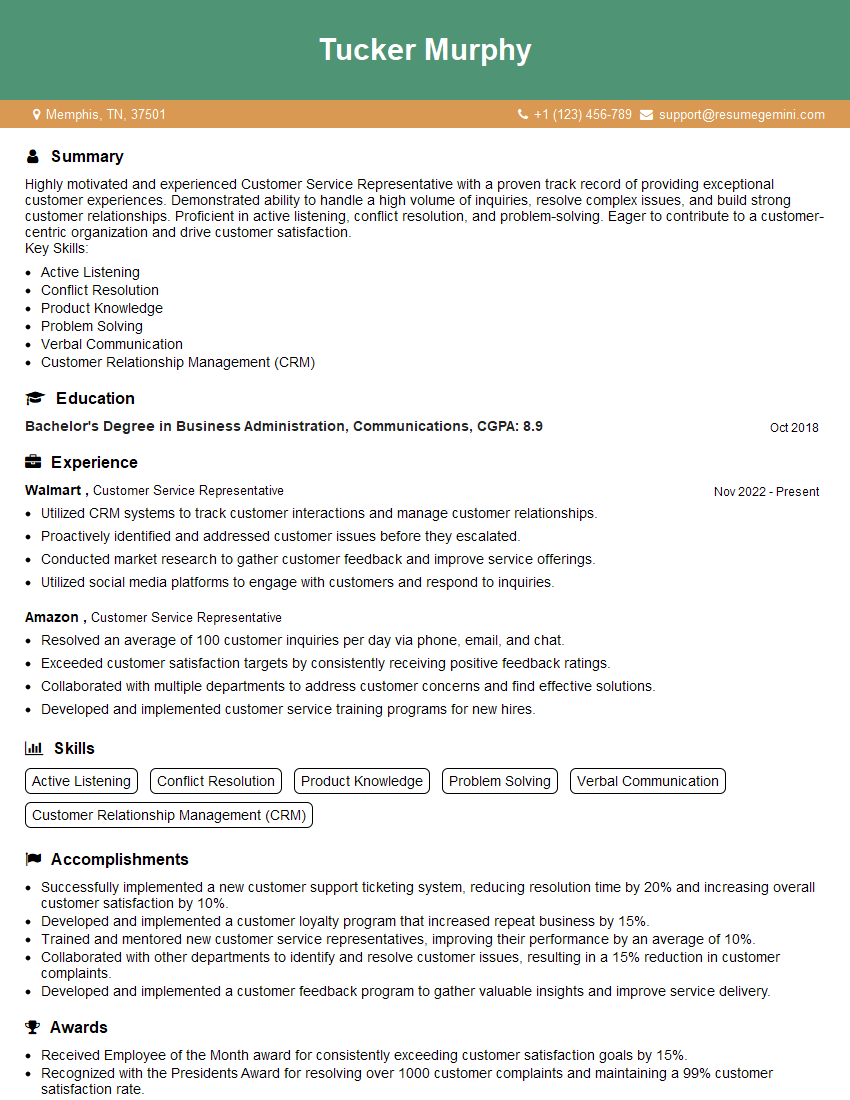
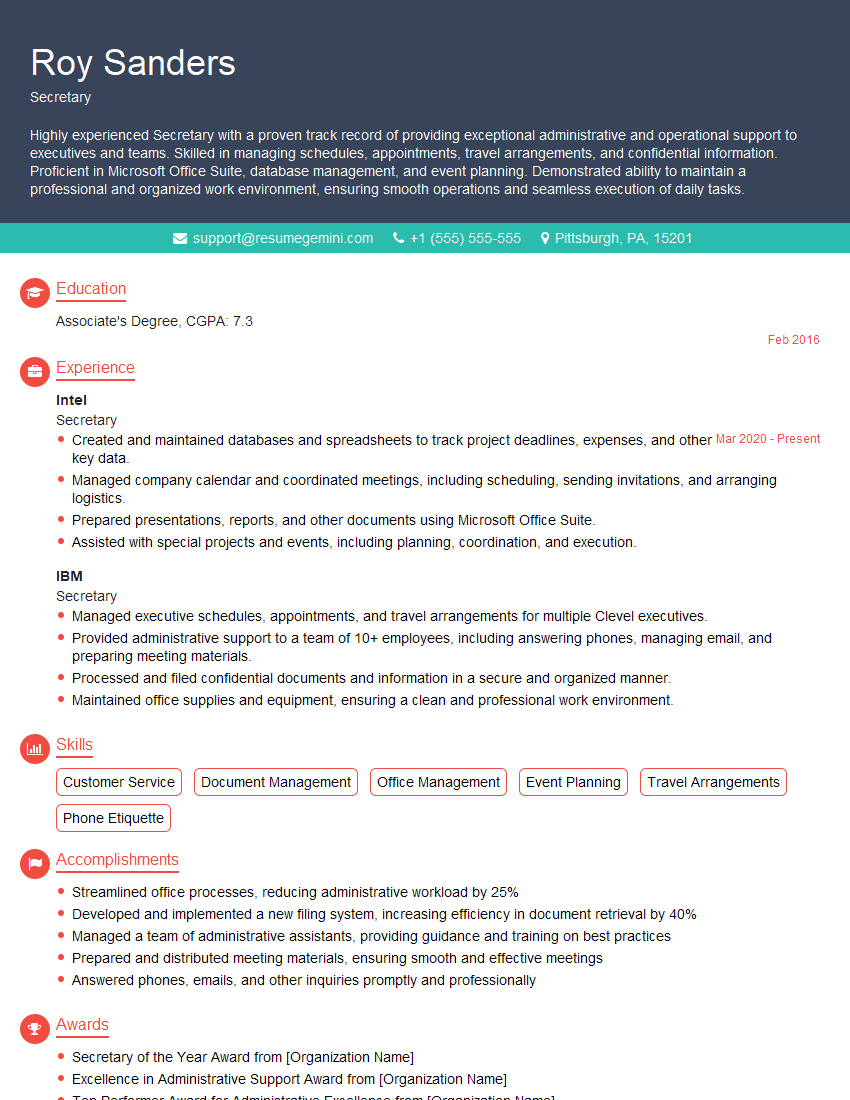
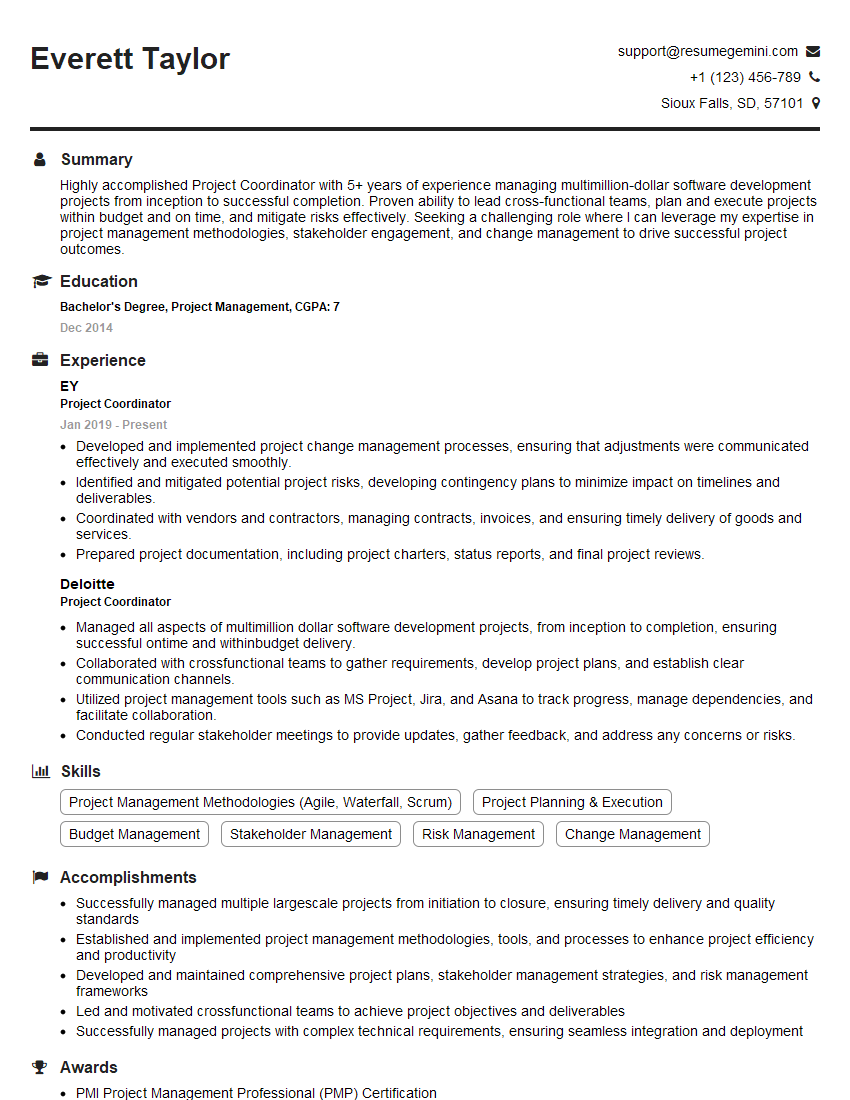
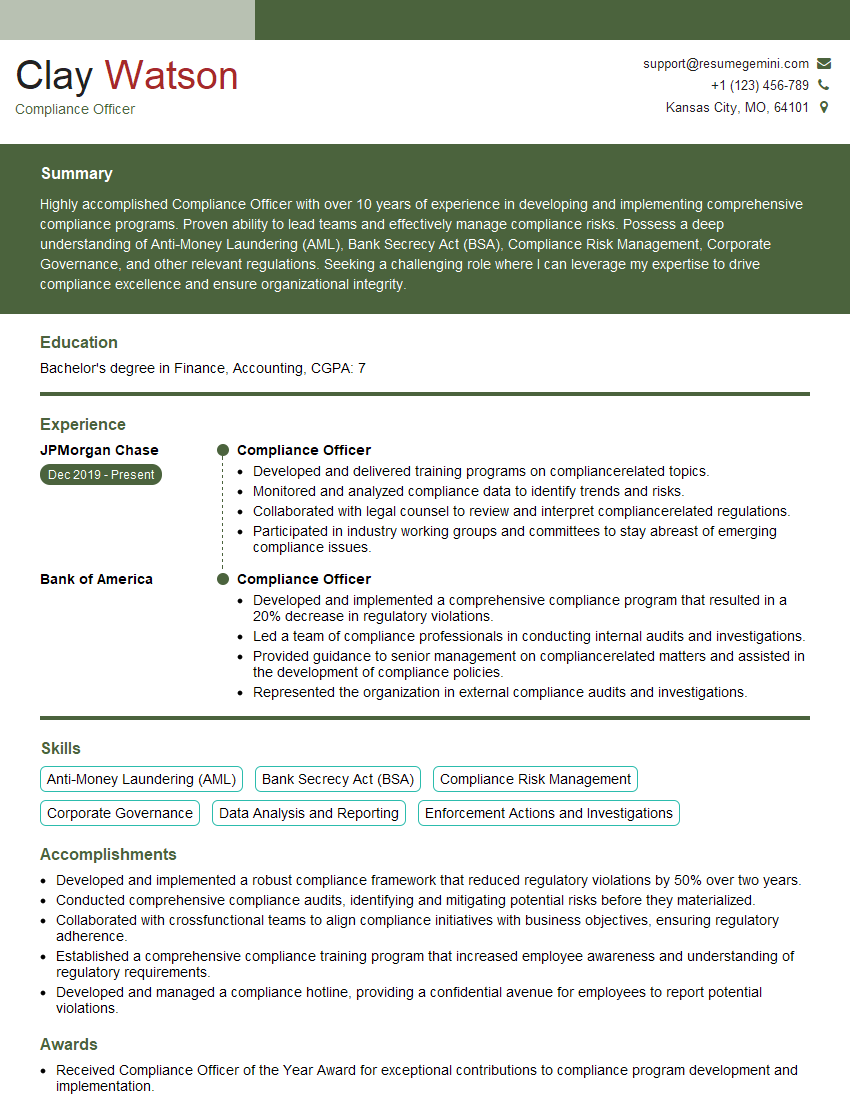
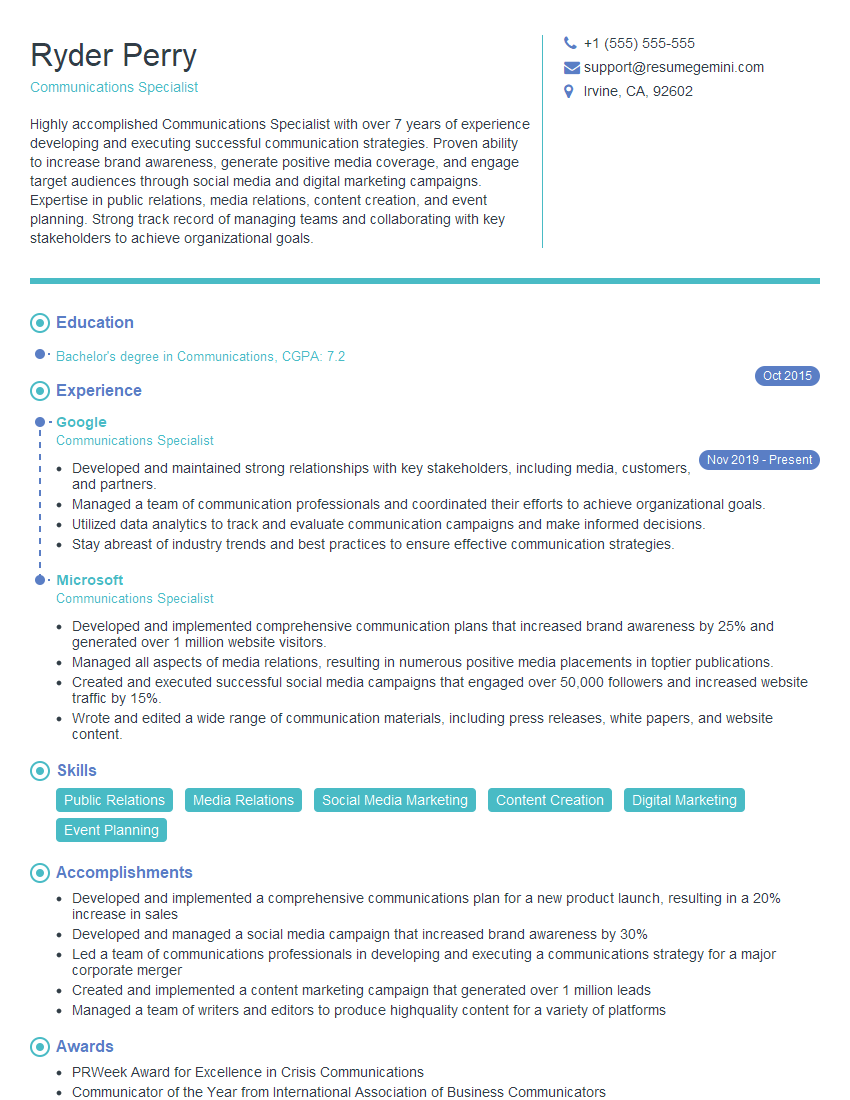
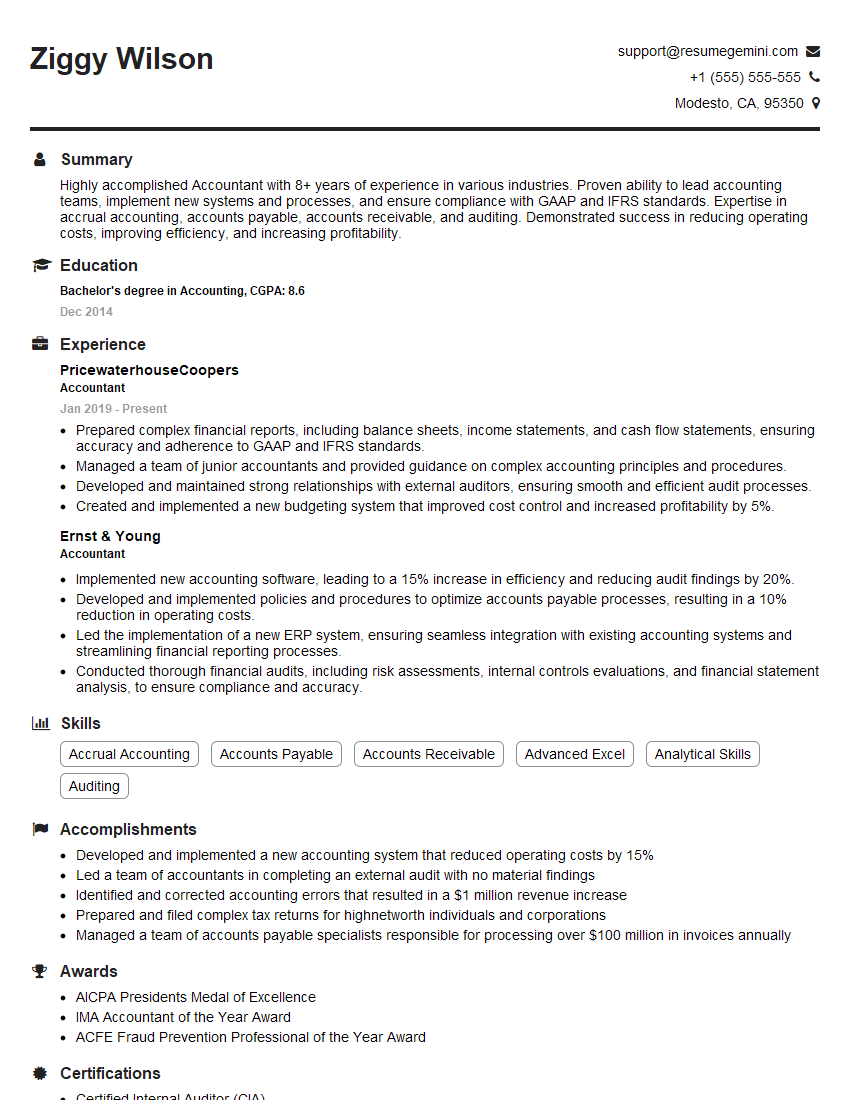
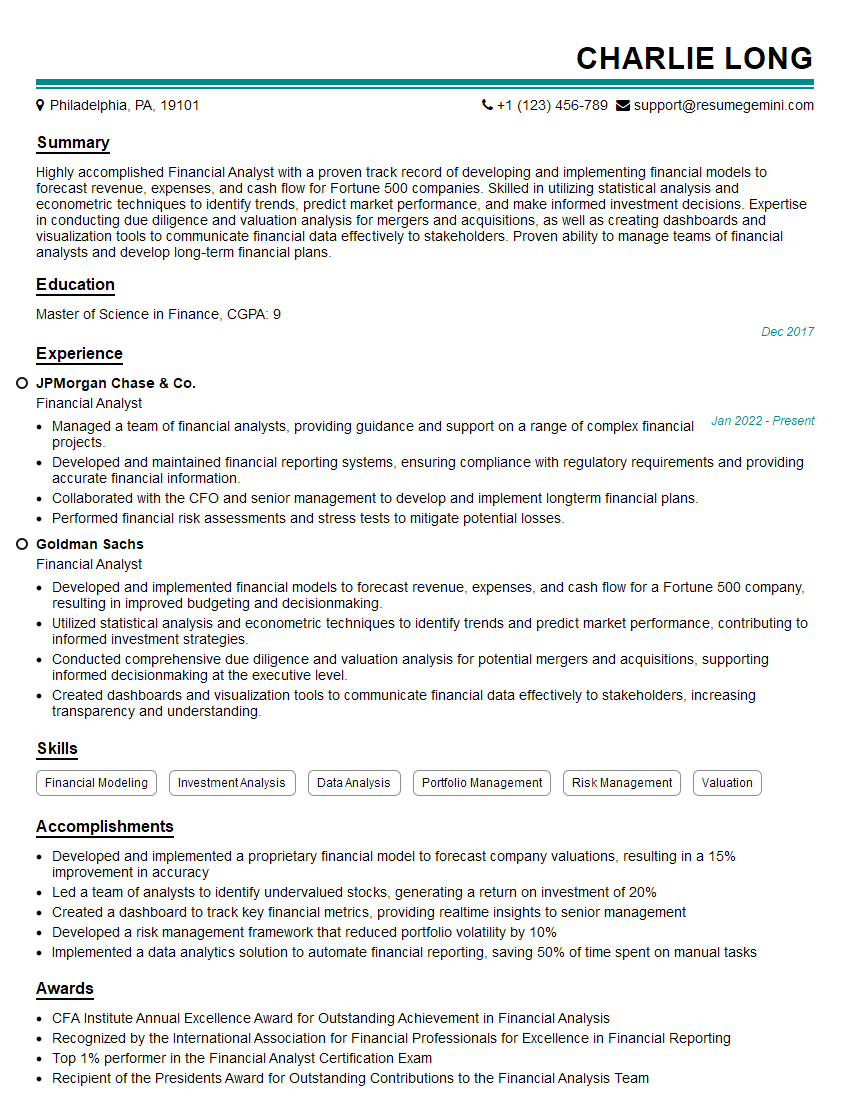
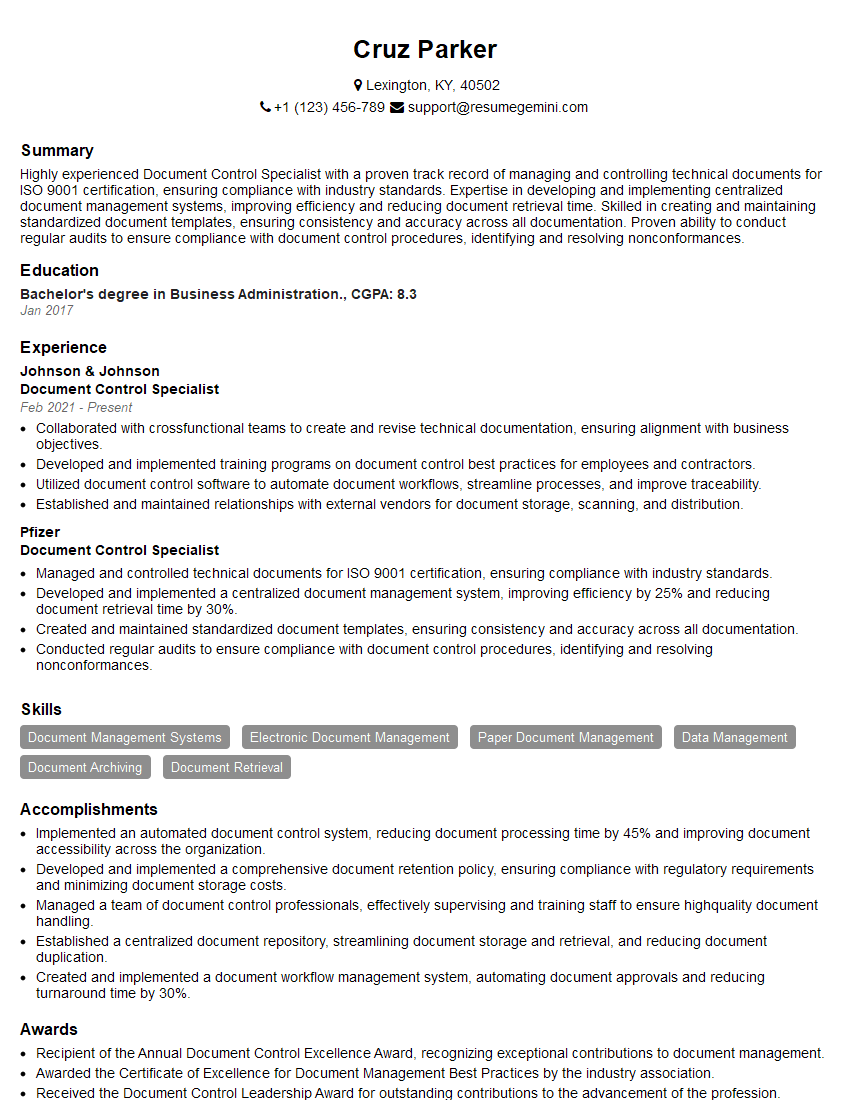
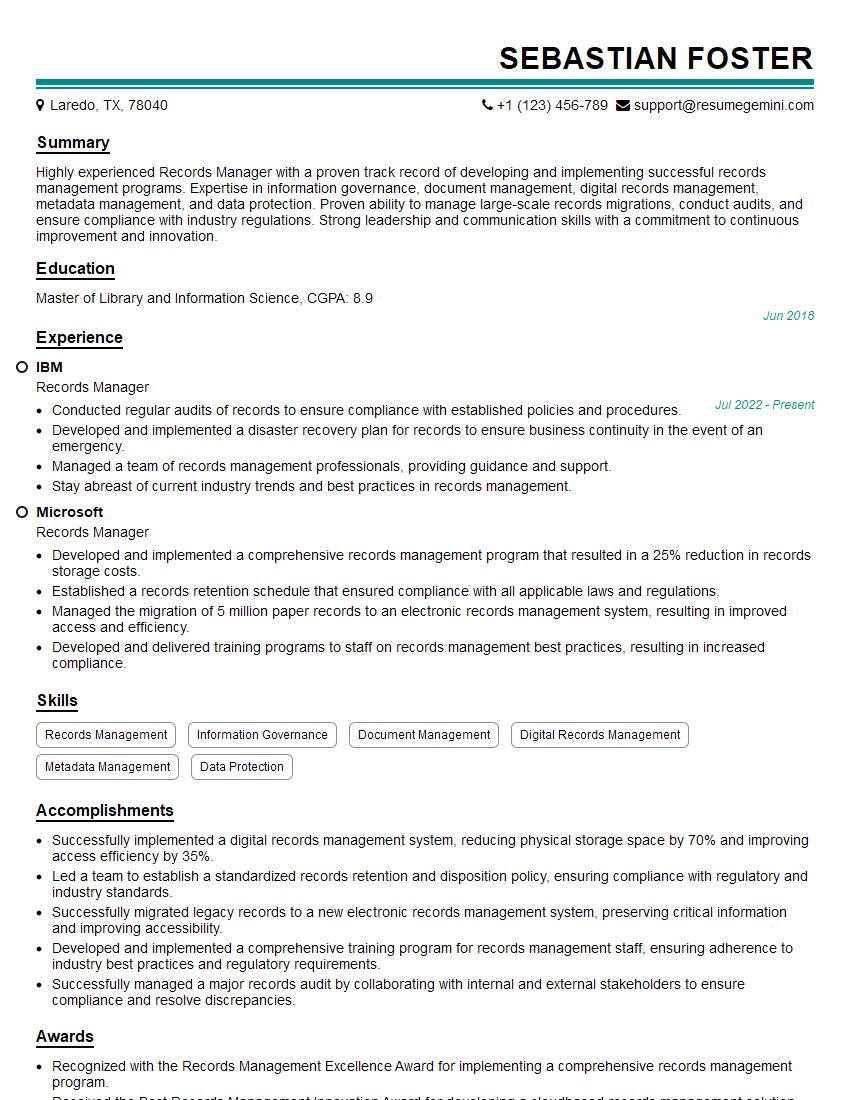
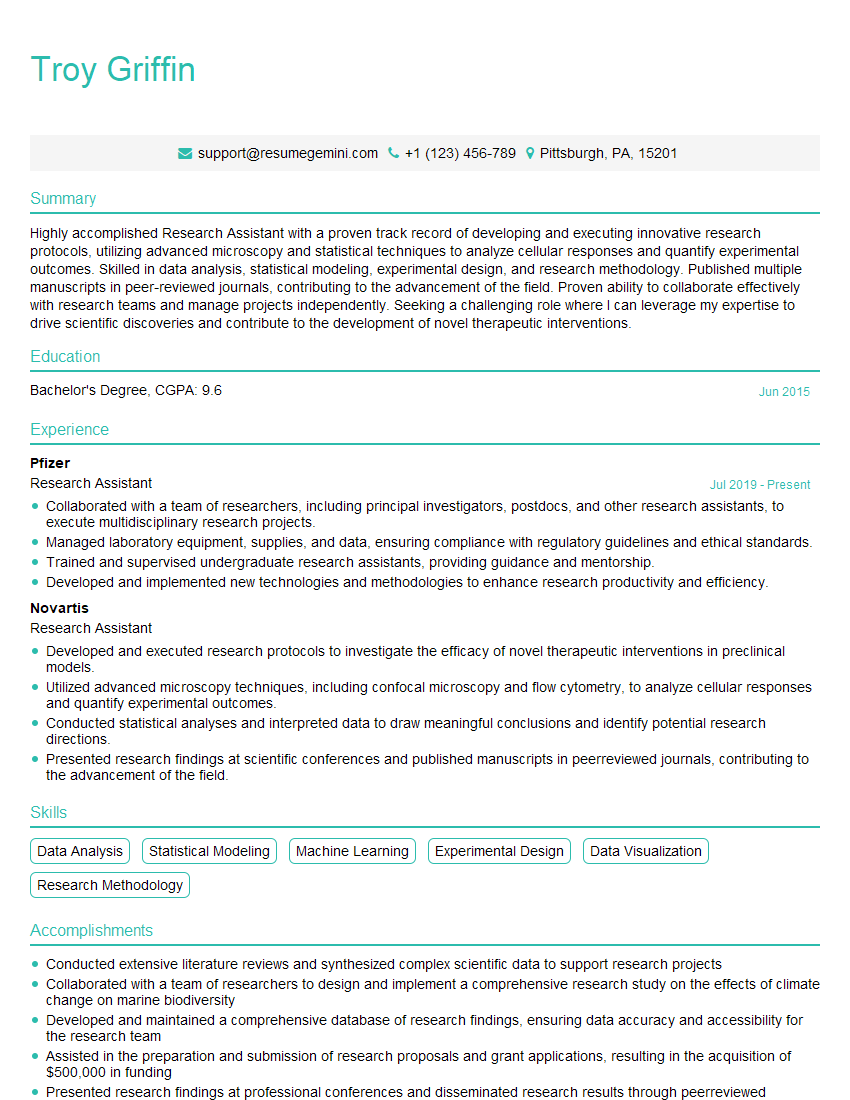
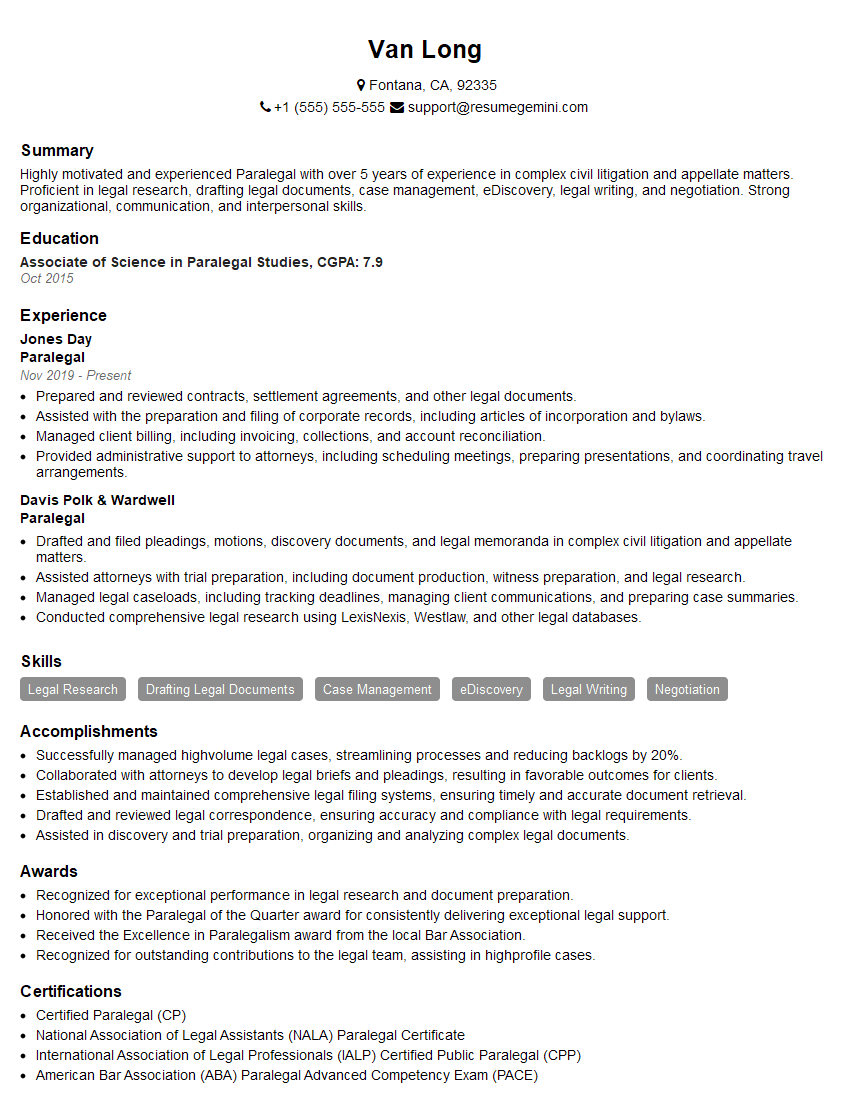
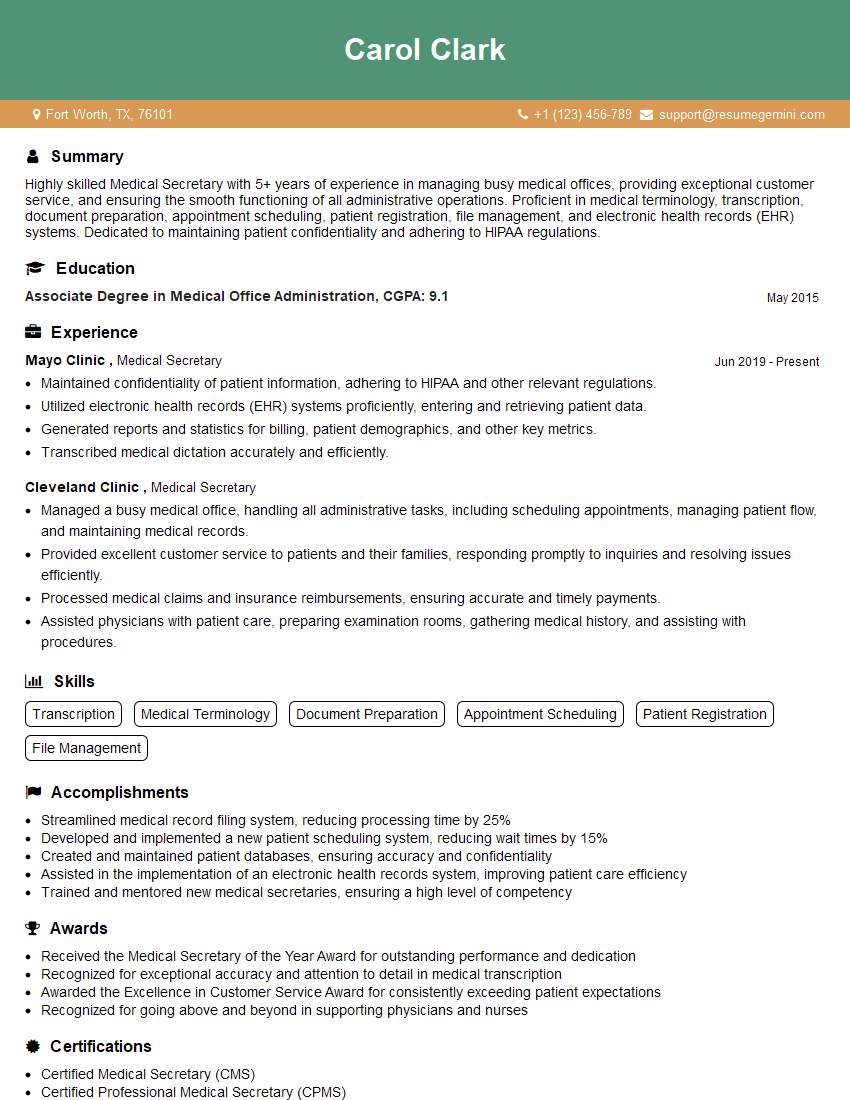
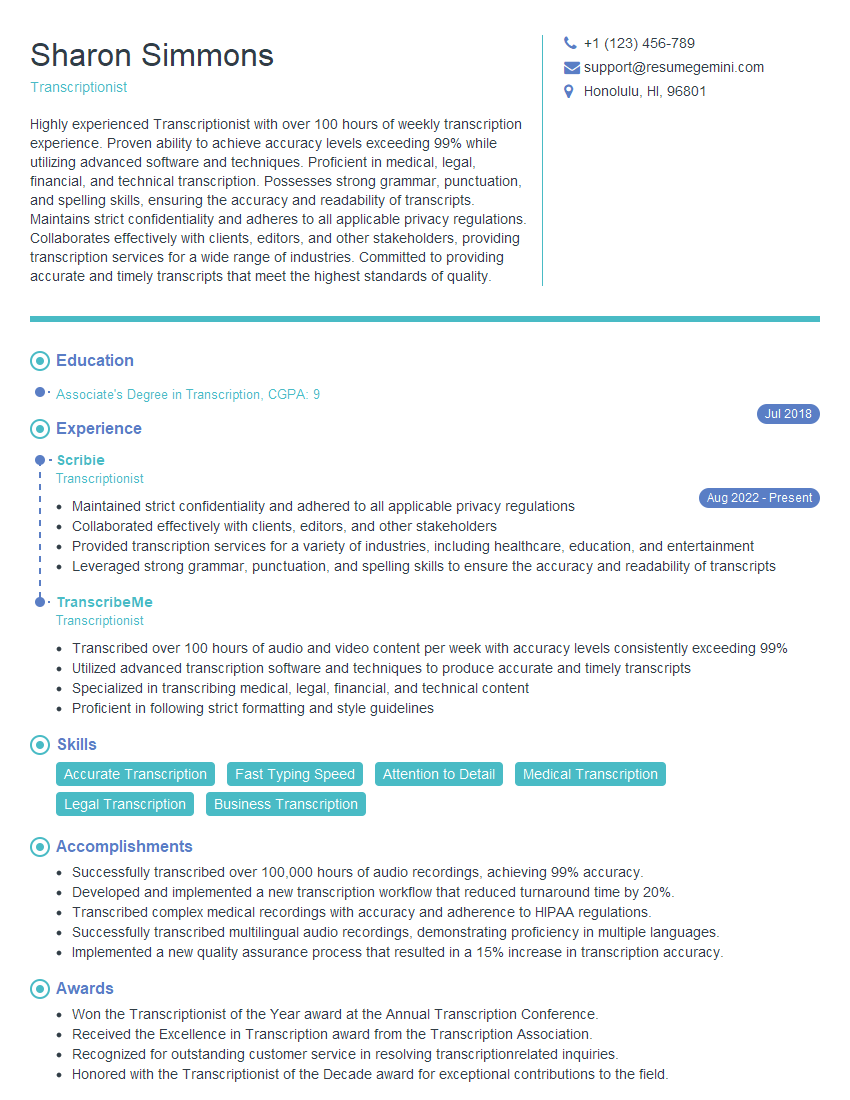
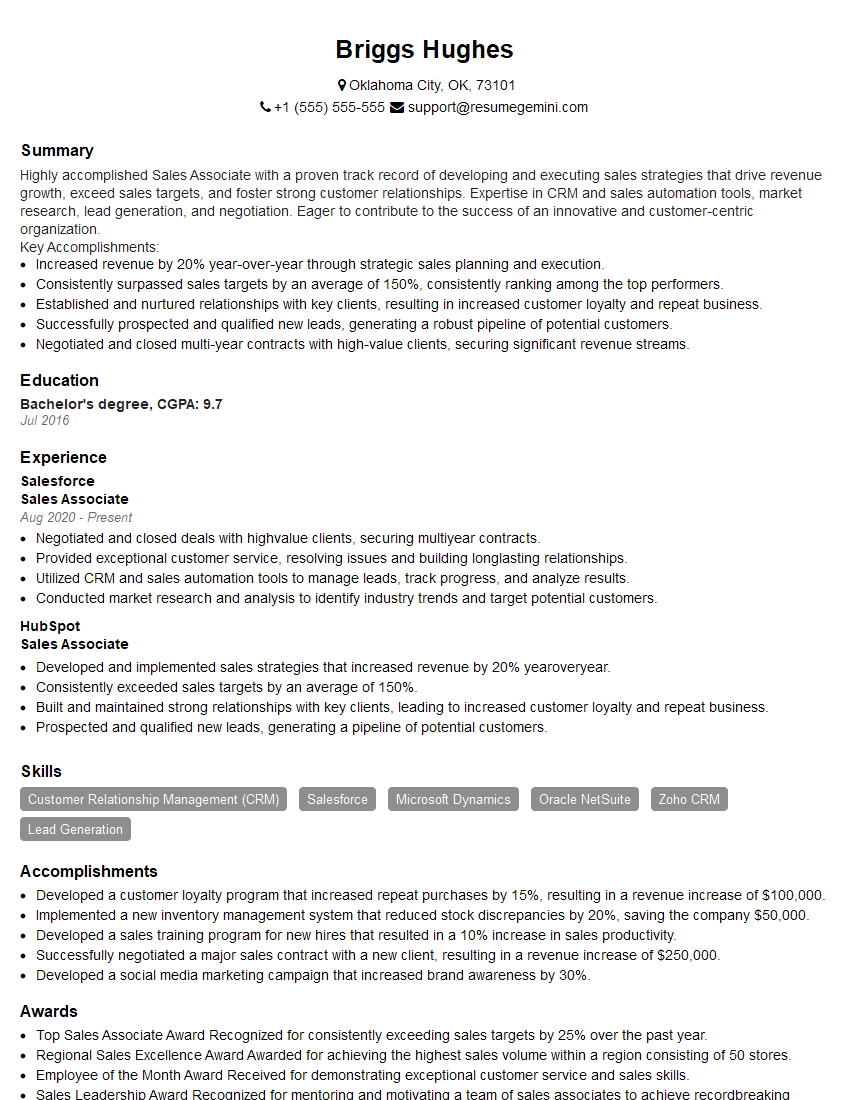
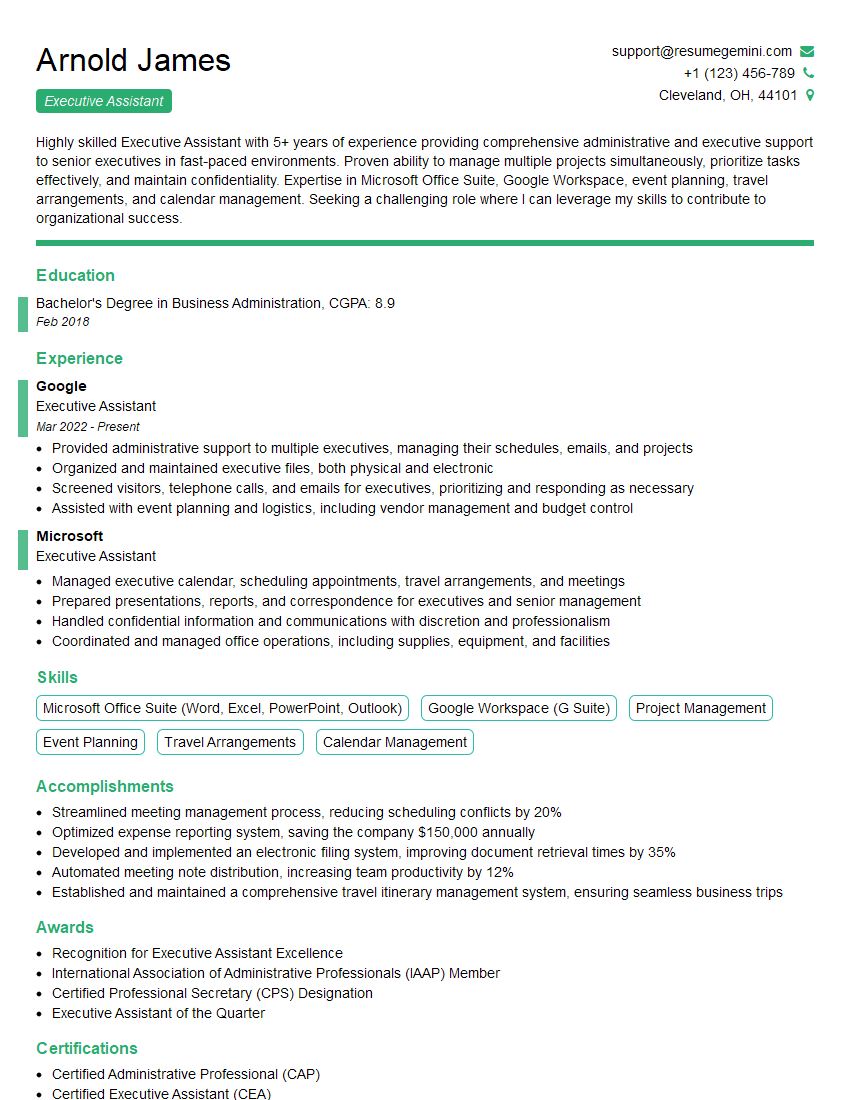
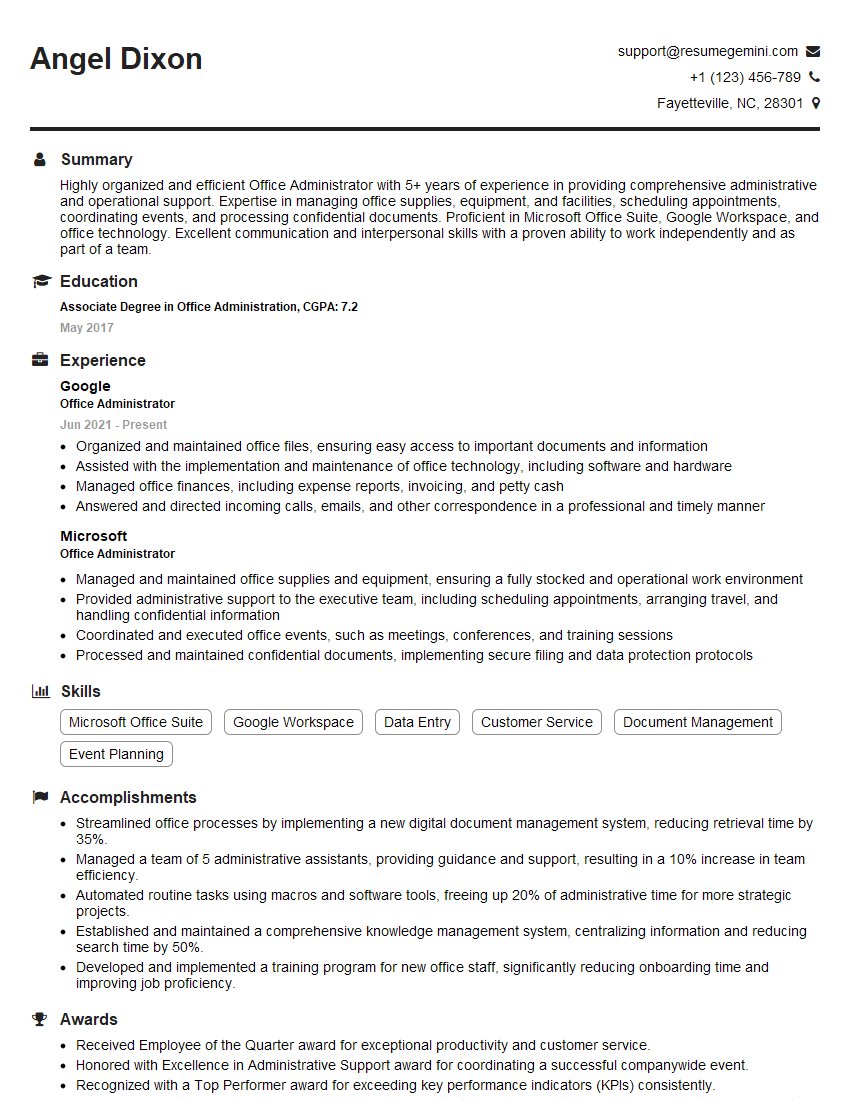
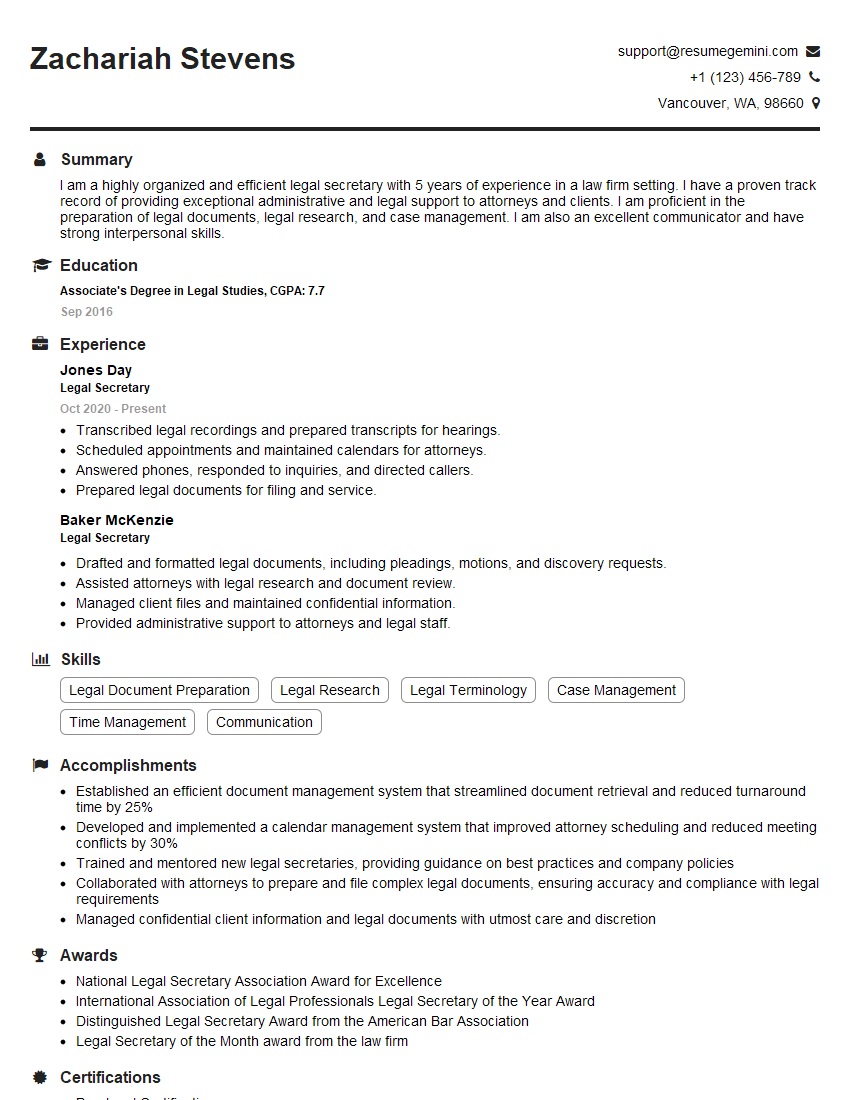
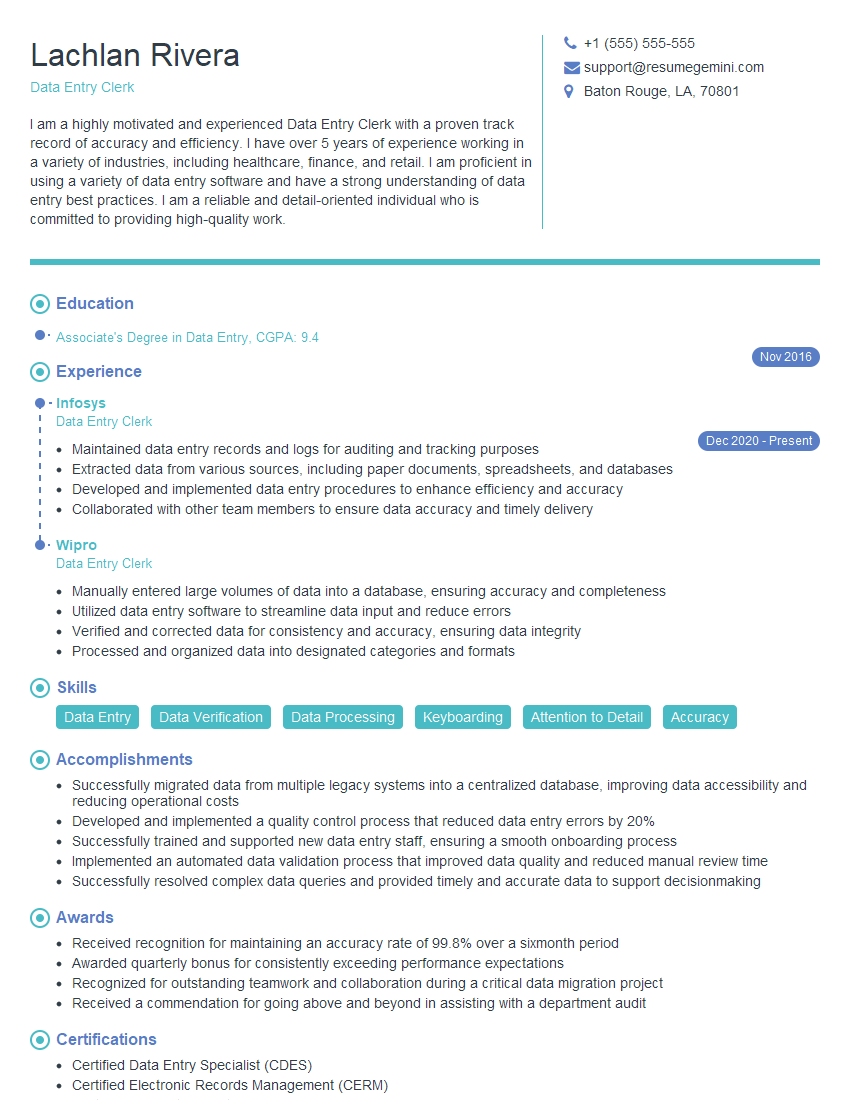
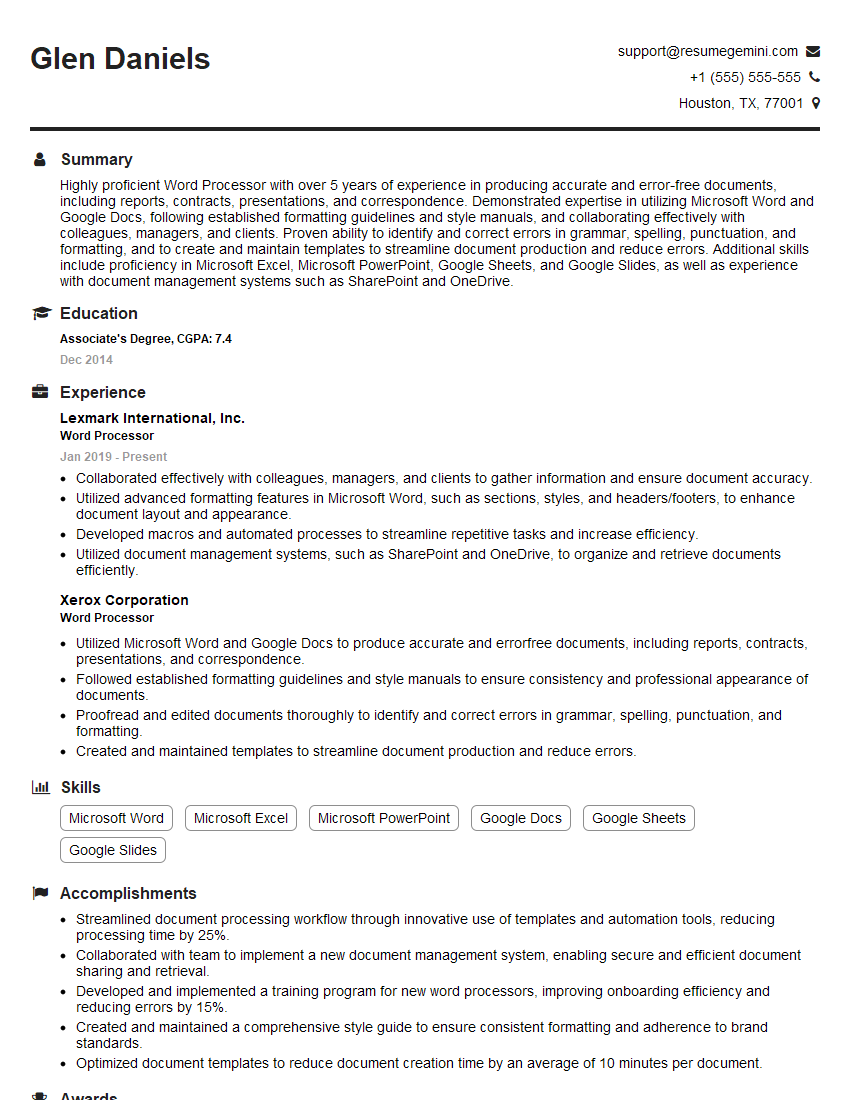
Mastering Microsoft Word/Office Suite is crucial for career advancement across numerous industries. Proficiency demonstrates strong organizational skills, attention to detail, and the ability to create professional and impactful documents. Building an ATS-friendly resume is vital for maximizing your job prospects. An effective resume highlights your skills and experience in a way that Applicant Tracking Systems can easily read. We encourage you to use ResumeGemini, a trusted resource for building professional resumes, to showcase your Word/Office Suite expertise. Examples of resumes tailored to Microsoft Word/Office Suite professionals are provided to further assist you in your job search.
Explore more articles
Users Rating of Our Blogs
Share Your Experience
We value your feedback! Please rate our content and share your thoughts (optional).
What Readers Say About Our Blog
Take a look at this stunning 2-bedroom apartment perfectly situated NYC’s coveted Hudson Yards!
https://bit.ly/Lovely2BedsApartmentHudsonYards
Live Rent Free!
https://bit.ly/LiveRentFREE
Interesting Article, I liked the depth of knowledge you’ve shared.
Helpful, thanks for sharing.
Hi, I represent a social media marketing agency and liked your blog
Hi, I represent an SEO company that specialises in getting you AI citations and higher rankings on Google. I’d like to offer you a 100% free SEO audit for your website. Would you be interested?
