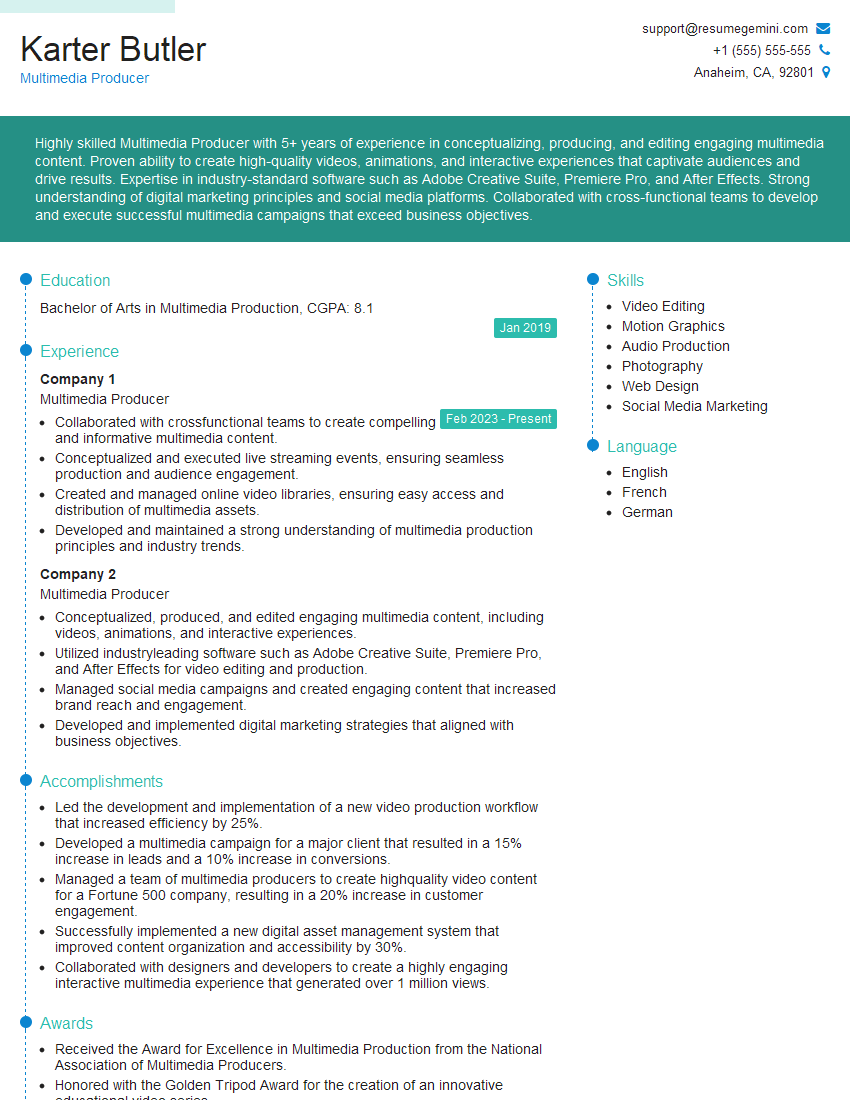
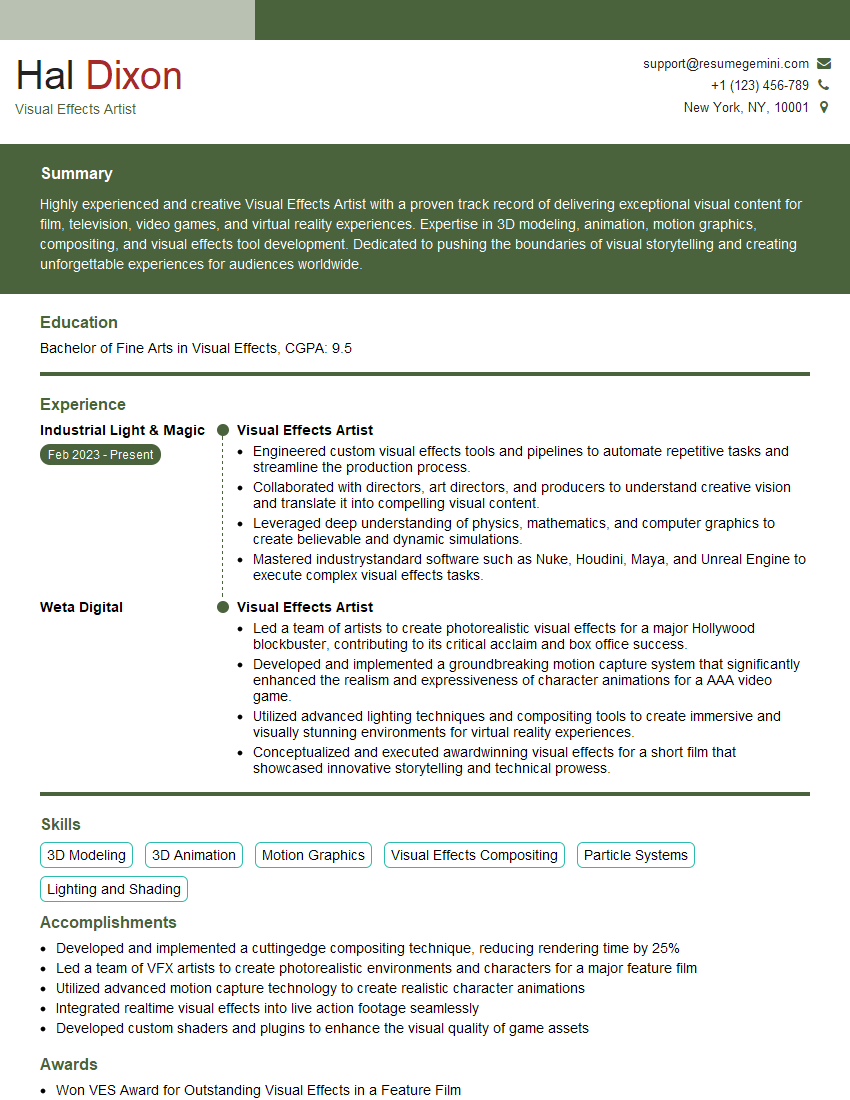
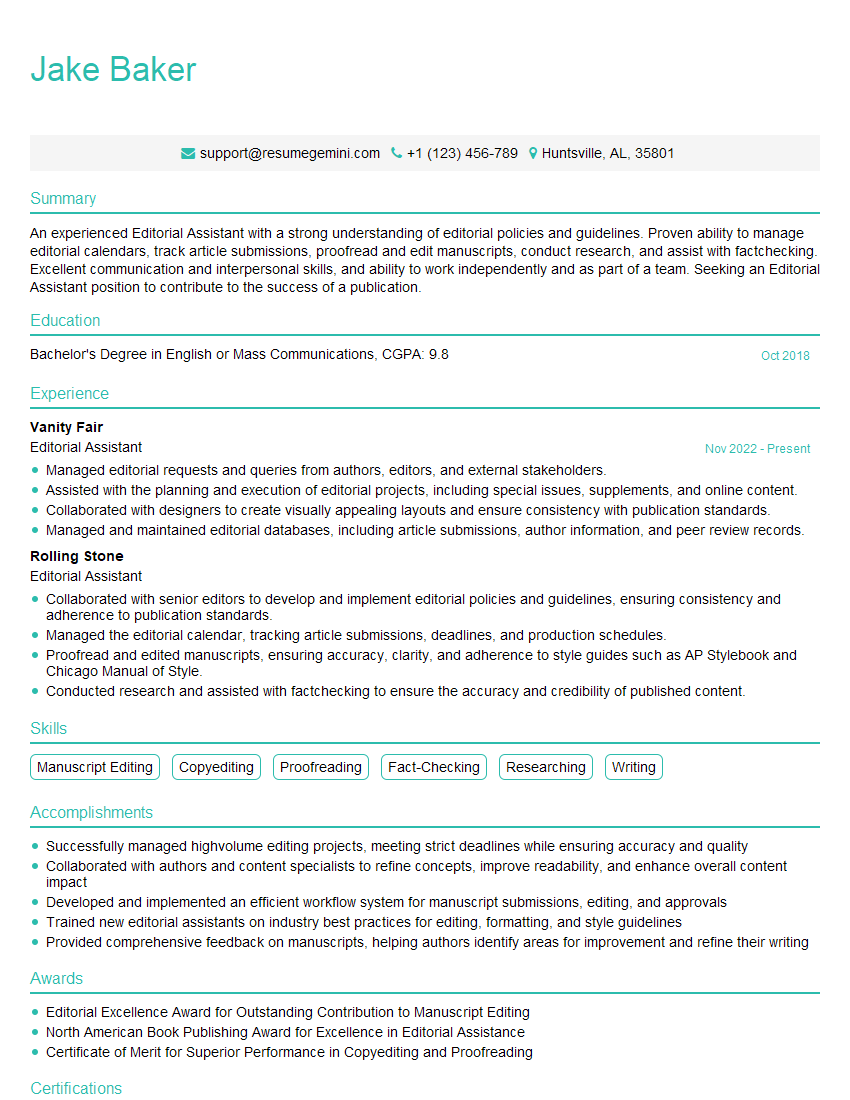
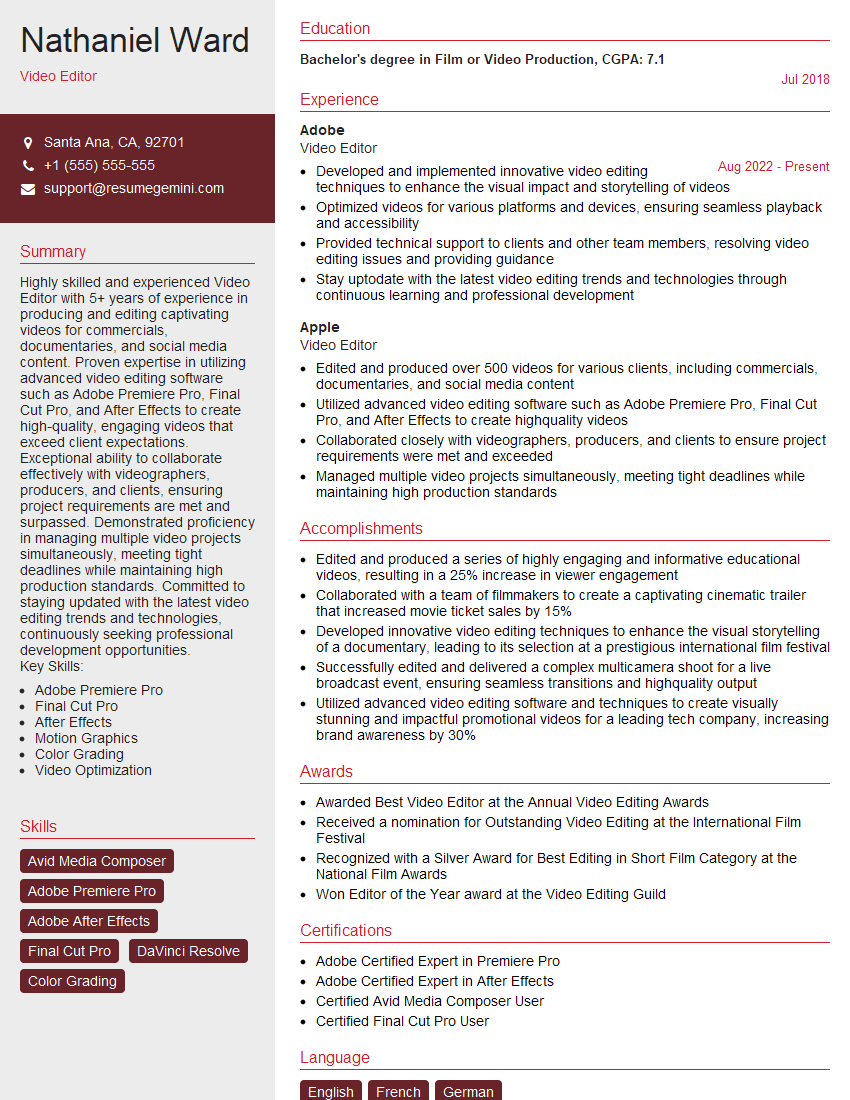
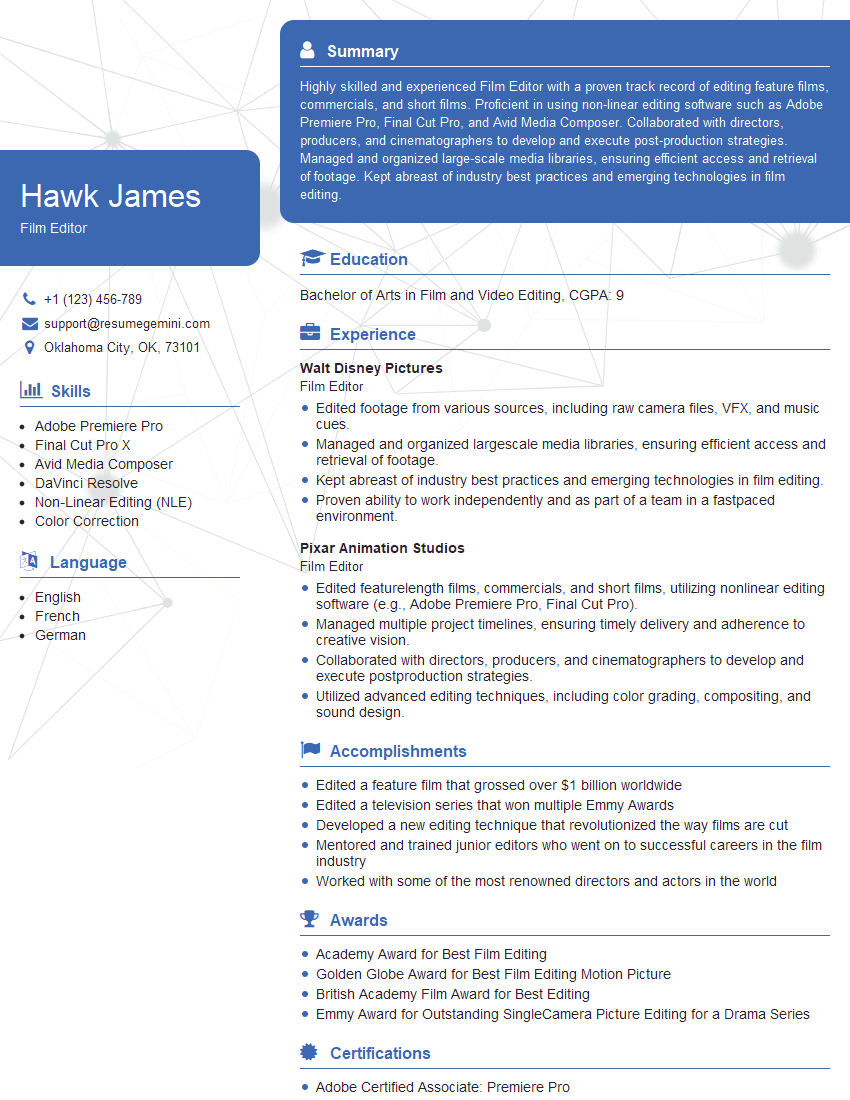
Interviews are opportunities to demonstrate your expertise, and this guide is here to help you shine. Explore the essential Multimedia Editing and Production interview questions that employers frequently ask, paired with strategies for crafting responses that set you apart from the competition.
Questions Asked in Multimedia Editing and Production Interview
Q 1. Explain your experience with various video editing software (e.g., Premiere Pro, Final Cut Pro, DaVinci Resolve).
My video editing experience spans several industry-standard applications. I’m highly proficient in Adobe Premiere Pro, utilizing its advanced features for complex projects involving multi-camera edits, intricate color grading, and sophisticated audio mixing. I’ve also worked extensively with Final Cut Pro, appreciating its intuitive interface and powerful features, particularly for fast-turnaround projects and streamlined workflows. Furthermore, my experience includes DaVinci Resolve, which I leverage for its exceptional color correction and grading capabilities, particularly for high-dynamic-range (HDR) content and projects requiring nuanced color manipulation. Each software has its strengths; Premiere Pro excels in large-scale projects, Final Cut Pro in speed and efficiency, and DaVinci Resolve in color.
For instance, on a recent documentary project, Premiere Pro’s multi-camera editing tools were invaluable in synchronizing footage from multiple cameras. In contrast, a recent corporate video benefited greatly from Final Cut Pro’s speed for quick turnaround. And DaVinci Resolve’s power was crucial in a recent music video where precise color grading was essential to creating the desired mood.
Q 2. Describe your workflow for a typical video editing project.
My video editing workflow is highly structured and adaptable to different project requirements. It typically involves these key stages:
- Ingestion and Organization: I begin by importing all footage and audio files, meticulously organizing them into a clear and easily navigable project structure. This often involves creating subfolders for different scenes or shots.
- Rough Cut: I assemble the footage in a chronological order, focusing on the narrative flow and pacing. This is an iterative process, constantly refining the sequence until the overall story is effectively told.
- Fine Cut: This stage involves meticulous editing, focusing on precise transitions, pacing adjustments, and refining individual shots. I pay close attention to rhythm and visual storytelling during this phase.
- Color Correction and Grading: Once the fine cut is finalized, I move to color correction, ensuring consistency and correcting any issues in exposure, white balance, or color temperature. This is followed by color grading to establish the desired mood and aesthetic.
- Audio Mixing and Sound Design: Audio is a crucial aspect; I carefully mix dialogue, sound effects, and music, ensuring a clear and balanced soundscape that enhances the viewing experience. Sound design might involve adding atmospheric sounds or enhancing existing audio.
- Export and Delivery: Finally, I export the video in the required format and resolution, adhering to the client’s specifications and delivery requirements.
This workflow is flexible and allows for adjustments based on the specific demands of each project.
Q 3. How do you handle conflicting deadlines and priorities in a fast-paced production environment?
Handling conflicting deadlines and priorities in a fast-paced environment requires a proactive and organized approach. My strategy centers around effective prioritization, clear communication, and flexible adaptation. I use project management tools to track tasks, deadlines, and dependencies. If faced with conflicting priorities, I assess the urgency and impact of each task, discussing potential solutions with the team and prioritizing tasks that deliver the greatest value or minimize risk of project delays.
For example, if a critical scene’s deadline clashes with another, I might focus my efforts on the crucial scene first, potentially adjusting the schedule for other less critical elements. Transparent communication with my team and supervisors is essential; proactively informing them of potential issues and collaborating on solutions is paramount.
Q 4. What are your preferred methods for color correction and grading?
My preferred methods for color correction and grading involve a combination of techniques using tools like DaVinci Resolve or Adobe Premiere Pro. I typically begin with color correction to establish a neutral base, addressing issues such as white balance, exposure, and color casts. I then proceed to color grading, creatively manipulating color and tone to achieve the desired aesthetic. I often use LUTs (Look-Up Tables) to quickly apply pre-defined looks and then fine-tune them to match the project’s specific requirements.
For example, I might use a LUT as a starting point for a dramatic scene, then subtly adjust individual color channels and curves to achieve a specific mood, whether it be gritty realism or a vibrant, surreal atmosphere. I always strive for a natural and visually appealing result, ensuring consistency throughout the entire project.
Q 5. How do you ensure consistent audio quality throughout a project?
Ensuring consistent audio quality is crucial for a professional video production. My approach starts with recording high-quality audio during the filming process, using appropriate microphones and monitoring levels carefully. In post-production, I utilize audio editing software to clean up audio, removing unwanted noise and hiss. I employ techniques such as noise reduction, equalization, and compression to enhance clarity and balance, ensuring a smooth and consistent listening experience across all scenes.
For instance, I might use noise reduction plugins to eliminate background hum, then apply compression to even out dynamic range and make dialogue more consistent. I also meticulously check audio levels throughout the project to avoid sudden volume changes and maintain a professional sound quality.
Q 6. Describe your experience with motion graphics and animation software (e.g., After Effects, Cinema 4D).
I have extensive experience with motion graphics and animation software, primarily After Effects and Cinema 4D. After Effects is my go-to tool for compositing, visual effects, and creating dynamic text animations and lower thirds. I use keyframing extensively to create smooth and compelling animations. Cinema 4D is excellent for 3D modeling, animation, and rendering; I use it when the project requires more complex 3D elements.
In a recent project, I used After Effects to create dynamic title sequences with motion graphics and subtle visual effects. For another project, I leveraged Cinema 4D to create a fully 3D animated logo for the client, which was then composited into the final video using After Effects. This combined expertise allows for visually rich and engaging videos.
Q 7. How do you collaborate effectively with other team members in a production setting?
Effective collaboration is paramount in video production. I prioritize clear communication, active listening, and mutual respect. I regularly use collaborative platforms to share project files and feedback. Before starting a project, I ensure everyone understands their roles and responsibilities, setting clear expectations and timelines. I actively solicit feedback and contributions from team members, fostering a creative and collaborative environment. Regular check-ins and open communication help prevent misunderstandings and address potential issues proactively.
For instance, I consistently use cloud-based collaboration platforms to share project files, which allows for simultaneous editing and real-time feedback from other team members. I also schedule regular meetings to discuss progress, address challenges, and ensure we’re all aligned with the overall vision for the project.
Q 8. What strategies do you use to manage large video files and storage efficiently?
Managing large video files efficiently is crucial for smooth workflow and project deadlines. My strategy involves a multi-pronged approach focusing on storage, organization, and proxy workflows.
High-Capacity Storage Solutions: I utilize RAID storage systems (Redundant Array of Independent Disks) to ensure data redundancy and speed. This protects against data loss and allows for faster rendering and editing. I also leverage cloud storage services like Amazon S3 or Backblaze B2 for long-term archiving and offsite backups.
Organized File Structure: A clear and consistent file naming convention is paramount. I use a system that includes project name, date, shot number, and version number (e.g., ProjectX_20240308_Shot001_v02.mov). This makes locating specific files effortless.
Proxy Workflows: For smoother editing, especially with 4K or higher resolution footage, I often create and edit with lower-resolution proxies. This significantly reduces the load on my system, enabling faster rendering and playback. Once the edit is locked, I switch back to the high-resolution originals for the final render.
Media Management Software: I am proficient in using media management software like Adobe Media Encoder or Shotput Pro to batch convert, transcode, and optimize video files for specific needs, reducing storage space and optimizing playback.
For example, on a recent documentary project with terabytes of footage, employing a RAID system and proxy workflows allowed my team to edit efficiently without system slowdowns, significantly accelerating the post-production process.
Q 9. Explain your experience with different video formats and codecs.
My experience encompasses a wide range of video formats and codecs, each with its strengths and weaknesses. The choice depends heavily on the project’s requirements, target platform, and desired balance between quality, file size, and compression artifacts.
Common Formats: I’m highly familiar with formats like H.264 (MP4), ProRes (MOV), DNxHD (MXF), and H.265 (HEVC). H.264 offers a good balance between compression and quality, making it suitable for web distribution. ProRes is a lossless codec ideal for intermediate editing and ensures high quality throughout the post-production process. DNxHD is a popular choice for professional workflows, particularly in broadcast environments. H.265 offers higher compression rates than H.264, ideal for large files and efficient storage.
Codec Selection: The codec choice impacts file size, rendering time, and visual quality. For instance, using ProRes for editing allows for non-destructive editing, meaning I can make adjustments without recompressing the footage, preserving quality. For delivery, however, a more compressed codec like H.264 or H.265 might be preferable to reduce file sizes for streaming or web use.
Format Compatibility: I always consider compatibility with different platforms and editing software. Ensuring the final video is viewable across various devices and systems is crucial.
For example, a recent commercial project required delivery in multiple formats – a high-resolution master file for archival purposes (ProRes), a web-optimized version (H.264), and a version for social media platforms (H.264 with specific resolution and aspect ratio). Understanding the nuances of different codecs and formats is vital for efficient workflow and optimized delivery.
Q 10. How do you troubleshoot technical issues during the editing process?
Troubleshooting technical issues during video editing is a regular part of my work. My approach is systematic and involves a combination of technical knowledge and problem-solving skills.
Identifying the Issue: The first step is clearly defining the problem. Is it a rendering error, a codec incompatibility, a hardware limitation, or something else? I carefully analyze error messages, observe the behavior of the software, and collect relevant information.
Checking the Obvious: Before diving into complex solutions, I always check the simple things first. This includes ensuring sufficient RAM, hard drive space, and proper connectivity.
System Diagnostics: I use system monitoring tools to identify bottlenecks or resource limitations. This helps pinpoint issues like insufficient RAM or slow hard drive performance.
Software Troubleshooting: If the issue is software-related, I check for updates, reinstall software components, and seek help from online communities or technical support.
Seeking External Help: If the issue persists, I don’t hesitate to consult online resources, forums, or technical support.
For instance, once I encountered a rendering error related to a corrupted codec. By systematically investigating the issue and using online resources, I identified the corrupted files, replaced them, and successfully resolved the problem. Proactive preventative measures, such as regularly backing up projects and maintaining a clean system, minimize the frequency and severity of such problems.
Q 11. Describe your experience with compositing and visual effects.
Compositing and visual effects (VFX) are integral parts of my video production expertise. I’m proficient in using industry-standard software like Adobe After Effects and DaVinci Resolve to create compelling visual narratives.
Keying and Masking: I’m skilled in various keying techniques (e.g., chroma key, luma key) to isolate subjects from their backgrounds and mask unwanted elements. This allows me to seamlessly integrate different footage or create realistic composite shots.
Motion Tracking and Stabilization: I can utilize motion tracking to follow moving objects and create dynamic effects, such as adding text or graphics to a moving scene. I can also stabilize shaky footage, improving the overall viewing experience.
3D Compositing: I have experience with integrating 3D elements into live-action footage, enhancing visual impact and realism.
Particle Effects and Animation: I can create visually stunning particle effects and animations to add depth and dynamism to my projects.
For example, in a music video project, I used After Effects to composite the artist onto several different backgrounds, using motion tracking to ensure smooth integration even with complex camera movements. The result was a visually dynamic and engaging video that seamlessly blended live action and digital elements.
Q 12. What is your experience with audio mixing and mastering?
Audio mixing and mastering are critical for achieving a professional and polished final product. I have experience using audio workstations like Audacity and Adobe Audition, and professional DAWs like Pro Tools.
Dialogue Editing and Clean-up: I meticulously edit and clean dialogue, removing background noise, pops, and clicks using noise reduction and de-essing techniques.
Sound Design and Effects: I create and integrate sound effects to enhance the emotional impact and realism of the video. This can include adding ambient sounds, foley effects, and other creative sound elements.
Music Integration and Mixing: I carefully integrate music into the video, adjusting levels and EQ to achieve a balanced mix. I understand the importance of dynamics and spatial placement of sound elements for creating an immersive listening experience.
Mastering: I perform mastering to optimize the final audio mix for loudness, clarity, and overall quality across different playback systems.
In a recent corporate video, I worked extensively on audio post-production. I cleaned up noisy interview audio, added sound effects to enhance various scenes, and meticulously mixed and mastered the final audio to ensure its quality was consistent across multiple delivery formats.
Q 13. How do you ensure the final product meets the client’s specifications and expectations?
Ensuring the final product meets client specifications and expectations is my top priority. I use a collaborative and iterative process to achieve this.
Clear Communication: Before starting a project, I thoroughly discuss the client’s vision, technical requirements, and desired outcomes. I ask clarifying questions to ensure complete understanding and alignment on expectations.
Regular Check-ins and Feedback: I provide regular updates to the client throughout the production process, sharing rough cuts and soliciting feedback at key stages. This ensures that any concerns or adjustments are addressed early on.
Revisions and Iterations: I handle revisions efficiently and professionally, incorporating client feedback effectively. I maintain detailed records of changes made to ensure transparency and traceability.
Version Control: I employ a robust version control system, keeping track of all revisions and allowing the client to easily review and compare different versions.
Final Review and Sign-Off: I present the final product to the client for a final review and approval before distribution.
For example, on a recent marketing video project, consistent communication and iterative feedback sessions allowed us to make necessary adjustments throughout the process, ultimately leading to a final product that exceeded the client’s expectations and aligned perfectly with their branding.
Q 14. How familiar are you with different camera formats and resolutions?
I’m familiar with a wide range of camera formats and resolutions, understanding the implications of each on the post-production workflow and final product quality.
Sensor Sizes and Aspect Ratios: I understand the differences between various sensor sizes (e.g., Super 35, full-frame, APS-C) and their impact on depth of field, field of view, and image quality. I’m also familiar with different aspect ratios (e.g., 16:9, 4:3, 2.39:1) and their implications for framing and composition.
Resolutions: I’m experienced working with a range of resolutions, from standard definition (SD) to ultra-high definition (UHD) and beyond. I understand the implications of higher resolutions on file sizes, storage requirements, and rendering times.
Camera Raw Formats: I understand the benefits of working with camera raw formats (e.g., RAW, R3D) that preserve maximum image data, allowing for greater flexibility in post-production, including color grading and adjustments.
Codec Considerations: I choose appropriate codecs for different camera formats, optimizing for quality and file size based on project needs and post-production workflow.
For example, in a recent short film project, we used a combination of cameras with different sensor sizes and resolutions. Understanding these differences allowed me to seamlessly integrate the footage during editing and ensure consistency in color and image quality throughout the final cut.
Q 15. Explain your understanding of storytelling principles in video editing.
Storytelling in video editing isn’t just about stringing clips together; it’s about crafting an emotional journey for the viewer. It involves understanding narrative structure – beginning, middle, and end – and employing techniques to create impact. Think of it like building a house: you need a strong foundation (introduction), a compelling structure (rising action, climax), and a satisfying resolution (conclusion).
- Structure: A classic three-act structure works well. Act I introduces characters and setting, Act II builds conflict, and Act III resolves the conflict.
- Pacing: Varying shot lengths and transitions controls the pace. Quick cuts create energy, while longer shots build suspense or intimacy.
- Emotion: Music, sound effects, and color grading significantly influence emotional response. A dramatic score complements a tense scene, while upbeat music suits a happy one.
- Point of View: The editor’s choice of shots dictates the viewer’s perspective. A close-up conveys intimacy, while a wide shot shows context.
For example, in a documentary about wildlife, the editor might use slow-motion shots of a cheetah hunting to emphasize the beauty and intensity of nature, while quick cuts of various animals could represent the fast-paced ecosystem. Conversely, a corporate video might use a consistent pace and professional visuals to emphasize reliability and efficiency.
Career Expert Tips:
- Ace those interviews! Prepare effectively by reviewing the Top 50 Most Common Interview Questions on ResumeGemini.
- Navigate your job search with confidence! Explore a wide range of Career Tips on ResumeGemini. Learn about common challenges and recommendations to overcome them.
- Craft the perfect resume! Master the Art of Resume Writing with ResumeGemini’s guide. Showcase your unique qualifications and achievements effectively.
- Don’t miss out on holiday savings! Build your dream resume with ResumeGemini’s ATS optimized templates.
Q 16. Describe your experience with creating engaging and informative video content.
I’ve had extensive experience creating engaging and informative video content across diverse platforms. My approach always begins with understanding the target audience and the key message. I then develop a clear narrative structure to convey information effectively. I employ visual storytelling techniques, like using B-roll footage (supplemental footage) to illustrate points, and motion graphics for data visualization.
For example, I recently worked on a series of explainer videos for a tech company. To make complex concepts accessible, I used simple animations, clear text overlays, and concise narration. The result was a series of videos with a high engagement rate and positive feedback from the company.
Another project involved creating a documentary about local artisans. Here, I focused on visually rich footage and personal interviews to tell their stories. By prioritizing emotional connection, I managed to create a film that was not only informative but also deeply moving.
Q 17. How do you stay up-to-date with the latest trends and technologies in multimedia production?
The multimedia landscape is constantly evolving, so staying current is crucial. I achieve this through a multi-pronged approach:
- Industry Publications and Websites: I regularly read publications like Videomaker, Digital Video, and industry blogs for the latest news and trends in editing software, production techniques, and technology.
- Online Courses and Workshops: Platforms like Skillshare, LinkedIn Learning, and Udemy offer a wealth of courses on advanced video editing techniques, emerging technologies like VR and AR, and software updates.
- Conferences and Events: Attending industry events like NAB Show (National Association of Broadcasters) or smaller local events provides opportunities to network with other professionals, discover cutting-edge technology, and learn from experts.
- Following Influencers and Professionals: Social media allows me to connect with and follow leading professionals in the field, gaining insights into their projects and workflow.
This ongoing learning keeps me abreast of new software features, post-production workflows, and emerging formats, ensuring my skills remain competitive and relevant.
Q 18. What is your experience with creating and editing subtitles or closed captions?
I’m proficient in creating and editing subtitles and closed captions using various software, including Adobe Premiere Pro and Final Cut Pro. Understanding accessibility guidelines is vital. I ensure accuracy and synchronization with the audio, catering to various audiences including those with hearing impairments and those who prefer to read dialogue.
My workflow typically involves transcribing the audio, creating a subtitle file in a suitable format (e.g., SRT, VTT), and importing it into the video editing software for precise timing and placement. I meticulously review the captions to ensure accuracy and readability, taking care to avoid overly long lines and ensuring proper punctuation and capitalization.
I’m also experienced with creating multilingual subtitles, requiring careful translation and cultural sensitivity. This involves understanding nuances in language and adapting the subtitles to align with the different cultures consuming the content.
Q 19. Explain your understanding of aspect ratios and their implications for video production.
Aspect ratios define the proportional relationship between a video’s width and height. Understanding aspect ratios is crucial because it directly impacts how your video will look on different screens. Common ratios include 4:3 (older standard TV), 16:9 (widescreen HDTV), and 2.39:1 (cinemascope).
The implications are significant: choosing the wrong ratio can lead to letterboxing (black bars on top and bottom) or pillarboxing (black bars on the sides), affecting viewer experience and potentially cropping crucial elements of the video. When shooting and editing, it’s important to consider the intended platform: a video shot in 16:9 may appear stretched or squished if played on a 4:3 screen, and vice-versa.
For instance, content for YouTube usually utilizes 16:9 for optimal viewing on most devices, while Instagram may utilize a vertical 9:16 format depending on the type of content. Choosing the right aspect ratio from the outset greatly simplifies post-production and ensures a consistent and professional look across different platforms.
Q 20. How do you handle feedback and revisions during the editing process?
Handling feedback and revisions is a collaborative process requiring clear communication and a professional approach. I always encourage constructive criticism and view feedback as an opportunity to refine the video and meet the client’s vision.
My approach is systematic:
- Active Listening: I carefully listen to and understand all feedback, asking clarifying questions if needed.
- Organization: I organize feedback into a clear list, prioritizing critical revisions.
- Collaboration: I discuss proposed changes with the client, presenting options and justifications for decisions. I use a version-control system or annotations on the timeline to track revisions.
- Documentation: I keep a record of all changes implemented and why, aiding future projects and reference.
- Iterative Process: I understand that multiple rounds of revisions may be necessary; each iteration aims to improve the final product.
This systematic approach ensures efficient revision management, resulting in a polished final product that meets both the client’s expectations and maintains artistic integrity.
Q 21. Describe your experience with exporting video for various platforms (e.g., YouTube, Vimeo, social media).
Exporting video for various platforms requires careful attention to detail, as each platform has specific requirements regarding codecs, resolution, frame rates, and file sizes. Different platforms have different recommended settings to optimize playback quality and reduce buffering times.
For example:
- YouTube: Optimizing for YouTube typically involves using H.264 encoding with a high bitrate for optimal quality across various devices and internet speeds.
- Vimeo: Vimeo, known for its higher quality support, can accommodate higher bitrates and resolutions.
- Social Media: Platforms like Instagram, Facebook, and TikTok often require specific resolutions and aspect ratios (e.g., vertical videos for TikTok) and generally prefer smaller file sizes for faster upload and playback.
I use my expertise in encoding and exporting to tailor the final video to the specific platform’s needs, ensuring a professional and engaging viewing experience for the audience. Using presets within editing software can significantly streamline this process while maintaining high-quality results across diverse platforms.
Q 22. What are your preferred methods for organizing and archiving project files?
Organizing and archiving project files is crucial for efficiency and preventing chaos. My preferred method involves a multi-layered approach combining a robust file naming convention, a well-structured folder system, and the use of dedicated project management software. Think of it like building a well-organized library – you wouldn’t just throw all your books on the floor!
- File Naming Convention: I use a descriptive and consistent naming system. For example,
Project_Name_Date_Version_Shot.ext(e.g.,Commercial_Footage_20241027_v2_001.mov). This instantly communicates the project, date, version, and file type. - Folder Structure: My folder structure mirrors the project’s phases. A typical structure might be:
Project_Name/Source Files/Audio/Video/Graphics/Final Output/Archive. This allows for easy retrieval of specific assets. - Project Management Software: I leverage software like Adobe Premiere Pro’s native organization tools, or dedicated systems like Asana or Monday.com, to track project progress, deadlines, and file versions, ensuring easy collaboration and version control.
- Regular Backups: Cloud storage (such as Dropbox, Google Drive, or Backblaze) coupled with local backups (external hard drives) safeguard against data loss. This is paramount – losing months of work is a nightmare!
This structured approach enables quick asset location, streamlined collaboration, and efficient project management, reducing errors and saving valuable time.
Q 23. How familiar are you with project management software?
I’m highly familiar with various project management software, having used them extensively across different projects. My experience encompasses both general project management tools and those specifically designed for multimedia production.
- General Project Management: Asana, Monday.com, and Trello offer robust task management, team collaboration, and deadline tracking features. I use these to coordinate larger projects with multiple stakeholders, including clients and other team members.
- Multimedia-Specific Tools: Adobe Premiere Pro, DaVinci Resolve, and Final Cut Pro offer built-in organization and version control tools, essential for managing complex multimedia projects. These tools directly integrate with the editing process.
Choosing the right tool depends on project complexity and team size. For smaller, solo projects, a simple to-do list might suffice, whereas larger productions require more sophisticated software with robust collaboration features.
Q 24. Describe your understanding of copyright and licensing for multimedia content.
Understanding copyright and licensing is fundamental in multimedia production. It’s crucial to respect intellectual property rights and avoid legal issues. Ignoring this can lead to significant fines and damage your reputation.
Copyright protects original creative works, including videos, music, and images. Licensing grants permission to use copyrighted material under specific terms. There are different types of licenses, including:
- Royalty-Free Licenses: Allow for use with a one-time fee, often with restrictions on how the content can be used.
- Creative Commons Licenses: Offer various levels of usage rights, from attribution only to non-commercial use.
- Rights-Managed Licenses: Require negotiation and payment for each specific use case, often involving higher fees.
I always ensure to obtain the necessary licenses for any content used in my projects, meticulously documenting the source and license terms. This process includes checking for proper attribution and adherence to any usage restrictions. Before starting a project, I always clarify licensing needs with clients to prevent potential issues.
Q 25. Explain your experience with creating and managing video assets for websites or apps.
I have extensive experience creating and managing video assets for websites and apps. This involves understanding the technical requirements and optimizing videos for different platforms. For example, creating shorter, engaging videos for social media differs significantly from producing a longer, high-quality video for a corporate website.
- Format Optimization: I optimize videos for various devices and bandwidths by using appropriate codecs (like H.264 or H.265) and resolutions (ranging from 720p to 4K).
- Platform-Specific Considerations: I understand the technical limitations and best practices for specific platforms. For instance, videos for Instagram need to be vertically oriented and concise, while YouTube allows for longer videos and various resolutions.
- Content Strategy: I collaborate with clients to define the objectives of the video assets – whether to educate, entertain, or drive conversions – ensuring the video content is effective and engaging for the target audience.
- Version Control: I maintain different versions of videos optimized for different platforms, ensuring smooth delivery and optimal viewing experience across devices.
A recent project involved creating a series of short explainer videos for a SaaS company’s website. I created different versions optimized for mobile and desktop viewing, ensuring high-quality delivery regardless of the user’s device.
Q 26. How do you optimize video for different screen sizes and devices?
Optimizing videos for different screen sizes and devices is crucial for a seamless user experience. This involves encoding videos at multiple resolutions and using responsive design principles.
- Resolution Scaling: Creating multiple versions of the same video at various resolutions (e.g., 480p, 720p, 1080p, and 4K) ensures that users can view the video at a quality appropriate for their device and internet connection.
- Adaptive Bitrate Streaming: This allows the video player to dynamically adjust the video quality based on the user’s bandwidth. This is crucial for providing a smooth viewing experience for users with varying internet speeds.
- Responsive Design: Implementing responsive design within the video player ensures that it adapts to different screen sizes and orientations, providing a consistent viewing experience across devices.
- Codecs and Containers: Choosing the right codecs (like H.264 or H.265) and container formats (like MP4 or WebM) is important for compatibility and efficient streaming across different browsers and devices.
Think of it like having different sizes of the same image; a thumbnail for a small screen and a full-resolution image for a large monitor. Using a responsive design ensures a consistent user experience across all sizes.
Q 27. What is your experience with virtual reality (VR) or augmented reality (AR) video production?
While I haven’t had extensive experience with large-scale VR/AR video production, I’m familiar with the fundamental principles and have experimented with 360° video capture and editing. I understand the technical requirements of producing immersive content and the challenges involved in post-production.
- 360° Video Editing: I’ve worked with 360° video footage using software like Adobe Premiere Pro and specialized plugins for stitching and editing immersive content. This includes understanding the complexities of stitching together multiple camera feeds and applying visual effects to a spherical environment.
- VR/AR Workflow: I have a grasp of the workflows involved in creating VR/AR experiences, from planning and shooting to post-production and deployment. This includes understanding different camera rigs, stitching techniques, and software used for VR/AR editing and publishing.
- Understanding the Technology: I understand the underlying technologies involved in VR/AR, such as head-tracking, spatial audio, and interaction design. This is crucial for creating immersive and engaging experiences.
I’m eager to expand my knowledge and skills in this rapidly evolving field. The potential for storytelling and interactive experiences is incredible, and I’m keen to explore more advanced techniques and tools in this space.
Q 28. Describe your experience with using stock footage or music in your projects.
Using stock footage and music is common practice in multimedia production, allowing for efficient content creation and cost savings. However, proper licensing and attribution are crucial.
- Source Selection: I prefer reputable stock footage and music providers like Shutterstock, Adobe Stock, and Epidemic Sound, which offer a wide variety of high-quality content with clear licensing terms.
- License Compliance: I meticulously document all sources and ensure compliance with licensing agreements. This includes keeping records of licenses and properly attributing creators in my projects.
- Copyright Awareness: I am acutely aware of copyright restrictions and avoid using content that isn’t properly licensed. Unauthorized use can lead to severe legal consequences.
- Creative Integration: I aim to seamlessly integrate stock assets into my projects to maintain a consistent visual and auditory style. Proper color grading and audio mixing are essential for this.
Recently, I used Epidemic Sound for background music in a corporate video project. The selection was diverse, ensuring the soundtrack perfectly matched the overall mood and tone of the video. I also carefully documented the license details and adhered to their usage guidelines.
Key Topics to Learn for Multimedia Editing and Production Interview
- Video Editing Software Proficiency: Demonstrate mastery of industry-standard software like Adobe Premiere Pro, Final Cut Pro, or Avid Media Composer. Be prepared to discuss your experience with various editing techniques, including cutting, transitions, color correction, and audio mixing.
- Audio Post-Production: Showcase your understanding of audio editing principles, including noise reduction, equalization, and sound design. Discuss your experience with audio mixing techniques and working with different audio formats.
- Workflow and Project Management: Highlight your ability to manage complex projects efficiently, from initial concept to final delivery. Discuss your experience with collaborative workflows and utilizing project management tools.
- Visual Storytelling and Composition: Explain your understanding of visual storytelling techniques, including shot composition, pacing, and visual effects. Be ready to discuss how you use visuals to enhance the narrative.
- File Formats and Encoding: Demonstrate your understanding of various video and audio file formats and their respective compression techniques. Discuss your experience with encoding videos for different platforms and devices.
- Color Grading and Correction: Explain your knowledge of color theory and how to apply color grading techniques to achieve a consistent and visually appealing look. Be prepared to discuss different color spaces and workflows.
- Motion Graphics and Animation (if applicable): If you have experience with motion graphics or animation software like After Effects, be prepared to discuss your skills and experience with creating engaging visuals.
- Problem-solving and Collaboration: Describe your approach to troubleshooting technical issues and collaborating effectively with team members in a fast-paced environment. Highlight examples where you overcame challenges.
Next Steps
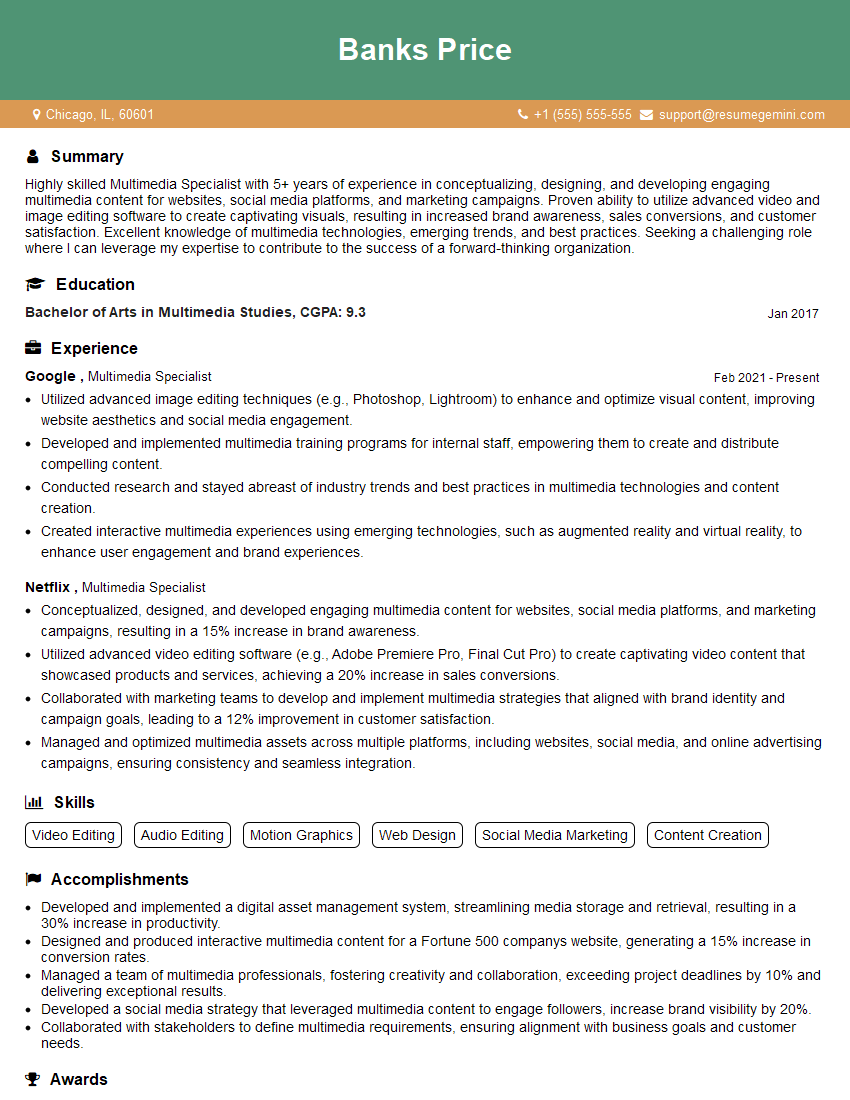
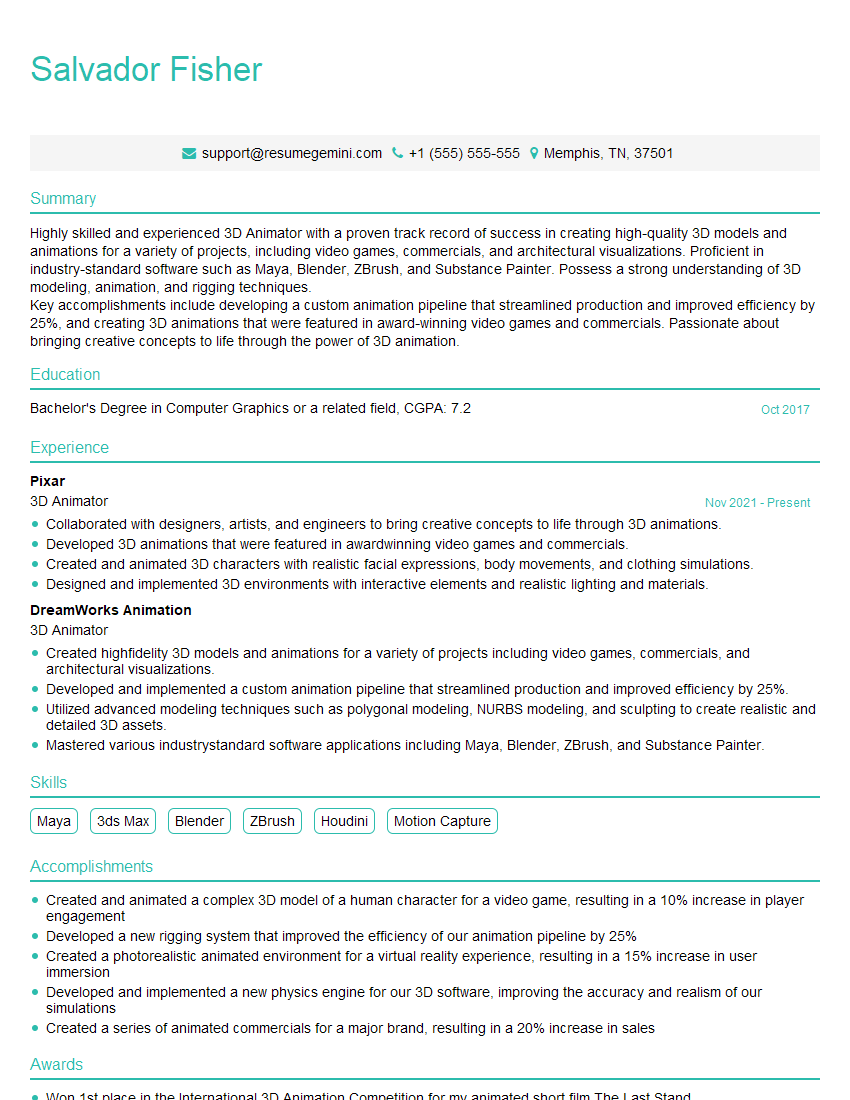
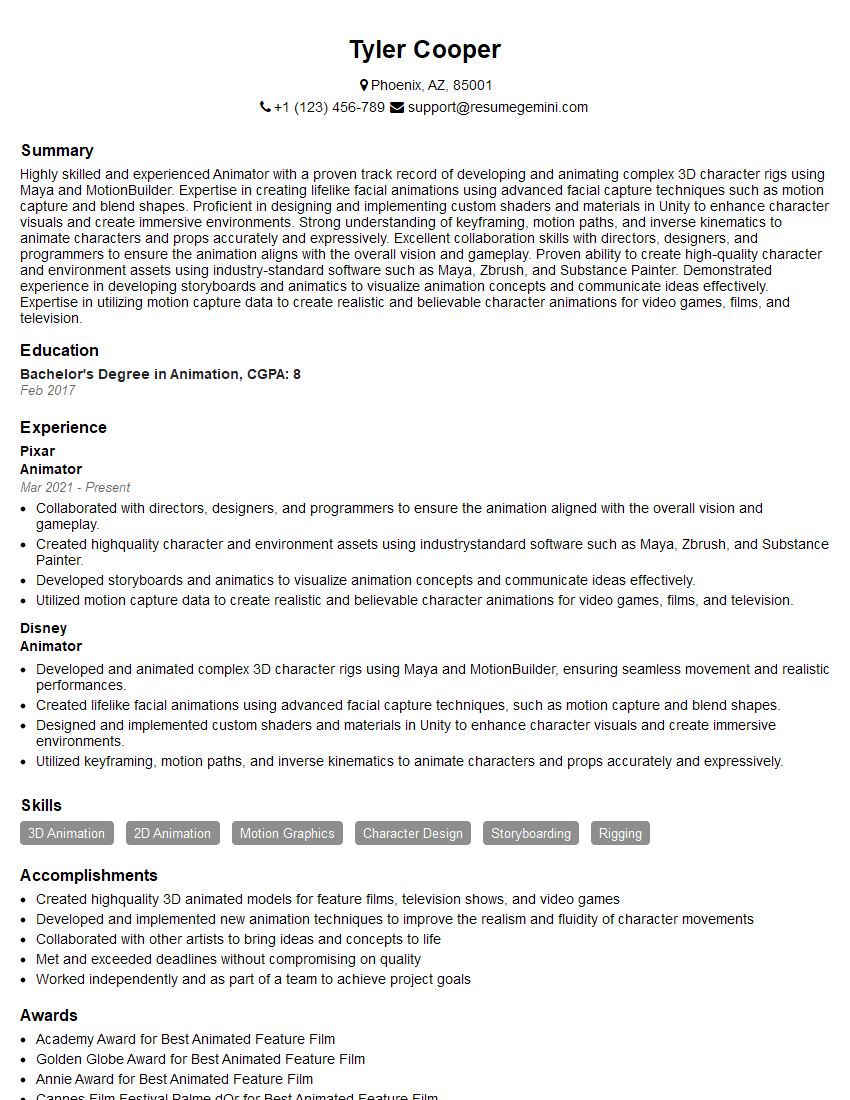
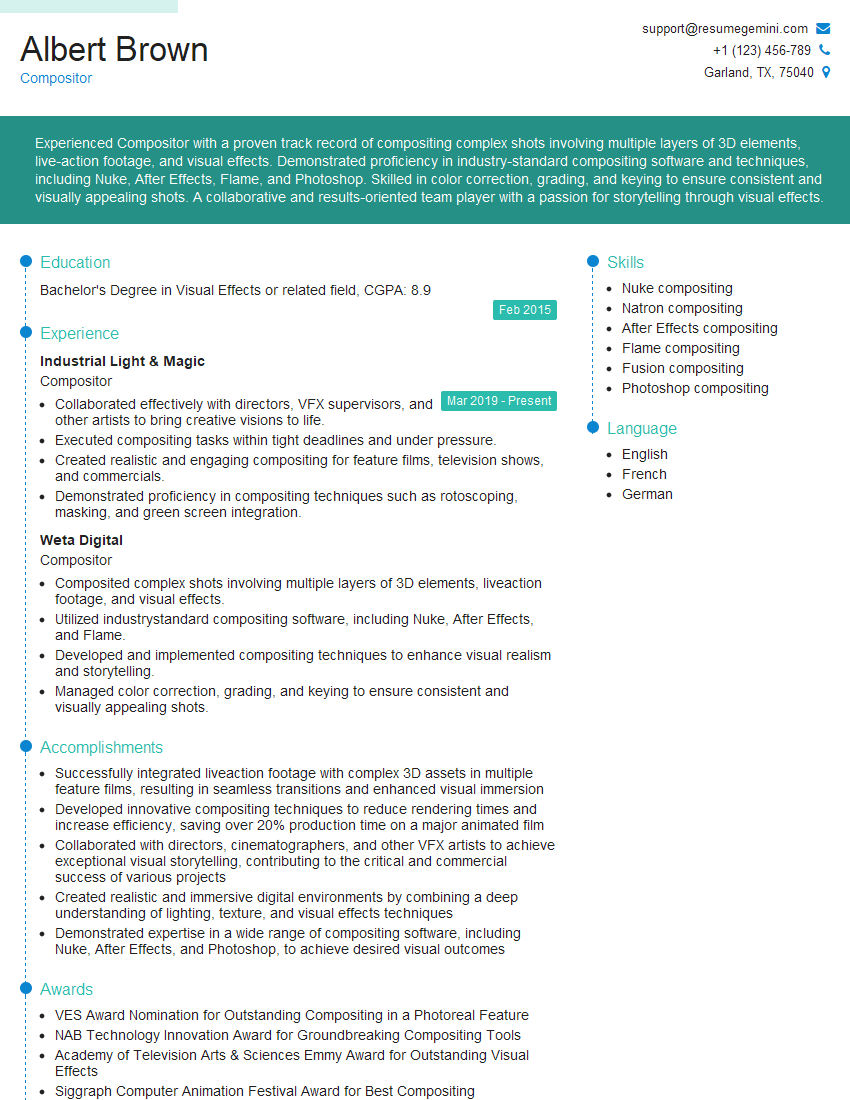
Mastering Multimedia Editing and Production opens doors to exciting career opportunities in film, television, advertising, and more. To stand out from the competition, a strong, ATS-friendly resume is crucial. ResumeGemini is a trusted resource that can help you build a professional resume that showcases your skills effectively. We offer examples of resumes tailored specifically to Multimedia Editing and Production to help you create a compelling application. Take the next step in your career journey – craft a resume that reflects your talent and experience.
Explore more articles
Users Rating of Our Blogs
Share Your Experience
We value your feedback! Please rate our content and share your thoughts (optional).
What Readers Say About Our Blog
Take a look at this stunning 2-bedroom apartment perfectly situated NYC’s coveted Hudson Yards!
https://bit.ly/Lovely2BedsApartmentHudsonYards
Live Rent Free!
https://bit.ly/LiveRentFREE
Interesting Article, I liked the depth of knowledge you’ve shared.
Helpful, thanks for sharing.
Hi, I represent a social media marketing agency and liked your blog
Hi, I represent an SEO company that specialises in getting you AI citations and higher rankings on Google. I’d like to offer you a 100% free SEO audit for your website. Would you be interested?
