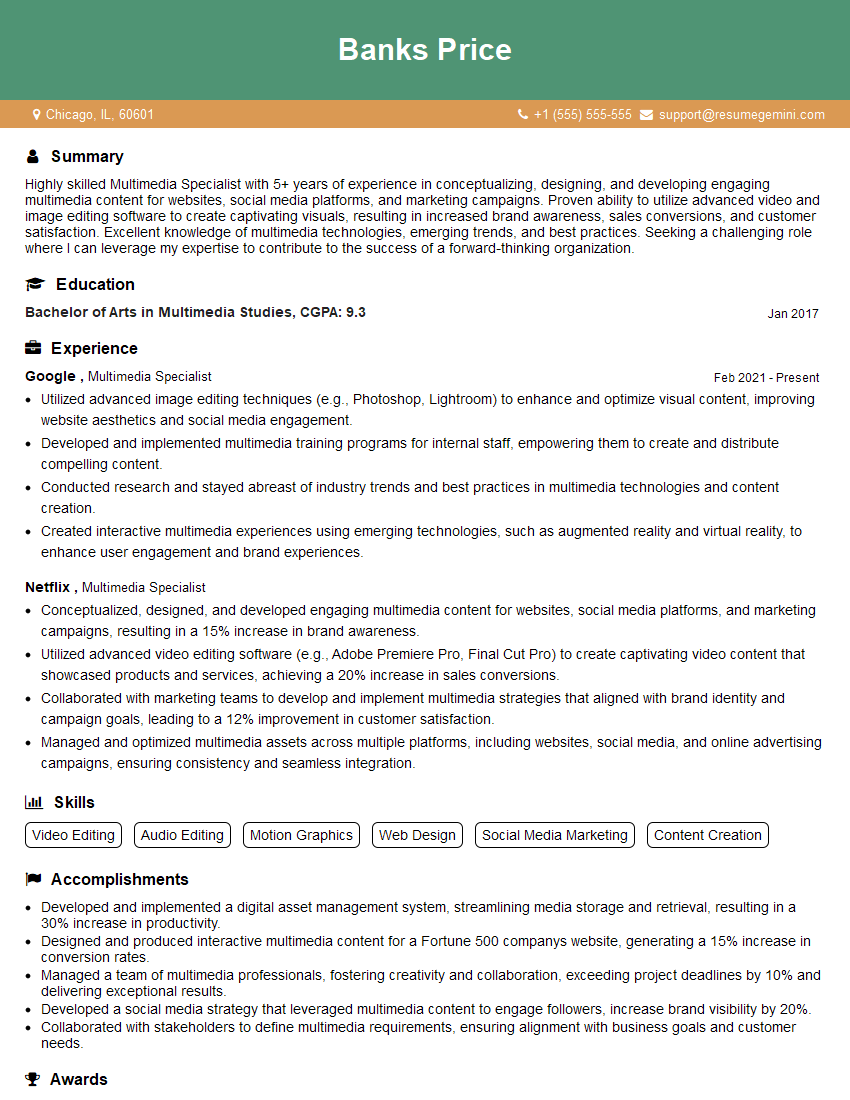
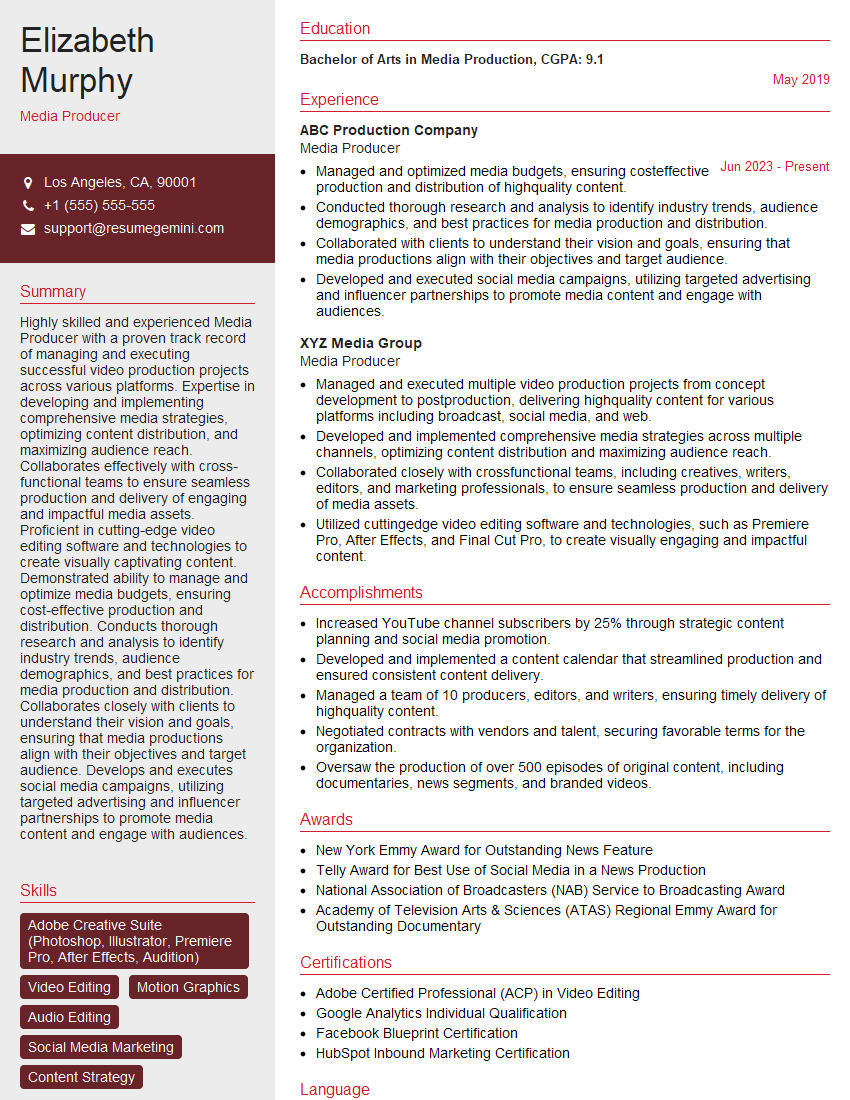
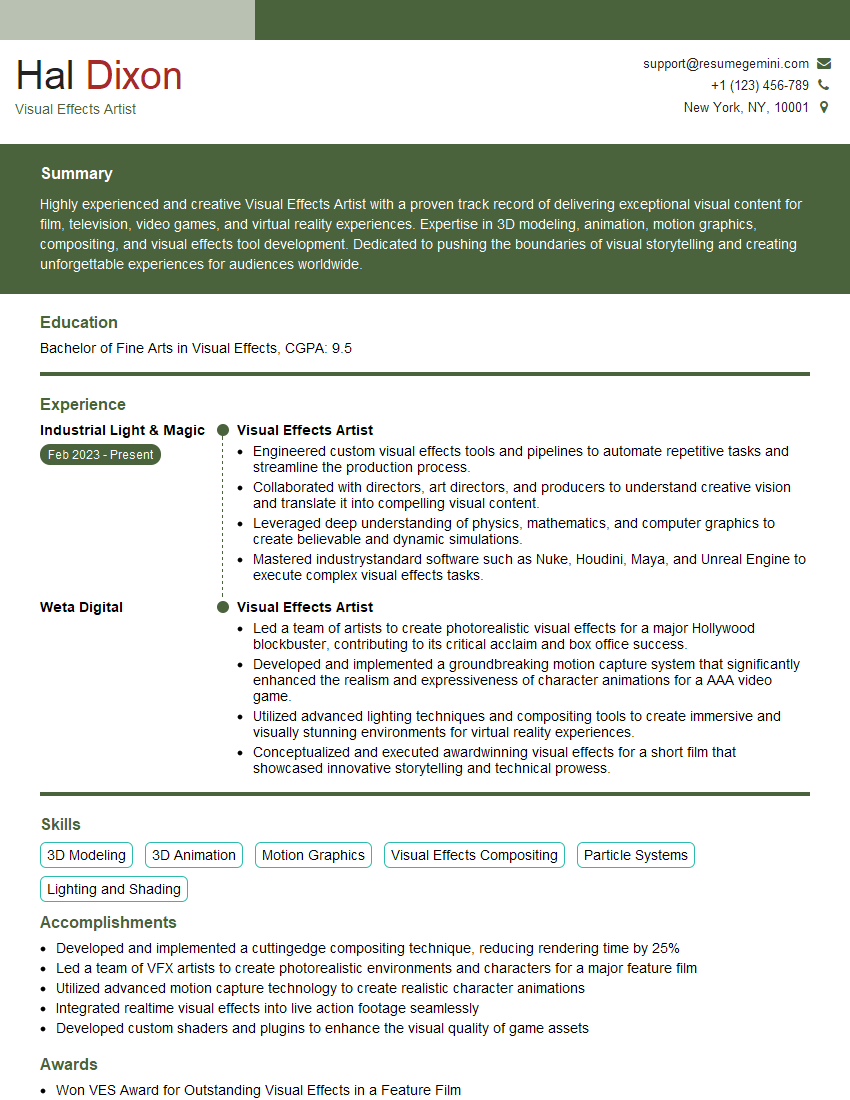
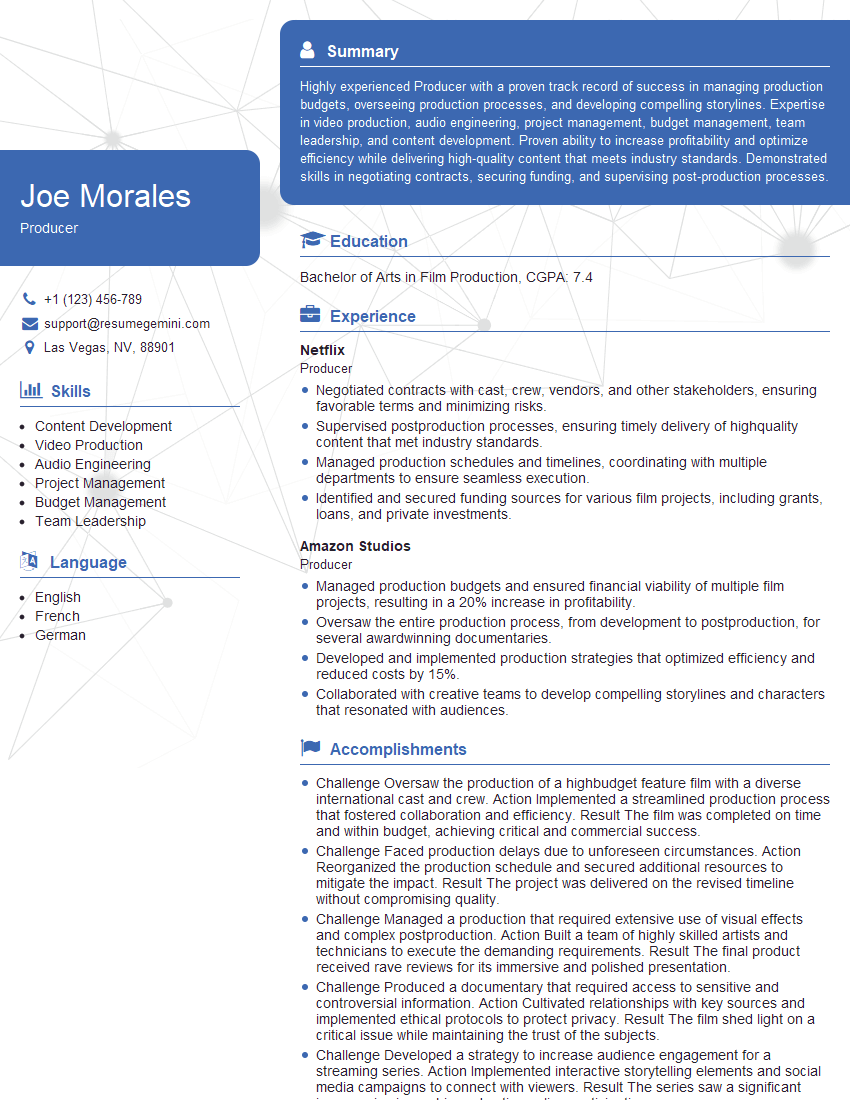
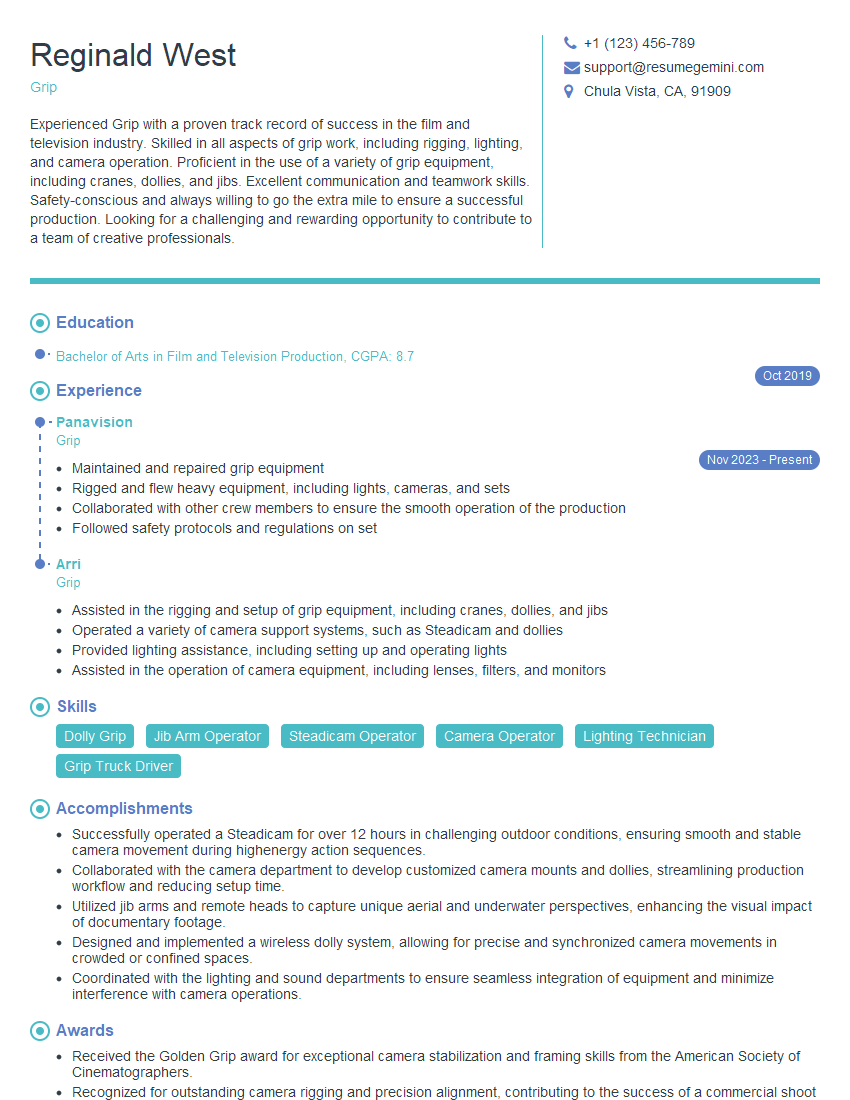
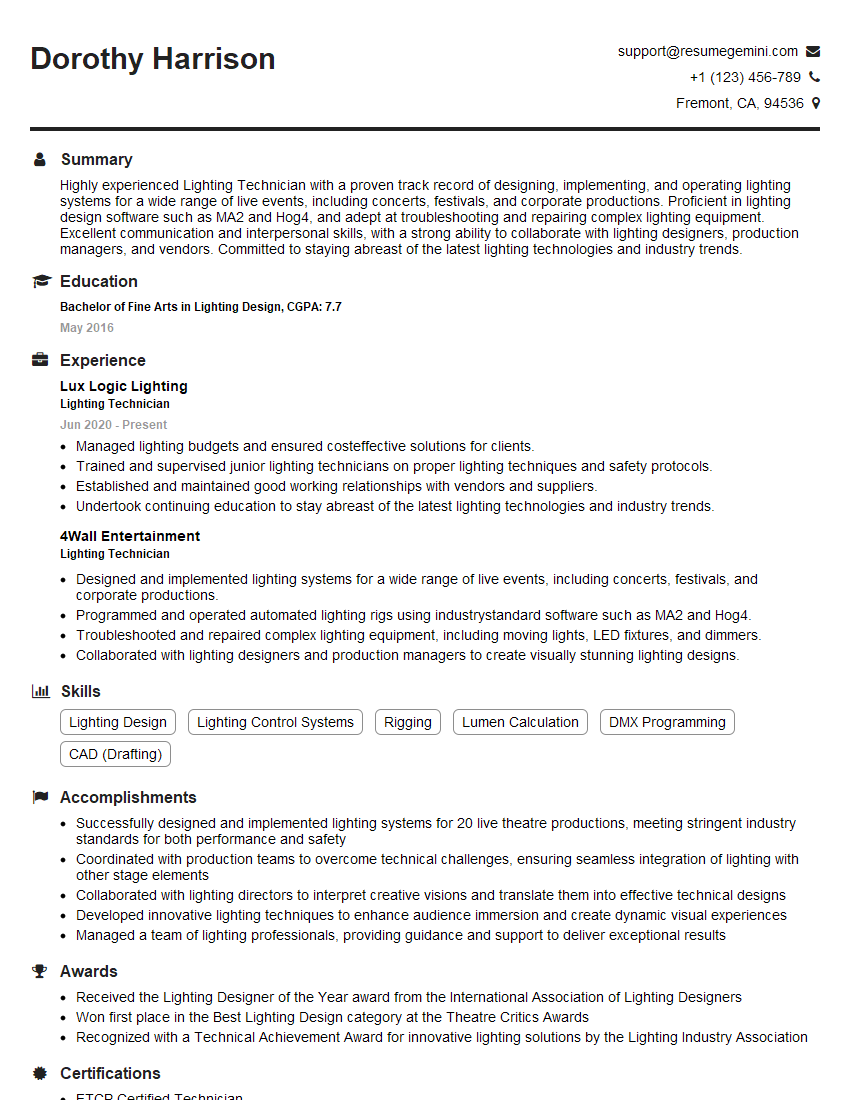
Are you ready to stand out in your next interview? Understanding and preparing for Photography and Video Editing interview questions is a game-changer. In this blog, we’ve compiled key questions and expert advice to help you showcase your skills with confidence and precision. Let’s get started on your journey to acing the interview.
Questions Asked in Photography and Video Editing Interview
Q 1. Explain your experience with various cameras and lenses.
My experience with cameras and lenses spans a wide range, from entry-level DSLRs to professional cinema cameras. I’ve worked extensively with Canon EOS series, Sony α series, and Blackmagic Design cameras. This includes experience with various sensor sizes, from APS-C to full-frame and even larger Super 35 sensors. My lens experience is equally diverse. I’m proficient with prime lenses for their superior image quality and shallow depth of field capabilities, particularly for portrait work. I also regularly use zoom lenses for their versatility in shooting various scenes and subjects, from wide shots to close-ups, minimizing lens changes on set. I’ve used everything from fast aperture lenses (like a Canon 50mm f/1.2) for low-light situations and beautifully blurred backgrounds, to macro lenses for extreme close-up photography and videography of insects and small objects. Understanding the interplay between sensor size, lens focal length, and aperture is crucial in determining the final image and video quality, and this is something I’ve honed through years of practical application.
For example, when shooting a documentary in low-light conditions, I’d opt for a full-frame camera with a fast prime lens to maximize image quality and minimize noise. Conversely, for a fast-paced event, a camera with a robust autofocus system coupled with a versatile zoom lens would be my preference to quickly capture dynamic action. My experience extends to understanding lens distortions and how to mitigate them, as well as the importance of proper lens care and maintenance to ensure optimal performance.
Q 2. Describe your workflow for editing a video project.
My video editing workflow is meticulous and structured to ensure efficiency and high-quality output. It generally follows these steps:
- Ingestion and Organization: I begin by importing all footage, audio, and graphics into my editing software, meticulously organizing them into a clear folder structure. This is crucial for easy access and efficient workflow.
- Rough Cut: I assemble the footage into a rough cut, focusing on the narrative structure and pacing. This stage involves selecting the best takes, sequencing the shots, and creating a preliminary timeline.
- Fine Cut: Once the rough cut is approved, I move to the fine cut, focusing on refining the timing, transitions, and pacing to achieve a polished and engaging result. This might involve trimming individual shots, adding B-roll footage, or adjusting the overall rhythm of the edit.
- Color Grading and Correction: I carefully adjust color and contrast to create a cohesive look and feel, enhancing the mood and atmosphere of the video. This process is essential in ensuring visual consistency.
- Audio Mixing and Sound Design: I add music, sound effects, and voiceovers, carefully mixing and mastering the audio to create a clear and immersive soundscape. This frequently involves dialogue editing and noise reduction.
- Export and Delivery: Finally, I export the video in the required format and resolution, ensuring that it meets the client’s specifications.
Throughout the entire process, I maintain close communication with the client to ensure alignment with their vision and to incorporate feedback effectively.
Q 3. What video editing software are you proficient in?
I am proficient in Adobe Premiere Pro, Final Cut Pro, and DaVinci Resolve. Adobe Premiere Pro is my primary tool, due to its comprehensive features, powerful integrations, and widespread industry adoption. However, I am also skilled in Final Cut Pro, known for its intuitive interface and speed, and DaVinci Resolve, a powerful tool for color grading and visual effects, particularly for high-end projects.
My proficiency extends beyond basic editing; I’m comfortable using advanced features like keyframing, motion tracking, and compositing within these applications. This allows me to achieve a high level of polish and creative control over my projects.
Q 4. What is your experience with color grading and correction?
Color grading and correction are critical aspects of my post-production workflow. Color correction involves adjusting the footage to fix inconsistencies in lighting, white balance, and exposure, while color grading involves manipulating the color palette to achieve a specific look and feel. I’m adept at using both color wheels and curves to fine-tune colors and create a visually appealing result. I use tools like scopes (waveform, vectorscope, parade) in DaVinci Resolve and Premiere Pro to ensure color accuracy and consistency. For example, I may choose a warm color palette to evoke feelings of nostalgia or a cool palette to convey a sense of serenity.
I understand the importance of understanding color theory, exposure, and white balance to achieve seamless transitions and a cohesive overall look. Experience has taught me how crucial maintaining consistent color across different shots is for a professional look, as well as how to match footage from multiple cameras and different shooting environments. I also utilize LUTs (Look Up Tables) to quickly apply pre-defined color palettes and styles.
Q 5. How do you handle difficult clients or challenging projects?
Handling difficult clients or challenging projects requires a proactive and communicative approach. I begin by clearly defining expectations and deadlines at the outset of the project, maintaining detailed documentation of all communication and agreements. Open and honest communication is key; I actively encourage feedback throughout the process, addressing concerns promptly and transparently. I use a collaborative problem-solving approach, working with the client to find creative solutions that meet their needs while staying within the technical parameters of the project. If a conflict arises, I remain calm and professional, focusing on finding a mutually agreeable resolution.
For example, if a client’s vision is unrealistic given the budget or timeline, I offer alternative solutions and explain the trade-offs involved, working together to find a compromise that balances quality, budget, and schedule. This proactive approach helps prevent misunderstandings and build trust, ultimately leading to a smoother and more successful outcome.
Q 6. What is your understanding of lighting techniques?
My understanding of lighting techniques is comprehensive, encompassing both natural and artificial light sources. I’m skilled in using different lighting setups to achieve various effects, including three-point lighting, Rembrandt lighting, and high-key/low-key lighting. I understand the principles of light intensity, color temperature, and diffusion, and how they impact mood, atmosphere, and subject appearance. I’m experienced in working with a variety of lighting equipment, including LED panels, softboxes, reflectors, and light modifiers to shape and control light effectively. This also includes practical experience with lighting for different scenes and environments, whether it’s shooting a scene indoors or outdoors, in daylight or at night.
For instance, when shooting a portrait, I might use a three-point lighting setup (key light, fill light, and backlight) to illuminate the subject evenly and create a flattering look. For a dramatic scene, I might utilize low-key lighting to create shadows and depth, enhancing the mood. Understanding the quality and direction of light is crucial for shaping a subject and telling a story visually, and this is a skill I’ve developed through years of hands-on experience.
Q 7. Describe your experience with audio recording and mixing.
My experience with audio recording and mixing encompasses both on-set and post-production techniques. On-set, I ensure proper microphone placement and levels, using techniques like boom operation, lavalier microphones, and shotgun microphones to capture clean audio. In post-production, I use audio editing software (like Adobe Audition) to refine the audio, addressing issues like background noise, hiss, and pops. I’m skilled in dialogue editing, sound design (creating and manipulating sounds), and audio mixing to create a balanced and immersive soundscape. This includes understanding principles of equalisation, compression, and reverb, and how to use these tools to enhance clarity, depth, and overall audio quality. I use a variety of plugins to reduce noise and enhance dialogue clarity.
For example, when recording interviews, I ensure the use of high-quality microphones and minimize ambient noise to capture crisp and clear audio. In post-production, I’ll meticulously edit the audio, reducing background noise, ensuring consistent levels and dynamics. I will then mix and balance all audio tracks to create a soundscape that complements the visuals and reinforces the overall narrative of the project.
Q 8. How do you manage large video files efficiently?
Managing large video files efficiently is crucial for smooth workflow and preventing system crashes. My approach is multi-faceted, focusing on prevention and mitigation.
- Storage and Organization: I utilize high-capacity external drives (SSD or fast NVMe drives for speed) and a robust file naming system (e.g., project name_date_version). This prevents searching through endless folders. I also regularly back up my work to the cloud or a secondary drive.
- Proxy Workflow: For editing, I often work with proxy files—lower-resolution versions of my footage. This dramatically reduces the strain on my system, allowing for quicker editing and smoother playback. Once the edit is finalized, I then switch back to the original high-resolution files for final rendering.
- Optimized Editing Software Settings: I carefully configure my editing software (e.g., Premiere Pro, Final Cut Pro) to optimize performance. This includes adjusting RAM allocation, caching settings, and render settings. Knowing how my software handles different file types and codecs is key.
- Compression Techniques: Understanding different codecs and compression techniques is essential. While RAW footage offers the highest quality, it’s massive. Using lossy compression (like H.264 or H.265) for intermediate stages saves space without significant visual compromise. I only use lossless codecs for final deliverables where quality is paramount.
- Regular System Maintenance: Maintaining a clean and efficient computer system is vital. Regularly clearing caches, deleting unnecessary files, and defragging (if using an HDD) can significantly improve performance.
For example, on a recent documentary project with terabytes of 4K footage, using a proxy workflow allowed me to edit seamlessly even on a less powerful machine. The final output was then rendered at the full resolution without any performance issues.
Q 9. What is your process for selecting and editing still photographs?
My still photography selection and editing process is iterative and highly dependent on the project’s goals. It starts with a thorough cull, followed by careful refinement.
- Initial Cull: I begin by reviewing all the images, quickly discarding obviously blurry, poorly composed, or technically flawed shots. This initial phase significantly reduces the workload.
- Rating and Selection: I then rate the remaining images using a star rating system (or similar) in my editing software (Lightroom, Capture One). This helps me easily identify the best shots based on composition, lighting, and emotional impact. I often revisit and refine these ratings during subsequent edits.
- Technical Adjustments: Next, I focus on technical adjustments: exposure, contrast, white balance, sharpness, and noise reduction. I try to maintain a consistent style across the selected images.
- Creative Enhancement: Finally, I refine the photos creatively, using tools like selective adjustments, cropping, and dodging/burning to enhance the visual impact and story. I also consider color grading and other stylistic choices to achieve the desired look and feel.
- Final Review: I always end with a final review of the edited images, ensuring they meet the project’s aesthetic and technical standards.
For instance, when working on a wedding, I might select images that capture the couple’s emotions and the atmosphere of the event. The technical editing would focus on preserving natural skin tones and maintaining a consistent look throughout the gallery, while creative edits could enhance details or create a specific mood.
Q 10. Explain your knowledge of different file formats (RAW, JPEG, MOV, MP4).
Understanding different file formats is essential for managing image and video quality and workflow efficiency.
- RAW: RAW files (e.g., .CR2, .NEF, .ARW) are uncompressed or minimally compressed image files that retain all the data captured by the camera’s sensor. They offer maximum flexibility for editing, allowing for significant adjustments to exposure, white balance, and other aspects without significant quality loss. The downside is their large file size.
- JPEG: JPEG (.jpg or .jpeg) files are lossy compressed, meaning some image data is discarded during compression. They are smaller than RAW files, making them suitable for web use and sharing, but offer less flexibility for editing. Excessive editing can lead to visible artifacts.
- MOV: MOV is a container format developed by Apple. It can contain various codecs for video and audio. It’s commonly used for high-quality video, especially on Apple platforms. The quality depends on the codec used (e.g., ProRes, H.264).
- MP4: MP4 is another widely used container format that supports numerous video and audio codecs. It’s highly versatile and widely compatible, making it suitable for web distribution and various devices. Again, the quality varies based on the codec.
In practice, I often shoot in RAW for stills to maximize editing flexibility and use codecs like ProRes for video editing for high quality and efficient editing, switching to H.264 or H.265 for final delivery optimized for web or broadcast.
Q 11. How do you approach storytelling in video editing?
Storytelling in video editing goes beyond simply assembling clips; it’s about crafting a compelling narrative that engages the audience. My approach involves a structured process:
- Storyboarding and Planning: I start with a clear understanding of the story’s arc, including the beginning, middle, and end. A storyboard helps visualize the sequence of shots and ensures a cohesive flow. Understanding the overall message and target audience is key.
- Selecting the Best Footage: I carefully review all the footage, choosing clips that advance the narrative, convey emotions, and support the story’s message. This is where a good understanding of pacing and visual storytelling is important.
- Sequence and Pacing: The order of clips significantly impacts the narrative. I use techniques like jump cuts, cross-cutting, and montages to create tension, build anticipation, and control the pace. The rhythm and pacing of the edit dictate the emotional experience.
- Sound Design and Music: Sound design and music are crucial components of storytelling. The right music or sound effects can enhance emotions, create atmosphere, and emphasize specific moments. The audio track is just as vital as the visual track.
- Visual Transitions: Smooth transitions between shots ensure visual coherence and prevent jarring edits. Different transitions create different feelings; a fast cut may convey energy, whereas a slow dissolve can represent time passing.
For instance, in a promotional video, I would focus on showcasing the product’s benefits through a series of visually compelling shots, structured to maintain audience engagement and ultimately drive a desired action.
Q 12. What is your experience with motion graphics and visual effects?
I have considerable experience with motion graphics and visual effects (VFX), using software like After Effects and Cinema 4D. My skills range from creating simple lower thirds and animations to more complex VFX work.
- Motion Graphics: I frequently use motion graphics to enhance titles, create animations, and improve the overall visual appeal of projects. I’ve created everything from simple text animations to complex kinetic typography sequences.
- Visual Effects: My VFX experience encompasses a range of techniques, including compositing, keying, and tracking. I’ve used VFX to enhance scenes, add elements, and create special effects.
- Workflow and Integration: I’m adept at integrating motion graphics and VFX seamlessly into video editing projects, ensuring a cohesive and professional final product. Understanding the limitations of each software and having efficient workflows is essential.
In a recent corporate video, I used After Effects to create a series of animated infographics that explained complex data in a visually engaging way. In another project, I used basic VFX techniques to remove unwanted objects from a scene.
Q 13. How do you ensure your work meets deadlines and client expectations?
Meeting deadlines and client expectations requires careful planning, efficient workflows, and strong communication.
- Project Management: I use project management tools (or methodologies like Agile) to break down large projects into smaller, manageable tasks with clear timelines. This allows for better tracking of progress and identification of potential delays.
- Communication: Maintaining open communication with clients is crucial. Regular updates and feedback sessions help ensure the project stays on track and meets expectations. Addressing potential issues proactively is critical.
- Prioritization: Understanding priorities is key. I prioritize tasks based on urgency and importance, focusing on the elements that directly impact the client’s needs and project deliverables.
- Contingency Planning: Unexpected problems are inevitable. Building contingency time into the schedule helps mitigate the impact of such problems and ensures timely completion. I also have backup plans for hardware/software failures.
- Version Control: I rigorously manage different versions of the project, always saving backups and clearly labeling each iteration. This allows for easy rollback in case of errors or client requests for revisions.
For example, on a time-sensitive commercial project, I used a detailed shot list and a clear production schedule to stay on track. Regular communication with the client and proactive issue resolution ensured we met the deadline and exceeded their expectations.
Q 14. Describe your experience with different camera angles and shots.
Camera angles and shots play a vital role in visual storytelling, conveying information and emotion. My experience encompasses a wide range of techniques.
- Establishing Shots: These wide shots set the scene, providing context and orientation. They often establish the location and introduce the characters or subjects.
- Medium Shots: These shots focus on characters or objects, showcasing details while maintaining some context of the surroundings. They are versatile and commonly used.
- Close-ups: Close-ups highlight details, emotions, or expressions, drawing the viewer’s attention to specific aspects of the scene. They can emphasize intimacy or create tension.
- Over-the-shoulder Shots: These shots are often used in dialogue scenes, placing the camera behind one character, looking towards the other. It provides both characters’ perspectives.
- Point-of-View (POV) Shots: POV shots place the viewer directly into the character’s perspective, creating a sense of immersion and immediacy.
- Low Angle Shots: These shots, filmed from a lower position, can make the subject appear powerful or imposing.
- High Angle Shots: Conversely, high-angle shots can make the subject appear vulnerable or small.
Understanding these different camera angles and shots and how they affect the narrative is key. In a film noir, for example, I might utilize low-angle shots to create a sense of mystery and menace around a character, while in a documentary, a wide establishing shot might set the context of the location.
Q 15. How familiar are you with compositing and keying techniques?
Compositing and keying are fundamental techniques in video editing and visual effects. Compositing involves combining multiple images or video clips to create a single, seamless image. Think of it like building a scene with layers, placing elements on top of each other to create a complex visual. Keying, on the other hand, is the process of isolating a subject from its background. This is often done using a chroma key (greenscreen or bluescreen) where a specific color is replaced with a different image or video.
My experience encompasses a wide range of compositing techniques, from simple layering and masking in Adobe After Effects to more complex techniques like rotoscoping (manually tracing the edges of a subject) and utilizing advanced keying methods such as spill suppression and color correction in DaVinci Resolve. I’ve used these techniques to integrate CGI elements into live-action footage, create realistic product placements, and even replace backgrounds in corporate videos to improve aesthetics. For example, I recently composited a client’s logo onto a dynamic city skyline, requiring careful masking and blending to ensure a natural look.
- Example: A common compositing task is creating a believable rain effect over an existing scene. This involves layering rain footage, adjusting opacity, and carefully masking the edges to integrate the rain naturally into the scene.
- Example: Keying often involves using a combination of techniques. A simple key might only require color correction, while more challenging keys need edge feathering, spill suppression (removing the color of the background on the subject), and even manual rotoscoping for accuracy.
Career Expert Tips:
- Ace those interviews! Prepare effectively by reviewing the Top 50 Most Common Interview Questions on ResumeGemini.
- Navigate your job search with confidence! Explore a wide range of Career Tips on ResumeGemini. Learn about common challenges and recommendations to overcome them.
- Craft the perfect resume! Master the Art of Resume Writing with ResumeGemini’s guide. Showcase your unique qualifications and achievements effectively.
- Don’t miss out on holiday savings! Build your dream resume with ResumeGemini’s ATS optimized templates.
Q 16. Describe your experience with Adobe Premiere Pro or Final Cut Pro.
I’m highly proficient in both Adobe Premiere Pro and Final Cut Pro, having used them extensively for over eight years. My expertise extends beyond basic editing; I’m comfortable with advanced features like color grading, audio mixing, motion graphics, and creating sophisticated visual effects.
In Premiere Pro, I regularly utilize its robust effects engine for tasks such as color correction with Lumetri Color, creating motion graphics with Essential Graphics, and audio sweetening with its integrated tools. I find its flexibility and extensive plugin support invaluable. For example, I recently used Premiere Pro to edit a high-profile documentary, requiring meticulous color grading to match different shots and meticulous audio mixing to ensure clarity.
Final Cut Pro, while slightly different in its workflow, provides equally powerful capabilities. Its magnetic timeline and streamlined interface are very efficient for fast-paced projects. I often use Final Cut Pro for shorter-form video projects, such as promotional content or social media clips, where its efficiency is a significant advantage.
My experience extends to managing large projects, utilizing proxies for efficient editing of high-resolution footage, and collaborating with other editors using shared projects.
Q 17. Describe your experience with Adobe Photoshop or Lightroom.
My experience with Adobe Photoshop and Lightroom is extensive and integral to my workflow. Photoshop is my go-to tool for image manipulation and retouching, ranging from simple color adjustments to complex compositing and restoration work. Lightroom is crucial for organizing, processing, and enhancing large batches of photographs, particularly during post-production for stills accompanying video projects.
In Photoshop, I’m skilled in using layers, masks, adjustment layers, and various filters to achieve specific artistic or technical results. This includes retouching portraits, creating composite images for visual effects, and preparing images for print or web. For example, I recently used Photoshop to remove unwanted objects from a landscape photo and enhance the colors and contrast to improve the overall image quality.
Lightroom’s non-destructive editing capabilities are essential for maintaining original image data while applying adjustments. I often use it to manage color consistency across a series of photos, applying global adjustments or local adjustments with masking tools to refine the look of individual images or areas within images. This helps ensure consistency and a professional look. I’ve used it to process thousands of images for both personal and commercial projects.
Q 18. How do you troubleshoot technical issues during a shoot or edit?
Troubleshooting technical issues is a critical aspect of my work. My approach is systematic and prioritizes efficiency to minimize downtime. I usually follow a structured process:
- Identify the problem: This involves pinpointing the exact nature of the issue—is it a hardware malfunction, software glitch, or a problem with the file itself?
- Isolate the source: I determine if the problem is isolated to a single piece of equipment or a broader system failure. For example, is the problem with the camera, the memory card, the computer, or the software?
- Attempt simple solutions: I start with simple fixes like restarting equipment, checking connections, or verifying file integrity. I might test different cables or equipment to eliminate potential causes.
- Consult resources: I refer to online documentation, forums, or manufacturer support to identify potential solutions and best practices.
- Seek expert help: If necessary, I don’t hesitate to reach out to technical support or collaborate with colleagues for more complex issues.
For example, during a recent shoot, the camera’s audio stopped working. I quickly isolated the issue to a faulty microphone cable by swapping it with a different one, allowing us to resume filming without extensive delays.
Q 19. Explain your understanding of aspect ratios and resolutions.
Aspect ratio refers to the proportional relationship between the width and height of an image or video frame. Resolution refers to the number of pixels that make up the image, affecting its sharpness and detail. Understanding both is crucial for optimal image quality and viewer experience.
Common aspect ratios include 16:9 (wide-screen, prevalent in HDTV and most online video), 4:3 (older standard television), and 2.39:1 (cinemascopic, wide format). Choosing the right aspect ratio depends on the intended platform and creative vision. For example, a widescreen aspect ratio is ideal for capturing expansive landscapes, while a more square format could be better for portraits.
Resolution is typically expressed in pixels (e.g., 1920×1080, 4K, 8K). Higher resolutions mean more detail and sharper images, but also larger file sizes requiring more storage and processing power. Choosing the right resolution depends on the project’s needs, the intended viewing method, and the available resources. A higher resolution is beneficial for large screens or print media, while a lower resolution might suffice for online video or social media.
Understanding the interplay between aspect ratio and resolution is crucial in post-production. Changing the aspect ratio might involve cropping or adding letterboxing, impacting the final image composition. Similarly, downscaling (reducing resolution) can lose detail, while upscaling (increasing resolution) may introduce artifacts unless done carefully.
Q 20. How do you handle feedback and revisions on your work?
Handling feedback and revisions is a collaborative process. I believe in clear communication and a proactive approach to ensure the final product meets the client’s expectations.
First, I actively listen to the feedback, asking clarifying questions if needed to fully understand the concerns. I don’t take criticism personally but rather view it as an opportunity for improvement. Then, I carefully review the feedback alongside the project itself. I meticulously organize the revisions requested to ensure I address each point efficiently.
I provide regular updates during the revision process, keeping the client informed of my progress and addressing any new concerns that might arise. I offer alternatives or suggestions when appropriate, providing a collaborative decision-making environment. Ultimately, my goal is to ensure the client is satisfied with the final product and that the revisions enhance the overall quality and impact of the work.
In my experience, a strong understanding of the client’s vision and clear communication throughout the process are essential for efficiently handling feedback and revisions.
Q 21. What is your experience with different types of microphones?
My experience encompasses a wide range of microphones, from lavalier mics for close-up audio recording to shotgun mics for directional sound capture and condenser mics for studio recording. The choice of microphone greatly impacts the audio quality of a project.
- Lavalier microphones: These small, clip-on microphones are ideal for capturing dialogue or voiceovers where minimizing visibility is key. They’re often used in interviews, documentaries, and film productions.
- Shotgun microphones: These directional microphones excel at picking up sound from a specific direction, minimizing ambient noise. They’re commonly used for filmmaking, capturing clear dialogue on set, even in noisy environments.
- Condenser microphones: These highly sensitive microphones are widely used in studio recordings, providing high-quality audio suitable for voiceovers, music recording, and podcasts. They often need external power (phantom power).
- Dynamic microphones: These are more robust and less sensitive to handling noise, making them suitable for live performances and situations with potential vibration.
Understanding the characteristics of each microphone type allows me to choose the most appropriate one for a given situation. For example, in a documentary interview, I’d likely opt for a high-quality lavalier microphone to capture clear, crisp audio close to the subject while minimizing the microphone’s visibility. On a film set, I’d use shotgun microphones to record dialogue in various environments.
Q 22. How familiar are you with using storyboards?
Storyboarding is an essential pre-production step for any visual project, be it a film, commercial, or even a complex social media campaign. It’s essentially a visual roadmap outlining the shots and sequences of a project, much like a comic book version of your final product. I’m highly familiar with creating storyboards, using various software like Adobe Photoshop, Storyboarder, and even simple sketching on paper. My approach involves collaborating with directors and clients to ensure the storyboard accurately reflects the narrative and desired aesthetic. For instance, when working on a recent corporate video, I created a detailed storyboard that specified camera angles, character movements, and even the overall mood for each scene, facilitating smooth communication and efficient shooting.
I incorporate different techniques such as shot lists, scene descriptions, and even basic animation to convey action and timing accurately. This helps to visualize the final product before any filming or animation begins, allowing for crucial pre-production adjustments and preventing costly on-set issues.
Q 23. Describe your experience with post-production workflows.
My post-production workflow is highly structured and efficient, adaptable to various project scales. It typically starts with ingesting footage and organizing it meticulously, using a system of folders and naming conventions for easy retrieval. Then, I move on to the editing process, which depends on the project. For videos, I’m proficient with software like Adobe Premiere Pro, DaVinci Resolve, and Final Cut Pro. For photography, I use Adobe Lightroom and Photoshop for color correction, retouching, and enhancement.
- Ingestion and Organization: I utilize robust file management systems to ensure quick access to all assets. Keywording and metadata tagging are crucial in large projects.
- Editing and Color Grading: My color grading style is nuanced, aiming for a look that complements the narrative and mood. I pay close attention to details, ensuring consistency and visual appeal.
- Sound Design and Mixing: Adding sound effects, music, and voiceovers can greatly enhance the impact of the visuals. I collaborate with sound designers when necessary, and possess solid skills in audio mixing myself.
- Export and Delivery: Finally, I meticulously export the final project in various formats and resolutions, tailored to the intended platform.
For example, in a recent documentary project, I managed terabytes of footage, meticulously organizing it for efficient editing and color correction. This structured approach streamlined the post-production process significantly.
Q 24. How do you create engaging visual content?
Creating engaging visual content hinges on several key factors. First, a strong narrative is paramount. Whether it’s a short film, a product advertisement, or a social media post, a compelling story keeps the audience hooked. Next, visual storytelling techniques are crucial. This includes strategic use of composition, lighting, color palettes, and camera angles to convey emotion and create visual interest.
- Composition: Utilizing the rule of thirds, leading lines, and other compositional techniques to create visually pleasing and balanced shots.
- Lighting: Mastering natural and artificial lighting to establish mood and highlight key elements within the scene.
- Color Grading: Using color to evoke emotion, enhance the narrative, and create a consistent visual style.
- Movement and pacing: Dynamic camera movements, editing techniques, and pacing all contribute to keeping the audience engaged.
For instance, when shooting a product video, I’d focus on showcasing its features in a visually appealing manner, potentially using slow-motion shots to highlight its key aspects or a stylized color palette that matches the product’s brand identity.
Q 25. What are your strengths and weaknesses as a photographer/video editor?
My strengths lie in my versatility and adaptability. I’m proficient in both photography and video editing, and I can quickly adjust my approach to fit different project requirements. I possess a strong eye for detail and composition, and I’m adept at translating creative visions into compelling visuals. I also pride myself on my collaborative spirit and ability to work effectively under pressure to meet deadlines.
However, I’m always striving to improve. One area I’m continuously developing is my proficiency in advanced motion graphics and VFX. While I have a working knowledge, expanding my expertise in this field would further enhance my post-production capabilities. I actively seek out opportunities to learn and collaborate on projects involving these more advanced techniques.
Q 26. What are your salary expectations?
My salary expectations are commensurate with my experience and skills, and the specific responsibilities of this position. I’m open to discussing this further based on the details of the job offer.
Q 27. Why are you interested in this position?
I’m very interested in this position because it offers the opportunity to leverage my skills in a dynamic and challenging environment. The company’s reputation for innovative and high-quality visual content strongly aligns with my professional aspirations. I’m particularly excited by [mention a specific project, aspect of the company or role that excites you]. I believe my skills and experience will be a valuable asset to your team.
Q 28. Where do you see yourself in five years?
In five years, I envision myself as a highly skilled and respected visual content creator, contributing significantly to the success of this company. I aim to further develop my expertise in areas such as motion graphics and VFX, potentially taking on more leadership responsibilities and mentoring junior team members. Ultimately, I want to be a key player in shaping innovative and impactful visual storytelling.
Key Topics to Learn for Photography and Video Editing Interview
- Composition and Framing: Understanding the rule of thirds, leading lines, and other compositional techniques in both photography and videography. Practical application: Analyzing your own work and identifying areas for improvement in composition.
- Lighting Techniques: Mastering natural and artificial lighting, including three-point lighting, high-key and low-key lighting for video, and understanding exposure triangles for photography. Practical application: Experimenting with different lighting setups to achieve desired moods and effects.
- Color Theory and Grading: Knowledge of color wheels, color harmonies, and white balance. Practical application: Demonstrating the ability to color correct and grade footage to achieve a consistent look and feel.
- Camera Operation and Settings: Understanding aperture, shutter speed, ISO, and their interplay; familiarity with various camera types and their functionalities. Practical application: Explaining how you would adjust camera settings for different shooting scenarios (e.g., low light, fast action).
- Video Editing Software Proficiency: Demonstrating expertise in popular editing software (e.g., Adobe Premiere Pro, Final Cut Pro, DaVinci Resolve). Practical application: Describing your workflow and editing techniques, highlighting your proficiency in specific tools and features.
- Audio Recording and Mixing: Understanding microphone techniques, audio levels, and basic audio mixing principles. Practical application: Explaining your approach to capturing clean audio and enhancing it during post-production.
- Storytelling and Visual Narrative: Understanding how to craft compelling narratives through visual media, using techniques like pacing, transitions, and visual effects. Practical application: Analyzing successful examples of visual storytelling and explaining your approach to creating engaging content.
- Post-Production Workflow: Understanding the steps involved in post-production, from importing footage to exporting the final product. Practical application: Describing your experience optimizing files for different platforms and distribution methods.
Next Steps
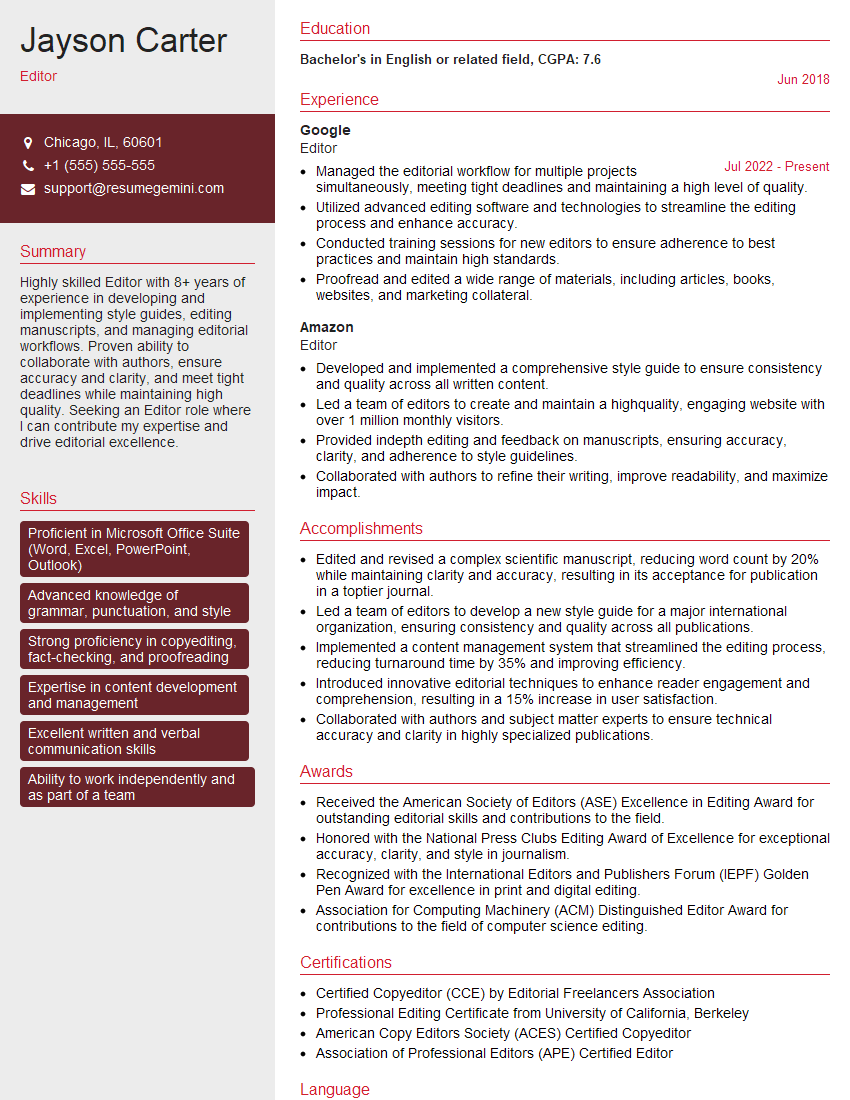
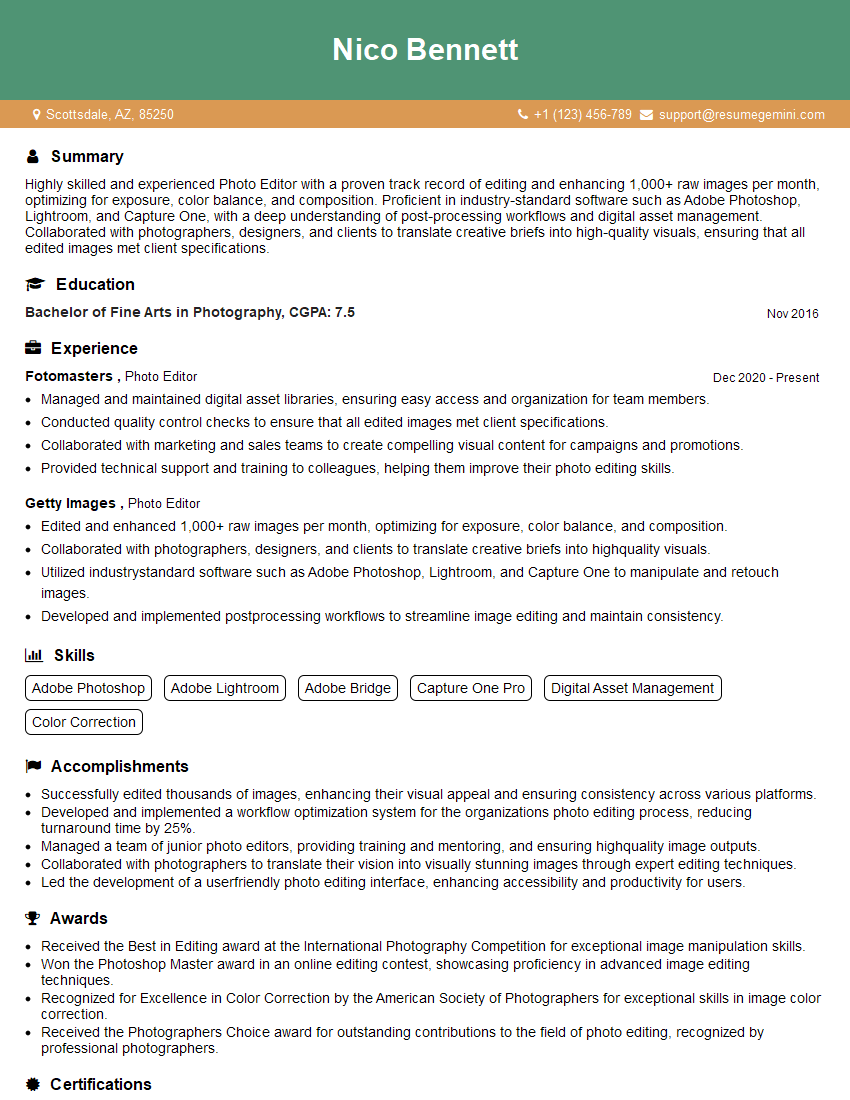
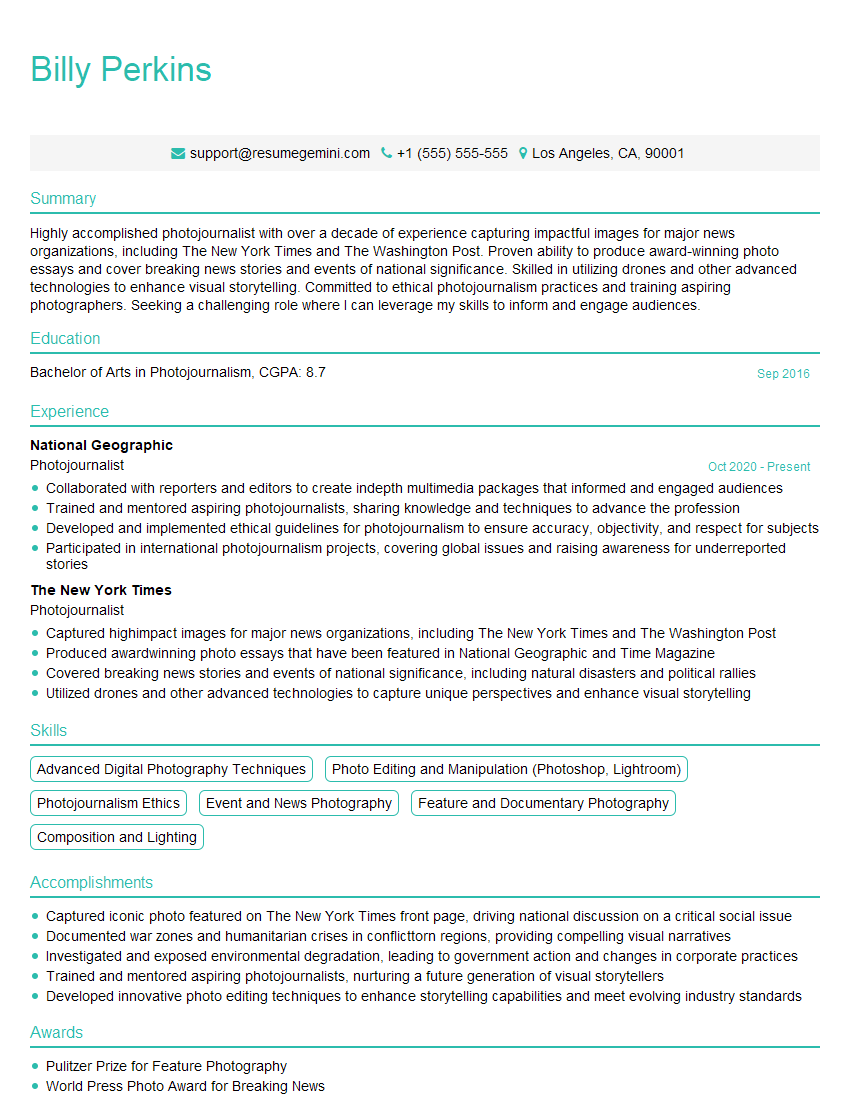
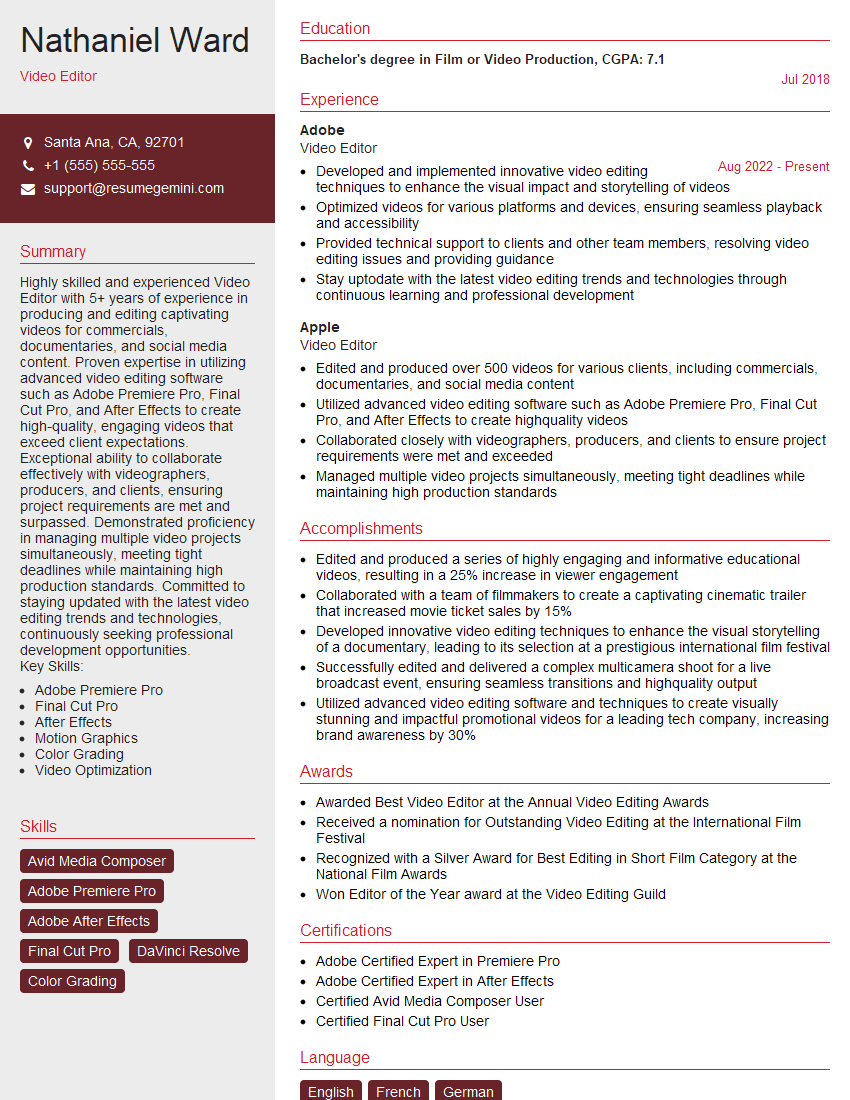
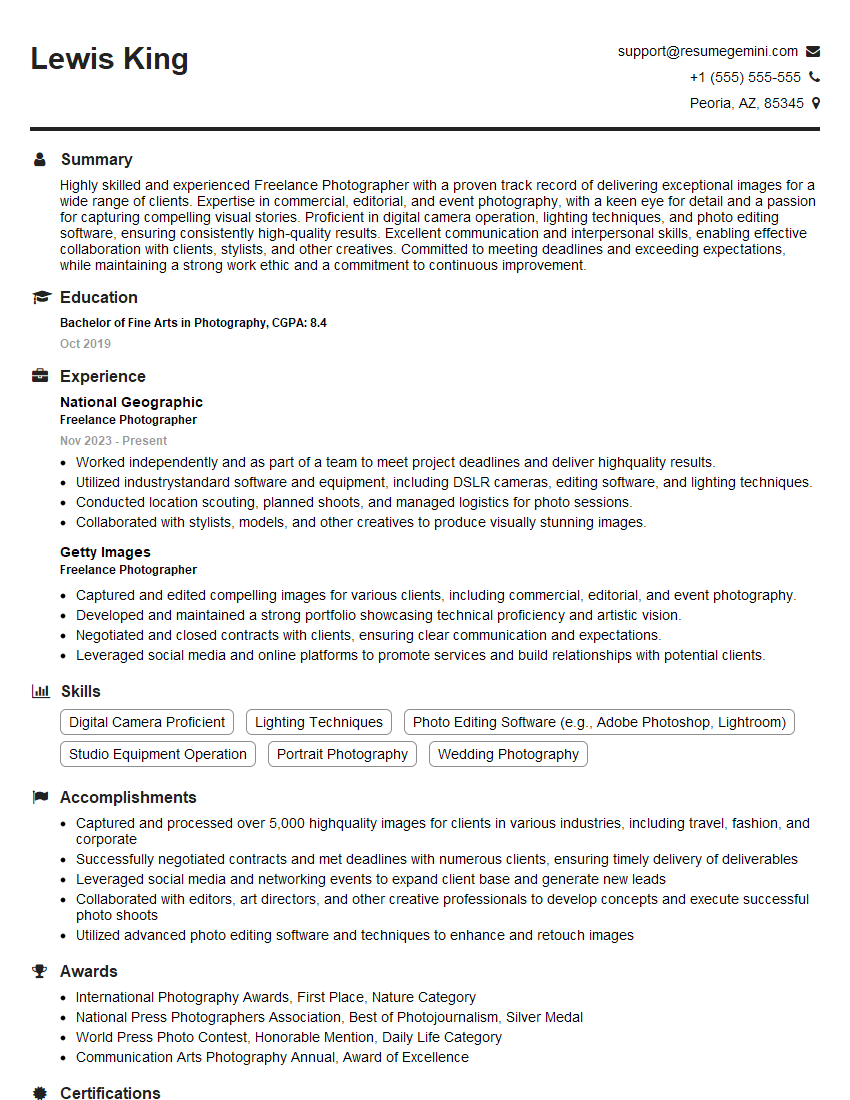
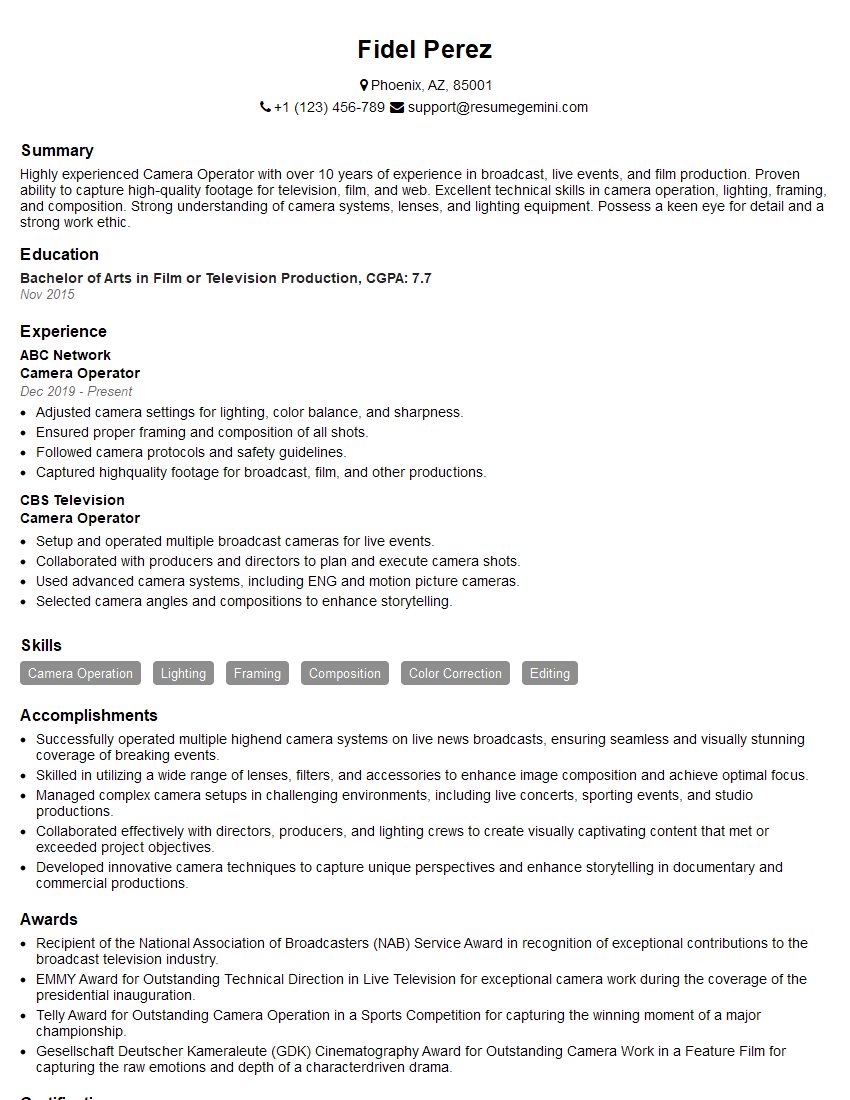
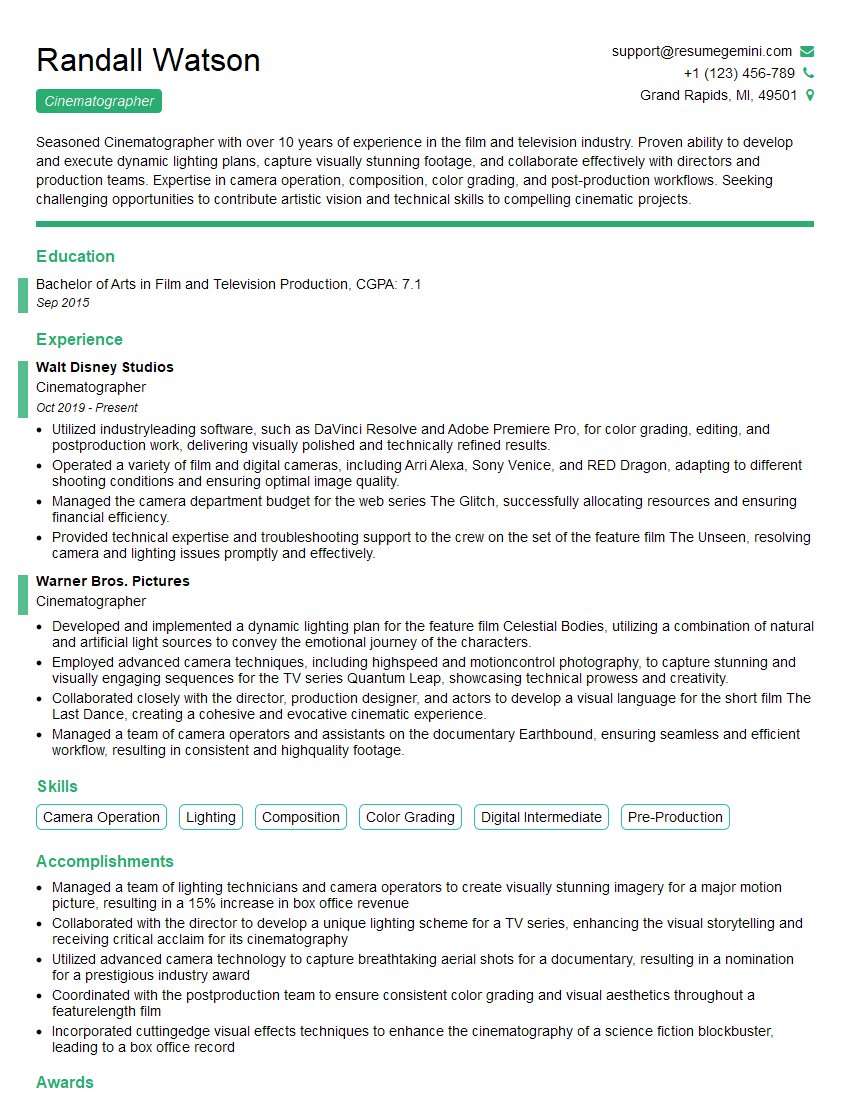
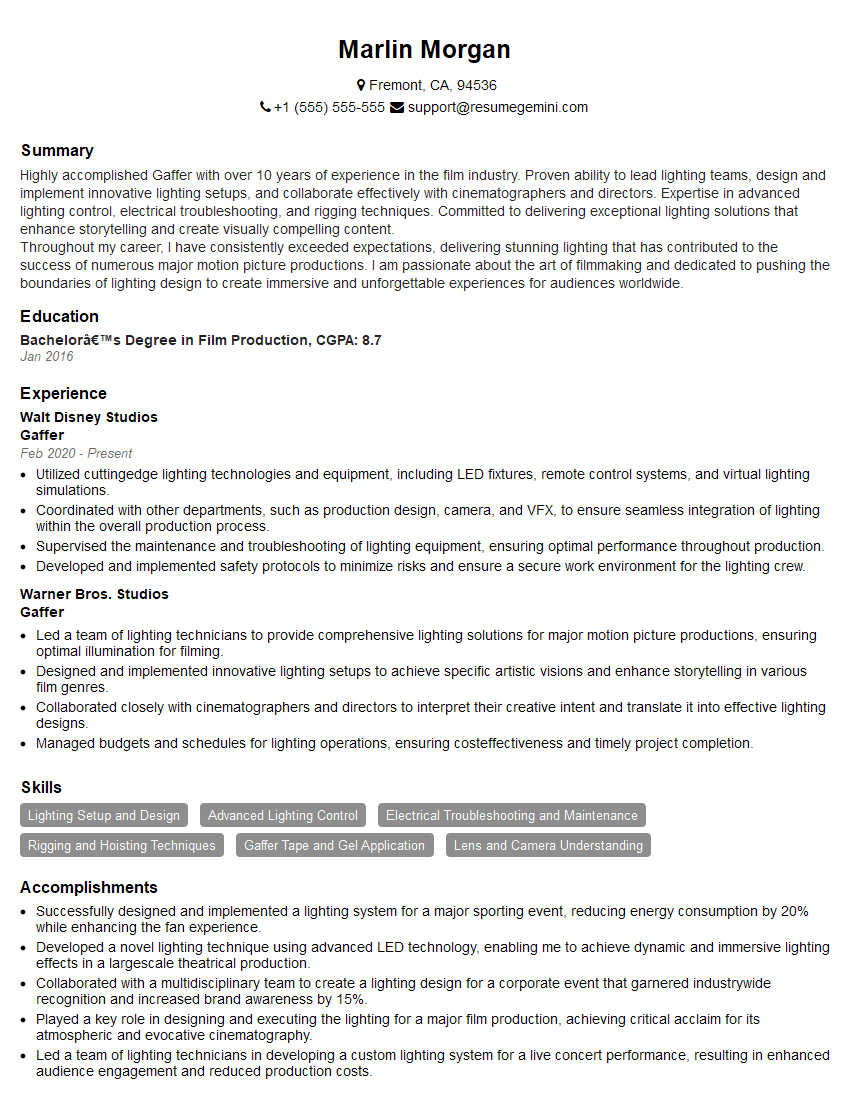
Mastering Photography and Video Editing opens doors to exciting careers in film, advertising, journalism, and more! To maximize your job prospects, it’s crucial to present your skills effectively. An ATS-friendly resume is key to getting your application noticed by potential employers. ResumeGemini is a trusted resource that can help you craft a professional and impactful resume. We provide examples of resumes tailored specifically for Photography and Video Editing professionals to guide you. Take the next step towards your dream career today!
Explore more articles
Users Rating of Our Blogs
Share Your Experience
We value your feedback! Please rate our content and share your thoughts (optional).
What Readers Say About Our Blog
Interesting Article, I liked the depth of knowledge you’ve shared.
Helpful, thanks for sharing.
Hi, I represent a social media marketing agency and liked your blog
Hi, I represent an SEO company that specialises in getting you AI citations and higher rankings on Google. I’d like to offer you a 100% free SEO audit for your website. Would you be interested?
