Every successful interview starts with knowing what to expect. In this blog, we’ll take you through the top Recording Studio Techniques interview questions, breaking them down with expert tips to help you deliver impactful answers. Step into your next interview fully prepared and ready to succeed.
Questions Asked in Recording Studio Techniques Interview
Q 1. Explain the difference between condenser and dynamic microphones.
Condenser and dynamic microphones are the two main types of microphones used in recording studios, each with distinct characteristics. Condenser microphones are known for their sensitivity and detailed frequency response, capturing subtle nuances and a wider range of frequencies. They typically require phantom power (+48V) to operate. Dynamic microphones, on the other hand, are more rugged, less sensitive to handling noise, and don’t require phantom power. They excel at handling high sound pressure levels (SPLs) and are often preferred for loud instruments like drums and amplifiers.
Think of it like this: a condenser mic is like a high-resolution camera – it captures every detail, but needs a power source. A dynamic mic is like a rugged point-and-shoot – it’s durable and reliable, even in harsh conditions, but with less detail. The choice between them depends entirely on the sound source and the desired sonic characteristics.
- Condenser Examples: Neumann U 87 Ai, AKG C414 XLS
- Dynamic Examples: Shure SM57, Sennheiser e609
Q 2. Describe your experience with various EQ techniques.
My experience with EQ techniques is extensive, covering both surgical and creative applications. I’m proficient in using EQ to address problems like muddiness in the low-end, harshness in the high-end, and correcting imbalances in the frequency spectrum of individual tracks and the mix as a whole. I utilize both parametric and graphic EQs, tailoring my approach based on the specific needs of the source material and the desired aesthetic.
For example, I might use a high-pass filter (a type of EQ cut) to remove unnecessary low-frequency rumble from a vocal track, making it cleaner and more focused. Conversely, I might use a narrow bell boost to enhance a specific frequency range, like adding presence to a guitar solo or warmth to a bassline. I regularly utilize spectral analysis tools to visually identify problem frequencies, ensuring precision in my EQ adjustments.
I’ve worked with various EQ plugins from manufacturers such as Waves, FabFilter, and Universal Audio, each offering unique sonic characteristics and functionalities. My goal is always to achieve a balanced and natural sound, enhancing the strengths of the source without introducing unwanted artifacts.
Q 3. How do you troubleshoot microphone feedback issues?
Microphone feedback is a common problem in live sound and recording, characterized by a loud, howling sound caused by a positive feedback loop. Troubleshooting involves identifying and breaking this loop.
- Reduce Gain: Lowering the microphone’s gain is the first step. Less signal means less chance of feedback.
- Microphone Placement: Position the microphone away from monitors and speakers. Careful placement minimizes the amount of sound picked up from the speakers.
- EQ: Use a notch filter (a type of EQ cut) to cut the frequency causing the feedback. This often involves identifying the feedback frequency by carefully sweeping through the frequencies using the EQ.
- Directional Microphones: Employ cardioid or hypercardioid microphones, which pick up less sound from the sides and rear, reducing the chance of feedback.
- Acoustic Treatment: Using absorbent materials on the walls and ceilings to reduce room reflections, decreasing the sound bouncing back to the microphone.
The process is often iterative. You might reduce gain, adjust placement, and use EQ together to effectively eliminate feedback. Experience plays a vital role in quickly identifying the problem area and implementing the most effective solution.
Q 4. What are your preferred methods for noise reduction and gate processing?
My preferred methods for noise reduction and gate processing are highly dependent on the source material and the desired outcome. I avoid overly aggressive processing that can result in artifacts or unnatural-sounding results.
For noise reduction, I often use spectral analysis tools to identify the noise floor and then apply a noise reduction plugin that targets this specific frequency range. I prefer plugins that offer both spectral and time-domain processing, allowing for more nuanced control. I typically aim for a gentle reduction, preserving the natural texture of the sound rather than creating a sterile, artificial sound.
Regarding gate processing, I employ gates to eliminate unwanted noise between notes or phrases. I carefully adjust the threshold, attack, and release parameters to avoid chopping the sound or leaving noticeable artifacts. A slow attack helps prevent the gate from ‘pumping’, where it audibly cuts in and out. For instance, I might use a gate on a snare drum to remove background noise between hits, ensuring a cleaner and more focused sound without affecting the natural sound of the drum hits.
Popular plugins like Waves WLM Plus, iZotope RX, and FabFilter Pro-MB are frequently used for these processes.
Q 5. Explain your process for setting up a drum kit for recording.
Setting up a drum kit for recording involves meticulous attention to detail, ensuring accurate capture of the dynamic range and tonal characteristics of each drum. My approach is multifaceted.
- Microphone Selection: I choose microphones based on the specific drums and the desired sound. For instance, a Shure SM57 is a popular choice for the snare’s close mic, while AKG D112s are commonly used on the kick drum. Overheads are usually condenser mics to capture the overall ambience.
- Microphone Placement: The positioning of microphones is crucial. Kick drums often involve both an inside and outside mic, snare typically requires a close mic and potentially a room mic, and toms often have a close microphone. Overhead microphones are typically positioned to capture stereo image.
- Tuning and Dampening: I work with the drummer to tune the drums to achieve the desired resonance and tonality, sometimes using internal dampening methods (like towels or Moon Gels) to control unwanted frequencies and overtones.
- Room Treatment: The acoustic environment plays a significant role. A treated room or isolation booth reduces unwanted reflections and creates a more controlled recording environment.
- Sound Check and Adjustments: Once set up, I listen carefully to each mic channel and make adjustments as needed. This includes gain staging and subtle EQ adjustments to ensure the desired balance and tonal characteristics.
The process is highly collaborative, involving close communication with the drummer to ensure their performance is comfortable and the sound is what they and I envision.
Q 6. Describe your experience with different compression techniques.
My experience with compression techniques is broad, encompassing various styles and purposes. Compression is used to control dynamics, add punch, and shape the overall character of a sound.
I utilize different types of compressors, including opto, FET, and VCA compressors, each offering unique sonic characteristics. For example, an opto compressor might be used for its smooth, transparent character on vocals, while a FET compressor might provide more aggressive compression for drums or bass. I consider the attack and release times carefully to avoid artifacts. A faster attack gives more punch, whereas a slower attack is smoother. The release time controls how quickly the compressor releases after the signal drops below the threshold, affecting the overall sustain and feel.
I frequently use compression subtly to glue elements of a mix together or to control dynamics without significantly altering the character of the sound. However, I’m also comfortable employing more aggressive compression techniques for creative effects, such as using parallel compression to add punch and energy.
My approach involves experimenting and listening critically to achieve the optimal balance between control and maintaining the natural dynamic range of the audio.
Q 7. How do you approach mixing vocals for different genres?
Mixing vocals for different genres requires a nuanced understanding of the style and aesthetic goals. The approach differs significantly.
- Pop/R&B: Often involves a focus on clarity, presence, and smoothness. EQ might be used to sculpt the vocal tone and enhance certain frequencies, with careful compression to control dynamics and create a polished, radio-ready sound.
- Rock/Metal: Might prioritize power and grit, potentially utilizing heavier distortion or saturation, less compression, and a more aggressive EQ to enhance the rawness of the vocal performance.
- Folk/Acoustic: Often requires a more natural and intimate sound, with minimal processing that emphasizes the organic characteristics of the vocal. Compression might be used subtly to control dynamics, while EQ could subtly shape the tonality.
- Hip Hop: Often involves substantial processing, such as heavy pitch correction (auto-tune), creative effects, and layering of vocals to create unique textures and a powerful vocal presence.
Beyond these genre-specific considerations, I always prioritize the performance and the artist’s vision for their vocals. My goal is to make the vocal sit well within the mix, complementing other elements and delivering an emotionally engaging performance.
Q 8. What are your strategies for achieving a balanced mix?
Achieving a balanced mix is the art of making all instruments and vocals sit comfortably together in the sonic landscape, ensuring no element is overpowering or lost. It’s like orchestrating a band – each instrument has its role, and they need to play in harmony.
- Gain Staging: This is fundamental. I start by setting appropriate input gains on each track, avoiding clipping (distortion from exceeding the maximum signal level). This provides sufficient headroom for processing later.
- EQ: Equilization sculpts the frequency content of each track. I carefully carve out muddiness in the low frequencies and tame harshness in the highs, leaving space for other instruments. For example, I might cut some low mids from a guitar to allow the bass to breathe, or boost some high frequencies on a vocal to make it cut through the mix.
- Compression: This evens out dynamic range, making quieter parts louder and louder parts less prominent. I use compression judiciously, avoiding excessive squashing that robs the audio of life. I might gently compress a drum track to make it more consistent, or a vocal to control sibilance (harsh ‘s’ sounds).
- Panning: Placing sounds in the stereo field creates width and depth. I use panning creatively, avoiding placing similar instruments directly on top of each other. For instance, I might pan guitars slightly left and right to create a wider sound.
- Automation: Automating parameters like volume, pan, and EQ allows dynamic changes throughout the song, adding interest and life to the mix.
- Reference Tracks: I often use reference tracks – professionally mixed songs in a similar genre – to compare my mix and ensure it’s achieving a similar balance and overall sound.
Ultimately, achieving a balanced mix is iterative. I continuously listen, adjust, and refine until I achieve the desired sonic picture.
Q 9. Explain your understanding of phase cancellation and how to avoid it.
Phase cancellation is a destructive interference that occurs when two identical waveforms are out of sync (phase). Imagine two waves colliding: if their peaks align, they add up (constructive interference), but if a peak of one wave meets the trough of another, they cancel each other out (destructive interference), resulting in a thinner, weaker, or even completely absent sound.
Causes: This commonly happens when using multiple microphones on the same sound source, using multiple instances of the same plugin, or improper alignment of tracks when editing.
Avoiding Phase Cancellation:
- Mic Placement: Using multiple microphones on a single source requires careful positioning. For example, when miking a drum kit, I pay attention to the distance and angle of each microphone relative to the sound source to minimize phase issues.
- Phase Coherence Plugins: Plugins that analyze and correct phase issues can be invaluable. These plugins visually show the phase relationship between signals and can offer solutions like phase alignment or inversion.
- Careful Editing:When editing audio, ensuring that the same audio sections are aligned in time across different tracks is crucial.
- Mono Compatibility: Always listen to your mix in mono, since phase problems often become much more apparent in this mode. If your mix sounds thin or weak in mono, it might be a sign of phase cancellation.
By being mindful of these strategies, you greatly reduce the risk of unwanted phase cancellation in your mixes.
Q 10. Describe your workflow for editing audio in Pro Tools/Logic Pro X/Ableton Live.
My workflow is largely the same across Pro Tools, Logic Pro X, and Ableton Live, as the fundamental editing principles remain consistent. The specific tools and shortcuts differ, but the core steps are similar.
- Consolidation: I consolidate all takes into a single region for efficient editing. This improves workflow and simplifies the handling of audio.
- Editing: I edit out unwanted noises, breaths, or mistakes, using tools like razor tool, selection tools, and crossfades to ensure seamless transitions.
- Time Stretching/Pitch Correction: I address tempo and pitch variations using tools like élastique Pro (often used in various DAWs), Melodyne or similar plug-ins. I strive for natural-sounding corrections that maintain the performance’s character.
- Gain Staging: I adjust the gain of each region to create a balanced signal level across the entire project. This creates better consistency before applying any processing.
- Basic Processing: I apply some basic EQ, Compression and De-essing where needed before moving onto the mixing stage.
- Exporting: Finally, I export all of the audio tracks as individual files before moving to the mixing phase.
This workflow ensures a clean and well-organized foundation for the mixing and mastering process. The specific features used may vary across DAWs but the core principles remain the same.
Q 11. How do you handle issues with latency during recording?
Latency, the delay between input and output, is a common problem, particularly with plugins and external hardware. It’s like an echo in a recording – the sound arrives a little later than it should, making it difficult to play in time.
- Buffer Size: In your DAW’s audio settings, you can adjust the buffer size. A larger buffer reduces latency but can increase processing load and introduce some jitter. A smaller buffer minimizes latency but may result in more CPU strain (causing audio drop-outs). Finding the right balance is key.
- Low-Latency Drivers: Use low-latency drivers for your audio interface, which are specifically designed to minimize delay.
- Hardware Monitoring: Many audio interfaces offer direct hardware monitoring, which bypasses the computer’s processing for a near-zero-latency signal. This ensures the performer hears their instrument in real-time without the delay introduced by plugins and software processing.
- Plugin Selection: Some plugins are inherently more resource-intensive than others. Choosing low-latency versions of plugins can greatly reduce the overall latency.
- Compensation: Some DAWs offer latency compensation features, automatically adjusting delays to align tracks.
The best solution often involves a combination of these strategies. Careful experimentation is necessary to find the optimal balance between low latency and system stability.
Q 12. What are your preferred methods for automating mixes?
Automation is crucial for creating dynamic and engaging mixes. It’s like adding subtle dynamics and expressions to your mix’s performance.
- Volume Automation: I use volume automation to shape the energy of a track over time, creating subtle swells and dips that add movement and interest. For example, I might subtly increase the volume of a lead vocal during the chorus and reduce it during the verses.
- EQ Automation: I use EQ automation to dynamically change the tonal balance of a track. I might boost the high frequencies of a synth during a particular section, then back it off in others to prevent it from becoming too harsh.
- Pan Automation: I might subtly automate panning to create movement and width in a stereo image. For example, a lead vocal could slowly widen or narrow over time.
- Plugin Automation: I automate other plugin parameters too, such as the threshold on a compressor, to dynamically change the effect throughout the song.
- Draw Automation: DAWs have automation tools that can visually record the changes to specific parameters. This allows precise control and flexibility.
Automation requires careful planning and execution; however, well implemented automation can truly bring a mix to life, and add subtle nuances that listeners will appreciate.
Q 13. Explain your understanding of signal flow in a recording studio.
Understanding signal flow is fundamental to recording. It’s the journey of an audio signal from its source to the final output. Think of it as a river flowing from its source to the sea.
Typical Signal Flow:
- Instrument/Source: The audio signal originates from a musical instrument, microphone, or other audio source.
- Microphone Preamp (if using a mic): The signal is amplified by a preamp, usually built into an audio interface. Preamplifiers boost the weak signal from a microphone to a level suitable for processing.
- Audio Interface: This converts the analog signal into a digital format that the computer can understand and vice versa.
- Digital Audio Workstation (DAW): This is where recording, editing, mixing, and processing take place.
- Effects Plugins (EQ, Compression, Reverb, Delay, etc.): Signal is processed using various plug-ins, shaping its sound and character.
- Mix Bus: All tracks are summed together on the mix bus before final processing.
- Master Bus: This is the final stage of processing before output. This is where mastering processes like limiting and final equalization are applied.
- Digital-to-Analog Converter (DAC): This converts the digital signal back to analog for listening or output to physical media.
- Speakers/Headphones: The final output is heard via speakers or headphones.
Understanding signal flow helps prevent issues with noise, signal clipping and other problems. Every step in this chain is important, and a malfunction at any point can affect the overall quality.
Q 14. How do you work with clients to achieve their creative vision?
Collaboration with clients is paramount. It’s a partnership, not a dictatorship. I aim to translate their artistic vision into a professional and polished reality.
- Initial Consultation: I begin with detailed discussions about the client’s musical goals, style, and inspirations. I ask about their references (bands/artists they like), and what they envision for the final product.
- Active Listening: I listen intently not only to the music but also to the client’s explanations and expectations, clarifying any ambiguities and keeping them informed of progress.
- Feedback & Iteration: I provide regular feedback and make adjustments based on the client’s input. I believe that the iterative process allows us both to make adjustments, leading to the best final product.
- Transparency: I maintain open communication and keep the client informed about the technical aspects of the process, using plain language to avoid jargon overload.
- Respectful Boundaries: While I provide expertise, I respect the client’s final say. The ultimate goal is to create something that reflects their artistic vision.
My approach emphasizes trust and mutual respect, leading to a successful and fulfilling experience for both the artist and myself.
Q 15. What are some common issues you encounter during recording sessions?
Common issues during recording sessions are multifaceted, ranging from technical glitches to artistic challenges. Technically, I often encounter problems with microphone feedback, especially in livelier sessions with multiple instruments. This is usually solved by careful mic placement, gain staging, and using appropriate EQ and compression to manage frequencies that clash. Another frequent issue is unwanted noise – this could be anything from HVAC systems to electrical hum. Addressing this involves careful room treatment, using balanced cables, and employing noise gates to remove unwanted sounds. On the artistic side, I often find that achieving the desired performance can be difficult. Artists sometimes struggle to find the perfect take, resulting in many takes that might need to be painstakingly edited together, sometimes even using splicing techniques. A related issue is time management. If you’re not prepared, issues may take longer to resolve, eating away at your allotted session time.
Career Expert Tips:
- Ace those interviews! Prepare effectively by reviewing the Top 50 Most Common Interview Questions on ResumeGemini.
- Navigate your job search with confidence! Explore a wide range of Career Tips on ResumeGemini. Learn about common challenges and recommendations to overcome them.
- Craft the perfect resume! Master the Art of Resume Writing with ResumeGemini’s guide. Showcase your unique qualifications and achievements effectively.
- Don’t miss out on holiday savings! Build your dream resume with ResumeGemini’s ATS optimized templates.
Q 16. How do you manage your time efficiently during a recording session?
Efficient time management is crucial in recording. My approach involves meticulous pre-production. This includes detailed communication with the artist to establish clear goals, a solid track list, and a realistic schedule. I also prepare my studio meticulously – ensuring all microphones, instruments, and software are tested and ready to go. During the session itself, I focus on maintaining a clear workflow. This means I make quick decisions; I don’t endlessly tweak small details, as that can eat into precious time. Instead, I focus on capturing the essence of the performance and save detailed edits for the mixing stage. I always have a backup plan if a piece of equipment fails and regularly back up the session data. Efficient time management is a skill honed through experience and good preparation – preventing issues saves time and reduces stress.
Q 17. What are your experiences with various outboard gear (e.g., compressors, EQs)?
My experience with outboard gear is extensive. I’ve worked with a wide range of compressors, from vintage units like the LA-2A (known for its smooth, program-dependent compression) to modern designs like the SSL Bus Compressor (favored for its glue-like effect on mixes). Each compressor has its unique characteristics; I choose the best one based on the sound source and desired effect. For EQs, I often utilize Pultec EQP-1A3s for their warm, musical character, particularly on vocals and acoustic instruments. Other favorites include the API 550A, known for its surgical precision and ability to shape a sound without removing its character. The selection of outboard gear depends heavily on the musical style and the sonic palette we aim to achieve. The experience lies not just in using the equipment but also understanding its nuances and how to use it creatively to shape the sound.
Q 18. Describe your experience with different microphone placement techniques.
Microphone placement is a critical aspect of recording. For vocals, I often use the cardioid pattern of microphones, positioned several inches from the mouth, with the pop filter in place to reduce plosives. The exact placement is determined by the artist’s voice and the desired sound – a closer mic placement will result in a more intimate sound and more bass, while a distant placement might increase ambient sounds, creating a spacious feel. For acoustic guitars, I usually prefer an XY stereo pair (two mics, close together at a 90 degree angle) for a balanced sound, or a spaced pair of mics for wider stereo image. For drums, I employ a variety of techniques: close miking individual drums, room mics for ambience, and even using overhead mics for cymbals, aiming for a balance between detail and natural ambience. The optimal technique depends largely on the instrument, the desired sound, and the acoustic properties of the recording space.
Q 19. How do you address timing issues in recordings?
Timing issues, such as tempo fluctuations, are common in live recordings. I approach this using a combination of techniques. During recording, I might use a click track to help the musicians maintain a consistent tempo; for less rigid genres, subtle variations can enhance groove. Post-recording, I use digital audio workstations (DAWs) to address more significant tempo variations. DAWs offer powerful tools like tempo mapping and time stretching that can subtly correct tempo inconsistencies without drastically altering the feel of the performance. It is important to keep the adjustments subtle so it does not sound artificial. Sometimes, however, significant timing problems may require re-recording specific sections. The goal is to achieve a balance between correction and maintaining the natural feel of the performance.
Q 20. What is your experience with MIDI editing and sequencing?
My experience with MIDI editing and sequencing is integral to my workflow, particularly for projects involving electronic instruments or synthesized sounds. I’m proficient in using DAWs to create, edit, and arrange MIDI sequences, including quantizing notes (perfecting timing), editing velocities (controlling note intensity), and adding automation to parameters like filters and effects. I also have experience working with various virtual instruments (VSTs) and samplers to create and manipulate sounds. The capabilities of modern DAWs are extensive, allowing for almost limitless creative possibilities in building sequences, harmonies, and complex instrumental arrangements. A strong understanding of music theory is crucial to work effectively within a MIDI environment. It’s not merely about technical proficiency; it’s about artistic vision and expression through the medium.
Q 21. How familiar are you with different audio file formats?
Familiarity with audio file formats is essential for seamless workflow. I regularly work with WAV (uncompressed, high quality), AIFF (another lossless format, common in Mac environments), and MP3 (lossy compression, suitable for distribution). I understand the trade-offs between file size and audio quality; WAV and AIFF offer superior audio quality but come with larger file sizes, making them ideal for mastering and archival purposes. MP3, on the other hand, is suitable for sharing and distribution because of its smaller file size, but some quality is lost during compression. My understanding of these formats enables me to make informed decisions about file selection based on the intended purpose – from high-fidelity recording to efficient distribution. Beyond these common formats, my experience also includes working with other formats like Ogg Vorbis, FLAC and DSD, each with its own advantages and disadvantages.
Q 22. Explain your understanding of sample rates and bit depths.
Sample rate and bit depth are fundamental concepts in digital audio. Think of sample rate as how many snapshots of the sound wave are taken per second. A higher sample rate captures more detail, resulting in a clearer, more accurate representation of the original sound. Common sample rates are 44.1 kHz (standard CD quality), 48 kHz (standard for many digital audio workstations), 88.2 kHz, and 192 kHz (used for high-resolution audio). The higher you go, the more storage space you require.
Bit depth refers to the number of bits used to represent each sample. Each bit adds a level of resolution, so a higher bit depth allows for a wider dynamic range (the difference between the quietest and loudest parts of the audio) and a lower noise floor. Common bit depths are 16-bit (CD quality) and 24-bit (higher resolution). A 24-bit recording captures much more subtle nuances of the sound than a 16-bit recording, leading to a richer and more detailed final product. For instance, a 16-bit recording might struggle to accurately represent very quiet and very loud parts simultaneously, whereas a 24-bit recording would handle this with ease.
In simple terms: sample rate is how often you take a picture, and bit depth is how detailed the picture is. Choosing the right sample rate and bit depth depends on the project’s requirements and the available storage space. For most projects, 44.1 kHz/16-bit or 48kHz/24-bit is more than sufficient; higher resolutions are primarily needed for archiving or mastering high-quality audio.
Q 23. What is your process for mastering audio?
Mastering is the final stage of audio production, where I polish the mix to optimize it for different playback systems. It’s a delicate art of balancing the overall sound, ensuring loudness without sacrificing dynamic range or introducing artifacts. My process typically involves:
- Initial Assessment: I carefully listen to the mix, identifying areas needing attention. This might include frequency imbalances, dynamic range issues, or phasing problems.
- EQ and Dynamic Processing: Subtle EQ adjustments ensure a balanced frequency response across all frequencies, while compression and limiting carefully manage dynamics, enhancing loudness without compromising clarity.
- Stereo Imaging: I focus on creating a wide and well-defined stereo image, ensuring instruments and vocals occupy their space in the soundstage effectively. This often involves using stereo widening plugins but carefully to avoid phase cancellation.
- Loudness Maximization: I use a mastering limiter to increase the overall loudness, conforming to broadcast standards or client specifications. This is done while monitoring for clipping and distortion, preventing any damage to the audio signal.
- Dithering: Finally, I apply dithering to reduce quantization noise during the conversion from 24-bit to 16-bit (if required), resulting in a cleaner-sounding final product.
Throughout this process, I consistently A/B compare the mastered audio to the original mix, ensuring any changes are improvements, not degradations. The goal isn’t to simply make it loud; it’s about making it sound its best on a variety of playback systems.
Q 24. How do you ensure that your mixes translate well across different playback systems?
Mix translation across different playback systems is crucial. My approach involves several key strategies:
- Reference Monitors: I work on calibrated studio monitors, familiarizing myself with their frequency response. This ensures my mix sounds balanced on these speakers, a good starting point.
- Cross-Checking: I test the mix on a variety of playback systems, including headphones, consumer-grade speakers, car stereos, and even laptops, to identify any frequency imbalances or issues. This reveals how the mix translates in different acoustic environments.
- Low-Frequency Management: I pay close attention to the low-frequency content, ensuring it’s not overpowering or muddy on smaller speakers. Over-reliance on sub-bass can often lead to problems when played back on systems without a powerful subwoofer.
- Mid-Range Clarity: Ensuring clarity in the mid-range is crucial for vocal intelligibility and overall mix balance. A murky mid-range will sound even muddier on less-than-perfect speaker systems.
- Gain Staging: Proper gain staging from the initial recording to the final mix prevents clipping and distortion and ensures good headroom for mastering, all contributing to better translation.
The ultimate goal is to create a mix that’s enjoyable and well-balanced on as wide a range of playback systems as possible, even those that aren’t technically ideal.
Q 25. What software and hardware are you proficient with?
I’m proficient in a range of software and hardware. My go-to DAW (Digital Audio Workstation) is Pro Tools, but I’m also experienced with Logic Pro X and Ableton Live. I use a variety of plugins for processing, including Waves, Universal Audio, and FabFilter. My hardware includes high-quality studio monitors (e.g., Genelec or Neumann), a high-quality audio interface (e.g., Universal Audio Apollo), and various microphones from Neumann, AKG, and Shure. I also utilize outboard gear, including compressors, equalizers, and reverb units, depending on the project’s specific needs. I’m always learning and updating my skillset with the latest technology in the field.
Q 26. Describe your experience with surround sound mixing.
My experience with surround sound mixing is extensive. It’s a more complex process than stereo mixing, requiring a deep understanding of spatial audio and speaker placement. I’ve worked on projects ranging from immersive music productions to video game soundtracks. The key differences involve understanding how the soundstage is distributed across the different channels (surround, rear, center, LFE subwoofer) and how to create a cohesive and engaging soundscape that moves and breathes around the listener. This includes panning sounds appropriately, carefully designing the low-frequency effects to avoid muddiness or excessive energy in the subwoofer channel, and utilizing techniques like binaural recording and panning automation to create immersive and realistic experiences.
Q 27. How do you approach working with musicians in a studio environment?
Working with musicians requires a collaborative and supportive approach. Building trust and rapport is essential. I begin by discussing their artistic vision and ensuring I understand their expectations. I strive to create a comfortable and non-judgmental environment where they feel free to experiment and express themselves. I offer technical guidance and support, but also allow space for creativity and improvisation. Active listening is key – understanding their needs and providing clear, concise feedback is crucial. It’s about being a facilitator, guiding the process while supporting their artistry, leading to a more successful and fulfilling recording experience for everyone involved. Sometimes, a well-placed joke or even a shared coffee break can break down barriers and create a more productive atmosphere.
Q 28. What are your strategies for creating a professional and comfortable recording environment?
Creating a professional and comfortable recording environment is crucial for optimal performance and productivity. This begins with the acoustics. I prioritize sound treatment, using absorption panels and diffusers to control reflections and reduce unwanted resonances. This minimizes standing waves and creates a more even frequency response in the room. The physical comfort is equally important: comfortable seating, good lighting, and a well-organized workspace contribute to a positive recording experience. Maintaining a clean and organized studio reduces distractions and allows for efficient workflow. I also ensure the equipment is well-maintained and functioning optimally, minimizing technical problems during recording sessions.
Beyond the physical elements, a supportive and respectful atmosphere is key. Open communication and clear expectations are essential to fostering a productive and enjoyable collaboration with musicians. The goal is to create an inspiring space where creativity can thrive, free from unnecessary stress or discomfort. It’s like setting the stage for a successful performance – if the surroundings are positive and conducive, the end product is far more likely to be a good one.
Key Topics to Learn for Recording Studio Techniques Interview
- Microphone Techniques: Understanding polar patterns (cardioid, omni, figure-8), proximity effect, microphone placement for various instruments and vocalists, and choosing the right microphone for the job. Practical application: Explain how you’d mic a drum kit for a natural and balanced sound.
- Signal Flow and Routing: Mastering the path of audio from input to output, including preamps, compressors, EQs, effects processors, and the digital audio workstation (DAW). Practical application: Describe your workflow for setting up a recording session, including signal routing and patching.
- Audio Editing and Mixing: Proficiency in DAW software (Pro Tools, Logic Pro X, Ableton Live, etc.), editing techniques (gain staging, noise reduction, time stretching/pitch shifting), and mixing principles (EQ, compression, reverb, delay). Practical application: Detail your approach to mixing a song, addressing challenges like frequency clashes and achieving a balanced mix.
- Acoustic Treatment: Understanding room acoustics, the impact of reflections and resonances, and the application of acoustic treatment (bass traps, diffusers, absorbers) to optimize recording environments. Practical application: Explain how you would assess and treat the acoustics of a recording studio to minimize unwanted reflections.
- Digital Audio Fundamentals: Understanding sampling rate, bit depth, quantization, and the implications of different audio formats. Practical application: Discuss the trade-offs between different sample rates and bit depths in a recording project.
- Troubleshooting and Problem-Solving: Identifying and resolving common technical issues such as feedback, noise, clipping, and latency. Practical application: Describe a time you successfully solved a complex audio problem in a recording session.
Next Steps
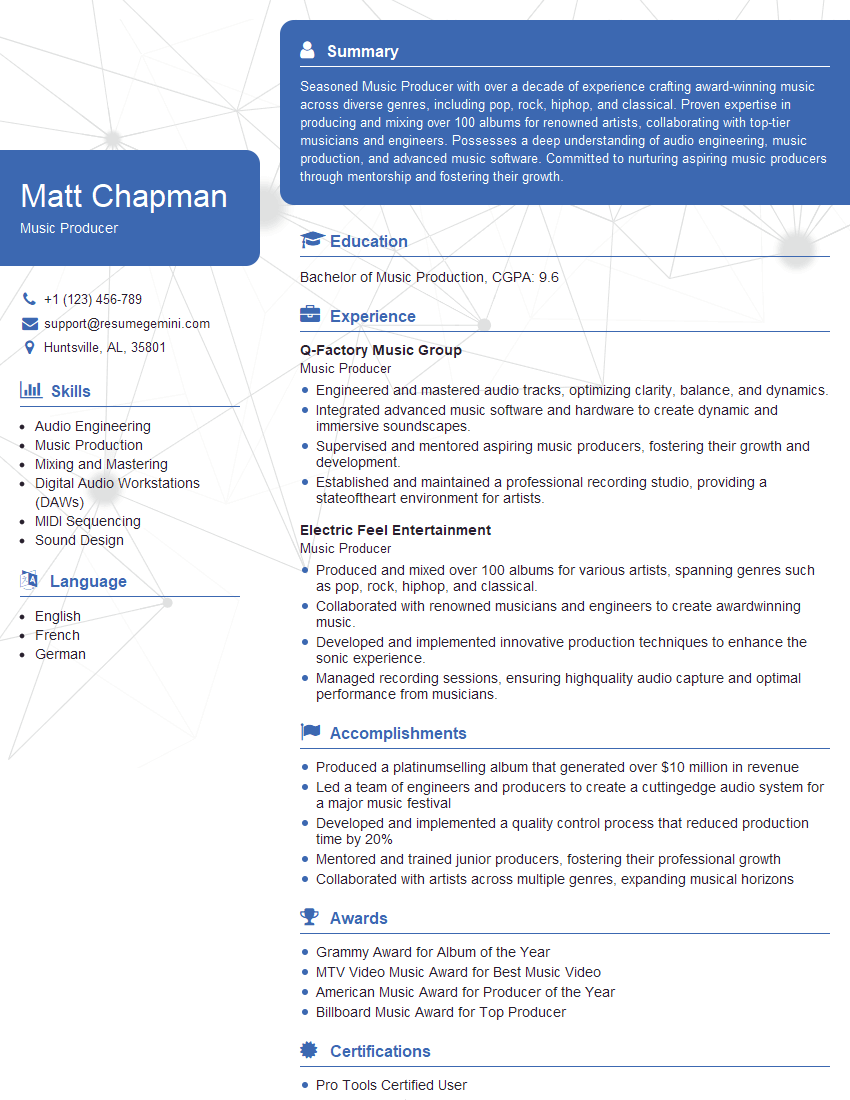
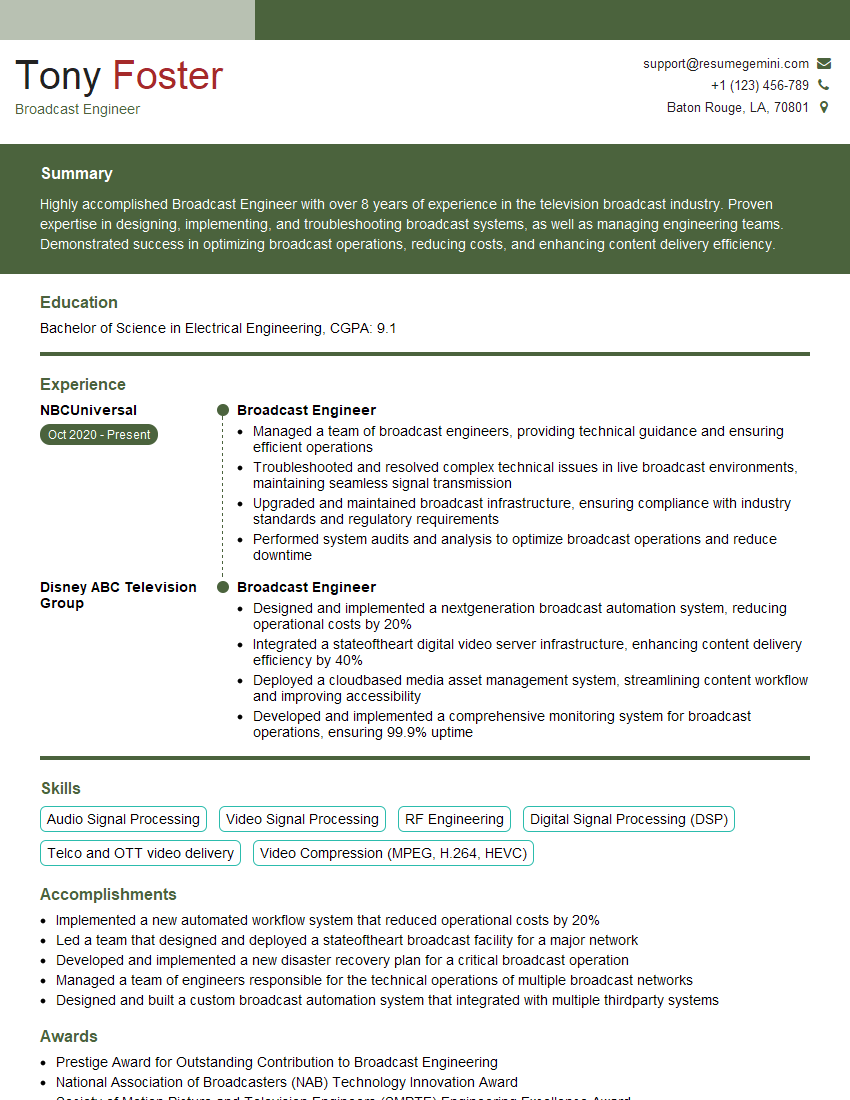
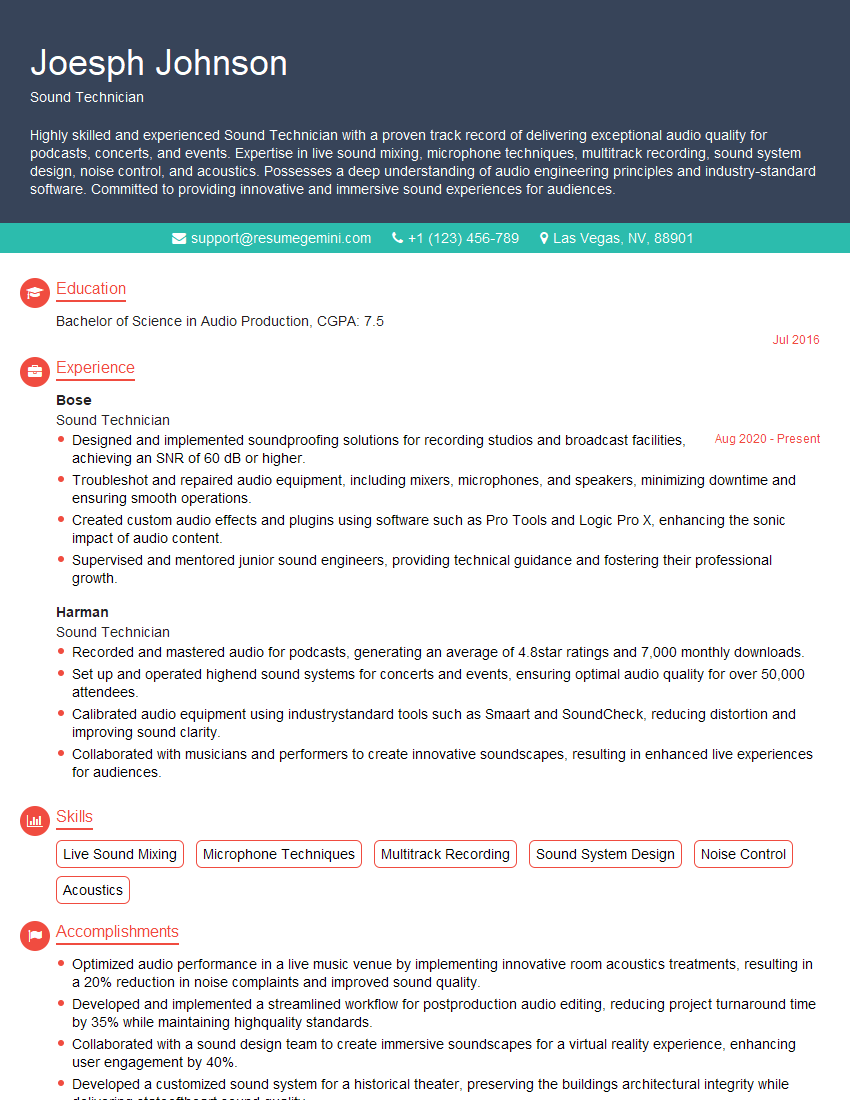
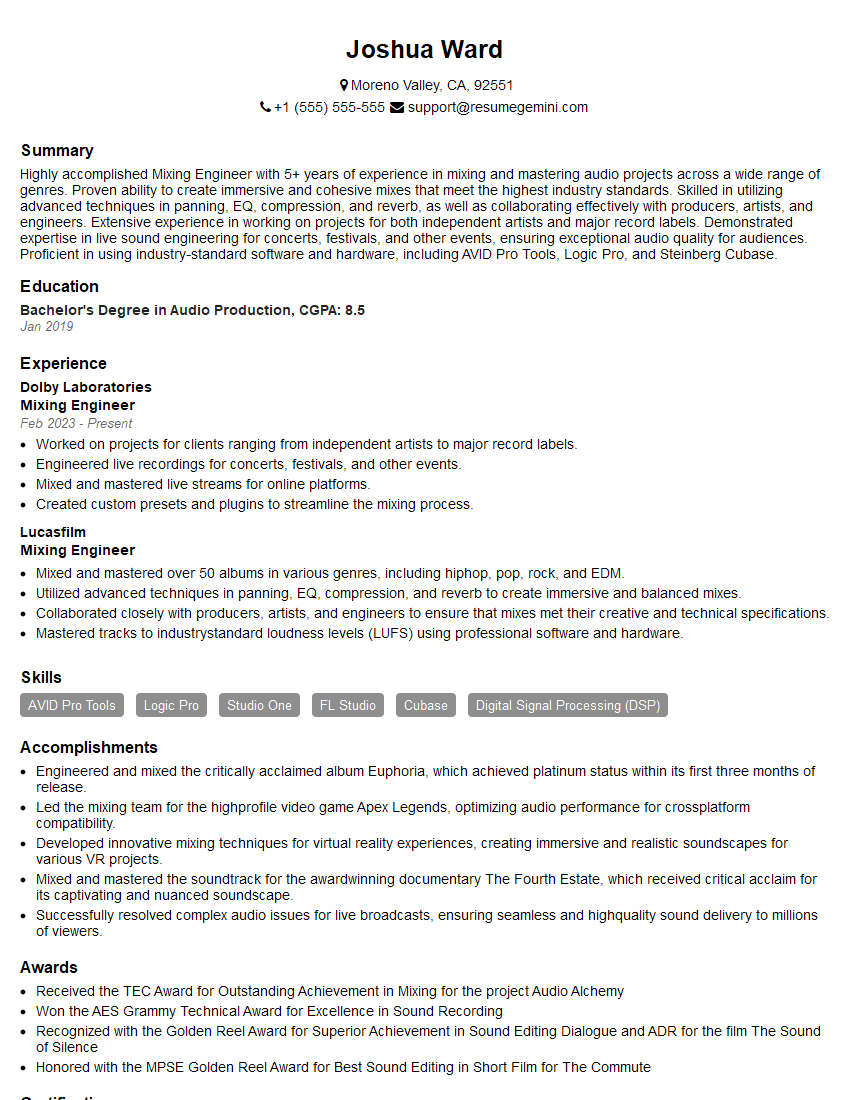
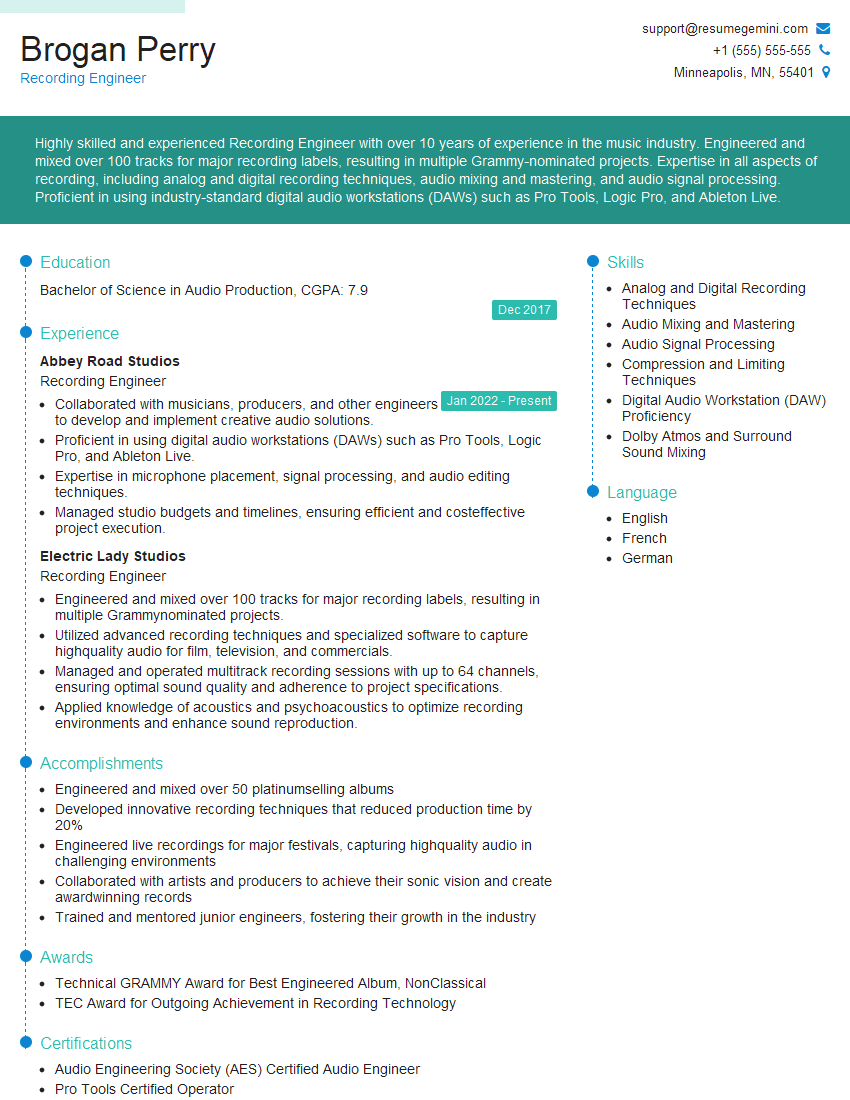
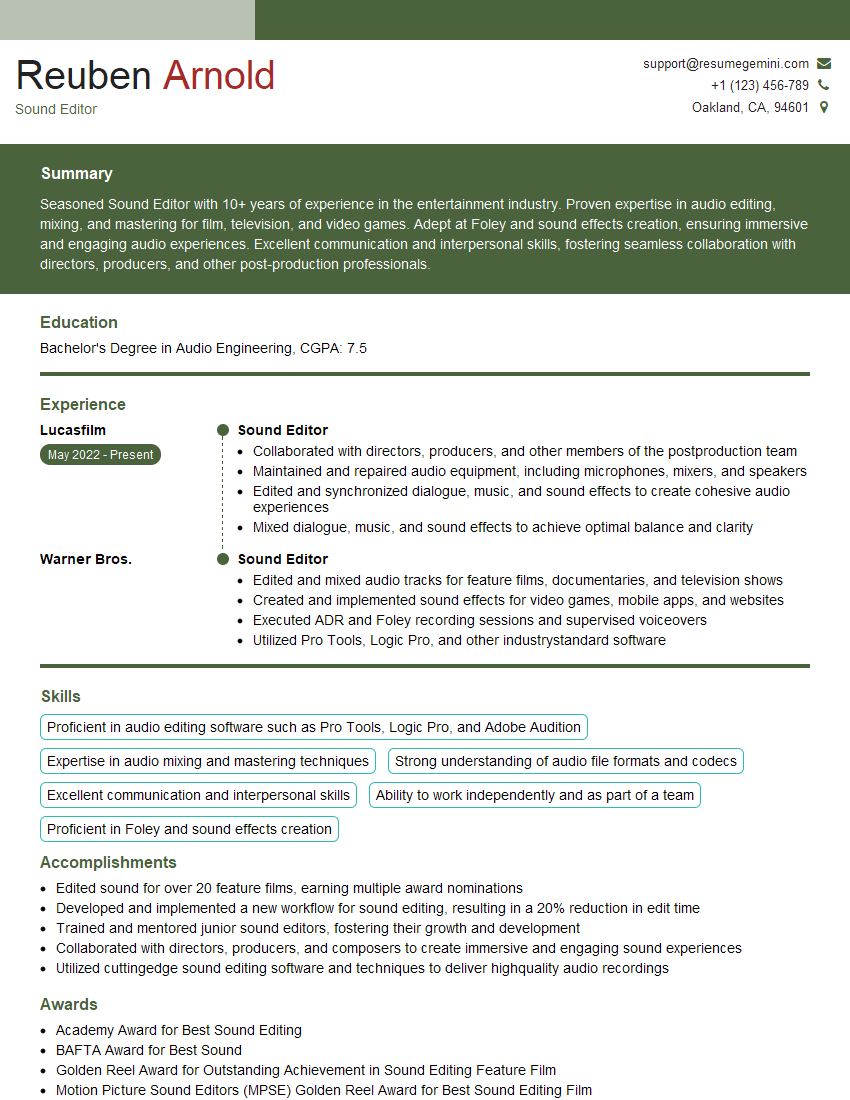
Mastering Recording Studio Techniques is crucial for career advancement in the audio industry, opening doors to diverse roles and higher earning potential. A well-crafted resume is your key to unlocking these opportunities. An ATS-friendly resume, optimized for applicant tracking systems, significantly increases your chances of getting noticed by recruiters. We strongly encourage you to leverage ResumeGemini to build a professional and impactful resume that highlights your skills and experience effectively. ResumeGemini provides examples of resumes tailored to Recording Studio Techniques to guide you through the process.
Explore more articles
Users Rating of Our Blogs
Share Your Experience
We value your feedback! Please rate our content and share your thoughts (optional).
What Readers Say About Our Blog
Live Rent Free!
https://bit.ly/LiveRentFREE
Interesting Article, I liked the depth of knowledge you’ve shared.
Helpful, thanks for sharing.
Hi, I represent a social media marketing agency and liked your blog
Hi, I represent an SEO company that specialises in getting you AI citations and higher rankings on Google. I’d like to offer you a 100% free SEO audit for your website. Would you be interested?
