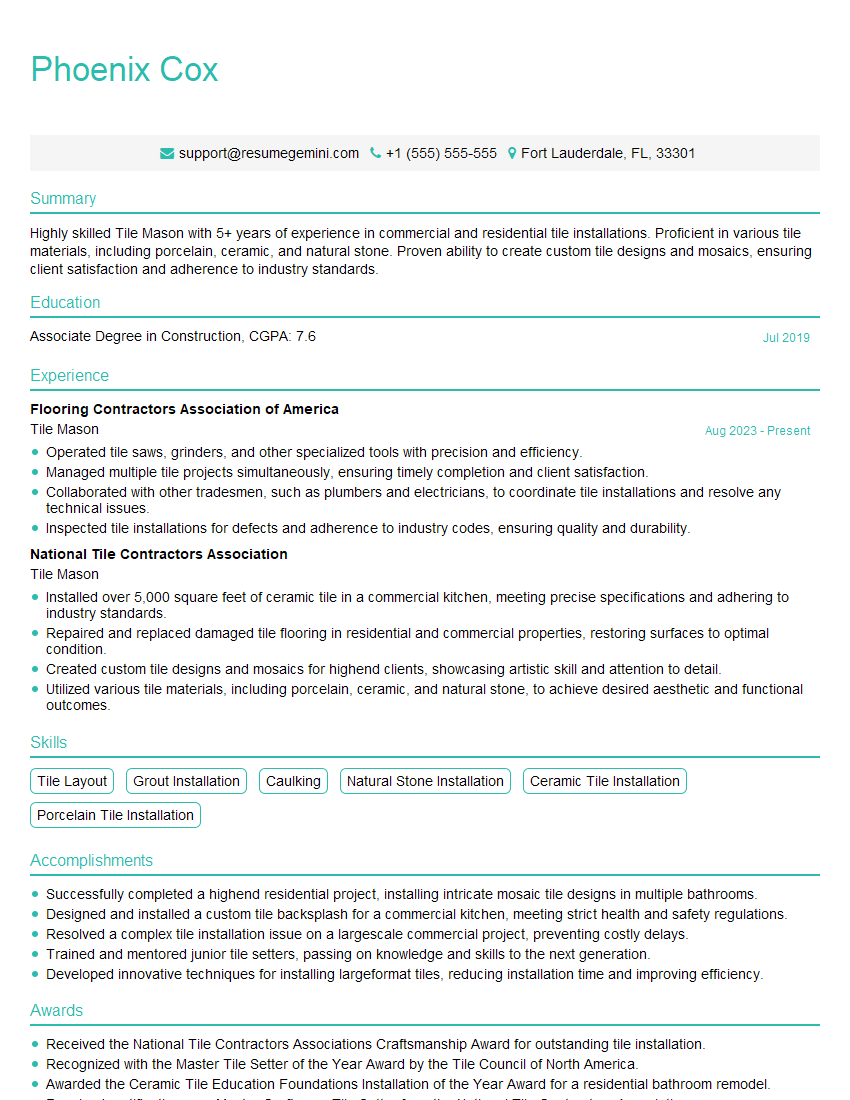
Are you ready to stand out in your next interview? Understanding and preparing for Tile Shaping interview questions is a game-changer. In this blog, we’ve compiled key questions and expert advice to help you showcase your skills with confidence and precision. Let’s get started on your journey to acing the interview.
Questions Asked in Tile Shaping Interview
Q 1. Explain the different types of tile and their appropriate applications.
Tiles come in a wide variety of materials, each with its own strengths and weaknesses, making them suitable for different applications. Think of it like choosing the right tool for a job – a hammer for nails, a screwdriver for screws, and the right tile for the right surface.
- Ceramic Tiles: These are the most common and affordable. They’re durable, water-resistant, and easy to clean, making them ideal for kitchens, bathrooms, and entryways. However, they can be brittle and prone to chipping.
- Porcelain Tiles: A more refined type of ceramic tile, porcelain is denser, more durable, and water-resistant than standard ceramic. It’s perfect for high-traffic areas, outdoor spaces, and even commercial settings.
- Stone Tiles (Marble, Granite, Slate, etc.): Natural stone tiles offer unparalleled beauty and luxury. Marble is elegant but softer and requires more maintenance; granite is incredibly durable and resistant to stains; slate is rustic and slip-resistant. Each type has its own unique properties and maintenance needs, so careful consideration is required.
- Glass Tiles: These add a touch of elegance and sophistication, reflecting light beautifully. They’re often used as accents or in areas needing a unique aesthetic, but can be more fragile than other tile types.
- Mosaic Tiles: Small tiles arranged in patterns, mosaics offer incredible design flexibility. They can be made from various materials (glass, ceramic, stone) and are suitable for both interior and exterior applications, often as decorative features.
The choice of tile depends heavily on factors like budget, location (interior/exterior), expected traffic, and desired aesthetic.
Q 2. Describe the process of preparing a surface for tile installation.
Preparing the substrate is crucial for a successful tile installation. A poorly prepared surface leads to cracking, unevenness, and ultimately, failure. Think of it as building a house – you need a solid foundation.
- Clean the Surface: Remove all dust, debris, loose paint, and any other contaminants. A wire brush or power washer might be necessary for stubborn dirt.
- Repair any Cracks or Holes: Fill in any imperfections using appropriate patching compound, ensuring a smooth, level surface. Allow ample drying time as specified by the manufacturer.
- Prime the Surface (if necessary): Priming helps improve adhesion, especially on porous surfaces like drywall or concrete. Choose a primer compatible with your substrate and tile adhesive.
- Ensure Proper Moisture Control: In bathrooms and other wet areas, using a waterproof membrane is vital to prevent water damage. This is a crucial step to protect your investment.
- Level the Surface: For uneven surfaces, use a self-leveling compound to create a perfectly flat base for tile installation. This prevents uneven grout lines and potential cracking.
Proper surface preparation is the key to a long-lasting, beautiful tile installation. Cutting corners here will almost always lead to problems later on.
Q 3. What are the different methods for cutting tiles?
Cutting tiles requires precision and the right tools. The method depends on the type of tile and the cut required.
- Wet Saw: This is the most common method for straight cuts and intricate designs in most tile types. It uses a diamond blade and water to cool the blade and prevent dust, resulting in cleaner cuts.
- Tile Nippers: These handheld tools are suitable for small, straight cuts and snapping off small pieces of tile. They’re ideal for small adjustments or cutting delicate tiles.
- Manual Tile Cutter: This tool scores the tile and then snaps it along the score line. It’s simple to use for straight cuts on many types of ceramic tile but may not be suitable for all materials.
- Angle Grinder with Diamond Blade: Useful for rough cuts and on-site modifications, but requires expertise to prevent chipping or damage.
- Specialized Tile Cutting Tools: For extremely intricate designs or specialized tiles, advanced tools like laser cutters or CNC machines might be employed.
Always wear safety glasses and appropriate dust masks when cutting tiles to protect yourself from flying debris and silica dust.
Q 4. How do you ensure proper spacing and alignment during tile installation?
Maintaining proper spacing and alignment is paramount for a professional-looking finish. Think of it as building with Lego bricks – you need consistent spacing to create a strong and visually appealing structure.
- Use Spacers: Plastic or metal spacers are essential for maintaining consistent grout lines between tiles. These ensure even gaps for a uniform appearance.
- Establish a Straight Line: Begin by laying out a straight line using a level and a chalk line. This will serve as a reference point for aligning your tiles.
- Check Alignment Frequently: Use a level to regularly check the alignment of tiles, making adjustments as needed. Minor adjustments are far easier to make early on.
- Use a Laser Level (for large areas): For larger projects, a laser level can ensure perfect alignment across the entire surface.
- Work in Sections: Installing tiles in smaller sections, checking alignment and leveling as you go, prevents large-scale alignment issues.
Paying attention to detail during this phase significantly impacts the final outcome. A little extra care goes a long way.
Q 5. What types of grout are commonly used, and what are their properties?
Grout is the mortar used to fill the spaces between tiles, adding structural integrity and aesthetic appeal. Different types offer varying properties.
- Cement-Based Grout: The most common type, it’s durable, water-resistant, and relatively inexpensive. It comes in various colors and is suitable for most applications.
- Epoxy Grout: This premium grout is incredibly durable, stain-resistant, and virtually impervious to water. Ideal for high-traffic areas, showers, and other demanding environments, but more expensive and requires specialized cleaning methods.
- Unsanded Grout: Used for narrower grout lines (less than 1/8 inch), this grout doesn’t contain sand, resulting in a smoother finish. Commonly used for smaller mosaic tiles.
- Sanded Grout: Used for wider grout lines (1/8 inch or more), it contains sand for added strength and durability. Suitable for larger tiles and areas with heavy traffic.
The choice of grout should align with the tile type, grout line width, and the environment’s demands. Consider the trade-offs between cost, durability, and maintenance.
Q 6. Explain the process of mixing and applying grout.
Mixing and applying grout is a crucial step that requires attention to detail. Improper mixing or application can lead to cracking, staining, and an uneven finish.
- Mix According to Manufacturer Instructions: Follow the manufacturer’s instructions precisely. Add water slowly and mix thoroughly to achieve a smooth, creamy consistency – too much water weakens the grout.
- Apply the Grout: Use a rubber grout float held at a 45-degree angle, pressing the grout firmly into the joints. Work in small sections.
- Remove Excess Grout: After allowing the grout to set slightly, use the flat side of the float to remove excess grout from the tile surface, working at a shallow angle.
- Clean the Grout Lines: Use a damp sponge to clean the grout lines, removing any excess and ensuring the lines are consistent and well-filled.
- Allow for Curing Time: Let the grout cure completely, according to the manufacturer’s specifications. Avoid heavy traffic during this time.
Consistent pressure and proper cleaning techniques are essential to achieve a clean and well-groomed grout finish.
Q 7. How do you clean excess grout from tile surfaces?
Cleaning excess grout promptly is critical for preventing staining and ensuring a professional finish. Think of it as cleaning up after baking – the sooner you clean, the easier it is.
- Use a Damp Sponge: Immediately after applying the grout, use a damp sponge to remove excess grout from the tile surface. Avoid scrubbing aggressively, as this can damage the grout or tiles.
- Rinse and Repeat: Rinse the sponge frequently in clean water. Continue cleaning until most of the excess grout is removed.
- Use a Grout Cleaning Agent (if needed): For stubborn grout haze, use a grout haze remover according to the manufacturer’s instructions. Apply and then remove following instructions carefully.
- Allow for Drying Time: After cleaning, allow the tiles and grout to dry completely before applying any sealant.
The key is to act swiftly, preventing the grout from setting completely on the tile surface. Regular cleaning helps prevent future problems down the road.
Q 8. What are the common problems encountered during tile installation, and how do you solve them?
Common problems during tile installation often stem from poor preparation or improper techniques. Uneven substrates are a major culprit, leading to cracked tiles or grout lines. Poorly mixed thin-set mortar can result in poor adhesion, causing tiles to loosen or pop off. Incorrect spacing can create uneven grout lines, impacting the aesthetic appeal. Improper cutting can lead to chipped or broken tiles. Finally, inadequate expansion joints can cause cracking due to building movement.
Uneven Substrates: Solved by using a self-leveling compound to create a perfectly flat surface before tiling. Think of it like creating a smooth canvas for your artwork.
Poorly Mixed Mortar: Follow the manufacturer’s instructions precisely. Too much water weakens the bond, too little makes it difficult to work with. Consistent mixing is key.
Incorrect Spacing: Use spacers of consistent thickness to maintain uniform grout lines. Regular checks and adjustments during installation are essential.
Improper Cutting: Use appropriate tools like a wet saw for precise cuts to avoid chipping. Practice on scrap tiles before tackling the project.
Inadequate Expansion Joints: Incorporate expansion joints around doorways, corners, and against walls to accommodate building movement. These prevent cracking.
Q 9. Describe your experience with different tile laying patterns (e.g., running bond, herringbone).
I’ve extensive experience with various tile laying patterns. The running bond, a classic and simple pattern, is easy to execute, but can appear less dynamic. Herringbone, more complex, creates a visually striking effect. Other patterns I’ve worked with include basketweave, diagonal, and modular patterns. Each has its own challenges and aesthetic impact.
Running Bond: Simple, quick, ideal for large areas, provides a clean, straightforward look.
Herringbone: More complex, requires precise cutting and layout, creates a sophisticated, visually interesting result. It’s like putting together a complex puzzle.
Other Patterns: Each demands a different level of planning and precision. Basketweave often involves smaller tiles, needing more careful spacing and cutting. Diagonal and modular patterns benefit from using pre-designed templates for consistent and accurate placement.
Q 10. How do you handle uneven surfaces during tile installation?
Uneven surfaces are a significant challenge. Ignoring them leads to cracked tiles and an unprofessional finish. My approach begins with a thorough assessment of the substrate. For minor imperfections, I might use a thin-set mortar with a higher build capability. For more substantial unevenness, a self-leveling compound is essential. This creates a stable, uniform surface ready for tiling.
Think of it as prepping a painting canvas – you wouldn’t paint on a bumpy surface, would you? The same logic applies to tile. Using a self-leveling compound ensures a smooth, even surface, which is crucial for a successful installation.
Q 11. What safety precautions do you take when working with tile and grout?
Safety is paramount. Working with tiles and grout involves potential hazards. I always wear safety glasses to protect my eyes from flying debris during cutting. Dust masks are essential to prevent inhalation of silica dust from tile cutting. Gloves prevent skin irritation from grout and adhesives. Closed-toe shoes protect my feet from dropped tiles. Proper ventilation is critical when using adhesives and sealants. And, of course, I always follow manufacturer safety guidelines for all materials used.
Q 12. What are the different types of tile adhesives and their uses?
Tile adhesives vary in their properties and intended uses. Modified thin-set mortars are common for most ceramic and porcelain tiles on interior walls and floors. Unsanded thin-set is suitable for smaller tiles, while sanded thin-set is ideal for larger tiles. For exterior applications or areas prone to water exposure, I often use a modified thin-set with enhanced waterproofing properties. Epoxy adhesives provide superior bonding strength and water resistance but are more expensive and require specialized application techniques.
Modified Thin-Set Mortars: Versatile, cost-effective, suitable for most interior applications.
Unsanded Thin-Set: Best for smaller tiles and smoother surfaces.
Sanded Thin-Set: Ideal for larger tiles and provides better gap-filling capabilities.
Epoxy Adhesives: Superior bonding and waterproofing, ideal for high-stress areas and exterior applications but more expensive.
Q 13. How do you determine the correct amount of tile and grout needed for a project?
Accurately calculating material quantities is crucial to avoid costly shortages or waste. I start by carefully measuring the area to be tiled. Then, I account for tile size, waste (typically 10-15%), and cuts. For grout, I calculate the area of the grout lines based on the tile size and spacing. Manufacturer guidelines often provide estimates of grout needed per square foot, but I always add a bit extra to ensure I have enough.
Using a detailed plan and precise measurements helps prevent costly errors. It’s better to have a little extra than to run short during the project.
Q 14. Explain your experience with waterproofing techniques for tile installations.
Waterproofing is essential in areas like bathrooms and showers. My approach begins with creating a waterproof membrane before installing the tile. This membrane acts as a barrier, preventing water penetration. Common methods include using waterproof membrane sheets applied to the substrate before the tile is laid, or using a specialized waterproof thin-set mortar.
I always ensure the membrane extends beyond the tiled area and overlaps with adjacent walls to ensure complete coverage. After tiling, I apply a grout sealant to further prevent water penetration. This is like building a double-layered defense system against moisture.
Q 15. What is your experience with large format tile installation?
My experience with large format tile installation is extensive, encompassing projects ranging from residential bathrooms to large-scale commercial spaces. I’ve worked with tiles exceeding 36 inches in size, requiring meticulous planning and precision during installation. This involves a deeper understanding of substrate preparation, ensuring a perfectly level and stable base to prevent cracking or shifting. I’m proficient in using specialized tools and techniques, such as larger format tile saws and advanced leveling systems, to handle the weight and size of these tiles. For example, on a recent commercial project, we installed 48×48 inch porcelain tiles in a high-traffic area. The key to success was a flawlessly prepared substrate and the use of a powerful wet saw with diamond blades designed specifically for large format tiles.
I also have experience with various installation methods including thin-set mortar, large-format tile setting systems, and even mechanical fastening in certain high-stress applications. Safety is paramount when working with large format tiles, so I adhere strictly to all safety protocols and use appropriate personal protective equipment.
Career Expert Tips:
- Ace those interviews! Prepare effectively by reviewing the Top 50 Most Common Interview Questions on ResumeGemini.
- Navigate your job search with confidence! Explore a wide range of Career Tips on ResumeGemini. Learn about common challenges and recommendations to overcome them.
- Craft the perfect resume! Master the Art of Resume Writing with ResumeGemini’s guide. Showcase your unique qualifications and achievements effectively.
- Don’t miss out on holiday savings! Build your dream resume with ResumeGemini’s ATS optimized templates.
Q 16. How do you handle challenging cuts, such as curves or angles?
Handling challenging cuts like curves and angles requires a combination of skill, the right tools, and careful planning. For curves, I often use a wet saw with a flexible diamond blade to make smooth, precise cuts. Alternatively, for more intricate curves, I might employ a tile nipper for smaller adjustments or even a tile jigsaw for larger, more complex shapes. The process often involves creating a template from cardboard or another material to ensure accurate cuts. I always pre-mark the tiles carefully to avoid errors.
For angled cuts, I utilize a miter box and saw for clean, precise cuts. For more complex angles, I might use a wet saw with an adjustable miter gauge. Accurate measuring and marking are critical to achieving seamless joins. Imagine creating a beautiful, tiled shower surround with angled corners—the accuracy of the miter cuts directly impacts the overall aesthetic quality. To ensure accuracy, I typically double-check my measurements and perform test cuts on scrap tiles before cutting the actual installation tiles.
Q 17. Describe your experience with different types of tile saws.
My experience with tile saws is comprehensive, ranging from basic manual tile cutters to sophisticated wet saws. I’m proficient with various types including:
- Manual Tile Cutters: Excellent for straight cuts on smaller tiles, ideal for smaller DIY projects or quick cuts during installations.
- Wet Saws: My go-to for most jobs, as they provide precise cuts, especially on larger and harder tiles, like porcelain. The water keeps the blade cool and minimizes dust. Different wet saws have varying blade sizes and capabilities, allowing for various material thicknesses and cut types.
- Angle Grinders with Diamond Blades: Useful for intricate cuts, especially for curves and shaping, though they require more skill and control.
- Portable Tile Saws: Handy for on-site work where a large wet saw might not be feasible.
Selecting the right saw depends on the tile material, size, and the complexity of the cuts required. For example, a wet saw with a continuous rim diamond blade is essential for large-format porcelain tiles, while a manual cutter might suffice for smaller ceramic tiles. Safety procedures are always followed, including using eye protection and ensuring proper ventilation when using wet saws.
Q 18. How do you maintain the quality and consistency of your work?
Maintaining quality and consistency involves a multi-faceted approach. Firstly, it begins with meticulous planning and preparation— ensuring the substrate is perfectly level and clean. Secondly, I meticulously measure and mark each tile before cutting, using templates whenever needed for complex shapes. Thirdly, I always use high-quality materials— appropriate thin-set mortar and grout for the specific type of tile. Fourthly, consistent spacing is crucial for a professional look, achieved through the use of spacers and careful attention to detail.
Finally, I regularly inspect my work throughout the installation process, making corrections as needed. This attention to detail not only ensures a high-quality finish but also prevents costly mistakes later on. For example, I once noticed a slight inconsistency in the grout lines during a large project, rectifying it immediately before it became more problematic to resolve. This proactive approach saved time and resources in the long run. Cleanliness is also crucial, as it prevents dust and debris from interfering with the bonding and aesthetic qualities of the finished product.
Q 19. What are your skills in using a level and other measuring tools?
My skills in using a level and other measuring tools are fundamental to my work. I routinely use levels – both standard and laser levels – to ensure perfectly plumb and level surfaces before and during installation. I’m proficient with measuring tapes, speed squares, and combination squares for precise measurements, ensuring accurate cuts and tile placement. Accuracy is critical, especially with large format tiles where even slight errors can lead to significant problems.
Beyond the basics, I utilize digital measuring tools for added precision, especially on challenging projects. For example, for a recent curved wall installation, I used a laser level to establish accurate vertical and horizontal reference lines, greatly simplifying the task of applying the tiles. I can accurately measure and cut angles, using a protractor or angle finder as needed. A well-honed skill in these areas is essential for delivering professional results and maintaining high standards.
Q 20. Describe your experience with working with different materials (e.g., marble, granite, porcelain).
I have extensive experience working with various tile materials, including marble, granite, porcelain, ceramic, and natural stone. Each material presents its unique challenges and requires specific techniques and tools.
- Marble and Granite: These natural stones require extra care during cutting and installation due to their hardness and susceptibility to chipping. Special diamond blades are required to avoid fracturing, and precise measurements are key to avoid costly mistakes.
- Porcelain: Known for its durability and water resistance, porcelain tiles require a powerful wet saw for precise cuts, particularly large format tiles.
- Ceramic: Generally easier to cut and install than natural stone or porcelain but still requires careful handling to avoid chipping or cracking.
Understanding the properties of each material—its hardness, porosity, and potential for chipping – helps me choose the appropriate tools, techniques, and adhesives for optimal results. For example, thin-set mortar suitable for natural stone will differ from that used for porcelain.
Q 21. How do you troubleshoot issues like cracked tiles or loose grout?
Troubleshooting issues like cracked tiles or loose grout requires a methodical approach.
- Cracked Tiles: If a tile cracks during installation, the cause might be poor substrate preparation (uneven surface, insufficient support), improper cutting, excessive pressure during installation, or inherent defects in the tile itself. The solution involves removing the damaged tile, correcting the underlying issue (such as leveling the substrate), and replacing it with a new one.
- Loose Grout: Loose grout is often caused by improper mixing, inadequate cleaning of the tile surface before grouting, or using the wrong type of grout. The solution involves carefully removing the loose grout using a grout removal tool, cleaning the area, and applying new grout according to manufacturer instructions. Allowing the grout to properly cure is also important.
Identifying the root cause is key; simply replacing a cracked tile without addressing substrate issues might lead to further problems. Similarly, applying new grout without cleaning the surface thoroughly will likely result in further loosening. A systematic approach, careful observation and thorough understanding of the installation process is essential to resolving these issues effectively.
Q 22. Explain your experience with different installation methods (e.g., thin-set, thick-set).
My experience encompasses both thin-set and thick-set installation methods, each suited for different tile types and substrate conditions. Thin-set mortar, a cement-based adhesive, is ideal for smaller, thinner tiles and smoother surfaces. Its thin application requires precision and a level surface to avoid inconsistencies. I’ve used thin-set extensively on projects involving ceramic and porcelain tiles in bathrooms and kitchens, ensuring a strong bond and a seamless finish. Thick-set, on the other hand, uses a thicker layer of mortar, offering more flexibility and tolerance for uneven substrates. This is particularly useful when installing larger format tiles, natural stone, or when dealing with significant surface irregularities. For example, I utilized thick-set on a recent project involving large-format porcelain slabs in a commercial setting where the underlying concrete floor was slightly uneven. The thicker layer provided the necessary support and leveled the surface, resulting in a flawless installation.
The choice between thin-set and thick-set depends on several factors, including tile size and type, substrate condition, and the desired level of precision. My expertise lies in accurately assessing these factors to select the most appropriate method, ensuring a durable and aesthetically pleasing result.
Q 23. How do you manage your time and prioritize tasks on a tile installation project?
Effective time management is crucial in tile installation. I approach each project with a detailed plan, breaking down the task into manageable stages: demolition (if necessary), substrate preparation, layout, tile installation, grouting, and final cleaning. I use a combination of project management software and physical checklists to track progress. Prioritization involves focusing on critical path activities, such as substrate preparation and layout, to avoid delays. For example, ensuring the substrate is perfectly level before tiling prevents significant time loss later on. I also allocate buffer time for unforeseen circumstances, such as material delays or unexpected substrate issues. Open communication with the client regarding timelines is also critical. I provide regular updates and proactively address any concerns to ensure a smooth and timely completion.
Q 24. Describe your experience working with clients and managing their expectations.
Building strong client relationships is paramount. I begin by actively listening to their needs and vision, discussing their style preferences, budget constraints, and expectations. I provide realistic timelines and cost estimations, ensuring transparency throughout the project. During the process, I maintain regular communication, providing updates on progress, addressing concerns promptly, and offering solutions to any unexpected challenges. For instance, on a recent project involving intricate mosaic tile work, I held multiple meetings with the client to ensure the design aligned with their expectations. This proactive communication prevented misunderstandings and ensured the final product exceeded their expectations. Ultimately, building trust and exceeding their expectations results in positive reviews and repeat business.
Q 25. What are your strengths and weaknesses as a tile installer?
My strengths include meticulous attention to detail, problem-solving skills, and a proactive approach to project management. I am adept at handling different tile types and installation methods, and I’m consistently praised for my ability to deliver high-quality work that exceeds client expectations. I am also a quick learner and constantly seek opportunities to improve my skills. However, a weakness is occasionally overcommitting myself, which can lead to stress. I’m actively working on improving my time management skills and delegation strategies to better manage workload and prevent burnout.
Q 26. How do you stay updated on the latest trends and techniques in tile installation?
Staying updated in this industry requires continuous learning. I subscribe to industry publications, attend workshops and seminars, and actively participate in online forums and communities dedicated to tile installation. I also network with other experienced installers and regularly review the latest product catalogs and manufacturer recommendations to stay informed about new materials, tools, and techniques. This ensures I’m always equipped with the latest knowledge to provide my clients with innovative and efficient solutions.
Q 27. What are your salary expectations?
My salary expectations are commensurate with my experience and skill set within the industry. I’m open to discussing a competitive compensation package that reflects my contributions and the value I bring to your team. I would be happy to provide a more detailed breakdown of my desired compensation based on the specifics of the role and responsibilities.
Q 28. Do you have any questions for me?
Yes, I have a few questions. Firstly, what types of projects are most common within your company? Secondly, what are the opportunities for professional development and advancement within the company? Finally, what are your company’s safety protocols and procedures for tile installation projects?
Key Topics to Learn for Tile Shaping Interview
- Tile Material Properties: Understanding the characteristics of different tile materials (ceramic, porcelain, natural stone) and their impact on shaping techniques.
- Cutting and Shaping Techniques: Mastering various methods like wet sawing, dry cutting, grinding, and polishing, including the appropriate tools and safety procedures for each.
- Precision and Accuracy: Developing skills to achieve precise cuts and shapes, minimizing waste and ensuring consistent quality. This includes understanding tolerances and dimensional accuracy.
- Advanced Shaping Methods: Exploring specialized techniques such as beveling, mitering, and creating custom shapes for complex designs.
- Troubleshooting and Problem Solving: Identifying and resolving common issues encountered during tile shaping, such as chipping, cracking, or uneven cuts. This includes understanding the causes and preventative measures.
- Health and Safety Regulations: Familiarity with relevant safety protocols, equipment usage, and personal protective equipment (PPE) requirements.
- Layout and Design Considerations: Understanding how shaping techniques contribute to the overall aesthetic and structural integrity of tile installations.
- Equipment Maintenance: Knowledge of routine maintenance and troubleshooting for various tile shaping equipment.
Next Steps
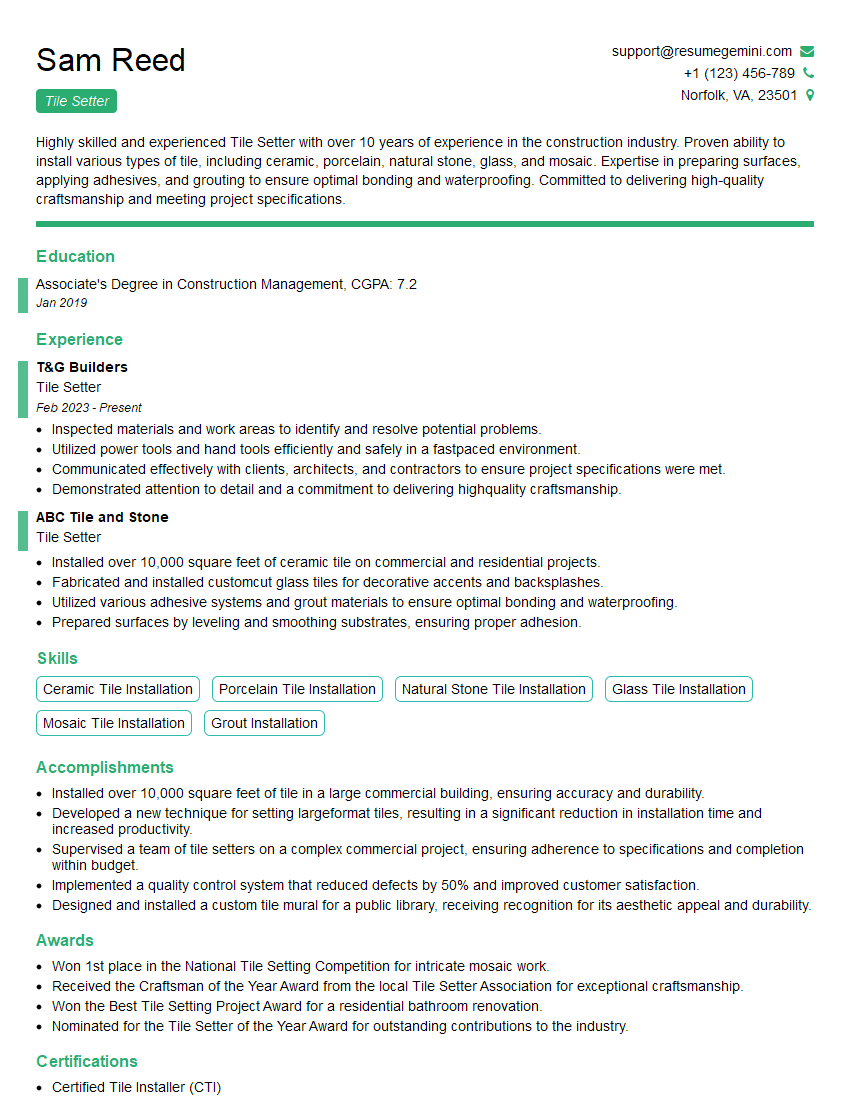
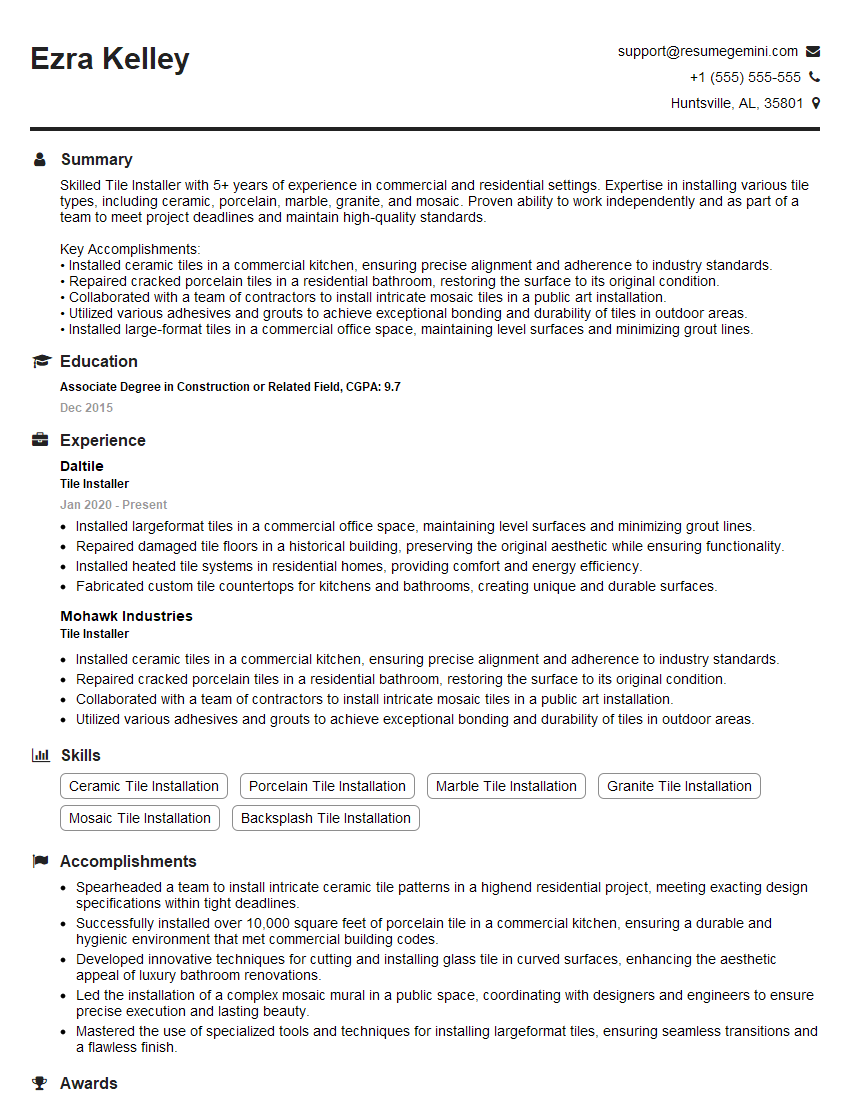
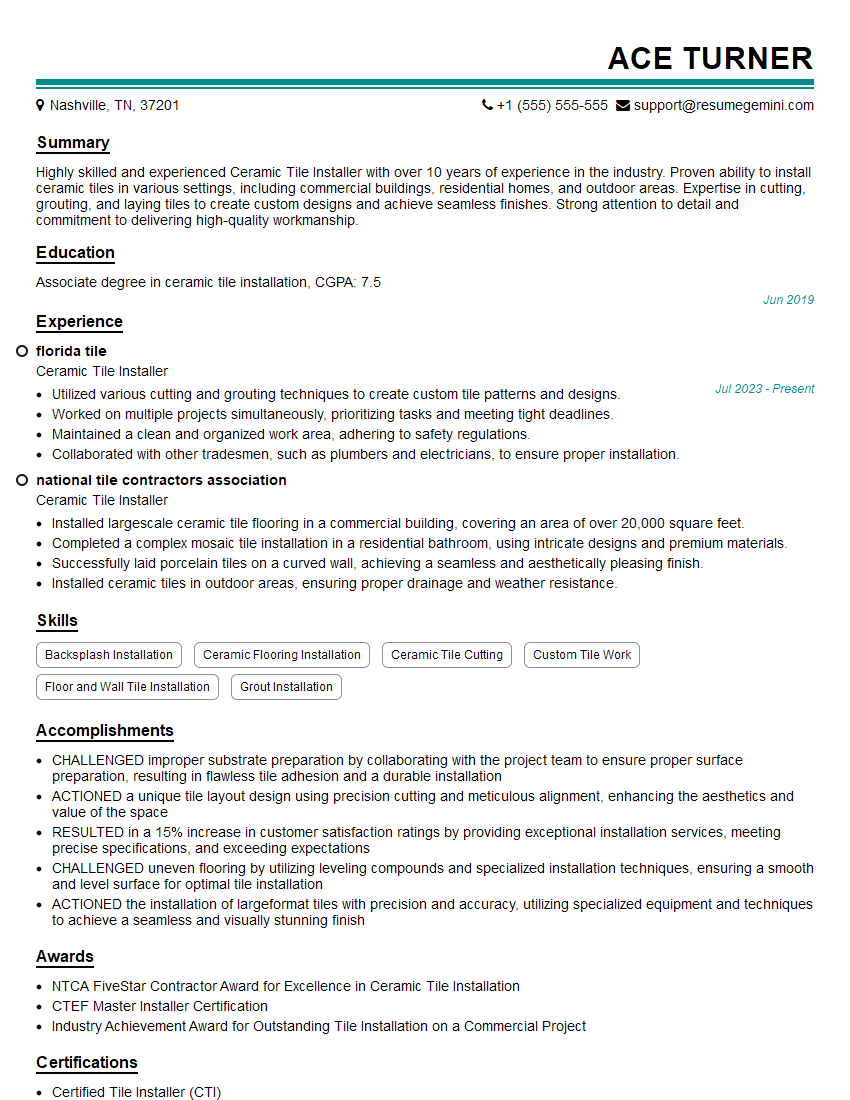
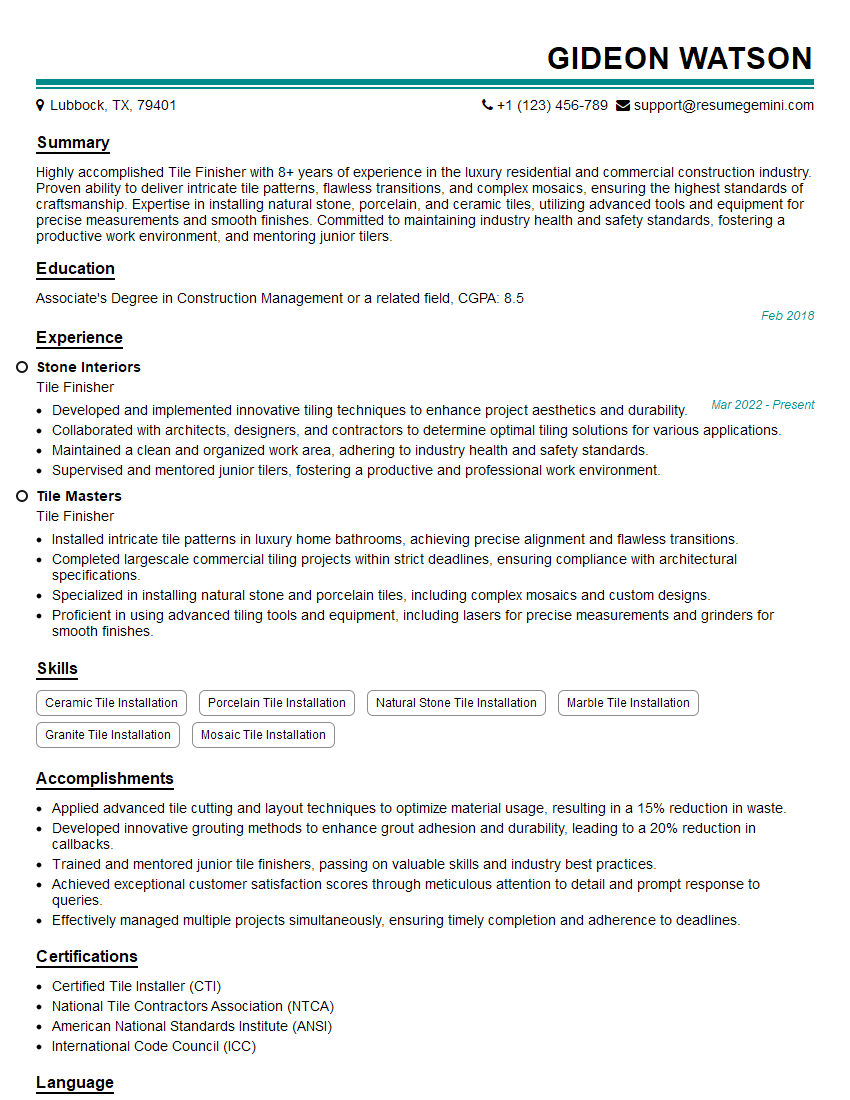
Mastering tile shaping opens doors to exciting career opportunities in construction, design, and restoration. A strong understanding of these techniques demonstrates valuable skills and expertise to potential employers. To significantly increase your job prospects, creating an ATS-friendly resume is crucial. ResumeGemini is a trusted resource to help you build a professional resume that highlights your skills and experience effectively. Examples of resumes tailored to the Tile Shaping field are provided to guide you. Invest time in crafting a compelling resume – it’s your first impression!
Explore more articles
Users Rating of Our Blogs
Share Your Experience
We value your feedback! Please rate our content and share your thoughts (optional).
What Readers Say About Our Blog
Dear Sir/Madam,
Do you want to become a vendor/supplier/service provider of Delta Air Lines, Inc.? We are looking for a reliable, innovative and fair partner for 2025/2026 series tender projects, tasks and contracts. Kindly indicate your interest by requesting a pre-qualification questionnaire. With this information, we will analyze whether you meet the minimum requirements to collaborate with us.
Best regards,
Carey Richardson
V.P. – Corporate Audit and Enterprise Risk Management
Delta Air Lines Inc
Group Procurement & Contracts Center
1030 Delta Boulevard,
Atlanta, GA 30354-1989
United States
+1(470) 982-2456
