Preparation is the key to success in any interview. In this post, we’ll explore crucial Video Graphics interview questions and equip you with strategies to craft impactful answers. Whether you’re a beginner or a pro, these tips will elevate your preparation.
Questions Asked in Video Graphics Interview
Q 1. Explain the difference between keyframing and tweening.
Keyframing and tweening are fundamental animation techniques in video graphics. Think of them as the building blocks of movement. Keyframing involves manually setting specific poses or positions of an object at distinct points in time, called keyframes. The software then calculates the intermediate frames based on your keyframes. Tweening, on the other hand, is the process by which the software automatically generates the frames between those keyframes, creating the illusion of smooth motion.
For example, imagine animating a bouncing ball. You would create a keyframe at the ball’s highest point, another at the bottom of its bounce, and possibly more keyframes for intermediate positions to control the shape of the arc. The software would then use tweening to fill in the frames between those keyframes, smoothly transitioning the ball’s position. Without tweening, the animation would appear jerky, moving directly from one keyframe to the next. Keyframing gives you precise control over specific points, while tweening handles the smoother transitions between them.
Q 2. Describe your experience with compositing software (e.g., After Effects, Nuke).
I have extensive experience with both After Effects and Nuke, using them for a wide range of compositing tasks. In After Effects, I’m proficient in creating visual effects, motion graphics, and manipulating footage. I’ve used its keyframing and expression capabilities to build complex animations and create stunning visual effects, for example, integrating 3D models into live-action footage. I’m also adept at rotoscoping, masking, and tracking using After Effects’ tools. With Nuke, my expertise lies in high-end compositing for visual effects, specifically in film and television projects. I’ve used it for tasks requiring high precision, such as paint work, and sophisticated node-based workflows to create realistic effects. A recent project involved removing unwanted elements from a historical film using Nuke’s advanced tools. I’m comfortable with both node-based workflows and the timeline-based approach for managing compositing projects of varying complexity.
Q 3. What are the common file formats used in video graphics and their advantages/disadvantages?
Several file formats are commonly used in video graphics, each with its strengths and weaknesses:
- QuickTime (.mov): Widely compatible, supports various codecs, good for general use. However, file sizes can be large and it’s less efficient than some alternatives for specific tasks.
- MP4 (.mp4): Highly compressed format, widely compatible, excellent for web delivery and mobile devices. Offers a balance between file size and quality, but some codecs may lack the high bit-depth support needed for high-end work.
- AVI (.avi): Older format, less efficient, generally less preferred in professional contexts because of its limitations in compression and codec support.
- ProRes (.mov): Apple’s high-quality, uncompressed or lightly compressed format. Ideal for intermediate editing, providing excellent quality and allowing flexibility with color correction and grading in post-production. File sizes can be substantial.
- DPX (.dpx): A high-dynamic-range (HDR) format used for high-end visual effects and film post-production where image quality is paramount. Offers extensive bit depth and color space options, but the files are extremely large.
The choice of format depends largely on the project requirements and the intended use. For web delivery, MP4 is often preferred for its small file sizes. For high-end visual effects, ProRes or DPX might be necessary for preserving image quality.
Q 4. Explain your understanding of color correction and color grading.
Color correction is the process of adjusting a video’s colors to make them accurate and consistent. Think of it as fixing imperfections; you’re adjusting levels, contrast, and white balance to achieve a neutral look, much like fixing an improperly exposed photograph. Color grading, on the other hand, is a more stylistic process where you alter the colors to create a particular mood or look. This is where artistic choices come in. You’d use color grading to enhance a scene’s emotional impact or create a consistent look for a project. For instance, you might use a cooler color palette for a thriller and warmer tones for a romantic drama.
In practice, I use both during post-production. Color correction ensures all shots have consistent and accurate colors before I use color grading tools to establish the artistic look for a project.
Q 5. How do you handle feedback on your work?
I welcome constructive feedback and view it as an essential part of the creative process. My approach involves actively listening to feedback, asking clarifying questions to understand the perspective, and then reflecting on how the suggestions can be incorporated into the project. I prioritize understanding the underlying concerns before making any changes. If there is a disagreement, I will explore the reasoning behind the feedback and present alternative solutions while maintaining a professional and collaborative approach. I document all changes and decisions for future reference.
Q 6. Describe your experience with different 3D modeling software (e.g., Maya, Blender, 3ds Max).
My experience with 3D modeling software includes extensive use of Maya and Blender. In Maya, I’m comfortable creating high-polygon models, rigging characters for animation, and texturing objects for realistic rendering. I’ve worked on projects requiring intricate modeling and animation pipelines. Blender, being open-source, allows me to explore different workflows and learn new techniques; I’ve utilized its sculpting tools and node-based materials to create unique assets for various projects. While I haven’t used 3ds Max extensively, I’m familiar with its interface and core functionalities, and I am confident in picking it up quickly if required.
Q 7. What is your preferred workflow for creating motion graphics?
My preferred workflow for creating motion graphics begins with a solid concept and thorough planning phase. This involves sketching out ideas, creating storyboards, and developing a detailed style guide. Next, I move to the design phase, focusing on creating assets such as illustrations, typography, and 3D models using the appropriate software. I often use After Effects for animation, utilizing its keyframing and expression capabilities to create smooth and engaging movement. Throughout the process, I review the work and seek feedback at crucial stages, making adjustments as needed. Finally, I render and export the final product, ensuring it meets the necessary technical specifications. This iterative and collaborative approach allows for flexibility and high-quality results.
Q 8. How do you manage large video files efficiently?
Managing large video files efficiently involves a multi-pronged approach focusing on storage, organization, and processing. Think of it like managing a massive library – you need a good system to find what you need quickly and prevent it from overwhelming you.
Storage Solutions: Utilizing network-attached storage (NAS) or cloud-based storage like Amazon S3 or Google Cloud Storage provides scalable and reliable storage for large video assets. These solutions offer redundancy and often come with version control, so you won’t lose precious work.
File Organization: Implementing a clear and consistent file naming convention is critical. For instance, using a system like
YYYYMMDD_Project_Shot_Version.movensures you can quickly locate specific files. Organizing files into folders based on projects further simplifies navigation.Proxies: Creating and using proxy files—lower-resolution versions of your high-resolution footage—dramatically speeds up editing and review processes. Think of it like using a thumbnail to browse a large image gallery instead of loading each full-size image.
Offline Editing: For exceptionally large projects, offline editing can greatly improve performance. This involves working with lower-resolution proxies and only bringing in the high-resolution footage for final rendering. This strategy prevents your editing software from choking on massive file sizes.
Compression: Choosing appropriate codecs and compression settings during the acquisition and post-production phases significantly reduces file sizes without undue loss of quality. For example, ProRes codecs are popular for editing but are relatively large; H.264 or H.265 are better choices for distribution as they offer high compression.
Q 9. Explain your experience with rendering and rendering optimization techniques.
Rendering is the process of creating a final output from a 3D scene or a video project. It’s computationally intensive, so optimization is crucial. My experience includes using various render engines like Arnold, V-Ray, and OctaneRender. I’ve employed several optimization techniques:
Scene Optimization: Reducing polygon count, using simpler materials, and optimizing geometry are essential. For example, replacing high-poly models with low-poly models with normal maps can dramatically reduce render times. Think of it like drawing a cartoon character with fewer lines than a photorealistic image.
Render Settings: Careful selection of render settings is paramount. Balancing render quality with render time requires understanding the relationship between sampling rates, ray bounces, and other settings. Choosing appropriate anti-aliasing techniques can make a huge difference.
Render Layers: Breaking down the scene into separate render layers (e.g., background, character, effects) allows for greater control and easier troubleshooting. This also allows for parallel rendering, significantly reducing overall time.
Render Farms: For complex projects, utilizing render farms—networks of computers working together—is indispensable. This distributes the workload across multiple machines, resulting in significantly faster render times.
GPU Rendering: Leveraging the power of graphics processing units (GPUs) for rendering is becoming increasingly common. GPUs are exceptionally well-suited for parallel processing tasks, leading to much faster renders compared to CPU-only rendering.
For example, in a recent project with complex lighting and hundreds of characters, utilizing a render farm and GPU rendering reduced the render time from several days to just a few hours.
Q 10. Describe your understanding of different animation principles (e.g., squash and stretch, anticipation).
Animation principles are the fundamental building blocks of believable and engaging animation. They make animation feel natural and relatable, even if it’s depicting fantastical creatures or impossible actions.
Squash and Stretch: This principle maintains the volume of an object as it moves, making it appear flexible and lively. Think of a bouncing ball; it squashes on impact and stretches as it rebounds. This gives a sense of weight and elasticity.
Anticipation: This prepares the audience for an action by showing the character or object winding up for the movement. For instance, a character preparing to jump might crouch down first. This builds tension and makes the following action feel more natural.
Staging: This principle focuses on clearly presenting the idea or action to the viewer. Clear silhouettes, purposeful poses, and strong visual cues all contribute to effective staging.
Straight Ahead Action and Pose to Pose: Straight ahead action involves animating frame-by-frame from the beginning; pose-to-pose involves keyframing major poses and then filling in the in-betweens. Both methods have their advantages and are often used in combination.
Follow Through and Overlapping Action: Follow through describes how parts of a character or object might continue moving after the main action is complete. Overlapping action involves different parts of a character moving at different speeds, adding realism and fluidity.
Slow In and Slow Out: Real-world movements rarely start or stop abruptly. This principle emphasizes the gradual acceleration and deceleration of movement, creating a smoother, more natural appearance.
Arcs: Most natural movements follow curved paths, not straight lines. Using arcs in your animation adds a sense of grace and realism.
Secondary Action: Adding secondary actions such as a character’s hair or clothing moving independently of the main action enhances the overall animation.
Timing: Proper timing is critical for conveying weight, personality, and emotion. A slow, deliberate movement can convey heaviness, while a fast, jerky movement can suggest nervousness.
Exaggeration: Subtle exaggeration can make animation more expressive and engaging, without compromising believability.
Q 11. What is your experience with particle systems?
Particle systems are a powerful tool for simulating various natural phenomena in 3D environments, ranging from fire and smoke to rain and explosions. They’re essentially collections of small individual elements (particles) that are governed by a set of rules and properties. My experience involves using particle systems in various software packages, including Houdini, Maya, and Blender.
Emitter Settings: The emitter determines the rate, shape, and distribution of particles.
Particle Properties: These include size, color, lifespan, and velocity, allowing for fine-grained control over particle behavior.
Forces and Fields: Forces like gravity, wind, and turbulence, as well as fields like vortex and turbulence fields, influence particle movement and create realistic effects.
Collision Detection: This ensures particles interact realistically with objects in the scene, leading to believable effects like smoke swirling around obstacles.
I’ve used particle systems to create everything from realistic-looking explosions in a game to subtle dust effects in a film. A particularly challenging project involved simulating a massive sandstorm; optimizing the particle system to maintain performance while creating a visually compelling effect required careful planning and testing.
Q 12. How do you create realistic lighting in a 3D scene?
Creating realistic lighting in a 3D scene involves understanding light’s behavior in the real world and applying that understanding to the virtual environment. It’s about more than just placing light sources; it’s about manipulating various properties to achieve the desired effect.
Light Sources: Various light types exist, including point lights (omni-directional), directional lights (like sunlight), and spotlights. Choosing the right light type for a specific situation is crucial.
Light Intensity and Color: These properties control the brightness and hue of the light source, impacting the mood and realism of the scene. Understanding color temperature (measured in Kelvin) is essential for creating believable lighting.
Shadows: Realistic shadows are critical for depth and realism. Experiment with shadow softness, shadow bias, and contact shadows to fine-tune the effect.
Global Illumination: Global illumination techniques, like ray tracing or path tracing, simulate how light bounces around the scene, creating more realistic lighting and reflections. These techniques are computationally intensive but yield superior results.
Ambient Occlusion: This technique simulates the darkening of areas where surfaces are close together, adding realism and depth to the scene.
Materials and Textures: The materials and textures of objects in a scene greatly influence how they interact with light. Careful selection of surface properties (e.g., reflectivity, roughness) is vital for realistic lighting.
HDRI (High Dynamic Range Imaging): Using HDRI images as environment maps provides realistic and efficient lighting and reflections. HDRIs capture a wider range of light intensities than standard images, leading to more believable results.
In a recent architectural visualization project, I used HDRI images and ray tracing to create highly realistic lighting, creating a sense of depth and atmosphere in the rendered images.
Q 13. What are the challenges you have faced while working on video projects, and how did you overcome them?
One of the biggest challenges I’ve faced was dealing with unexpected technical issues during a tight-deadline project. We were creating a high-fidelity animation for a client, and halfway through production, our primary rendering pipeline malfunctioned due to a software bug. We had to quickly pivot to a backup system, which required retraining our team and resulted in significant time loss.
Solution: We immediately assessed the damage, identified the root cause of the problem, and explored several alternative solutions. This included contacting the software vendor for support, evaluating different rendering engines, and establishing a robust communication channel to keep the client informed of the situation. We even worked extended hours, cross-training team members on the new system to get the project back on track. We were able to successfully deliver a final product that met the client’s expectations, even though it was a stressful situation.
Another challenge was managing conflicting creative visions between different stakeholders. In one project, the client’s initial vision didn’t align with the technical possibilities or the project budget.
Solution: Through a combination of clear communication, collaborative brainstorming, and presenting realistic options to the client, we found a compromise that balanced their artistic goals with technical feasibility and financial constraints. We used iterative feedback to refine the design, maintaining transparency and collaboration throughout.
Q 14. Describe your understanding of video codecs and compression techniques.
Video codecs are methods of encoding and decoding digital video. Compression techniques reduce file sizes without significant quality loss. Understanding codecs and compression is crucial for efficient storage, transmission, and playback of videos.
Codec Types: Lossy codecs like H.264 (AVC) and H.265 (HEVC) achieve high compression ratios by discarding some data considered less important to human perception. Lossless codecs, like ProRes, preserve all the original data and are used for high-quality editing and archival purposes.
Compression Ratios: This represents the ratio between the original file size and the compressed file size. Higher compression ratios result in smaller file sizes but potentially some quality loss (in lossy codecs).
Bitrate: This determines the amount of data used per second of video. A higher bitrate results in better quality but larger file sizes.
Resolution: Higher resolutions, like 4K or 8K, require more data to store, making compression techniques even more important.
Frame Rate: Higher frame rates (e.g., 60fps) mean more frames per second, leading to smoother motion but larger files.
Choosing the appropriate codec and compression settings is a delicate balance between file size, visual quality, and processing power. For example, H.264 is widely supported across various platforms, making it suitable for web distribution, while ProRes is better suited for high-quality editing and intermediate workflows.
Q 15. Explain the difference between lossy and lossless compression.
Lossy and lossless compression are two fundamental methods for reducing the size of digital video files. The key difference lies in whether information is discarded during the compression process.
Lossless compression algorithms achieve smaller file sizes without losing any data. Think of it like carefully packing a suitcase – you rearrange everything to fit more, but you don’t throw anything away. Common lossless codecs include PNG (for images) and FLAC (for audio). In video, lossless codecs are used sparingly due to their large file sizes. An example would be archiving a master video file for future editing, where maintaining perfect quality is paramount.
Lossy compression, on the other hand, reduces file size by discarding some data deemed less important to the human eye or ear. This is analogous to throwing out some less essential items from your suitcase to make it fit. This results in smaller files but some degradation in quality. Most video formats, such as H.264, H.265 (HEVC), and VP9, use lossy compression. The level of loss can be adjusted; a higher compression ratio means smaller files but more noticeable quality loss. For example, streaming services often use highly compressed videos to ensure smooth playback over various internet speeds, even though some image detail is sacrificed.
In summary, choose lossless for archiving and situations where preserving every detail is critical. For distribution and storage of videos meant for viewing, lossy compression provides a much better balance of file size and visual quality.
Career Expert Tips:
- Ace those interviews! Prepare effectively by reviewing the Top 50 Most Common Interview Questions on ResumeGemini.
- Navigate your job search with confidence! Explore a wide range of Career Tips on ResumeGemini. Learn about common challenges and recommendations to overcome them.
- Craft the perfect resume! Master the Art of Resume Writing with ResumeGemini’s guide. Showcase your unique qualifications and achievements effectively.
- Don’t miss out on holiday savings! Build your dream resume with ResumeGemini’s ATS optimized templates.
Q 16. How do you maintain consistency in a project’s visual style?
Maintaining visual consistency across a video project is crucial for a professional and polished look. It’s all about creating a cohesive visual identity. I approach this systematically by establishing a style guide early in the project.
- Color Palette: Defining a specific range of colors for backgrounds, text, and visual elements ensures harmony.
- Typography: Selecting a consistent font family and sizes for titles, subtitles, and on-screen text creates a unified aesthetic.
- Graphic Elements: Establishing a style for buttons, icons, and other visual elements ensures uniformity. I often use a style guide document or a style sheet in the video editing software (like Adobe After Effects or Premiere Pro) to maintain consistency.
- Visual Effects: Maintaining consistency in how transitions, animations, and visual effects are applied is critical. For instance, using consistent transitions throughout the video, or applying specific color correction profiles in a standardized way.
- Mood Board/Storyboard: Before starting the project, creating a mood board with images and descriptions that reflect the desired visual style can act as a visual reference throughout the process.
Regular review meetings with the team, sharing the style guide and using it as a common reference point, are also vital for maintaining consistency throughout the project. A consistent style results in a more professional and enjoyable viewing experience.
Q 17. What is your experience with version control software (e.g., Git)?
I’m highly proficient with Git, having used it extensively for over five years in both individual and collaborative projects. My experience encompasses the entire Git workflow, including branching, merging, rebasing, resolving conflicts, and managing remote repositories (like GitHub, GitLab, and Bitbucket). I understand the importance of committing changes frequently with clear and concise messages for better tracking and collaboration.
I’m familiar with various Git branching strategies, such as Gitflow and GitHub flow, adapting my approach to the project’s specific needs. For example, in larger projects, I favor a branching strategy that keeps development branches separate from the main branch (e.g., ‘master’ or ‘main’) to maintain stability and prevent accidental deployment of unstable code. I am also comfortable using tools like Sourcetree and GitKraken for a more visual representation of the repository history.
Q 18. Describe your experience with collaborative workflows.
My experience with collaborative workflows is extensive. I’ve worked on numerous video projects involving teams of designers, editors, animators, and sound engineers. Effective collaboration is paramount, and I employ several key strategies:
- Clear Communication: I maintain open and frequent communication through various channels, from daily stand-up meetings to project management tools (such as Jira or Asana) and instant messaging. I ensure that everyone understands their roles and responsibilities.
- Version Control: Using Git for all assets ensures that everyone can work simultaneously without overwriting each other’s work. Proper branching and merging techniques are key.
- Shared Storage: Using cloud storage services like Dropbox or Google Drive enables easy access and sharing of project files. I also leverage shared editing tools allowing multiple editors to work on the same video project simultaneously (e.g., collaborative features in Adobe Premiere Pro).
- Regular Feedback: I encourage frequent feedback and reviews of the project’s progress at key milestones. Constructive criticism and open discussion are essential for success.
I’ve found that establishing clear communication channels and using the right collaboration tools are critical factors in completing a video project on time and within budget, while also maintaining high quality.
Q 19. What is your experience with different types of cameras and lenses?
My experience encompasses a wide range of cameras and lenses, from professional cinema cameras like ARRI Alexa and RED cameras, to more consumer-grade options such as DSLRs and mirrorless cameras. I understand the nuances of different sensor sizes, dynamic range, and image quality, and I can select the appropriate camera and lens based on the project’s specific requirements.
I’m familiar with various lens types, including primes (fixed focal length), zooms, wide-angle, telephoto, and macro lenses. I understand how different lenses affect depth of field, perspective, and image distortion. For instance, I’ve used wide-angle lenses to create a dramatic sense of scale in landscape shots and telephoto lenses for capturing close-up details of subjects from a distance. My knowledge extends to understanding lens characteristics like aperture, shutter speed, and ISO and how they influence the final image. This allows me to tailor my approach to any given filming scenario.
Q 20. Explain your understanding of depth of field and its application in video.
Depth of field (DOF) refers to the area of an image that appears acceptably sharp or in focus. It’s controlled primarily by the lens’s aperture, focal length, and the distance to the subject.
A shallow DOF (small aperture number, like f/1.4) results in a blurry background, emphasizing the subject. This is often used in cinematic storytelling to isolate the main subject and draw the viewer’s attention. A shallow DOF can be highly effective in portraits to make the subject ‘pop’ from the background.
A deep DOF (large aperture number, like f/16) keeps both the foreground and background in focus, providing more context and detail to the scene. This is commonly used in documentaries and nature photography to capture a wide range of detail in a landscape.
The application of DOF in video can significantly impact storytelling. By strategically controlling DOF, filmmakers can guide the viewer’s eye, emphasize certain elements, and create mood and atmosphere. For example, a shallow DOF might be used in a romantic scene to emphasize intimacy while a deep DOF might be preferred in a documentary showing a wide expanse of a landscape. Understanding how DOF affects the visual storytelling is a cornerstone of cinematography.
Q 21. How familiar are you with chroma keying and green screen techniques?
Chroma keying, commonly known as green screen or blue screen technology, is a post-production technique used to replace a specific color in a video footage with another image or video. It is a staple in video production for creating realistic backgrounds, composites, and special effects. I have extensive experience with chroma keying, using both green and blue screens.
The process involves filming a subject against a solid-color background (typically green or blue). The editor then uses software to isolate that color (keying) and replace it with a different background. The success of the technique is heavily dependent on proper lighting of the subject and screen, and ensuring that the color chosen for the key does not appear anywhere else on the subject or in the foreground.
My experience encompasses various techniques to achieve clean keys, including adjusting color balance, spill suppression (removing the background color from the subject), and using various keying algorithms within professional editing software. I also understand that proper pre-production planning, including appropriate lighting and background choice, are crucial to ensure a high-quality final result. Poorly lit or improperly keyed scenes can quickly result in an unprofessional and distracting final product. Therefore, a good understanding of lighting and color theory is critical to successful chroma keying.
Q 22. What are your preferred methods for creating realistic textures?
Creating realistic textures involves a multi-step process that blends artistic skill with technical knowledge. My preferred methods focus on leveraging both photographic sources and procedural generation techniques.
Firstly, I often start with high-resolution photographs. These provide a strong base for detail and realism, especially for materials like wood, stone, or fabric. I’ll use software like Substance Painter or Mari to meticulously clean up these photos, removing imperfections and adjusting color balance to ensure consistency. Then, I employ various techniques like normal mapping, height mapping, and displacement mapping to add depth and surface variations. Normal maps simulate surface bumps and grooves without increasing polygon count, enhancing performance. Height maps provide a more subtle level of displacement, while displacement maps offer the most dramatic changes to surface geometry.
Secondly, I heavily utilize procedural generation. This allows me to create incredibly detailed and repeatable textures without relying solely on photography. I use algorithms to simulate processes like wood grain, weathering, or the scattering of particles. This gives me complete control over parameters, ensuring a consistent and repeatable result across various assets. For instance, I might use a noise function to create the base texture for a rock, then layer on procedural weathering effects to make it look aged and eroded.
Finally, I pay close attention to subtle details such as subsurface scattering for organic materials (skin, leaves) and micro-detail textures layered on top of the base maps. These add nuances that make the final texture feel truly believable.
Q 23. Explain your understanding of audio syncing in video editing.
Audio syncing, in video editing, is the critical process of aligning audio recordings with the corresponding video footage. Perfect synchronization is crucial for delivering a professional and immersive viewing experience. Imperfect syncing can severely detract from the quality and professionalism of the final product.
I achieve this using a combination of visual and audio cues. A common method involves using waveform visualization in the editing software to identify distinct peaks and troughs in the audio that correspond to specific visual events in the video. For instance, a clap or a sharp sound might provide a readily identifiable point for synchronization. Sophisticated software often includes tools for automatic audio syncing, however, I always manually review and fine-tune the alignment, making minor adjustments to ensure perfect accuracy. This is especially important for dialogue scenes where even a fraction of a second’s delay can be noticeably jarring.
In more complex scenarios, especially with multiple audio tracks or multi-camera setups, I use techniques like timecode embedding, which allows me to precisely match the timing across different recordings. I also use audio markers or reference points, creating visible and audible cues in the material itself that guide syncing. A strong understanding of audio editing software is also critical—I’m proficient in using tools to precisely adjust the audio offset and ensure seamless integration with the video.
Q 24. What is your experience with rotoscoping and masking?
Rotoscoping and masking are essential techniques for isolating specific areas within a video frame. They are invaluable for compositing, removing unwanted elements, or adding special effects.
Rotoscoping involves painstakingly tracing around an object frame by frame to create a mask, effectively cutting it out from the background. It’s incredibly time-consuming but necessary when dealing with complex moving objects with irregular shapes that traditional keying techniques can’t handle cleanly. Think of removing a wire from an actor’s back, frame-by-frame, for a clean visual.
Masking, on the other hand, can be a simpler process. It uses various techniques, such as shape masks, color correction, or luminance-based keying to isolate areas. For instance, a simple color key might be used to isolate a green screen and replace it with a different background. More advanced methods like edge detection and tracking algorithms automate parts of the masking process in many advanced video editors, significantly speeding up workflow.
My experience encompasses both manual rotoscoping using tools like Mocha Pro and using automated masking techniques in After Effects and Nuke. The choice depends on the complexity of the task and the desired level of precision.
Q 25. What software are you proficient in using for video graphics creation?
My proficiency spans a wide range of industry-standard software. I’m highly skilled in Adobe After Effects for compositing, motion graphics, and visual effects. I’m fluent in Cinema 4D for 3D modeling, animation, and rendering. Substance Painter and Mari are my go-to tools for texture creation and painting, while Nuke is my preferred choice for complex compositing and node-based workflows. I am also proficient in Autodesk Maya for advanced 3D modeling and animation tasks, and DaVinci Resolve for color grading and video editing.
Beyond these core packages, I’m comfortable using various other tools like Fusion, Blender, and Photoshop depending on the specific needs of a project. My expertise extends beyond individual software packages; I understand the workflows and interconnectedness of these programs to optimize the efficiency of the overall pipeline.
Q 26. Describe a complex technical challenge you faced in a video project and how you solved it.
In a recent project involving a realistic underwater scene, we faced significant challenges with rendering the water realistically. The initial renders exhibited a lack of depth and clarity, making the scene look unconvincing.
The problem stemmed from inadequate handling of subsurface scattering in the water simulation and an insufficient number of ray bounces during rendering. Simply increasing the rendering time wasn’t a viable solution due to project deadlines.
To overcome this, I implemented a multi-faceted approach. Firstly, I adjusted the subsurface scattering parameters within the rendering engine, precisely tuning the scattering and absorption coefficients to mimic the real-world behavior of light in water. Secondly, I utilized a technique called volumetric lighting to simulate the scattering of light within the water volume itself. This required experimenting with different light sources, intensities, and attenuation properties within the scene. Finally, I improved the efficiency of the rendering process by optimizing the scene geometry and employing techniques like ray tracing acceleration to significantly decrease render times while maintaining a high level of detail. The result was a dramatic improvement in visual fidelity—a more realistic and immersive underwater environment that met the project’s aesthetic and performance requirements.
Q 27. What is your experience with motion capture data?
My experience with motion capture (mocap) data includes both acquisition and processing. I have worked with various mocap systems, ranging from optical systems using multiple cameras to inertial systems using sensors on the body. This experience encompasses preparing the mocap stage, working with actors and performing cleanup, retargeting, and animation cleanup.
I’m adept at importing and cleaning mocap data in industry-standard software packages like Maya and MotionBuilder. This involves removing noise, smoothing out erratic movements, and retargeting the animation onto different skeletal rigs to ensure seamless integration with 3D characters. I’m also skilled in solving common issues like foot sliding and other artifacts that often appear in mocap data, often requiring manual editing and advanced techniques.
I understand that raw mocap data rarely translates directly into usable animation. It requires significant post-processing to refine and enhance the motion, giving it the realism and artistic flair that may be needed for the project’s vision.
Q 28. How do you stay updated with the latest trends and technologies in video graphics?
Staying current in the dynamic field of video graphics requires a multi-pronged approach. I regularly attend industry conferences like SIGGRAPH and GDC to learn about the latest breakthroughs and connect with fellow professionals.
Online resources are crucial. I actively follow leading blogs, publications (e.g., 80.lv), and online communities dedicated to VFX and animation to stay informed about new techniques, software updates, and industry trends. I also subscribe to newsletters and podcasts related to the industry.
Furthermore, I dedicate time to experimenting with new software and technologies. I constantly explore tutorials, workshops and documentation from software companies and freelance artists to actively test and implement new skills into my workflow. This hands-on approach is crucial for understanding the practical implications of new developments.
Key Topics to Learn for Video Graphics Interview
- Image and Video Compression Techniques: Understanding codecs (H.264, H.265, VP9), their strengths and weaknesses, and how to choose the appropriate codec for different projects and platforms.
- Color Science and Management: Practical application of color spaces (RGB, YUV, XYZ), color grading, and managing color consistency across different devices and workflows.
- Video Editing Software Proficiency: Demonstrating expertise in industry-standard software like Adobe Premiere Pro, After Effects, DaVinci Resolve, or similar, including practical examples of your skills in editing, compositing, and effects.
- Motion Graphics Principles: Understanding animation principles (12 principles of animation), visual storytelling techniques, and creating engaging motion graphics for various applications.
- 3D Graphics Fundamentals (if applicable): Familiarity with 3D modeling, animation, rendering, and compositing software (e.g., Blender, Cinema 4D, Maya) and relevant techniques.
- Workflow Optimization and Pipeline Management: Demonstrating knowledge of efficient project management, file organization, and collaboration techniques within a video graphics production pipeline.
- Troubleshooting and Problem-Solving: The ability to diagnose and resolve common technical issues related to video and graphics, demonstrating a proactive approach to problem-solving.
- Software and Hardware Considerations: Understanding the interplay between software and hardware, and the implications of choosing appropriate equipment for specific projects.
Next Steps
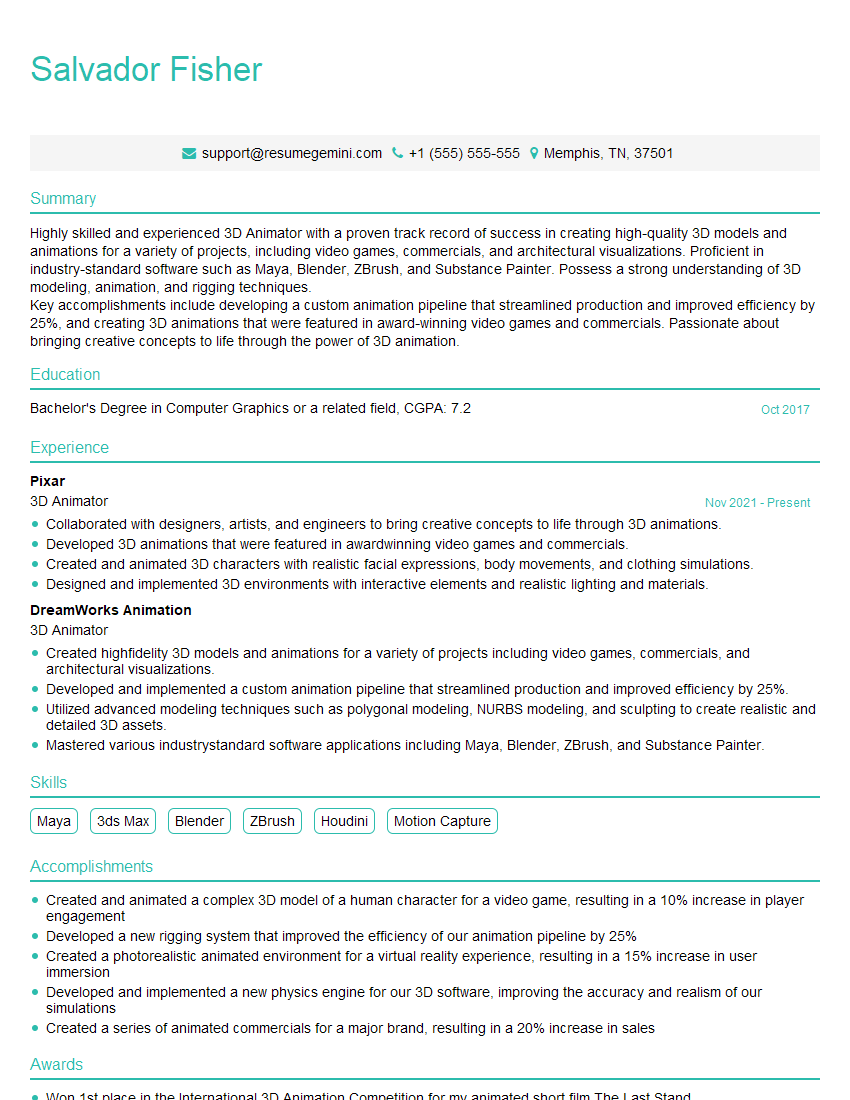
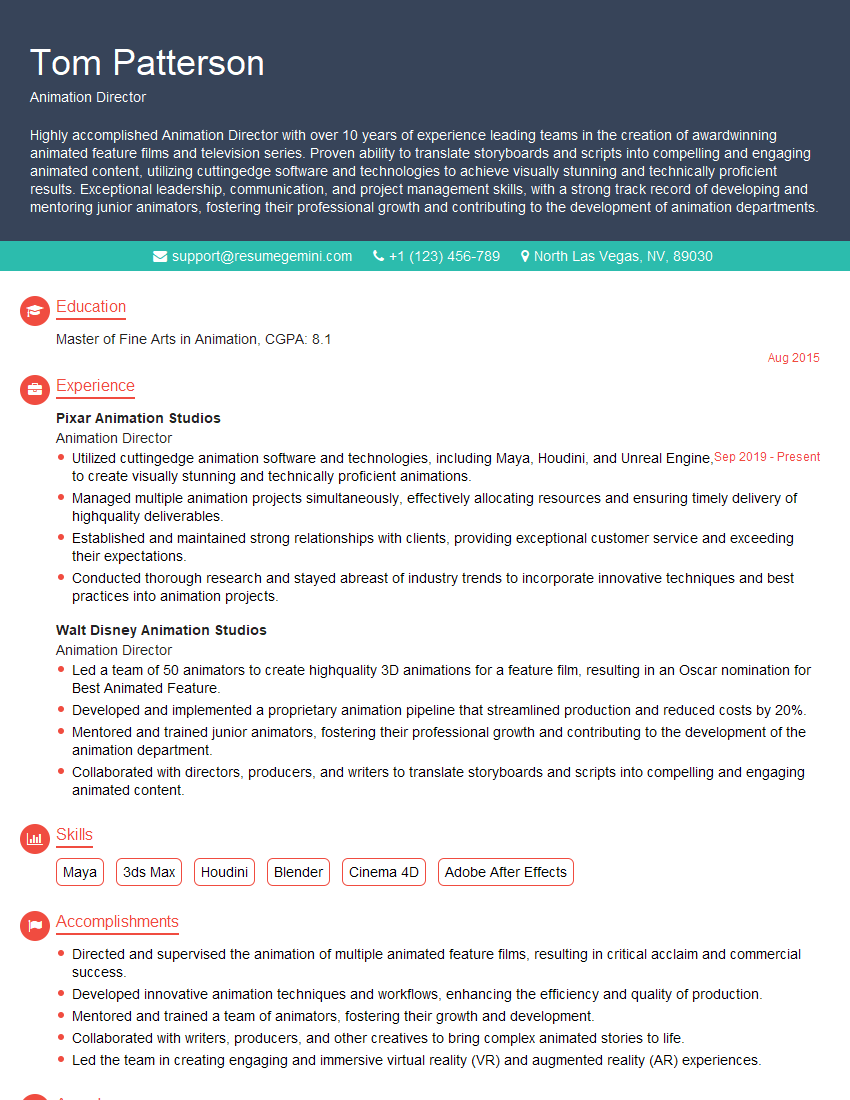
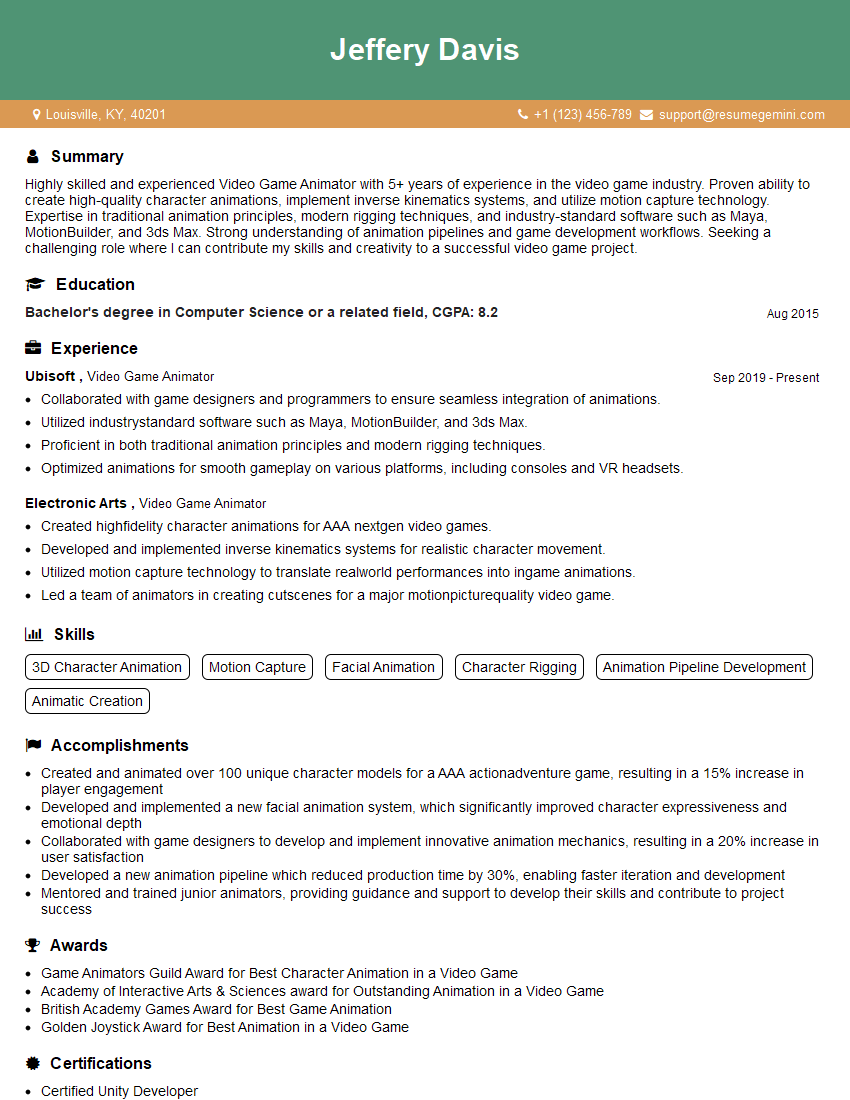
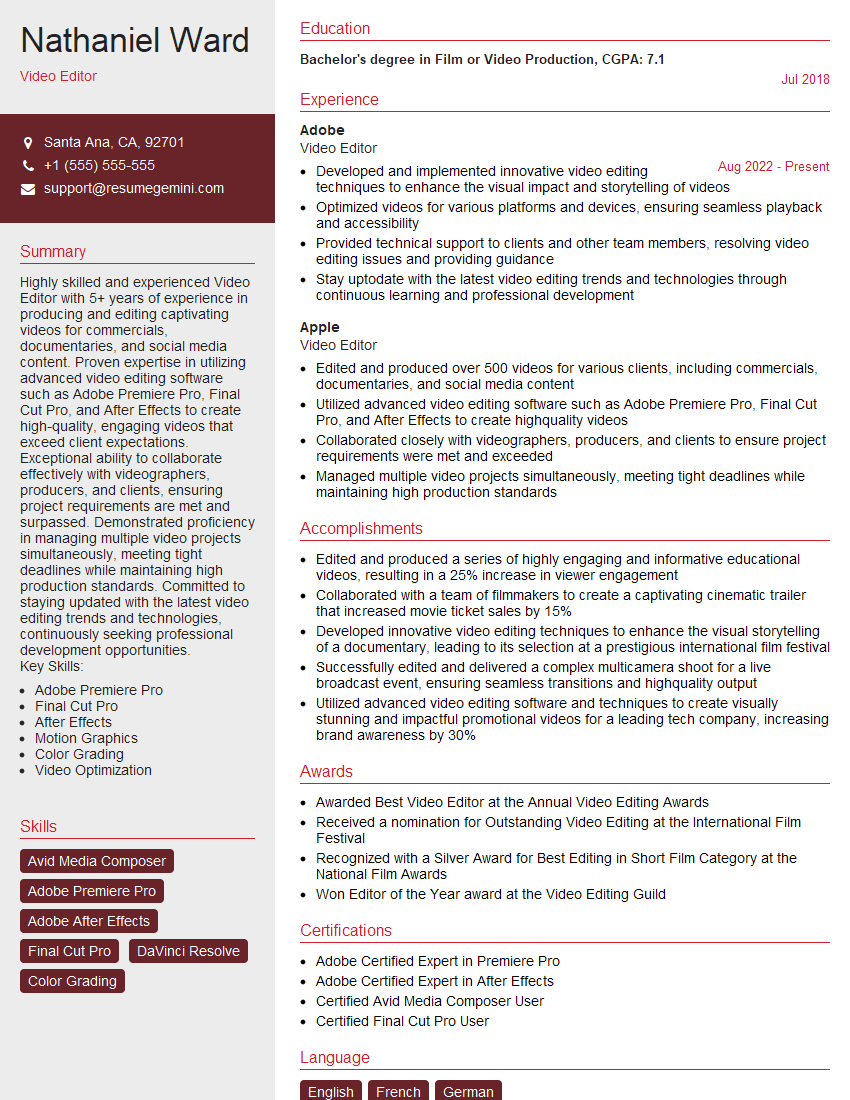
Mastering Video Graphics opens doors to exciting and rewarding careers in film, television, gaming, advertising, and more. Your skills are highly sought after, and showcasing them effectively is key to landing your dream job. Building an ATS-friendly resume is crucial to maximizing your chances; it ensures your qualifications are easily identified by applicant tracking systems. We strongly encourage you to use ResumeGemini to craft a professional and impactful resume that highlights your unique skills and experience. ResumeGemini offers a streamlined process and provides examples of resumes tailored to Video Graphics professionals, helping you present yourself in the best possible light.
Explore more articles
Users Rating of Our Blogs
Share Your Experience
We value your feedback! Please rate our content and share your thoughts (optional).
What Readers Say About Our Blog
Dear Sir/Madam,
Do you want to become a vendor/supplier/service provider of Delta Air Lines, Inc.? We are looking for a reliable, innovative and fair partner for 2025/2026 series tender projects, tasks and contracts. Kindly indicate your interest by requesting a pre-qualification questionnaire. With this information, we will analyze whether you meet the minimum requirements to collaborate with us.
Best regards,
Carey Richardson
V.P. – Corporate Audit and Enterprise Risk Management
Delta Air Lines Inc
Group Procurement & Contracts Center
1030 Delta Boulevard,
Atlanta, GA 30354-1989
United States
+1(470) 982-2456
