Warning: search_filter(): Argument #2 ($wp_query) must be passed by reference, value given in /home/u951807797/domains/techskills.interviewgemini.com/public_html/wp-includes/class-wp-hook.php on line 324
Preparation is the key to success in any interview. In this post, we’ll explore crucial Video Mixing interview questions and equip you with strategies to craft impactful answers. Whether you’re a beginner or a pro, these tips will elevate your preparation.
Questions Asked in Video Mixing Interview
Q 1. Explain the difference between linear and non-linear video editing.
Linear video editing is like working with a single reel of film; you edit sequentially, making changes in a fixed order. Think of it as arranging clips one after another on a timeline. Once a clip is placed, changes are often made by physically cutting and splicing. In contrast, non-linear editing is like working with digital building blocks. You can jump around the timeline freely, insert clips anywhere, and easily move or replace them without affecting the rest of the sequence. It’s much more flexible and allows for iterative experimentation.
For example, in linear editing, if you decide you need to insert a new clip in the middle, you’d have to physically cut the tape and splice it in, potentially affecting surrounding clips. In non-linear editing, you can simply insert the clip at the desired point, and the rest of the timeline automatically adjusts. Non-linear editing is the industry standard today due to its flexibility and efficiency.
Q 2. Describe your experience with various video mixing software (e.g., Adobe Premiere Pro, Avid Media Composer, DaVinci Resolve).
I have extensive experience with Adobe Premiere Pro, Avid Media Composer, and DaVinci Resolve. Premiere Pro is my go-to for projects needing a blend of speed and powerful effects; its intuitive interface allows for rapid workflows. Avid Media Composer, known for its stability and precision, is perfect for larger-scale productions demanding meticulous attention to detail, especially in collaborative environments. I often leverage DaVinci Resolve for its exceptional color grading capabilities and robust VFX tools, frequently using it as a finishing suite after initial editing in Premiere or Avid.
My experience spans diverse projects, including corporate videos, documentaries, short films, and even some live event coverage. This diverse experience has allowed me to develop expertise in leveraging the strengths of each software to best suit the project’s specific needs and my workflow preferences. For instance, a fast-turnaround corporate video might benefit from Premiere’s speed, while a high-budget documentary would be better served by Avid’s stability and collaborative features.
Q 3. What are your preferred methods for color correction and grading?
My preferred methods for color correction and grading involve a combination of techniques focusing on achieving a natural and visually compelling look. I typically begin with a thorough color correction phase to fix any inconsistencies in exposure, white balance, and color temperature across different shots. This often involves adjusting the primary color wheels (red, green, blue) and secondary colors (cyan, magenta, yellow) to balance the overall image. After the initial correction, I move to color grading, where I use tools such as curves, lift/gamma/gain, and color wheels to add creative stylistic touches and establish the overall mood and tone.
I rely heavily on scopes (vectorscope, waveform monitor, parade) to guide my decisions and ensure accuracy during this process. I’m also adept at using LUTs (Lookup Tables) to quickly apply pre-defined color palettes or to match the color of various shots. Ultimately, my approach is tailored to the project; some may require a subtle, naturalistic look, while others demand bold, stylized color grading. My goal is always to create a consistent and visually appealing final product.
Q 4. How do you handle audio mixing within a video production workflow?
Audio mixing is an integral part of my video production workflow, and I approach it with the same meticulous attention to detail as video editing. I typically start by cleaning up the audio, removing unwanted noise and hiss using tools like noise reduction and de-essing. Then, I focus on balancing the levels of different audio tracks – dialogue, music, sound effects – to ensure clarity and avoid any clipping or distortion. Dialogue is often prioritized, ensuring it’s clear and intelligible. I use techniques like compression and EQ to sculpt the sound, bringing out the best of each track while maintaining a balanced mix.
I often employ automation to smoothly transition between different sound levels throughout the video. For complex projects, I might use a dedicated Digital Audio Workstation (DAW) like Pro Tools or Logic Pro X to handle more sophisticated audio mixing and mastering tasks before integration back into the video editing software. Ultimately, a well-mixed soundtrack is essential for a compelling viewing experience, enhancing the emotional impact and overall quality of the production.
Q 5. Describe your experience with different video formats and codecs.
My experience encompasses a wide range of video formats and codecs, from older standards like DV and HDV to modern formats like ProRes, H.264, and H.265. I understand the trade-offs between file size, quality, and compression efficiency associated with each format. ProRes, for instance, offers excellent quality and ease of editing but comes with large file sizes. H.264 and H.265 provide more compression, leading to smaller files, but may result in some quality loss. The choice depends largely on the project’s needs. For high-resolution editing, ProRes is a preferred choice, while H.264/H.265 is more suitable for distribution and web delivery.
Furthermore, I’m comfortable working with different container formats like MOV, MP4, and MXF. I understand the importance of choosing the appropriate codec and container for specific tasks, ensuring compatibility across different platforms and workflows. Understanding these intricacies is crucial to avoiding technical hurdles during post-production and ensuring a smooth delivery process.
Q 6. Explain the concept of keyframing and its application in video mixing.
Keyframing is the process of setting specific values for a parameter at different points in time, allowing for smooth transitions and animation effects. Imagine it like creating individual frames of a cartoon; each frame represents a change in value. In video mixing, keyframes are used to control various aspects of a video clip, such as opacity, position, scale, color correction parameters, and even audio levels. For example, you might use keyframes to create a fade-in effect for a graphic overlay, slowly revealing it to the audience.
Example: To fade a title in, you’d set the opacity to 0% at the start (first keyframe), and then to 100% at the end (second keyframe). The software will interpolate the values between these keyframes, generating a smooth transition. This approach offers granular control over changes over time, allowing for creative and nuanced effects that would be difficult or impossible to achieve manually. The number and placement of keyframes determine the precision and smoothness of the effect. More keyframes provide finer control and more natural-looking transitions.
Q 7. How do you manage multiple video sources during a live event?
Managing multiple video sources during a live event requires careful planning and a robust technical setup. This typically involves using a video switcher, a device that allows for seamless transitions between different camera feeds and other video sources. I’m proficient in using various video switchers, both hardware and software-based. Before the event, I would meticulously plan the camera shots and transitions, working closely with the director and camera operators to ensure a coordinated workflow. I utilize preview monitors to check the upcoming shots, and ensure that transitions are smooth and seamless.
During the live event, I monitor audio and video levels closely, making any necessary adjustments to ensure a high-quality production. I use communication systems to coordinate with other crew members, anticipating potential issues and responding promptly to unexpected changes. My experience in dealing with technical challenges under pressure ensures a smooth and successful live event.
Q 8. What strategies do you use for efficient media organization and asset management?
Efficient media organization is paramount in video production. Think of it like a well-organized library – easy to navigate and find exactly what you need. My strategy involves a multi-layered approach. First, I use a hierarchical folder structure, categorizing projects by client, date, and then by asset type (video, audio, graphics). This makes locating specific files incredibly simple. Within each project folder, I use descriptive file names, avoiding generic titles like ‘clip1.mov’. Instead, I use names like ‘hero_shot_take3.mov’ or ‘interview_john_smith_broll.mp3’.
Secondly, I leverage robust asset management software like Adobe Bridge or a cloud-based solution like Frame.io. These tools provide features such as metadata tagging (adding keywords and descriptions to files), customizable previews, and version control, making collaboration and searching much easier. Imagine having hundreds of shots – the ability to quickly search for ‘wide shot, sunset’ is invaluable. Finally, regular backups are essential. I employ a RAID system (Redundant Array of Independent Disks) for local storage and cloud backups for redundancy, safeguarding against data loss.
Q 9. How do you troubleshoot technical issues that arise during a video shoot or edit?
Troubleshooting is a crucial skill. When issues arise during a shoot or edit, I follow a systematic approach. My first step is to identify the specific problem: Is it a camera malfunction, a software error, or an audio sync problem? Then I systematically check the obvious – are cables connected properly? Is the power on? For example, during a shoot, if a camera suddenly stops recording, I’ll check the battery, memory card, and power settings. If a software error occurs, I consult online resources, forums, and documentation for solutions. Often, a simple restart or reinstalling drivers resolves the issue.
If the problem persists, I break down the issue into smaller parts. Is the problem related to hardware, software, or operator error? I’ll test different pieces of equipment to isolate the fault. I also rely on my network of fellow professionals. If I’m stuck, I reach out to colleagues for advice or a second opinion. Documentation is key; I meticulously record every step I take during the troubleshooting process, which aids future problem-solving and analysis.
Q 10. Describe your experience with video effects and transitions.
I’m proficient in a wide range of video effects and transitions. My experience extends from basic cuts and dissolves to complex compositing and motion graphics. I’m adept at using software like Adobe After Effects and Premiere Pro, creating seamless transitions, applying color correction and grading, keyframing animations, and implementing advanced visual effects like particle simulations and rotoscoping.
For example, I’ve used After Effects to create custom lower thirds, animated logos, and stylized transitions for corporate videos. In Premiere Pro, I frequently utilize Lumetri Color tools for precise color grading, ensuring a consistent look and feel throughout a project. I’m also experienced with utilizing plugins that extend the functionality of these programs to allow for more specific and highly creative effects.
Q 11. Explain your understanding of video composition and framing techniques.
Video composition and framing are fundamental aspects of visual storytelling. Think of it as painting with a camera. I understand the rules of thirds, leading lines, and headroom to create visually appealing and engaging shots. I’m skilled in choosing appropriate camera angles (high, low, eye-level) and lens focal lengths (wide, medium, telephoto) to achieve the desired mood and perspective.
For instance, using a wide shot might establish a location, while a close-up shot might convey emotion. Understanding depth of field and using it correctly to focus attention on specific elements is essential. I also apply the principle of visual balance and avoid distracting elements that clutter the frame. My understanding of these techniques allows me to create shots that are both technically sound and aesthetically pleasing.
Q 12. How do you work collaboratively with other members of a video production team?
Collaboration is key in video production. I thrive in team environments. I believe open communication is paramount. Before any project, I ensure that I have a clear understanding of the overall vision and each team member’s role. I actively participate in pre-production meetings, offering input and providing constructive feedback. During production, I maintain open lines of communication, regularly checking in with the director, camera operators, and sound engineers. This helps to identify potential issues early on and maintain efficiency.
After the shoot, I work closely with editors to ensure a seamless transition of assets. I’m always willing to assist with tasks beyond my core responsibilities, such as providing feedback on edits or helping with asset organization. I use collaborative platforms like Google Drive or Dropbox to facilitate shared access to files and streamline workflows. This fosters trust, transparency, and ultimately a higher quality product.
Q 13. Describe your experience with different types of cameras and their settings.
My experience with cameras spans various formats and brands, including RED, Arri, Canon, and Sony. I’m familiar with both high-end cinema cameras and more affordable mirrorless options. I understand the nuances of different sensor sizes, image formats (RAW, ProRes, H.264), and frame rates. I am experienced with adjusting aperture, shutter speed, ISO, and white balance to capture the best possible image quality in any lighting condition.
For instance, I know when a wider aperture is needed for a shallow depth of field, or when a higher ISO is necessary in low-light situations. I’m also adept at using camera accessories like external monitors, follow focus systems, and stabilizers to optimize image quality and efficiency. Understanding these settings allows me to choose the right camera and configuration for each project’s specific needs.
Q 14. What is your experience with chroma keying and green screen compositing?
Chroma keying, or green screen compositing, is a technique I use frequently. It involves replacing a uniform background color (typically green or blue) with another image or video. I’m proficient in using software like Adobe After Effects and Premiere Pro to achieve clean and realistic keying results. This includes understanding lighting considerations to minimize spill and shadows on the subject and using appropriate keying techniques to remove the background cleanly.
The process involves several steps: careful lighting of the subject to avoid shadows and spill onto the green screen, shooting the subject against a properly lit green screen, and using software tools to isolate the subject from the background. I pay close attention to details like edge feathering and color spill correction to ensure a professional finish. I’ve used chroma key extensively for projects ranging from product demonstrations to visual effects shots, consistently delivering high-quality composites.
Q 15. Explain your process for creating a smooth and seamless video edit.
Creating a smooth and seamless video edit involves a meticulous process that goes beyond simply cutting and pasting clips. It’s about crafting a narrative flow that’s both engaging and natural. My process begins with a thorough understanding of the source material. I meticulously review all footage, identifying key moments and potential transitions. I then construct a rough cut, focusing on the story’s pacing and emotional impact. This is often iterative, requiring adjustments to scene order and duration.
For seamless transitions, I heavily utilize techniques like:
- J-cuts and L-cuts: These techniques involve overlapping audio and video, creating a smoother transition between shots. A J-cut leads the audio, while an L-cut leads the video. Think of a news report – you often hear the next speaker’s voice before their face is shown on screen; that’s a J-cut.
- Cross-Dissolves: These gradually fade out one shot and fade in the next, creating a soft transition often used to suggest a passage of time or a shift in location.
- Match Cuts: These transitions connect two shots based on visual similarity, like shape, color, or movement, subtly guiding the viewer’s eye.
- Cutting on Action: This editing technique keeps the action continuous. The cut happens during movement, keeping the audience immersed in the unfolding action, making transitions feel less jarring.
Finally, I refine the edit, paying close attention to the rhythm and pacing. I adjust timings to optimize the impact of each scene, ensuring a consistent flow. Color grading and sound design are crucial final steps, creating a unified aesthetic and sonic landscape that complements the visuals.
Career Expert Tips:
- Ace those interviews! Prepare effectively by reviewing the Top 50 Most Common Interview Questions on ResumeGemini.
- Navigate your job search with confidence! Explore a wide range of Career Tips on ResumeGemini. Learn about common challenges and recommendations to overcome them.
- Craft the perfect resume! Master the Art of Resume Writing with ResumeGemini’s guide. Showcase your unique qualifications and achievements effectively.
- Don’t miss out on holiday savings! Build your dream resume with ResumeGemini’s ATS optimized templates.
Q 16. How do you ensure the quality of your video output?
Ensuring high-quality video output involves a multifaceted approach that begins long before the final render. It starts with working with high-resolution source material whenever possible. Shooting in 4K, for instance, provides more flexibility during post-production, allowing for cropping and reframing without sacrificing image quality.
Throughout the editing process, I utilize non-destructive editing techniques. This means making adjustments without permanently altering the original footage, preserving its quality. I leverage tools like color grading and noise reduction carefully and strategically to enhance, not degrade, the images. Regularly backing up project files is also critical to prevent data loss.
Finally, I carefully consider the final output format. For example, if the video is intended for web distribution, I would optimize the file size and compression for smooth streaming, balancing quality with download speed. For professional broadcast, mastering to the required specifications (e.g., frame rate, resolution, color space) is paramount.
Q 17. What are your strategies for time management and meeting deadlines in video projects?
Time management is crucial in video production. I start with a detailed project plan, breaking the work into manageable tasks with realistic deadlines. This involves estimating the time required for each phase: capturing footage, editing, color grading, sound design, rendering, etc. I utilize project management tools to track progress and identify potential bottlenecks.
Prioritization is key. I focus on completing the most critical tasks first, and I proactively communicate any unforeseen delays or challenges to clients. Regular communication helps to manage expectations and prevent last-minute rushes. The use of collaborative platforms and cloud storage further facilitates team work and minimizes the risk of missed deadlines. Working efficiently during the editing phase, by employing shortcuts and optimizing workflows, is also very important. I’ve found that batch processing tasks, like applying color corrections, drastically reduces overall time spent.
Q 18. Describe your experience with video output formats and delivery methods.
My experience with video output formats and delivery methods is extensive. I’m proficient in a wide range of formats, including:
- MP4: A versatile format suitable for web distribution and various playback devices.
- MOV: Often used for professional projects and editing workflows, offering better quality and compatibility.
- AVI: An older format, still used in certain contexts but generally less preferred.
- WMV: Primarily associated with Windows-based systems.
Delivery methods depend on the project’s requirements. I can deliver videos via various methods, including:
- Online platforms: YouTube, Vimeo, etc., for easy online sharing and distribution.
- Cloud storage: Dropbox, Google Drive, etc., for secure and accessible file sharing.
- Physical media: Hard drives or USB drives for delivery of high-resolution files.
- FTP: File Transfer Protocol for transferring large files securely to clients.
My experience also includes mastering videos for broadcast television, which requires adhering to strict standards and specifications concerning frame rates, resolutions, and codecs.
Q 19. How familiar are you with video standards and resolutions (e.g., 1080p, 4K)?
I’m very familiar with video standards and resolutions. Understanding the implications of different resolutions is crucial for optimizing video quality and file sizes.
Here’s a breakdown of some common resolutions:
- 720p (HD): A standard high-definition resolution offering decent image quality.
- 1080p (Full HD): A higher resolution offering significantly improved clarity and detail.
- 4K (Ultra HD): Offers four times the resolution of 1080p, resulting in stunning image quality, but requires significantly more storage space and processing power.
- 8K: An even higher resolution, currently used more for specialized applications and slowly becoming more mainstream.
My experience includes working with a wide range of resolutions, adapting my workflows to meet the specific needs of different projects. I understand that the choice of resolution involves a trade-off between quality and file size. Higher resolutions result in larger file sizes, potentially impacting storage and streaming performance. Choosing the correct resolution depends on the intended platform and target audience.
Q 20. Explain your understanding of audio synchronization in video editing.
Audio synchronization is critical in video editing; it’s what makes a video feel natural and engaging. Misaligned audio is instantly noticeable and distracting.
My approach to audio synchronization involves these steps:
- Precise syncing during capture: Using professional audio equipment and techniques during filming minimizes the need for extensive synchronization in post-production.
- Visual cues: During the editing process, I use visual cues, like clapper boards or visual markers, to identify points of alignment between audio and video tracks.
- Editing software tools: Editing software offers sophisticated tools for aligning audio tracks. These tools can adjust audio timing precisely, even correcting minor discrepancies.
- Automated synchronization: Some software features automated audio sync capabilities, analyzing waveform similarities to match tracks automatically. However, human oversight is vital to confirm accuracy and rectify any errors.
- Manual adjustment: For complex situations, manual adjustments might be required for fine-tuning synchronization, ensuring a flawless final output.
Beyond basic synchronization, I pay attention to audio levels, ensuring a clear and balanced mix. I address issues like noise reduction, equalization, and compression to improve audio quality and clarity. Finally, I ensure that the overall audio mix complements the video’s visual aspects, enhancing the overall viewing experience.
Q 21. How do you approach the creative aspects of video mixing?
The creative aspects of video mixing are where I truly excel. It’s more than just technical skill; it’s about storytelling and using visual and audio elements to evoke emotion and create impact.
My approach begins with understanding the project’s objectives and the desired message. I collaborate with clients and creative teams to develop a clear visual style and narrative. I explore different editing techniques to enhance the story, experimenting with pace, rhythm, and emotional tone. The use of color grading, sound design, and visual effects are part of my creative arsenal to build atmosphere and enhance the viewer experience.
For example, I might use slow motion to emphasize a dramatic moment or quick cuts to create a sense of urgency. I could use color grading to establish a mood – cool tones for a somber scene, warm tones for a joyful one. Sound design – from subtle background music to impactful sound effects – is also a powerful tool for shaping the audience’s perception. Throughout this process, I constantly seek feedback and iterate on my work to ensure that the final product meets the creative vision.
Q 22. Describe your experience with motion graphics and animation in video editing.
Motion graphics and animation are integral to my video mixing workflow. I’ve extensively used software like After Effects and Cinema 4D to create everything from subtle lower thirds and animated transitions to complex 3D animations and kinetic typography. For instance, in a recent corporate video, I animated the company logo to subtly morph into its product icons, creating a visually engaging introduction. In another project, I used After Effects to create a stylized animated map that tracked the expansion of a client’s business across the globe. My proficiency extends to integrating pre-rendered 3D animations seamlessly into live-action footage, ensuring proper lighting, color grading, and overall visual coherence.
I’m also adept at rotoscoping and keyframing, allowing me to isolate and manipulate elements within video clips to create unique visual effects. For example, I once had to remove a distracting streetlight from a shot; rotoscoping allowed me to seamlessly replace the offending light with a realistic background fill.
Q 23. How do you manage and resolve conflicts between creative vision and technical constraints?
Balancing creative vision with technical constraints is a constant juggling act in video editing. My approach involves open communication, proactive problem-solving, and a willingness to explore alternative solutions. When a client’s vision pushes the boundaries of technical feasibility, I initiate a collaborative discussion to explore options. We might discuss simplifying a complex animation, finding a visually similar but technically simpler alternative, or adjusting the overall timeline.
For example, a client once requested a highly detailed 3D animation that would have pushed our rendering time beyond the project deadline. Instead of simply saying ‘no’, I presented alternative solutions – a 2D animated sequence that mimicked the 3D style, or a slightly simplified 3D version with reduced detail. By proactively offering realistic alternatives, I maintain a positive creative partnership while ensuring project deliverables are met.
Q 24. What are some common video editing mistakes to avoid?
Many common video editing mistakes can significantly impact the final product’s quality and professionalism. Here are a few I consistently emphasize avoiding:
- Poor audio quality: Inconsistent audio levels, background noise, and poor microphone quality can ruin an otherwise great video. Always prioritize clean, clear audio.
- Jumpy or jarring edits: Abrupt transitions without smooth transitions or consistent pacing create a disjointed viewing experience. Pay attention to rhythm and pacing.
- Unbalanced color grading: Inconsistent color grading across the video, using overly saturated colors, or inappropriate color schemes can create an unprofessional look. Color grading should enhance the mood and story.
- Ignoring the rule of thirds: Failing to compose shots effectively using the rule of thirds leads to dull and uninteresting visuals. It’s a fundamental aspect of composition.
- Overuse of effects: Excessive effects distract from the content and look amateurish. Effects should serve a purpose and enhance the storytelling, not overwhelm it.
Q 25. How do you handle feedback and revisions from clients or directors?
Handling feedback and revisions is crucial for client satisfaction and project success. I approach feedback with an open mind, actively listening and asking clarifying questions to ensure complete understanding. I document all feedback in a clear and organized manner. I then incorporate the feedback, providing visual examples of implemented changes. For significant revisions, I present options and discuss their implications on the project timeline and budget.
For example, if a client wants to change the overall tone of the video, I might present several different color grading options or alternative music tracks to visualize the change. Transparency and clear communication are key throughout the revision process.
Q 26. Describe your process for quality control and review of a finished video project.
My quality control process is thorough and multi-stage. It begins with regular self-reviews throughout the editing process, catching errors early on. Once the edit is complete, I perform a comprehensive technical review, checking for audio sync issues, glitches, resolution consistency, and proper codecs. Following the technical review, I perform a creative review, focusing on pacing, storytelling, and overall visual appeal. Finally, a final review happens where the video is viewed on various devices and platforms to ensure optimal playback and viewing experience. I always strive for a meticulous and thorough quality assurance process.
Q 27. Explain your experience with working under pressure in a fast-paced environment.
I thrive in fast-paced environments and am comfortable working under pressure. My experience working on numerous time-sensitive projects has honed my ability to prioritize tasks, manage my time effectively, and maintain composure under tight deadlines. I’ve successfully managed several projects where changes in scope or last-minute requests demanded quick adaptation and problem-solving skills. I’m organized, detail-oriented, and highly adept at working effectively under pressure to deliver high-quality results on time.
Q 28. What are your future career goals in the field of video mixing?
My future career goals involve expanding my skills in immersive storytelling, exploring emerging technologies like VR and AR video production. I aim to contribute to innovative video projects that push the creative boundaries of the medium. I aspire to lead teams, mentor junior editors, and contribute to the evolution of video mixing techniques and workflows. Ultimately, I want to be a recognized expert in the field, known for my creative vision and technical expertise.
Key Topics to Learn for Video Mixing Interview
- Software Proficiency: Mastering industry-standard video mixing software (e.g., Adobe Premiere Pro, Avid Media Composer, DaVinci Resolve). Understand key features, workflows, and shortcuts.
- Audio Mixing Fundamentals: Demonstrate knowledge of audio levels, equalization, compression, and effects processing within the video editing context. Be prepared to discuss balancing audio with visuals.
- Color Correction and Grading: Explain your understanding of color theory and its application in video mixing. Discuss techniques for color correction, grading, and achieving a consistent look across a project.
- Video Editing Principles: Showcase your understanding of pacing, storytelling through visuals, and the effective use of transitions and effects to enhance the narrative.
- Workflow and Collaboration: Explain how you manage large projects, collaborate with teams, and adhere to deadlines and industry best practices.
- File Formats and Encoding: Demonstrate knowledge of various video and audio codecs, resolutions, and the implications of choosing the right settings for different platforms and distribution methods.
- Troubleshooting and Problem-Solving: Be prepared to discuss how you approach technical challenges, troubleshoot errors, and find creative solutions to unexpected problems during the video mixing process.
- Understanding Client Needs: Explain your ability to interpret creative briefs, understand client expectations, and deliver a final product that meets their vision.
Next Steps
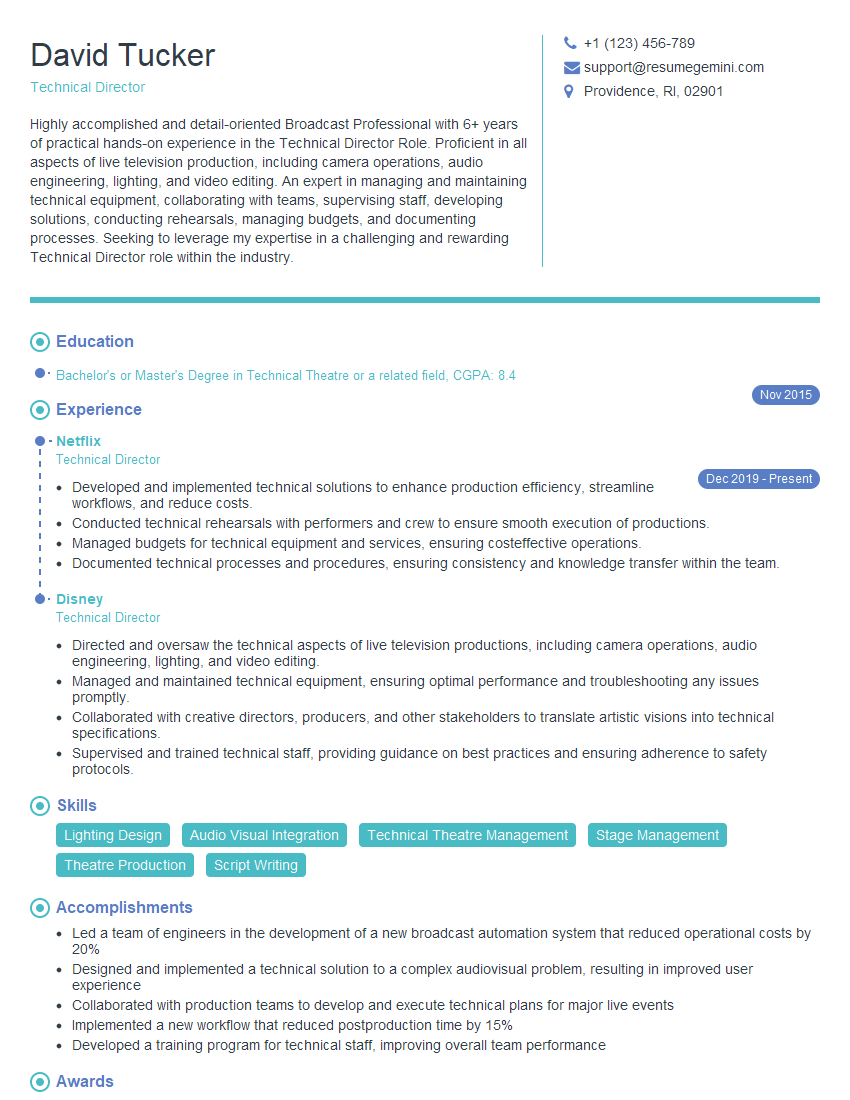
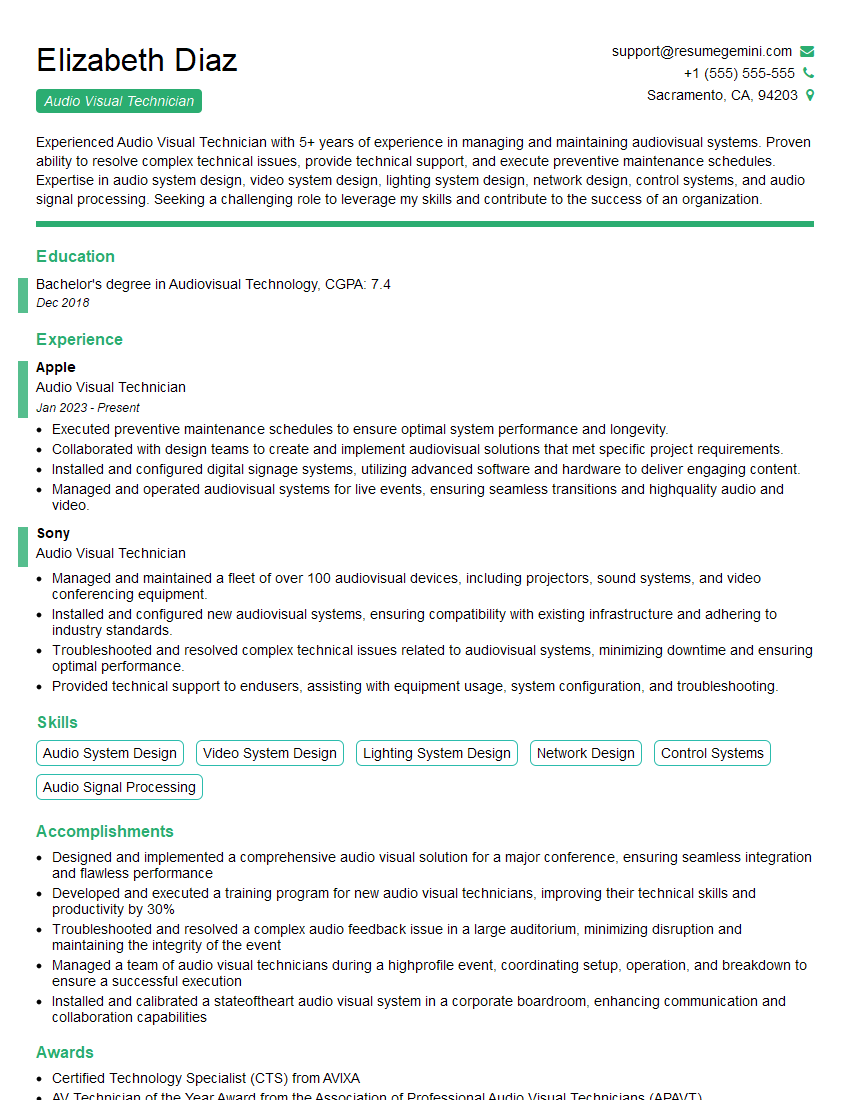
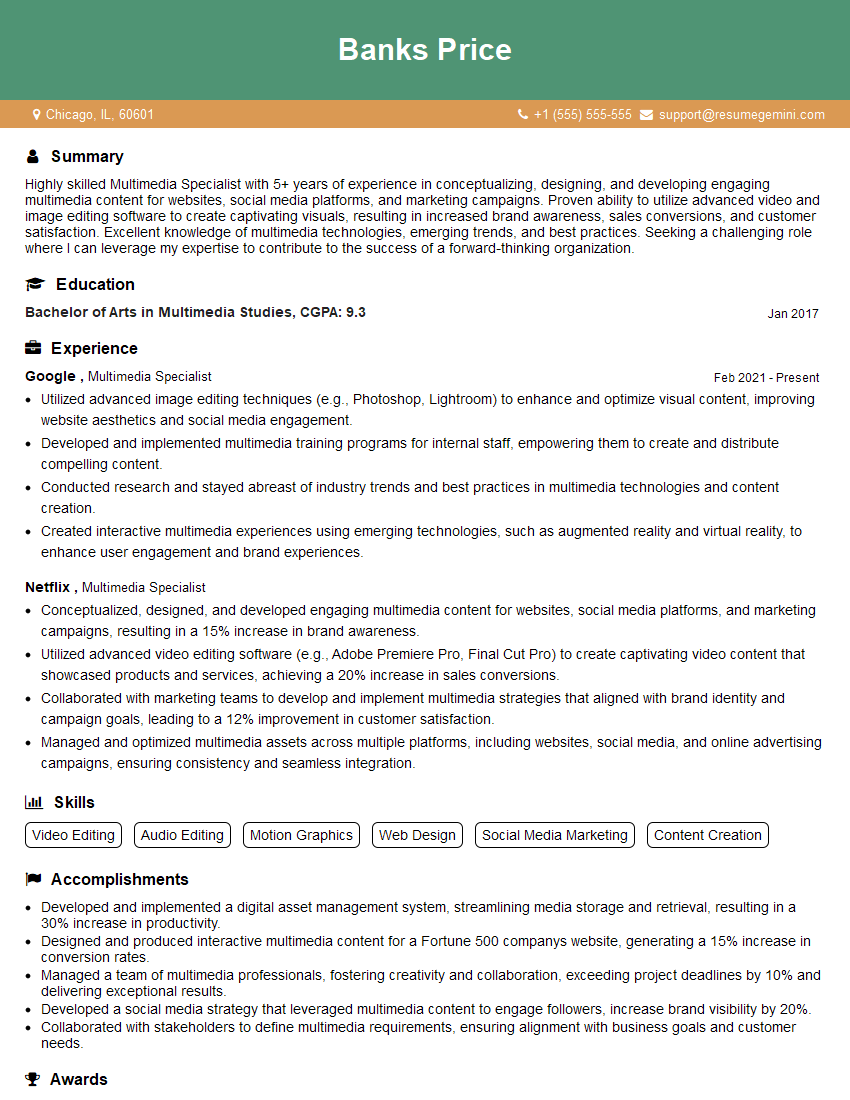
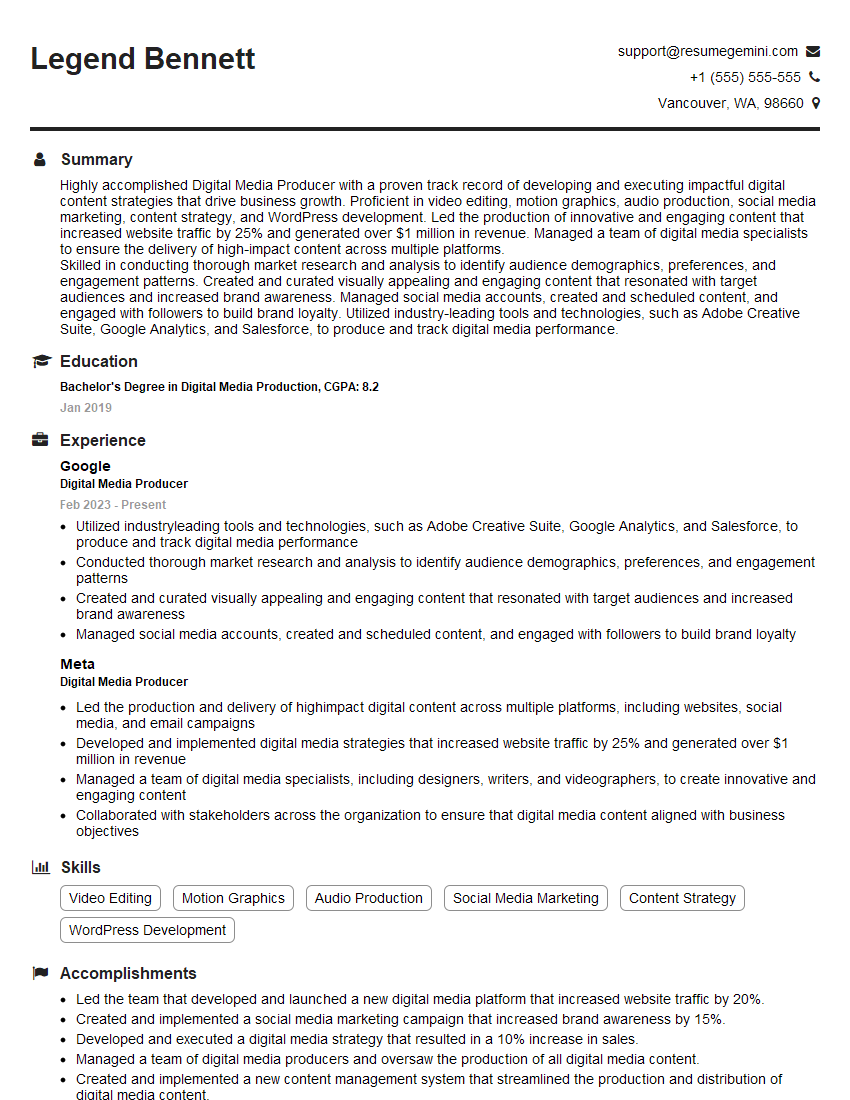
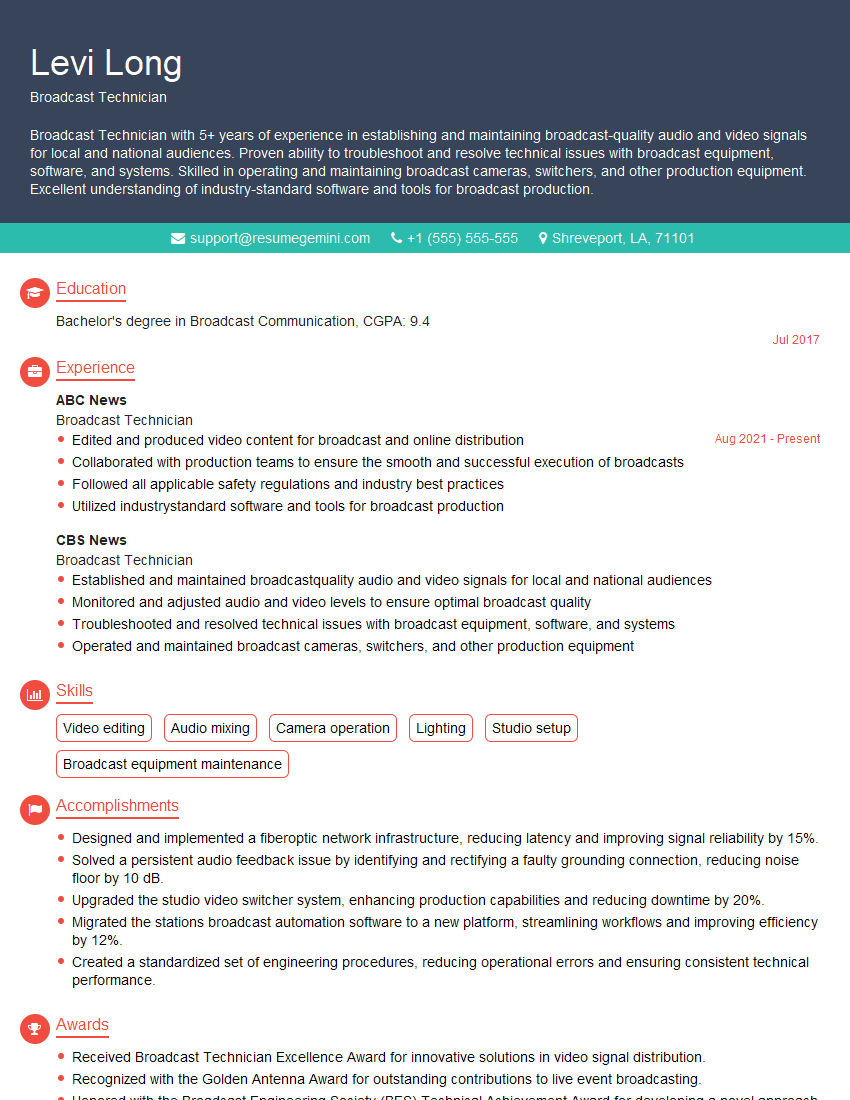
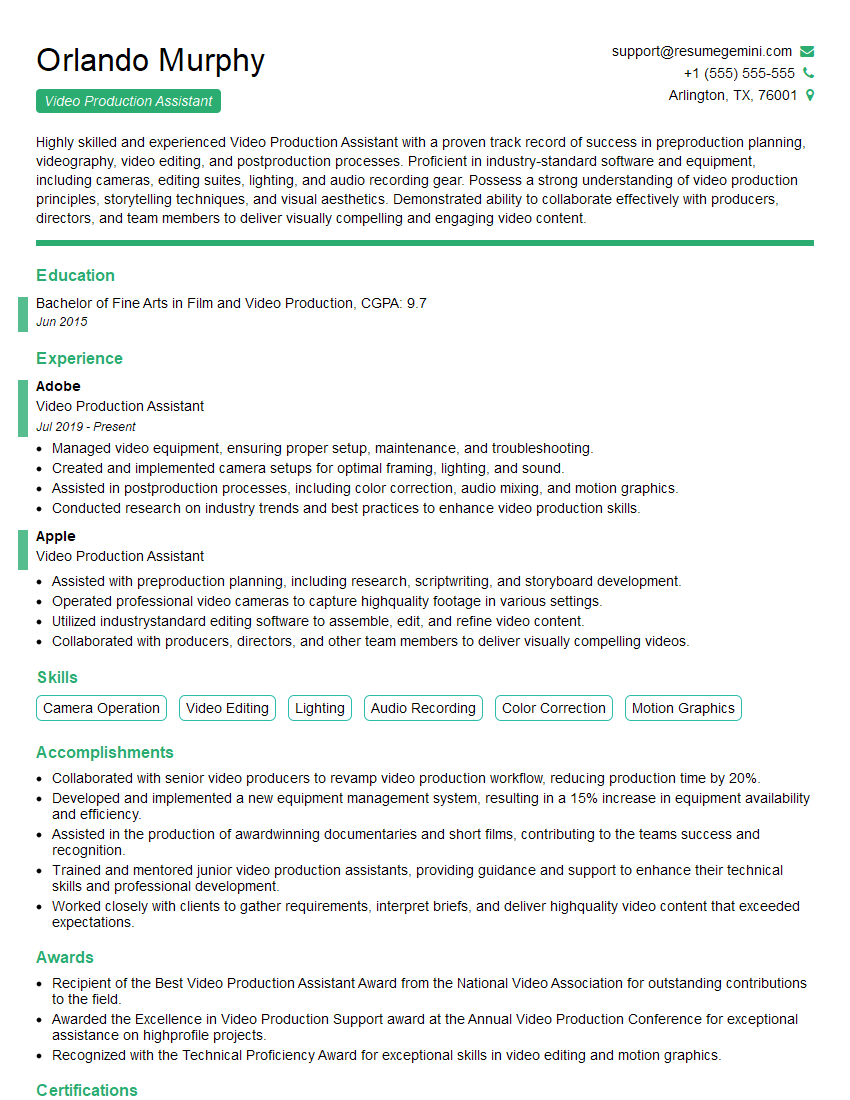
Mastering video mixing opens doors to exciting career opportunities in film, television, advertising, and beyond. A strong foundation in these skills is highly sought after and can significantly accelerate your career growth. To maximize your job prospects, create a compelling and ATS-friendly resume that highlights your skills and experience effectively. ResumeGemini is a trusted resource that can help you build a professional resume tailored to the video mixing industry. Examples of resumes tailored to Video Mixing are available to help you get started.
Explore more articles
Users Rating of Our Blogs
Share Your Experience
We value your feedback! Please rate our content and share your thoughts (optional).
What Readers Say About Our Blog
Hi, I represent a social media marketing agency that creates 15 engaging posts per month for businesses like yours. Our clients typically see a 40-60% increase in followers and engagement for just $199/month. Would you be interested?”
Hi, I represent an SEO company that specialises in getting you AI citations and higher rankings on Google. I’d like to offer you a 100% free SEO audit for your website. Would you be interested?
